How to Draw the Tooth Fairy (Easy Step by Step)
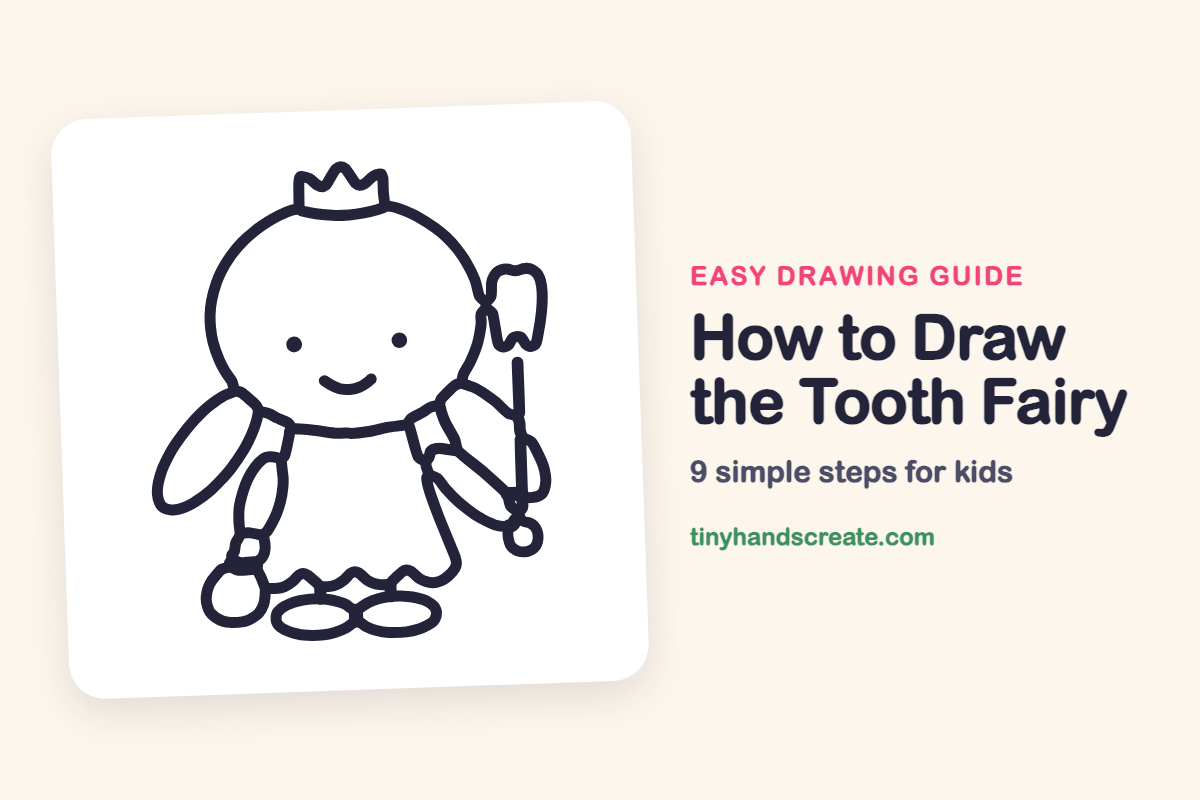
The tooth fairy is a sweet, simple character to draw, and she is built almost entirely from ovals. A round head, tilted oval wings, skinny oval arms and flat oval shoes do most of the work, with a zigzag crown and a tooth-topped wand to make her special.
- Easy
- 15 minutes
- 9 steps
You need: paper, a pencil, an eraser, and crayons or markers for coloring.
Start drawingIn this article (7 sections)
How to draw the tooth fairy step by step
How to Draw the Tooth Fairy · tinyhandscreate.com
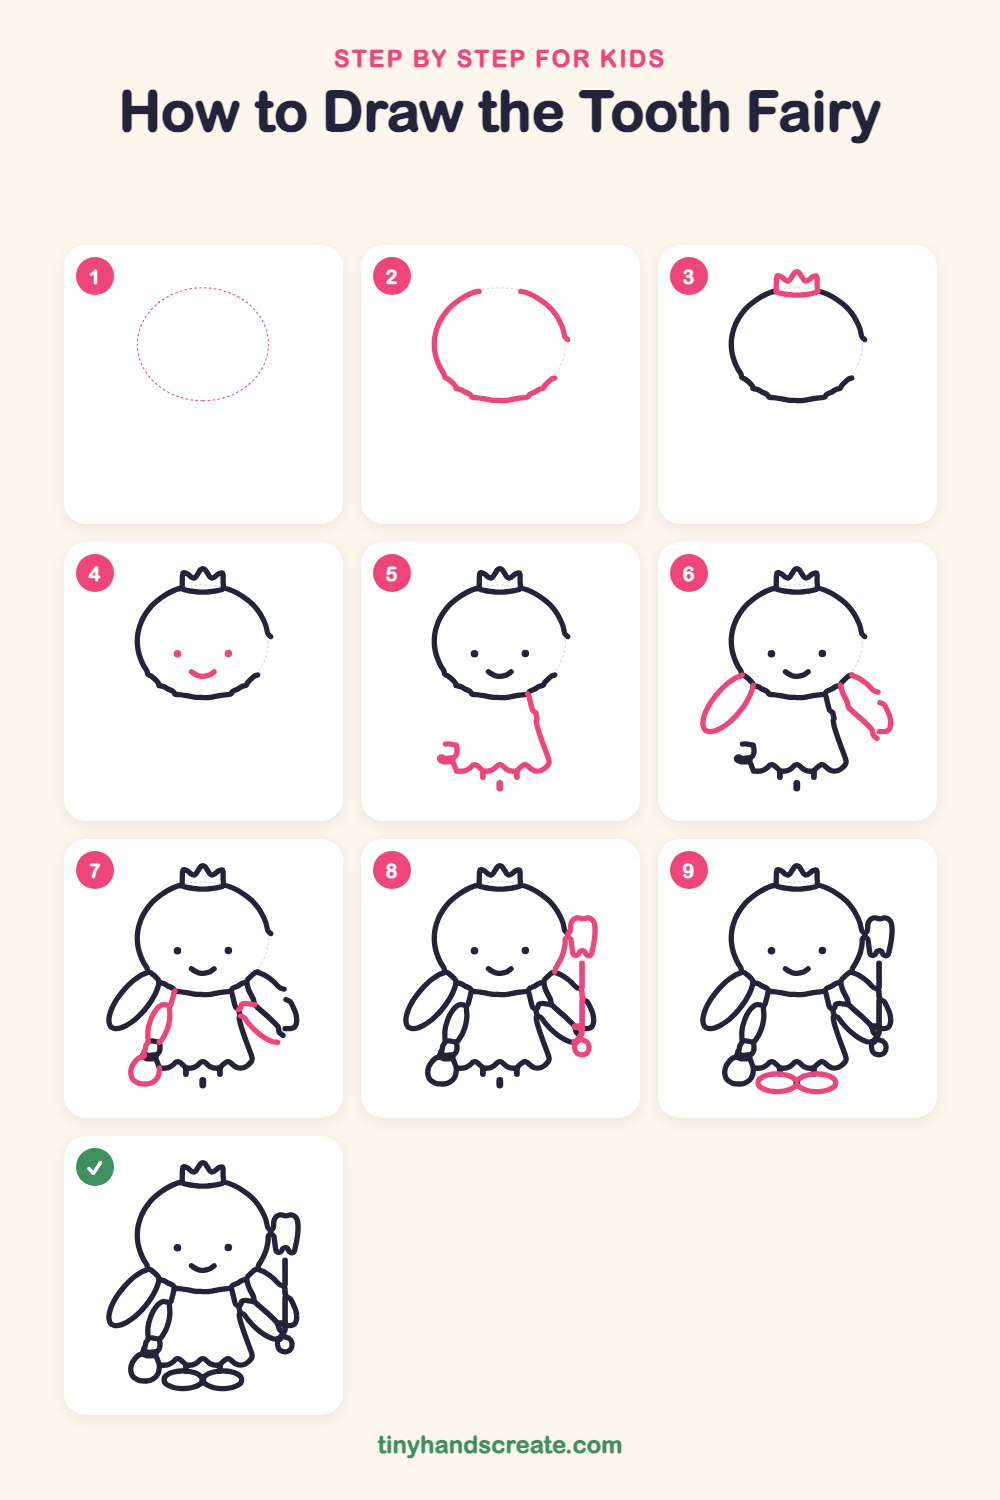
Step 1: Guide shapes
Lightly sketch this oval. It only shows where the big parts go, so press softly. You will erase it at the end.
Step 2: The head
Start with a big round oval for the head, a little wider than it is tall. Leave a small gap at the top and another on the lower right side, where other parts will hide the line.
Step 3: The crown
In the gap at the top of the head, draw a short band with a zigzag of three points on top, like a tiny crown.
Step 4: Eyes and smile
Draw two small round dots for eyes, spaced apart in the middle of the face. Add a happy curved smile below and between them.
Step 5: The dress
Under the head, draw the dress with a long slanted line down the right side that gets wider toward the bottom. Finish the bottom edge with a wavy line of little bumps.
Step 6: The wings
Draw a tall, tilted oval sticking out on the left side of the head for a wing. Add a matching wing on the right, tucked in behind the shoulder.
Step 7: Arms and treat bag
Draw a skinny oval arm hanging down on the left side of the dress. At the end of it, add a small round bag. Then draw a long slanted oval arm across the right side of the dress.
Step 8: The tooth wand
Draw a long straight stick to the right of the head, with a small circle at the bottom. At the top, draw a tooth shape with two bumps along the top and two little roots at the bottom.
Step 9: The shoes
Under the dress, draw two flat ovals side by side. Let them touch in the middle, like a sideways number eight.
All done!
Erase the guide shapes, go over your lines, then color it in.
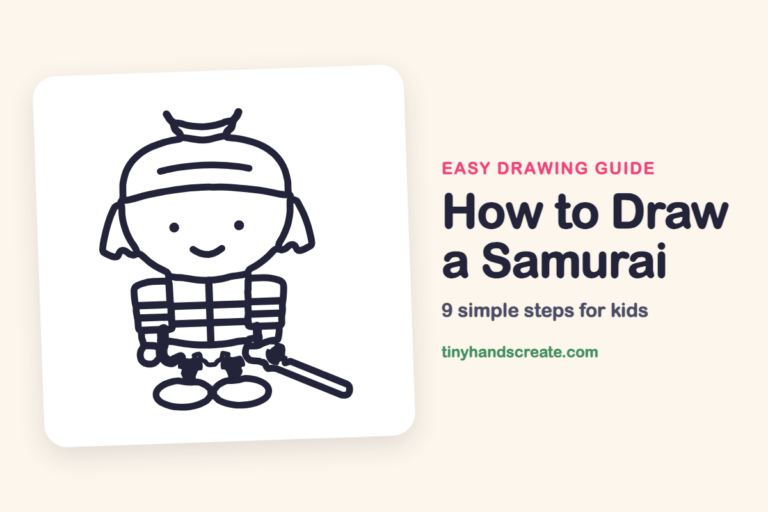
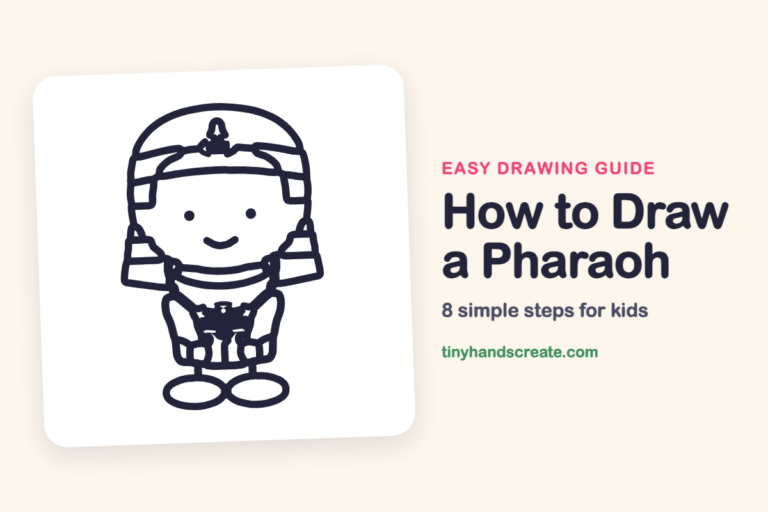
Finished your tooth fairy? Keep the pencils out and learn how to draw a samurai or how to draw a pharaoh next.
Tips for drawing the tooth fairy
- Draw the head oval first and lightly. The crown, wings and dress all connect to it, so a good head makes everything else easier.
- The tooth on the wand is the trickiest part. Start with a rounded box, then add two bumps along the top and two little roots at the bottom with a small notch between them.
- Let the two shoe ovals touch in the middle. It makes her look like she is standing on both feet.
Free tooth fairy coloring page
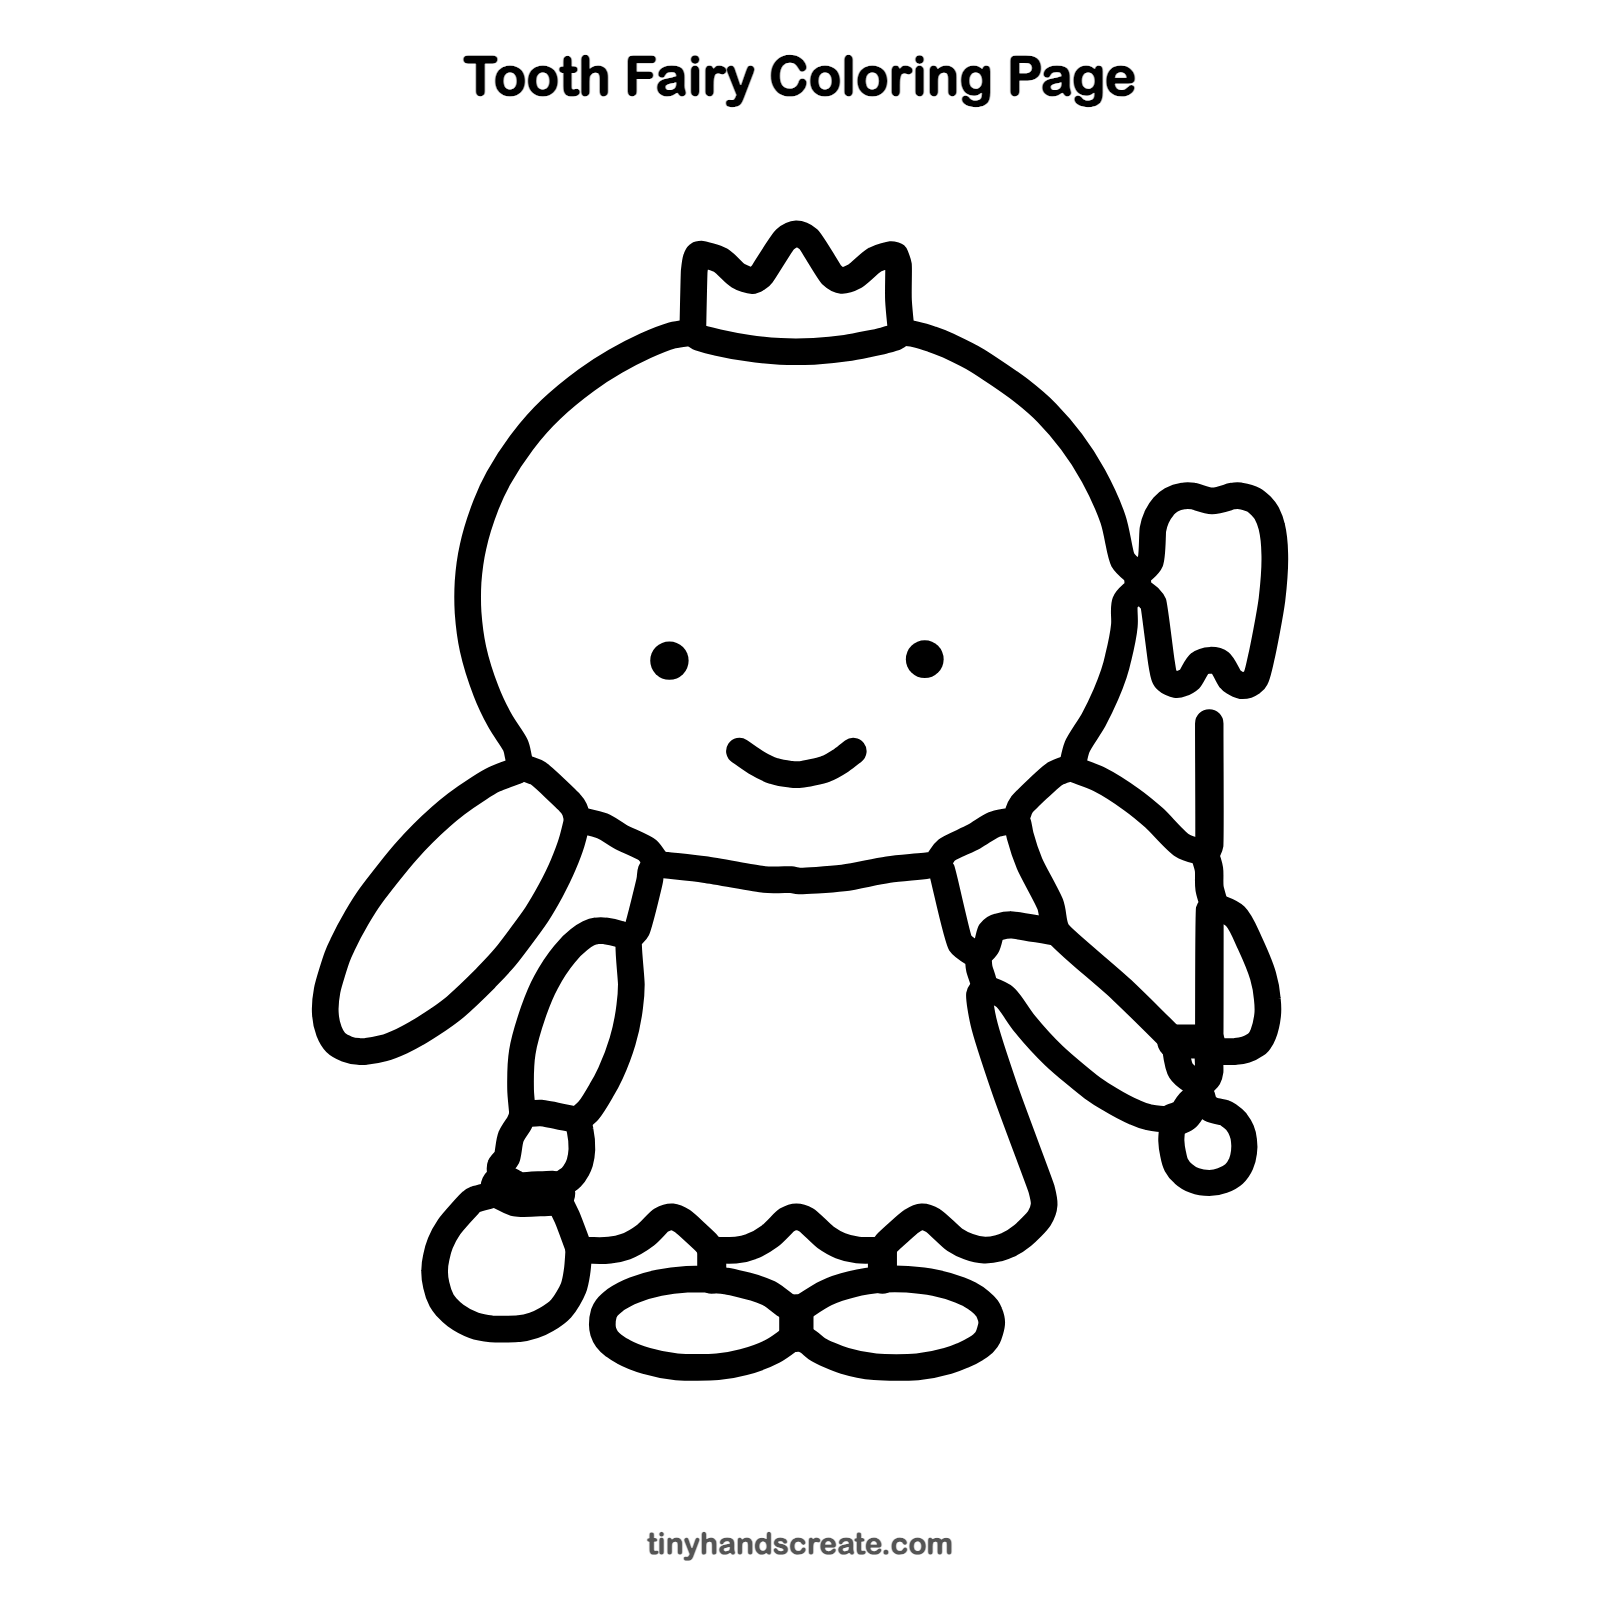
Want to go straight to coloring? Open this tooth fairy coloring page at full size and print it. It is the same drawing you just learned, with clean lines ready for crayons or markers.
How to color your tooth fairy drawing
Try soft pink or lilac for the dress, pale blue for the wings and yellow for the crown. For a creative twist, color the wings with sparkly rainbow stripes or add glitter glue.
Tooth fairy fun fact for kids
In Spain and parts of Latin America, children leave a lost baby tooth under the pillow for a mouse called Ratoncito Pérez, and in France the tooth fairy is a little mouse called La Petite Souris.
Questions about drawing the tooth fairy
What shapes do I need to draw the tooth fairy?
You need a big oval for the head, tilted ovals for the wings and arms, and two flat ovals for the shoes. The dress is a trapezoid with a wavy bottom, and the crown is a zigzag.
How do I draw a tooth that looks like a tooth?
Start with a rounded square. Add two soft bumps across the top and two little roots at the bottom with a small dip between them.
How do I make my tooth fairy look cuter?
Keep the eyes small and wide apart. A curvy smile and a tiny crown add a lot of charm.