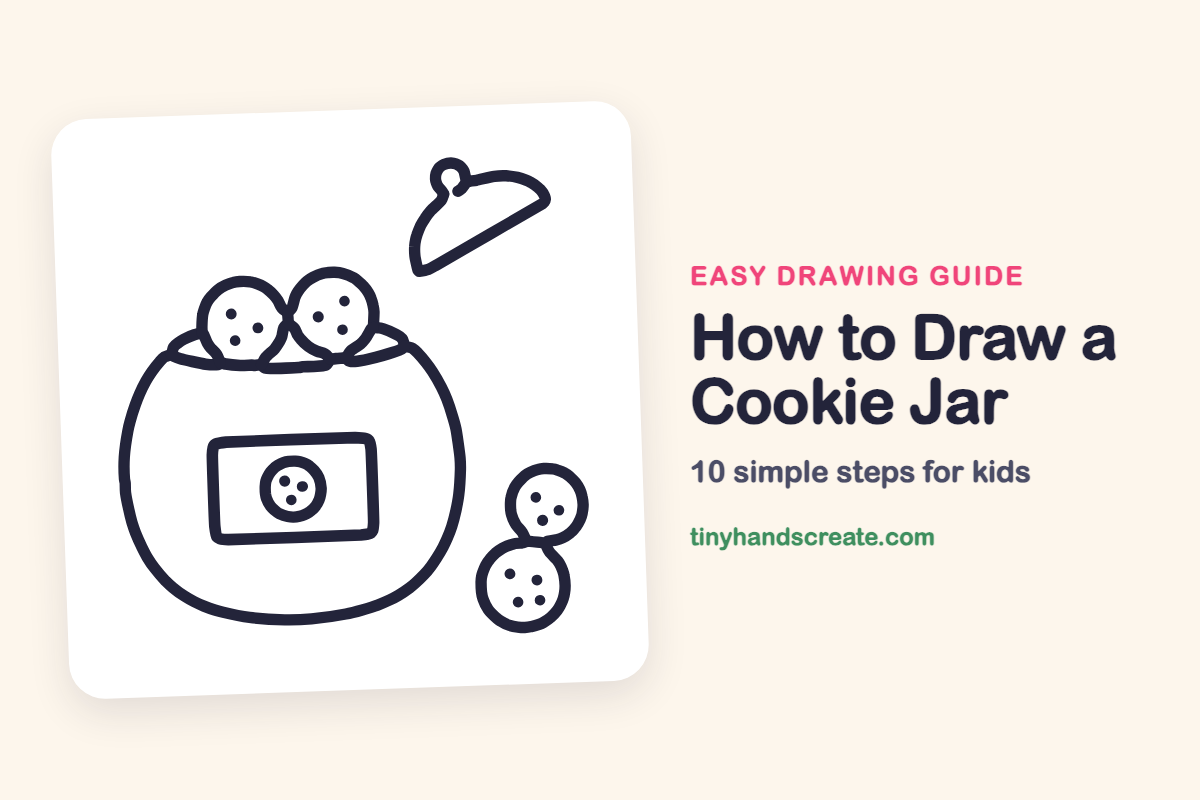
How to Draw a Cookie Jar (Easy Step by Step)
A cookie jar is a fun thing to draw because it is mostly circles and one big round shape. You will build it from a wide round jar, a rectangle label, a dome lid, and a handful of circle cookies. Each part is simple, and together they make a treat-filled picture.
- Easy
- 12 minutes
- 10 steps
You need: paper, a pencil, an eraser, and crayons or markers for coloring.
Start drawingIn this article (7 sections)
How to draw a cookie jar step by step
How to Draw a Cookie Jar · tinyhandscreate.com
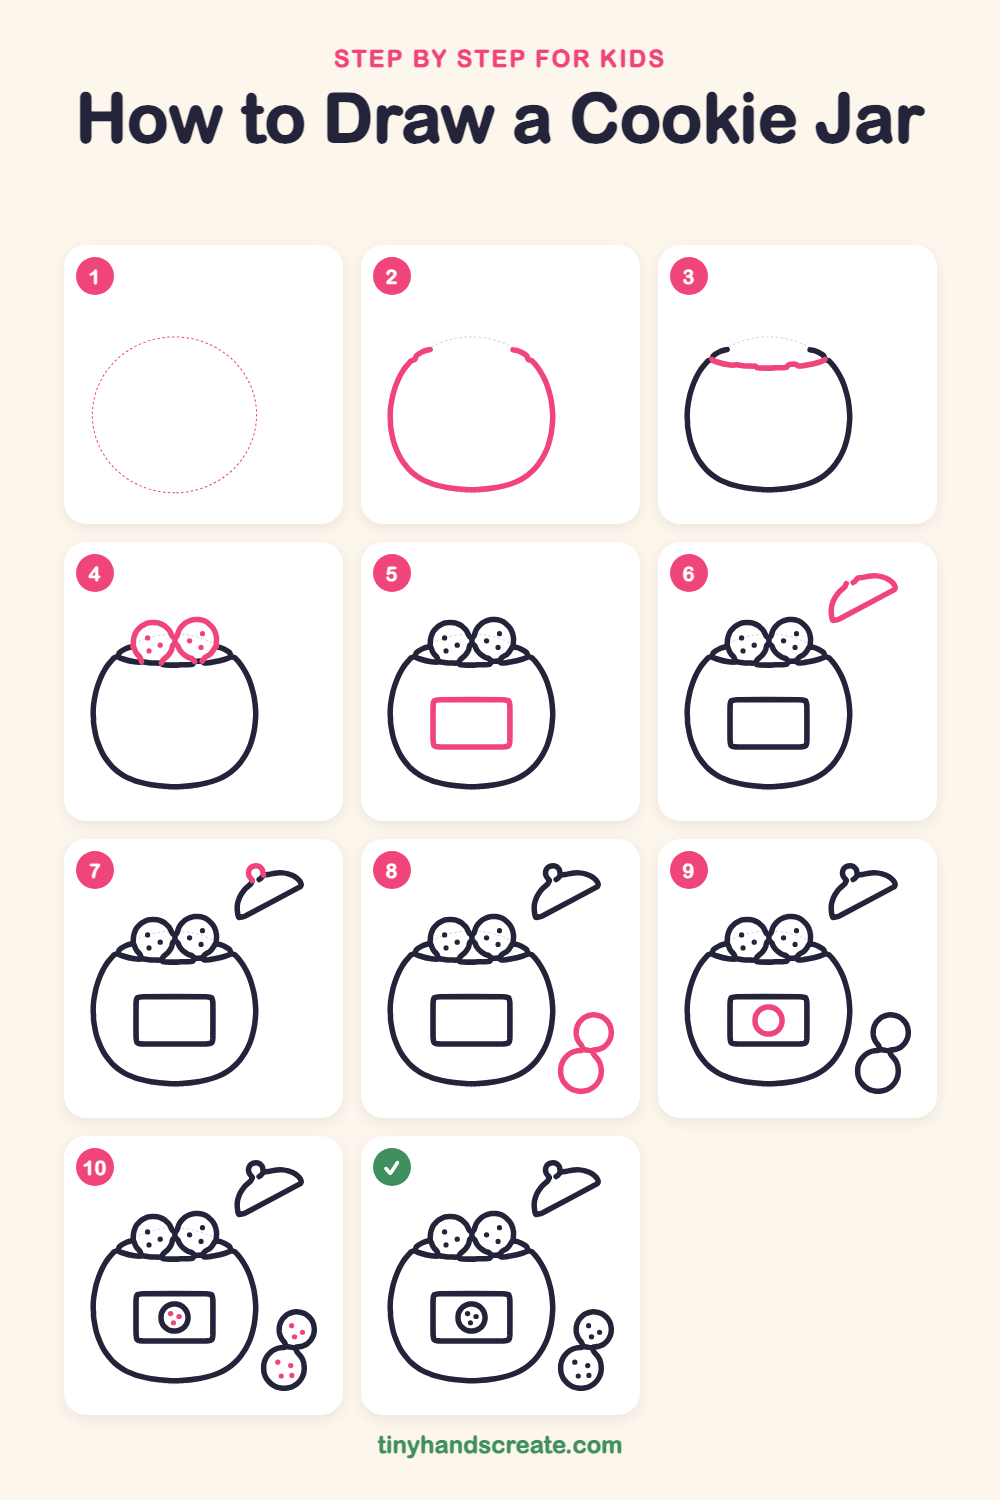
Step 1: Guide shapes
Lightly sketch this oval. It only shows where the big parts go, so press softly. You will erase it at the end.
Step 2: The jar body
Draw a big, wide, round shape like a squashed ball for the jar. Leave a gap at the top, where the two ends stop short of each other.
Step 3: The jar rim
Draw a long, gently wavy line across the top gap, from one side of the jar to the other. This is the rim, the opening of the jar.
Step 4: Cookies in the jar
Draw two round cookies side by side, peeking out above the rim, so they overlap a little in the middle. Add two or three small dots inside each one for chocolate chips.
Step 5: The label
In the middle of the jar, draw a rectangle with rounded corners. It is a label, like a sticker on the front.
Step 6: The lid
Up in the top right, draw a dome shape like half a circle with a flat, slanted bottom. This is the lid, set to the side.
Step 7: The lid knob
On the top left of the lid, draw a small circle for the handle. Let it sit right on the curve of the dome.
Step 8: Cookies on the side
Near the bottom right, draw two circles that touch, one above the other. These are cookies that have fallen out of the jar.
Step 9: Label cookie
Inside the label, draw a small circle in the center. It is a tiny cookie picture.
Step 10: More chocolate chips
Add two or three little dots inside the tiny label cookie. Then add three or four dots in each of the two cookies at the bottom right.
All done!
Erase the guide shapes, go over your lines, then color it in.
Finished your cookie jar? Keep the pencils out and learn how to draw a slice of cheesecake or how to draw bacon and eggs next.
Tips for drawing a cookie jar
- Draw the jar body as a wide, squashed circle first. Leave a gap at the top so the rim can close it in the next step.
- The two cookies at the top are the trickiest part. Draw the left cookie first, then draw the right one so it overlaps it a little in the middle.
- Chocolate chips look best as small, uneven dots. Keep them away from the cookie edges so each cookie still looks round.
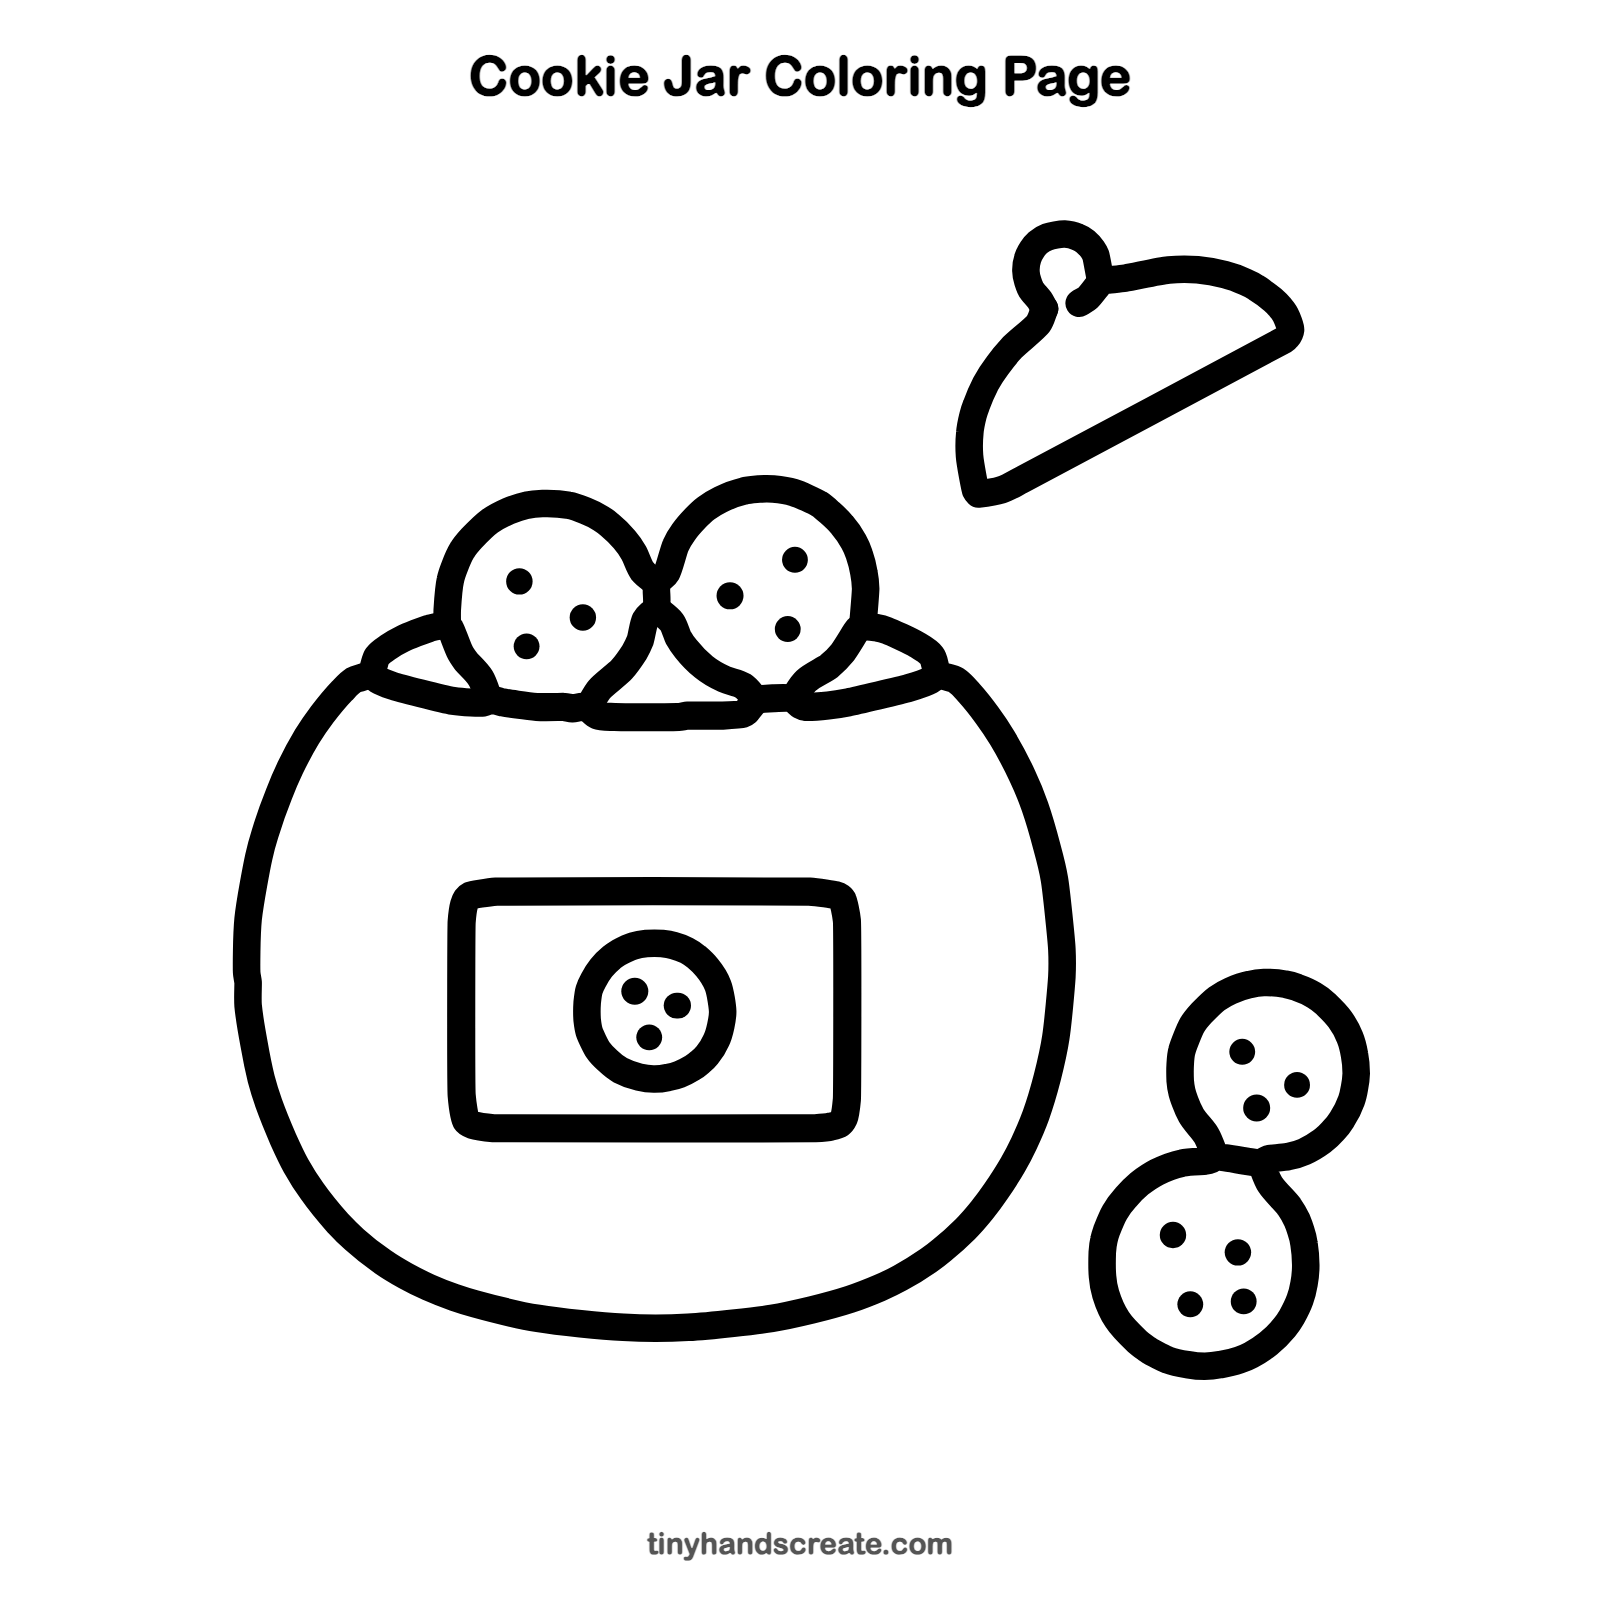
Free cookie jar coloring page
Want to go straight to coloring? Open this cookie jar coloring page at full size and print it. It is the same drawing you just learned, with clean lines ready for crayons or markers.
How to color your cookie jar drawing
Try a blue or red jar with golden brown cookies and dark brown chips. For a creative twist, color the lid in a pattern, such as polka dots or stripes.
Cookie jar fun fact for kids
The chocolate chip cookie was first made in the 1930s by Ruth Wakefield at the Toll House Inn in Massachusetts.
Questions about drawing a cookie jar
What shapes do I need to draw a cookie jar?
You need a big round shape for the jar, a rectangle for the label, a half circle for the lid, and small circles for the cookies and the knob.
How do I make the cookies look real?
Add two to four small dots inside each circle for chocolate chips. Make the dots different sizes so they look natural.
How do I draw the lid so it looks like it is floating?
Draw it away from the jar, up and to the side. Leave empty space between the lid and the jar so it looks like it was just lifted off.