How to Draw a Fall Wreath (Easy Step by Step)
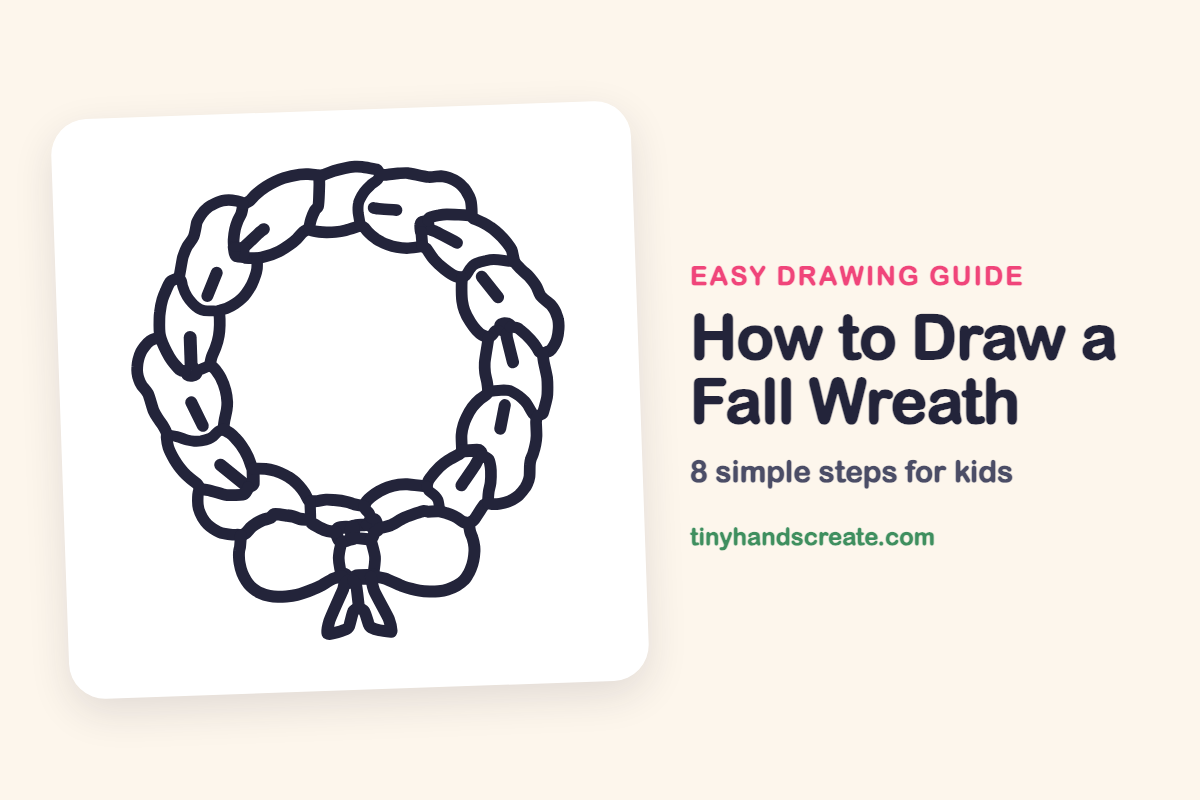
A fall wreath is a cozy drawing of a ring of leaves with a bow at the bottom. It is built from a round guide, a ring of leaf strokes, and a bow made of two loops and two ribbon tails. Once you see the simple shapes, it comes together one part at a time.
- Medium
- 15 minutes
- 8 steps
You need: paper, a pencil, an eraser, and crayons or markers for coloring.
Start drawingIn this article (7 sections)
How to draw a fall wreath step by step
How to Draw a Fall Wreath · tinyhandscreate.com
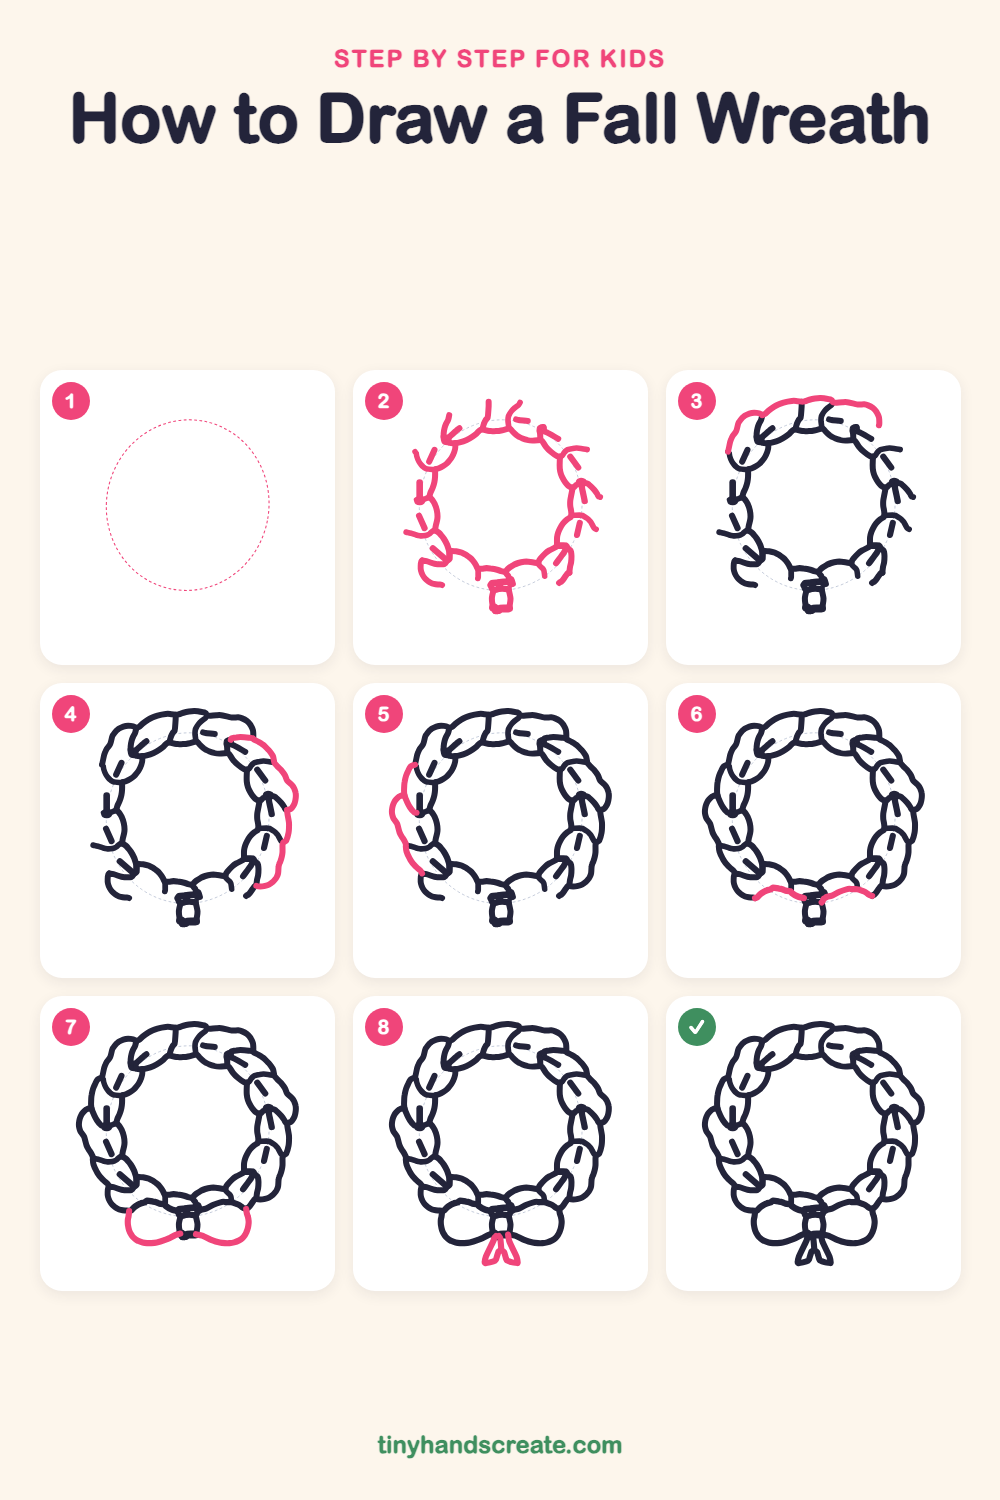
Step 1: Guide shapes
Lightly sketch this oval. It only shows where the big parts go, so press softly. You will erase it at the end.
Step 2: Leaves and knot
Following the round guide, draw short curved leaf strokes in a ring, and add a short dash in the middle of each leaf. Then draw a small rounded square at the bottom for the bow's knot.
Step 3: Top leaf edges
Draw the curvy outer edge across the top of the wreath, from the upper left over to the upper right. Make soft bumps so the leaves look round and puffy.
Step 4: Right leaf edges
Continue the outer edge down the right side of the wreath. Draw wavy bumps that wrap around the leaves, stopping near the lower right.
Step 5: Left leaf edges
Draw the outer edge down the left side of the wreath. Make little bumps around the leaves, starting near the top left and stopping partway down the left side.
Step 6: Top of the bow
Start at the knot and draw a short curved line out to the left, then another out to the right. These are the tops of the two bow loops, like gentle hills.
Step 7: Bottom of the bow
Close each bow loop by drawing a rounded line from the end of the top curve, swooping down and back to the knot. Each loop should look like a fat teardrop.
Step 8: Ribbon tails
Under the knot, draw two short ribbon tails side by side. Make each one a narrow shape with a pointed end, angled a little outward.
All done!
Erase the guide shapes, go over your lines, then color it in.
Finished your fall wreath? Keep the pencils out and learn how to draw a cozy sweater or how to draw a mug of apple cider next.
Tips for drawing a fall wreath
- Follow the light round guide so your leaves stay in a neat ring and do not wander off.
- Draw a short dash down the middle of each leaf. The dashes make the ring look like leaves instead of a plain rope.
- Draw the bow loops one at a time and keep them about the same size so the bow looks balanced.
Free fall wreath coloring page
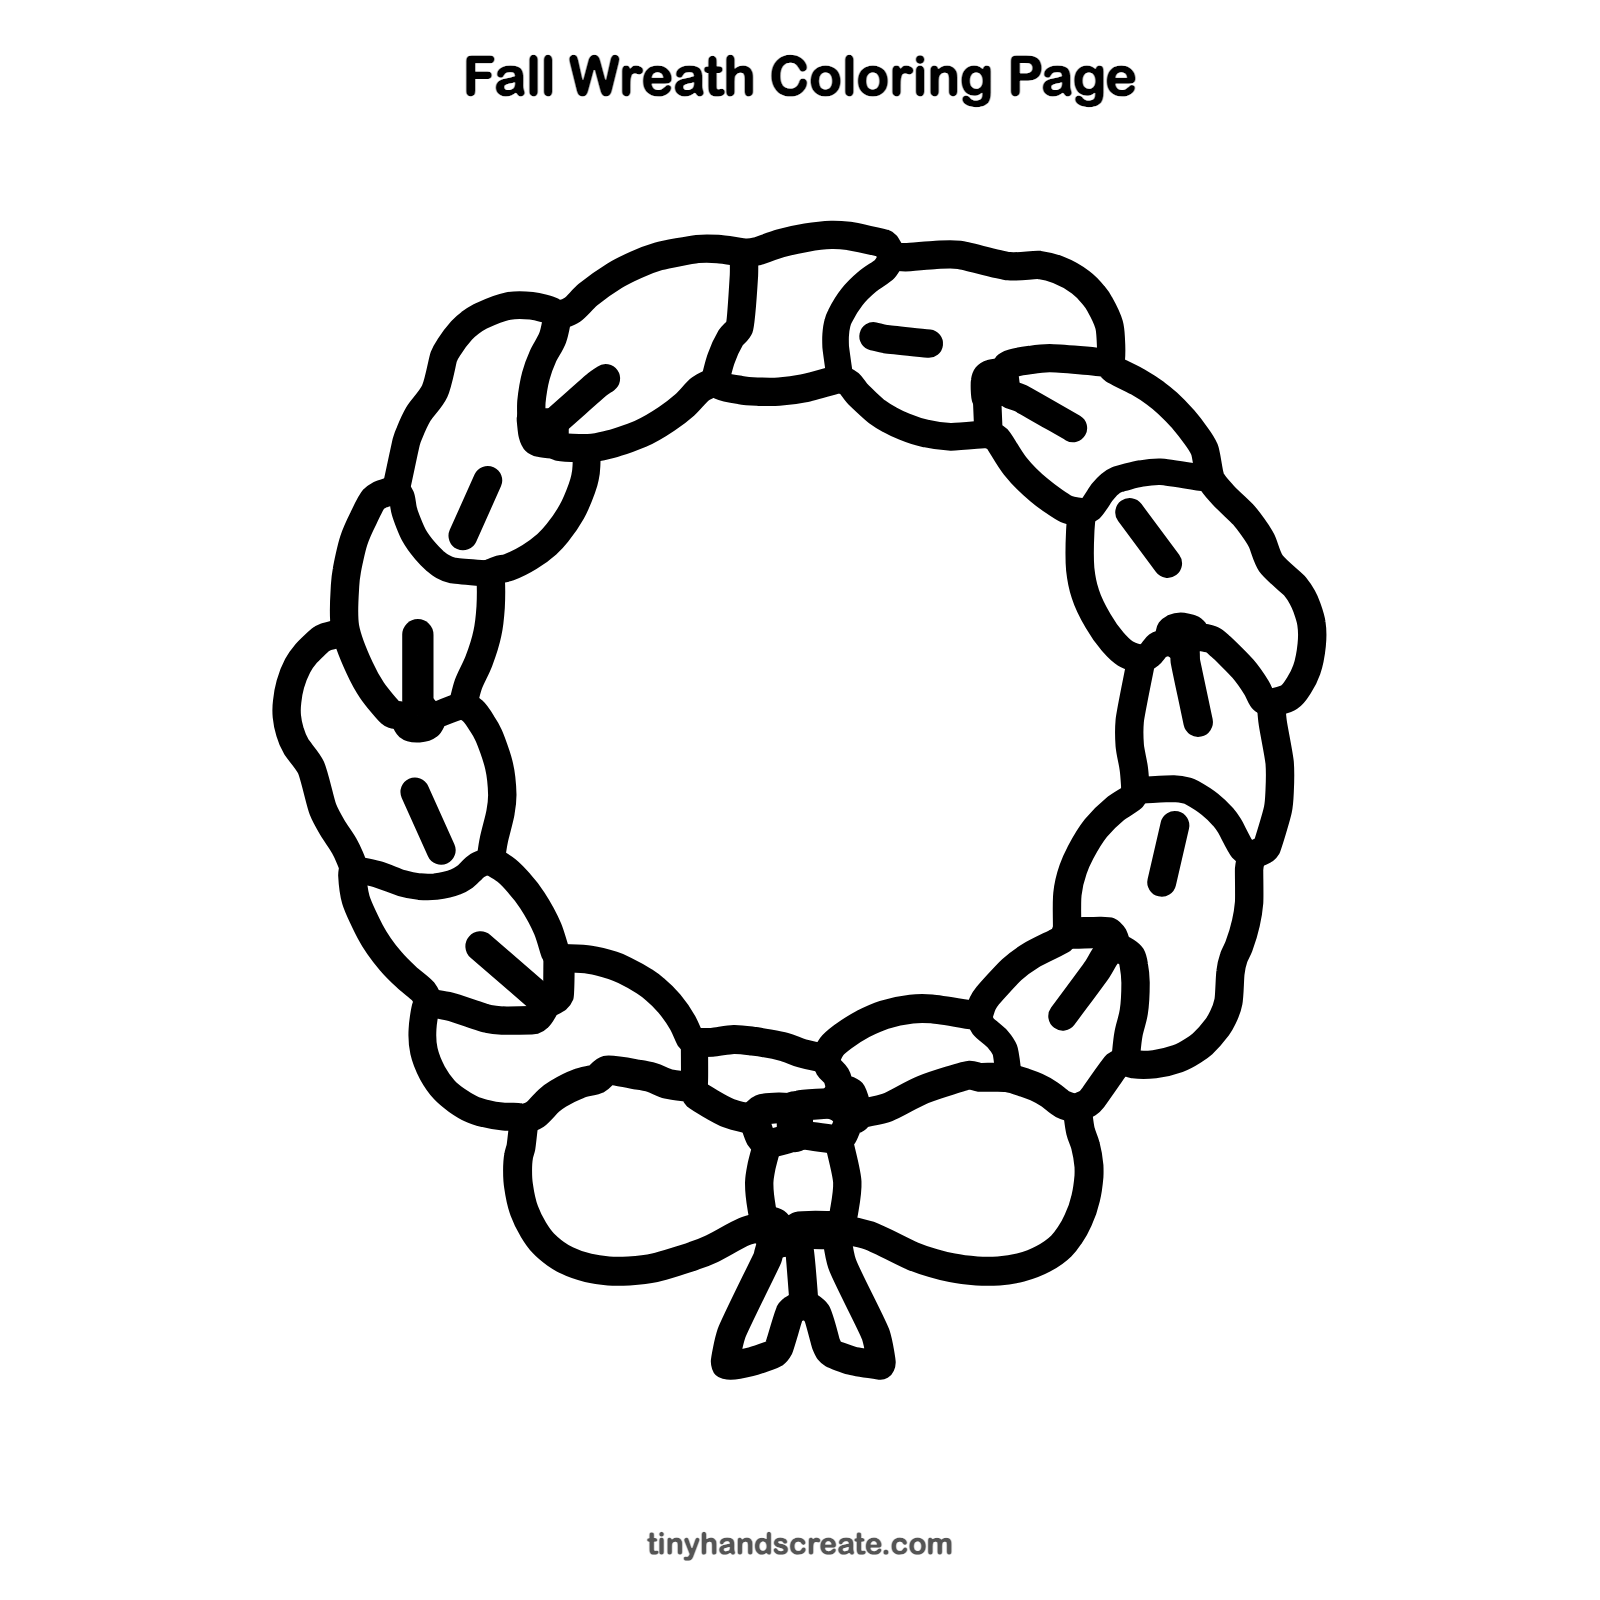
Want to go straight to coloring? Open this fall wreath coloring page at full size and print it. It is the same drawing you just learned, with clean lines ready for crayons or markers.
How to color your fall wreath drawing
Try warm fall colors like orange, red, yellow, and brown for the leaves, and a bright color for the bow. For a creative twist, give every leaf a different color.
Fall wreath fun fact for kids
People have made wreaths for thousands of years. In ancient Greece, winners of the Olympic Games were given wreaths made from olive branches to wear on their heads.
Questions about drawing a fall wreath
What shapes do I need to draw a fall wreath?
You need a round guide for the ring, curved leaf shapes, a small square for the knot, two teardrop loops, and two short ribbon tails. Everything else is just outlining these shapes.
How do I make my wreath look fuller?
Draw the bumpy outer edge around the leaves so they look puffy and overlap a little. Keep the dash in the middle of each leaf.
How do I draw a bow that looks good?
Start with a small square for the knot, then draw one loop on each side, like bunny ears lying down. Finish with two short ribbon tails that point down.