How to Draw Mrs. Claus (Easy Step by Step)
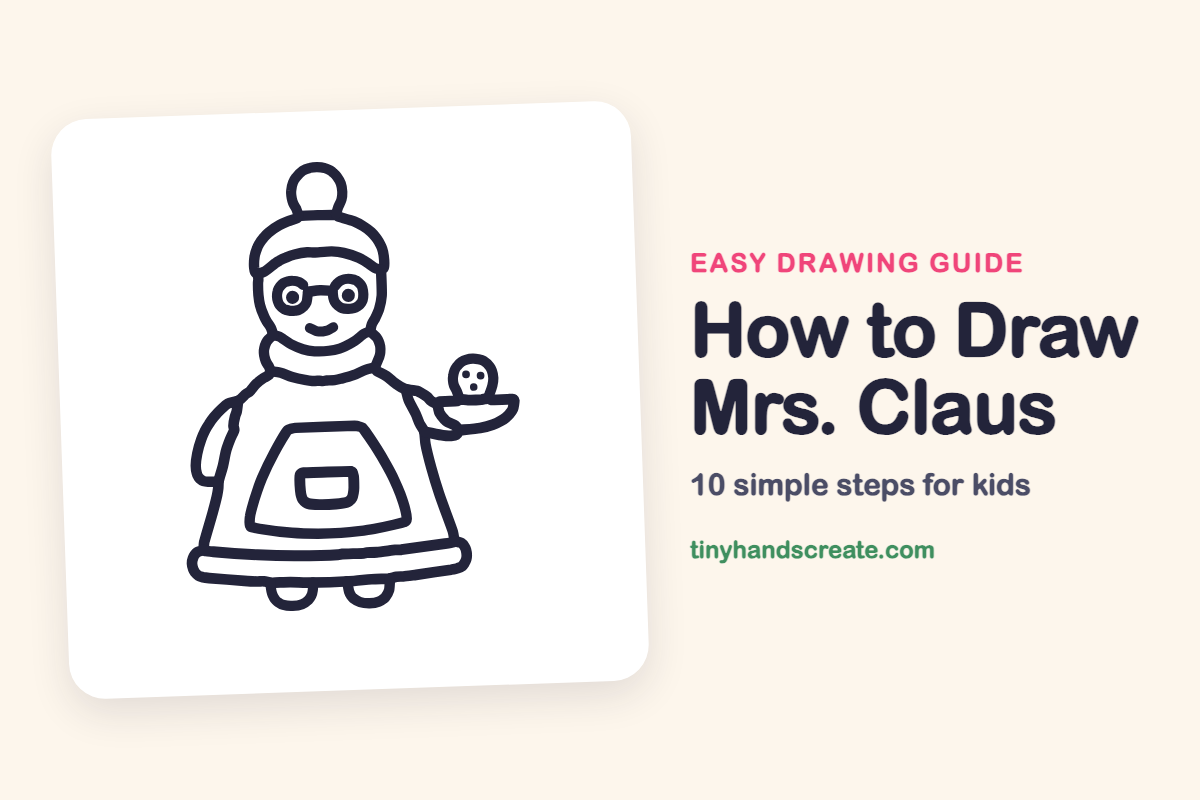
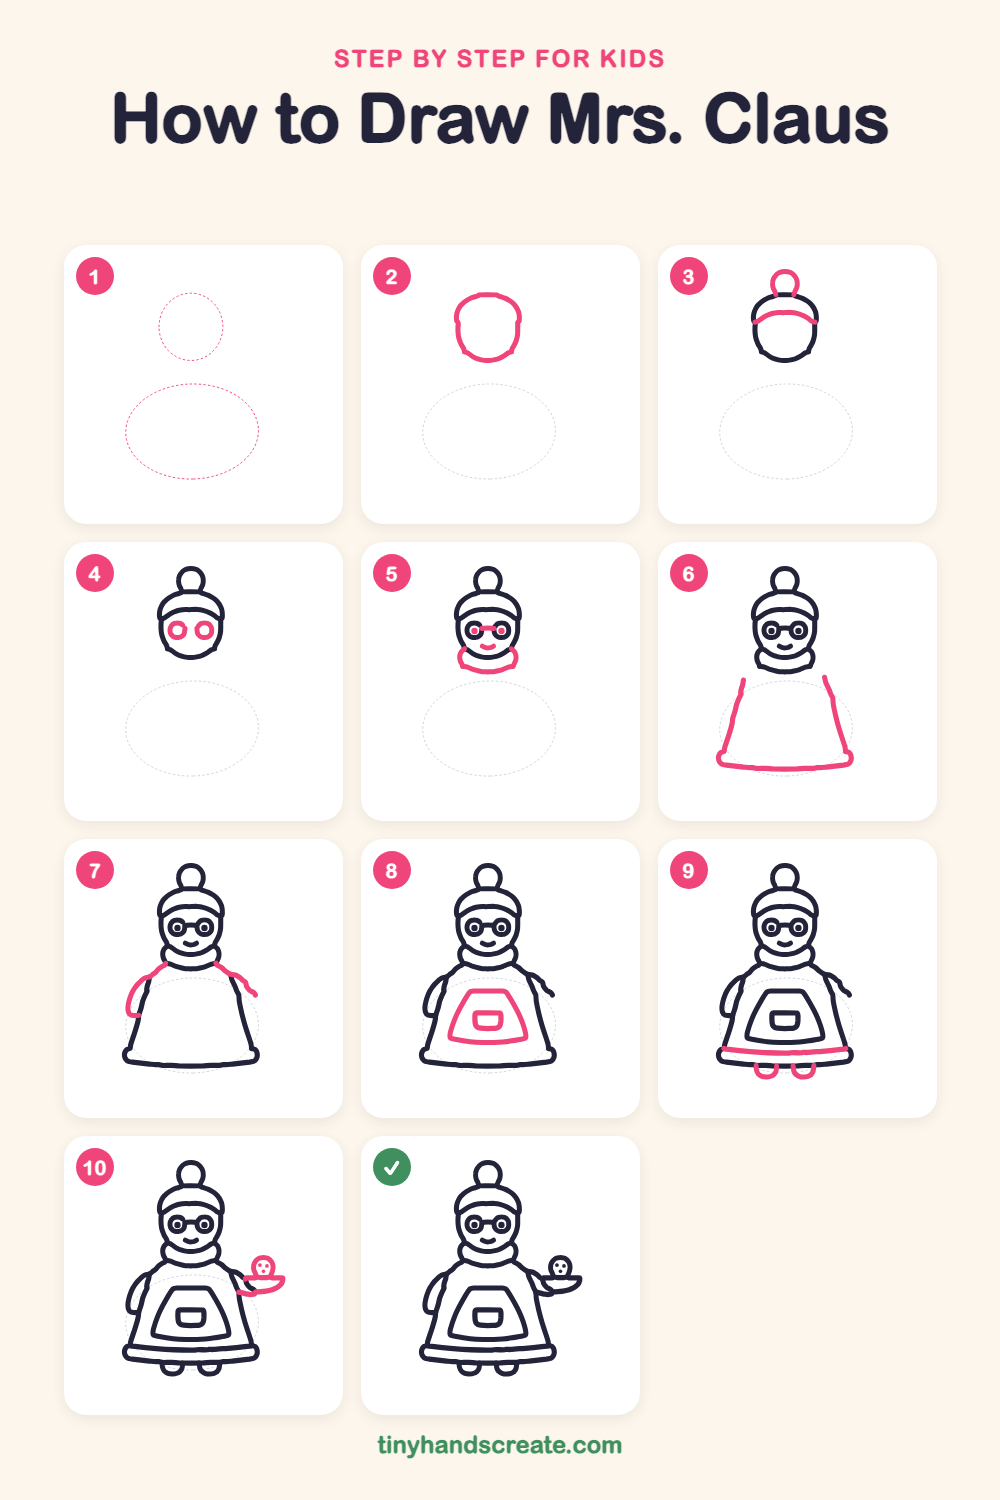
Mrs. Claus is a cheerful character to draw because she is built from simple shapes: a rounded oval for the head, small circles for the glasses and cookie, and a big bell shape for her dress. She holds a tray with a cookie, which gives your drawing a little story. Kids can draw her step by step and make her their own.
- Medium
- 15 minutes
- 10 steps
You need: paper, a pencil, an eraser, and crayons or markers for coloring.
Start drawingIn this article (7 sections)
How to draw Mrs. Claus step by step
How to Draw Mrs. Claus · tinyhandscreate.com
Step 1: Guide shapes
Lightly sketch these 2 ovals. They only show where the big parts go, so press softly. You will erase them at the end.
Step 2: The head
Draw a rounded oval for the head, a little wider at the top and curving in to a soft chin at the bottom.
Step 3: Hat band and pom-pom
Draw a curved line across the top of the face for the edge of the hat. Then add a small circle on top of the head for the pom-pom.
Step 4: Glasses rings
Draw two small round rings side by side in the middle of the face. These are the lenses of her glasses.
Step 5: Eyes, smile and collar
Put a dot inside each ring and join the rings with a short line for the glasses bridge. Draw a little curved smile below, then a curved band under the chin for the fluffy collar.
Step 6: The dress
Start below the collar and draw two lines sloping outward and down on each side, like a bell. Join them with a long line across the bottom.
Step 7: Arms
On the left side, draw a long rounded loop hanging down by her side. On the right side, draw a wavy line reaching out from the shoulder.
Step 8: Apron and pocket
In the middle of the dress, draw a wide trapezoid for the apron. Add a small rounded rectangle inside it for the pocket.
Step 9: Hem and shoes
Draw a long line across the lower dress to make the trim. Add two little U-shaped shoes under the hem.
Step 10: Tray with cookie
At the end of her right arm, draw a wide curved bowl shape for the tray. Set a small circle on top for a cookie and add a few tiny dots for chocolate chips.
All done!
Erase the guide shapes, go over your lines, then color it in.
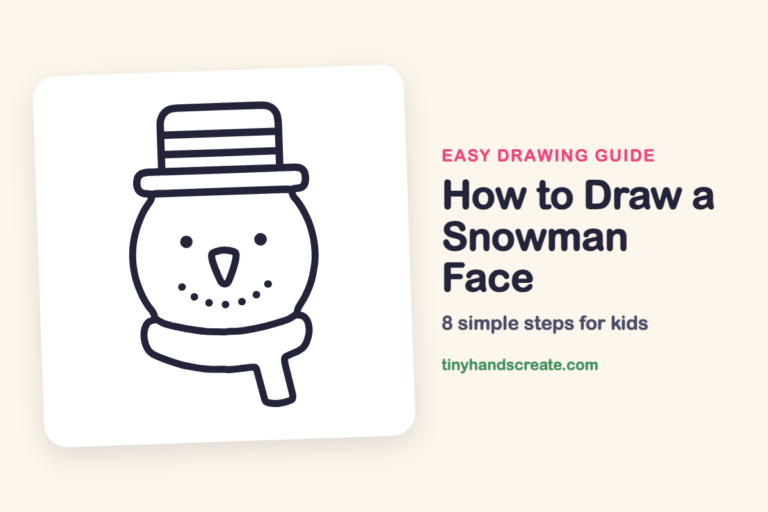
Finished your Mrs. Claus? Keep the pencils out and learn how to draw a snowman face or how to draw a Christmas star next.
Tips for drawing Mrs. Claus
- Draw the dress as a bell: start narrow below the collar and widen toward the hem, keeping both sides about the same.
- The round glasses are the trickiest part, so draw one ring first and then copy its size for the second one.
- Draw the tray as a gentle smile shape before adding the cookie, so the cookie sits on top without floating.
Free Mrs. Claus coloring page
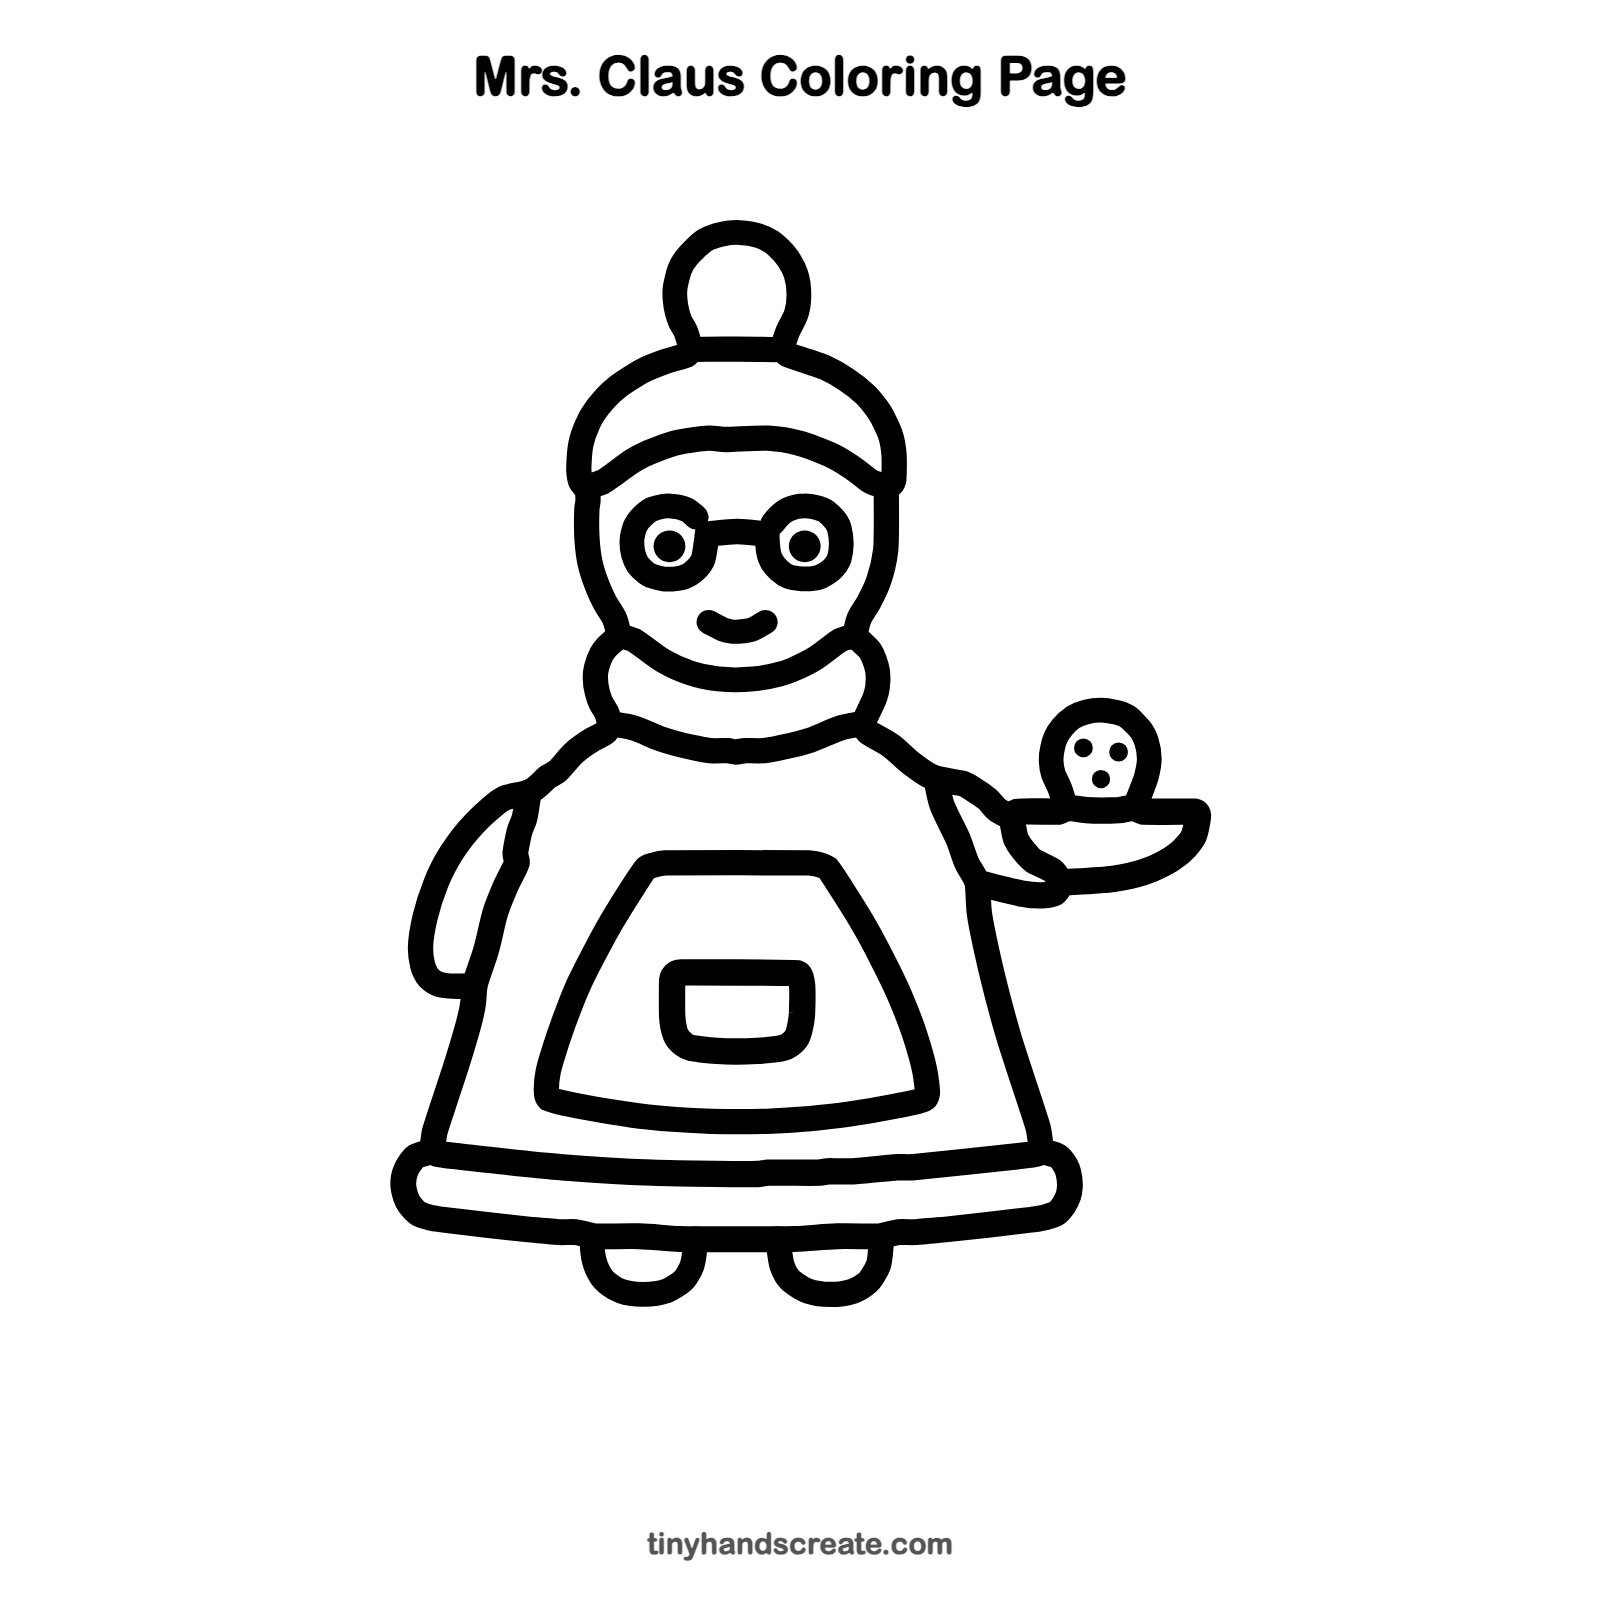
Want to go straight to coloring? Open this Mrs. Claus coloring page at full size and print it. It is the same drawing you just learned, with clean lines ready for crayons or markers.
How to color your Mrs. Claus drawing
Try a red hat, collar and dress with a white apron, and tan for the cookie with brown chips. For a twist, add colorful polka dots to the apron or a sprinkle of snow around her feet.
Mrs. Claus fun fact for kids
Mrs. Claus first appeared in stories in the 1800s, and in many Christmas tales she is shown baking cookies and helping Santa get ready for Christmas Eve.
Questions about drawing Mrs. Claus
What shapes do I need to draw Mrs. Claus?
You need an oval for the head, small circles for the glasses, pom-pom and cookie, a bell shape for the dress, and a trapezoid for the apron.
How do I make Mrs. Claus look cuter?
Keep the smile small and curved and make the head round and chunky. Round shapes make her look extra friendly.
How long does it take to draw Mrs. Claus?
Most kids finish in about 15 minutes. Take your time with the glasses and the dress shape.