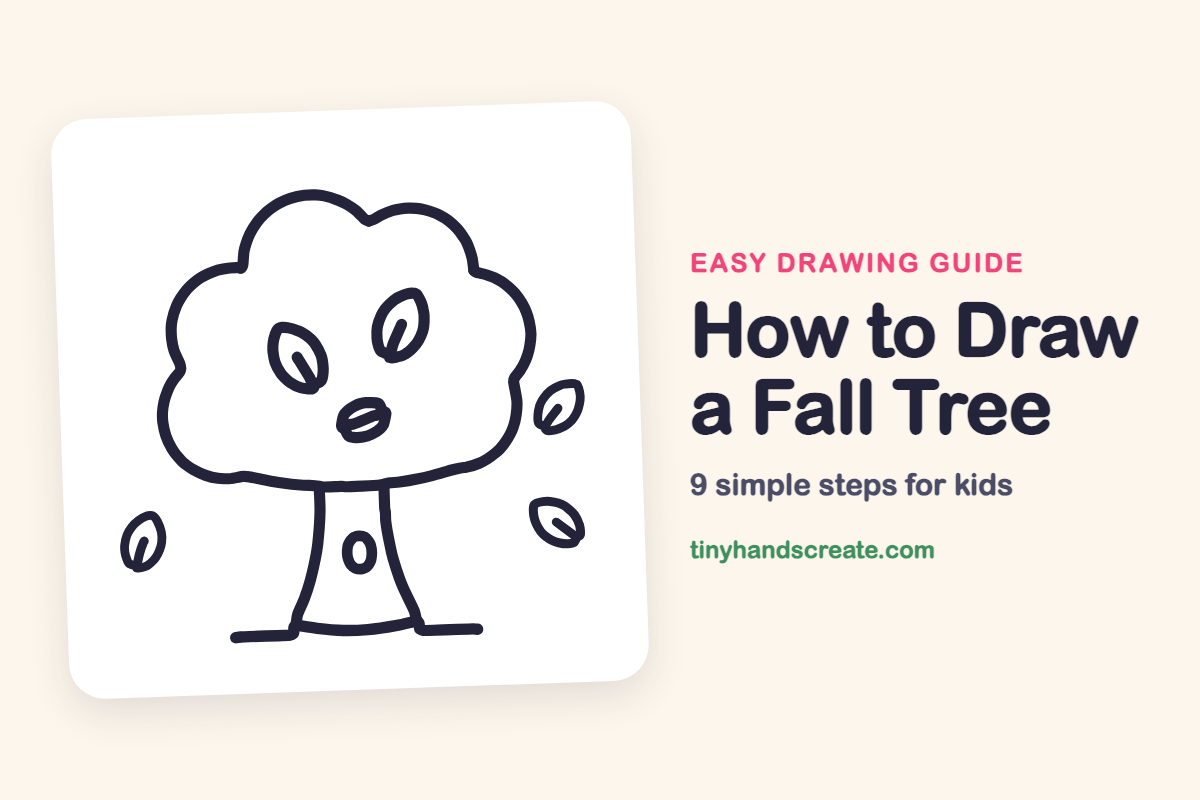
How to Draw a Fall Tree (Easy Step by Step)
A fall tree is a friendly drawing built from a few simple shapes: a puffy cloud for the leaves, a trunk that is wider at the bottom, and little pointy ovals for leaves. It is a great way to practice drawing curvy, bumpy lines.
- Easy
- 12 minutes
- 9 steps
You need: paper, a pencil, an eraser, and crayons or markers for coloring.
Start drawingIn this article (7 sections)
How to draw a fall tree step by step
How to Draw a Fall Tree · tinyhandscreate.com
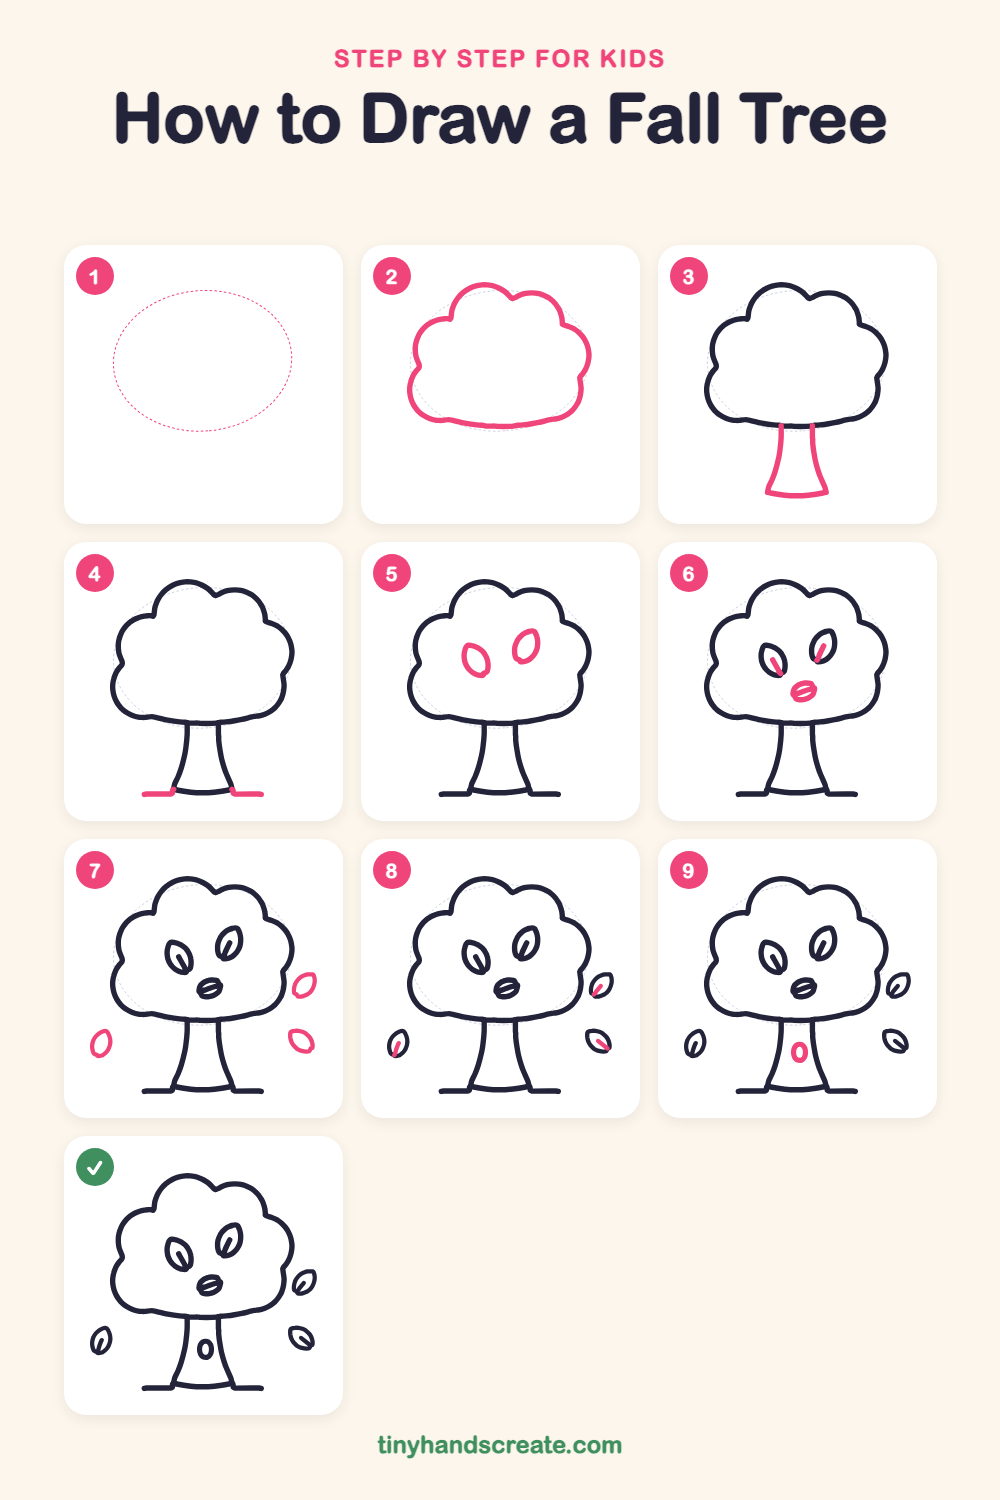
Step 1: Guide shapes
Lightly sketch this oval. It only shows where the big parts go, so press softly. You will erase it at the end.
Step 2: The leafy treetop
Draw a big, puffy cloud shape for the top of the tree, wider than it is tall. Make bumpy, rounded scallops all the way around and leave the bottom almost flat with a gentle curve.
Step 3: The trunk
Draw two lines going down from the bottom of the treetop, curving out a little wider at the bottom. Close the bottom with a gentle curve.
Step 4: The ground
Draw a short flat line on the left and another on the right, each touching a bottom corner of the trunk, so the tree stands on the ground.
Step 5: Two leaves
Inside the treetop, draw two pointy ovals side by side, each tilted a little, like two lemons with pointed tips.
Step 6: Veins and a small leaf
Draw a short line inside each of the two leaves, starting at an edge and pointing toward the middle. Then, below and between them, draw a small, round leaf lying on its side with a curved line across the middle.
Step 7: Falling leaves
Outside the tree, draw three small pointy ovals floating in the air: one high on the right, one low on the left, and one low on the right.
Step 8: Falling leaf veins
Add a short line inside each falling leaf, starting near one tip and pointing toward the middle.
Step 9: The knot hole
Draw a small tall oval in the middle of the trunk for a knot hole.
All done!
Erase the guide shapes, go over your lines, then color it in.
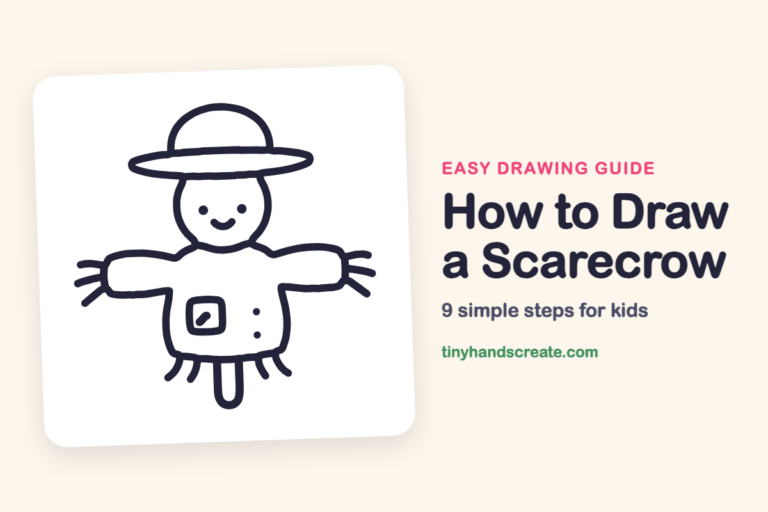
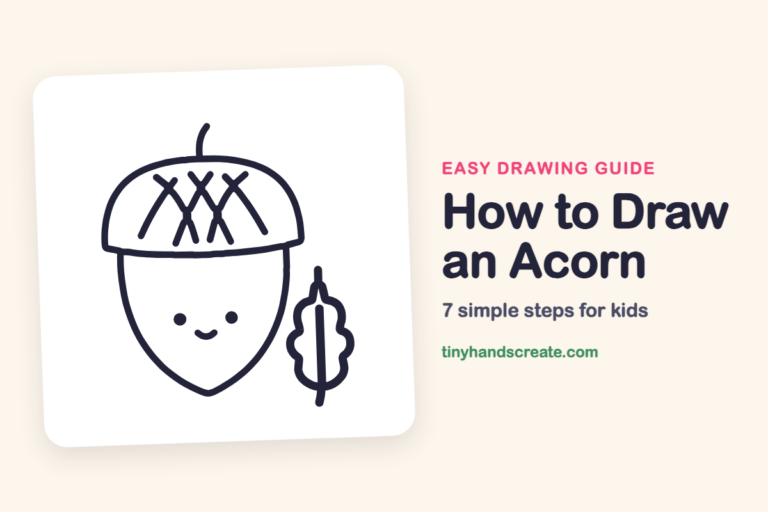
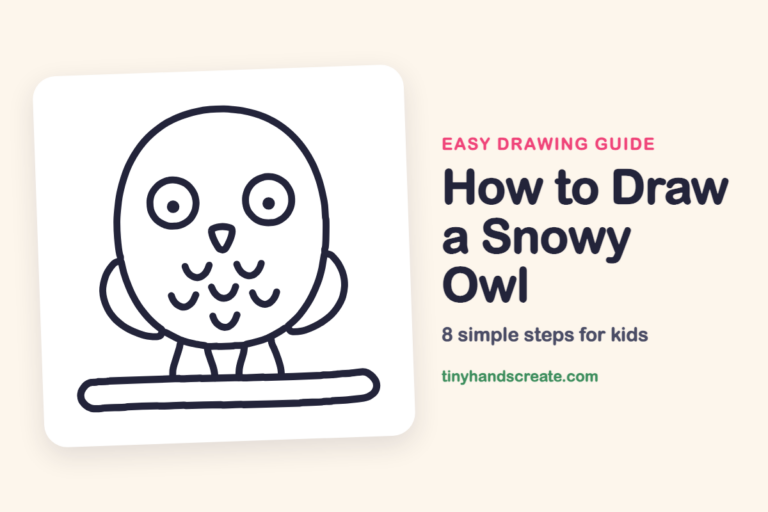
Finished your fall tree? Keep the pencils out and learn how to draw an owl or how to draw a scarecrow next.
Tips for drawing a fall tree
- Make the bumps on the treetop different sizes so it looks natural.
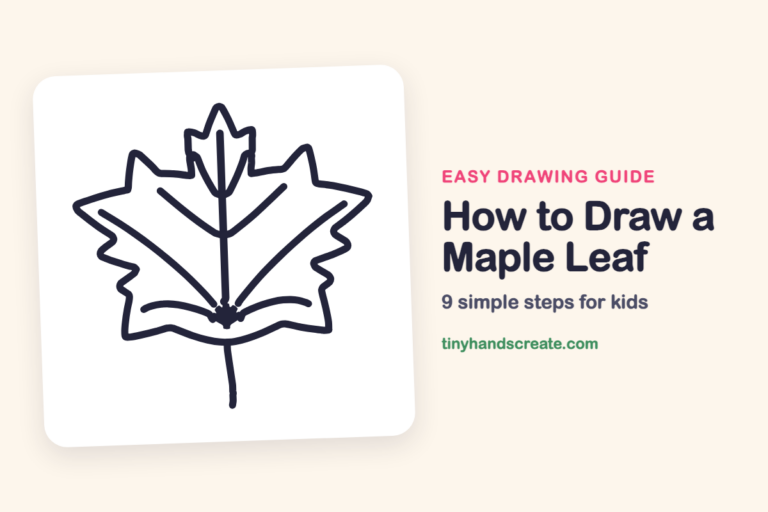
- Draw each leaf as two curved lines that meet at a point at both ends, like a lemon. Start with the two tips and curve the sides between them.
- Let the trunk get wider at the bottom. Draw both sides one after the other and check that they match.
Free fall tree coloring page
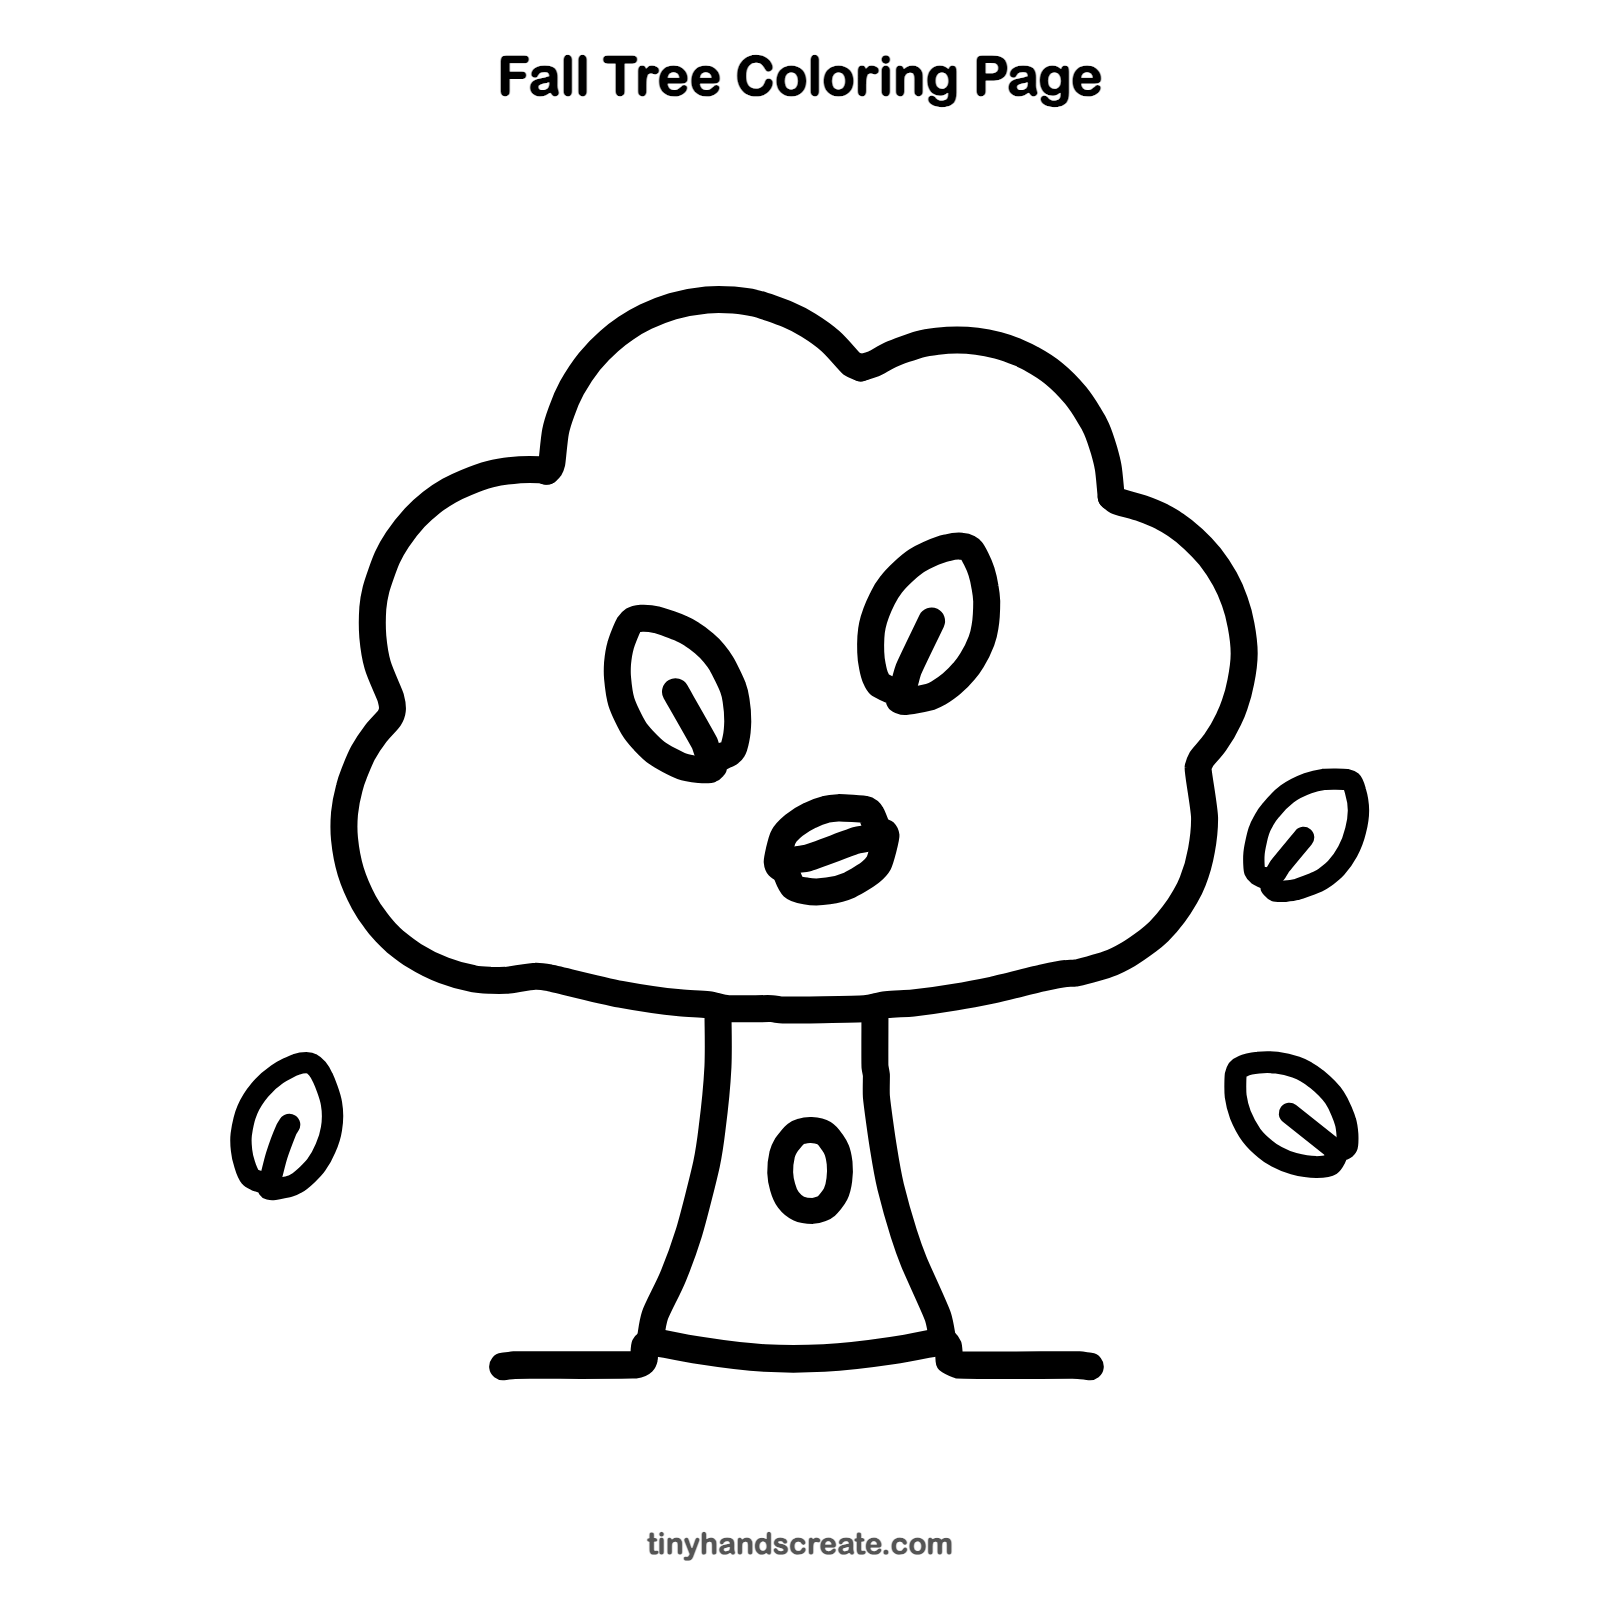
Want to go straight to coloring? Open this fall tree coloring page at full size and print it. It is the same drawing you just learned, with clean lines ready for crayons or markers.
How to color your fall tree drawing
Color the treetop in fall shades like orange, red, and yellow, and the trunk in brown. For a creative twist, make every leaf a different color.
Fall tree fun fact for kids
Leaves turn yellow, orange, and red in fall because trees stop making green chlorophyll. The yellow and orange colors were hiding under the green all summer.
Questions about drawing a fall tree
What shapes do I need to draw a fall tree?
You need a puffy cloud shape for the treetop, a trunk that is wider at the bottom, and pointy ovals for the leaves. A small tall oval makes the knot hole.
How do I draw a leaf that looks right?
Make a pointy oval like a lemon, then add a short line inside starting near one tip. That line looks like the main vein.
How do I make my fall tree look more special?
Add more falling leaves around the tree, and color each one a different fall color.