How to Draw a Queen Bee (Easy Step by Step)
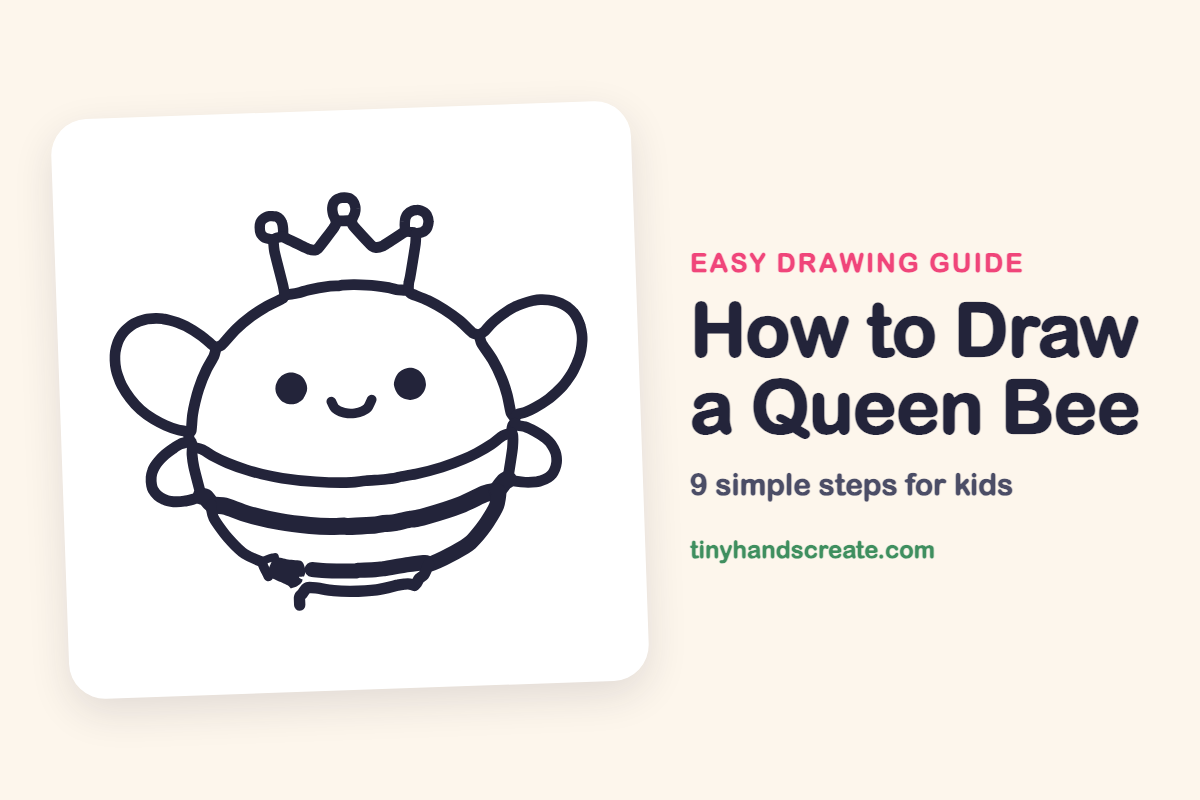
A queen bee is a fun drawing because she wears a tiny crown and has a happy smile. She is built from simple shapes: one big round body, ovals for the wings, and a zigzag for the crown. Once you can draw a curve, you are almost done.
- Easy
- 15 minutes
- 9 steps
You need: paper, a pencil, an eraser, and crayons or markers for coloring.
Start drawing


In this article (7 sections)
How to draw a queen bee step by step
How to Draw a Queen Bee · tinyhandscreate.com
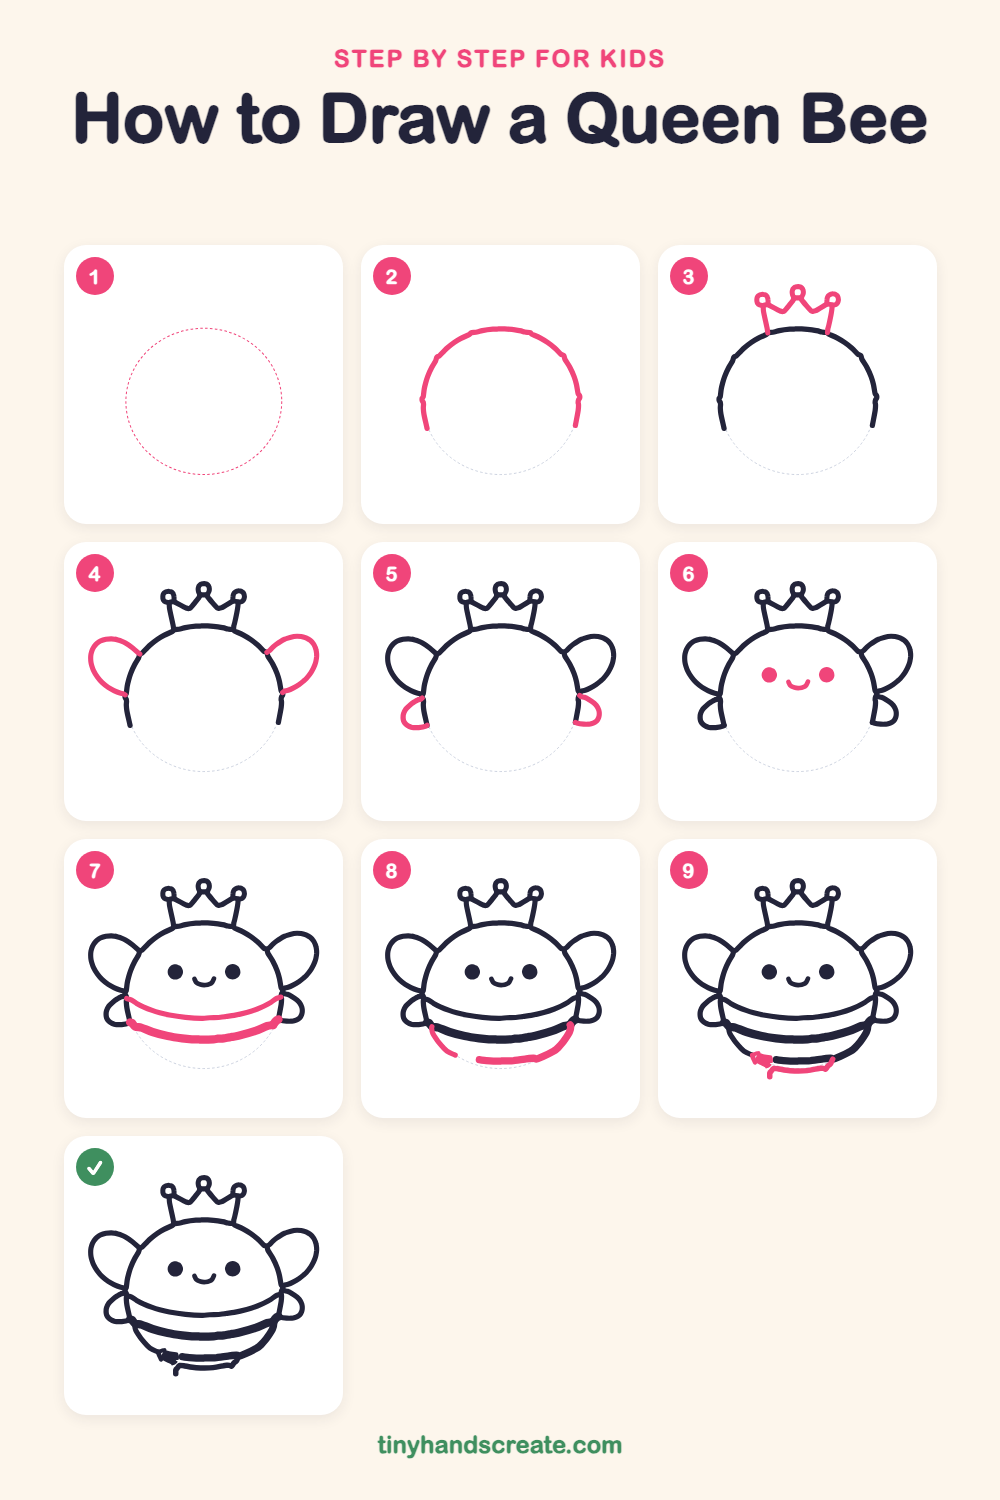
Step 1: Guide shapes
Lightly sketch this oval. It only shows where the big parts go, so press softly. You will erase it at the end.
Step 2: The top of the body
Draw a big curved line like a rainbow for the top of the bee's round body. Start low on the left, curve up and over, and stop low on the right, leaving the bottom open.
Step 3: The crown
On top of the body, draw a zigzag with three points, like a tiny mountain range. Add a small circle at the top of each point and two short lines that join the crown to the head.
Step 4: The big wings
On each side of the head, draw a big oval wing that tucks in behind the body. Start on the body, loop outward and up, and come back to touch the body again.
Step 5: The small wings
Lower down on each side, draw a smaller rounded wing that sticks out from the body. Make each one a little loop, like a mitten, touching the body at both ends.
Step 6: The happy face
Draw two round dots for eyes, with plenty of space between them. Then draw a small smile that curves like a bowl in the middle, just below the eyes.
Step 7: The first stripes
Draw a long, gently curved line across the middle of the body, like a smile. Under it, draw a thicker curved line that runs the same way, so the two lines make a stripe from one side of the body to the other.
Step 8: The round tummy
Finish the bottom of the body with a curve down each side. Connect the right curve to a short line along the bottom of the tummy.
Step 9: The bottom stripe
Near the bottom of the tummy, draw one short curved line under the last stripe. Add a tiny little squiggle at its left end.
All done!
Erase the guide shapes, go over your lines, then color it in.
Finished your queen bee? Keep the pencils out and learn how to draw a fox or how to draw a hedgehog next.
Tips for drawing a queen bee
- Draw the round body lightly. If it comes out a bit wobbly, that is fine, because a plump, squishy bee looks even cuter.
- The crown is the trickiest part. Draw the zigzag first, then add the three little circles on top and the two side lines last.
- Draw the stripes as curves that bend like a smile, not straight lines. That makes the body look round instead of flat.
Free queen bee coloring page
Want to go straight to coloring? Open this queen bee coloring page at full size and print it. It is the same drawing you just learned, with clean lines ready for crayons or markers.
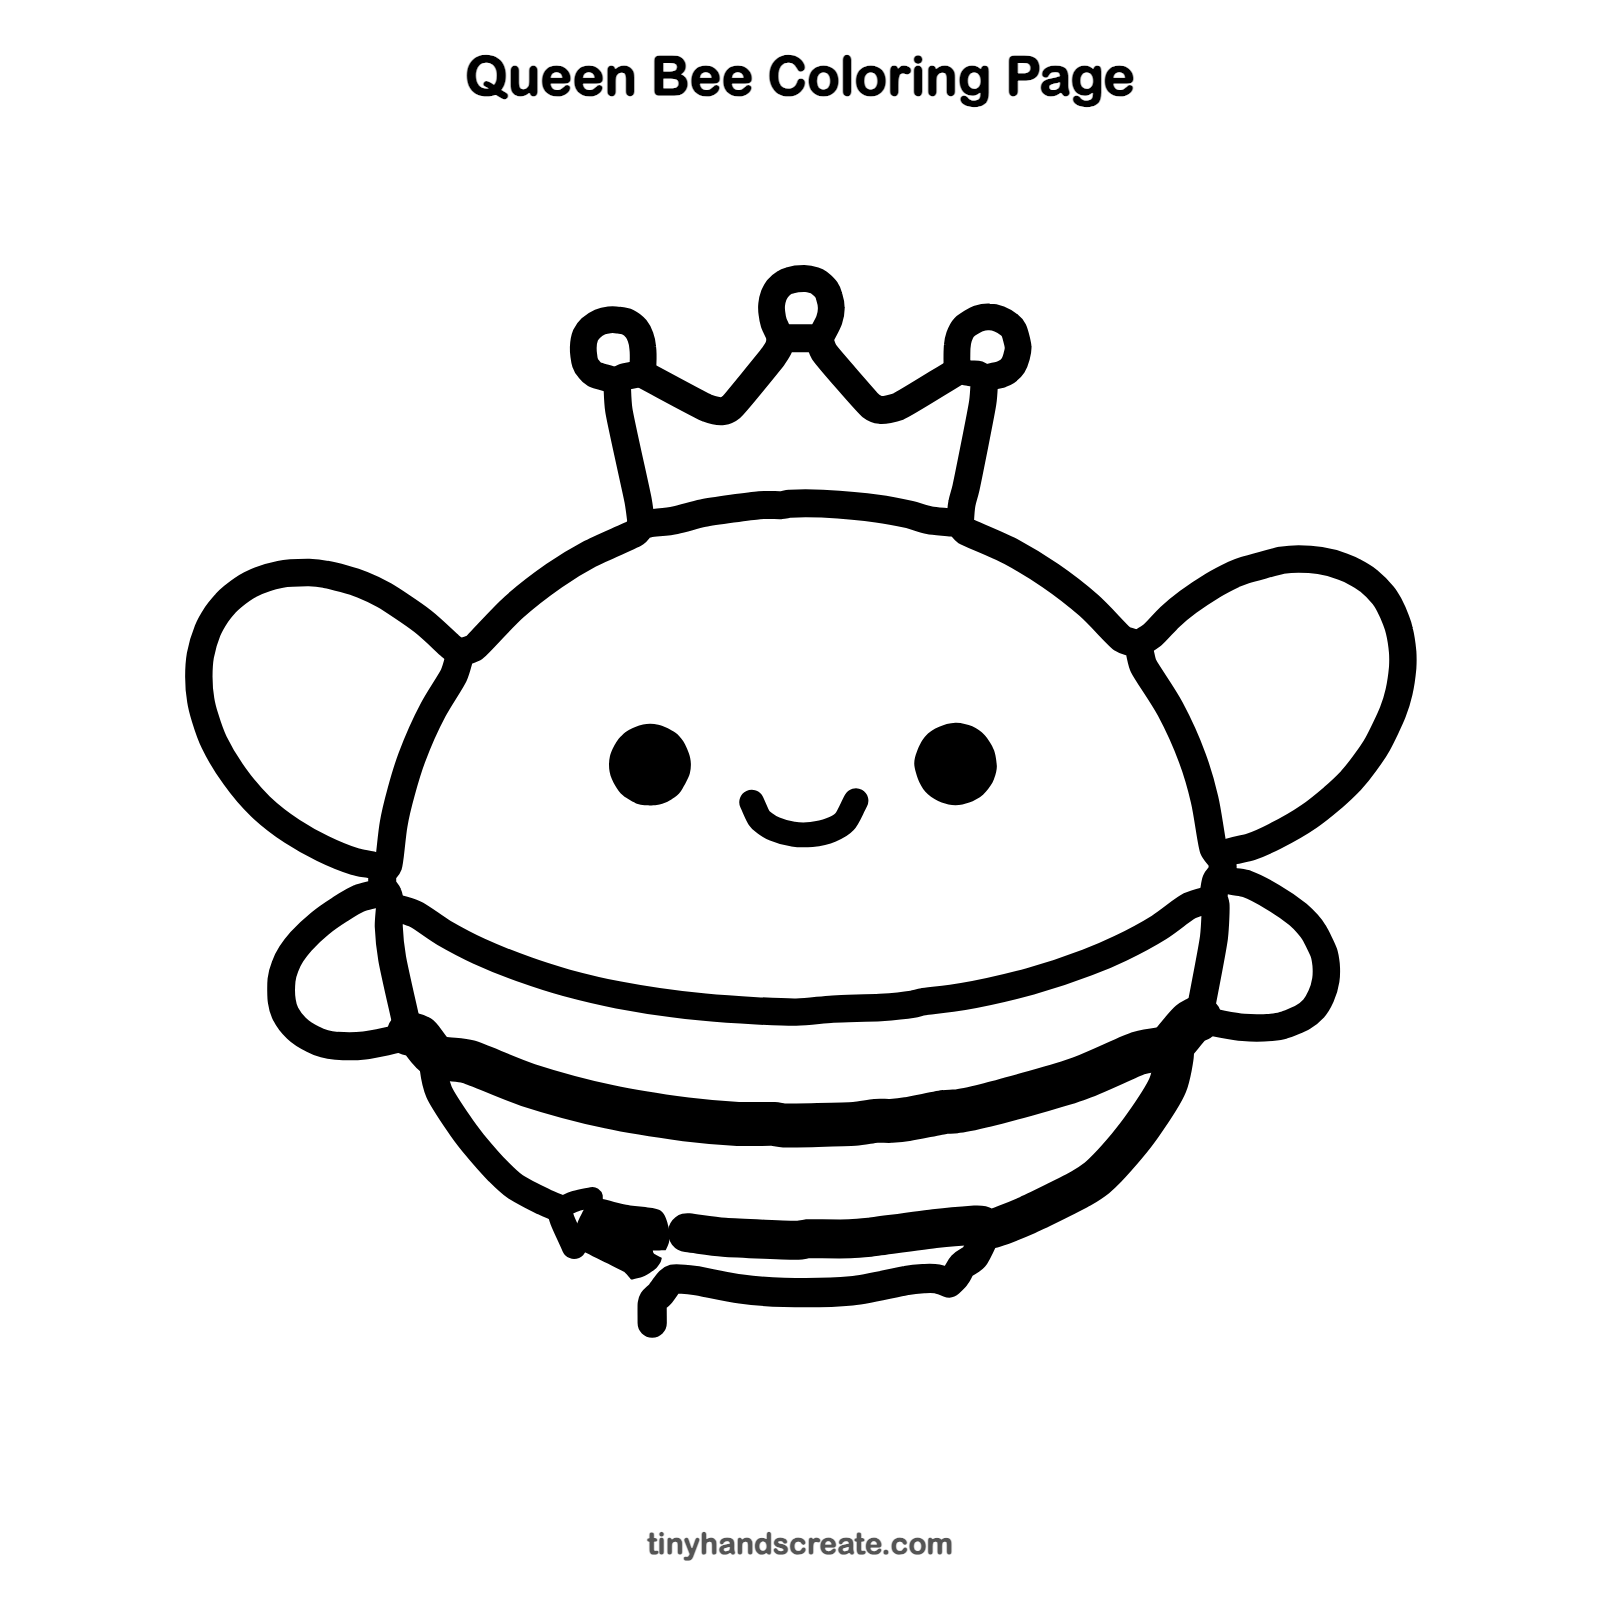
How to color your queen bee drawing
Color the stripes yellow and black, the wings light blue, and the crown gold. For a creative twist, color the three little circles on the crown in three different colors like jewels.
Queen bee fun fact for kids
Every honey bee hive has just one queen, and she can lay more than a thousand eggs in a single day. The worker bees feed her and take care of her.
Questions about drawing a queen bee
What shapes do I need to draw a queen bee?
You need a big round shape for the body, two large ovals and two small loops for the wings, and a zigzag line with three small circles for the crown. Two dots and a curve make the face.
How do I make my queen bee look cuter?
Put the eyes wide apart and keep the smile small. Make the body extra round and the wings big and loopy.
How do I draw the stripes so they look round?
Curve each stripe line downward in the middle, following the shape of the body. Lines that bend like a smile make the tummy look round.