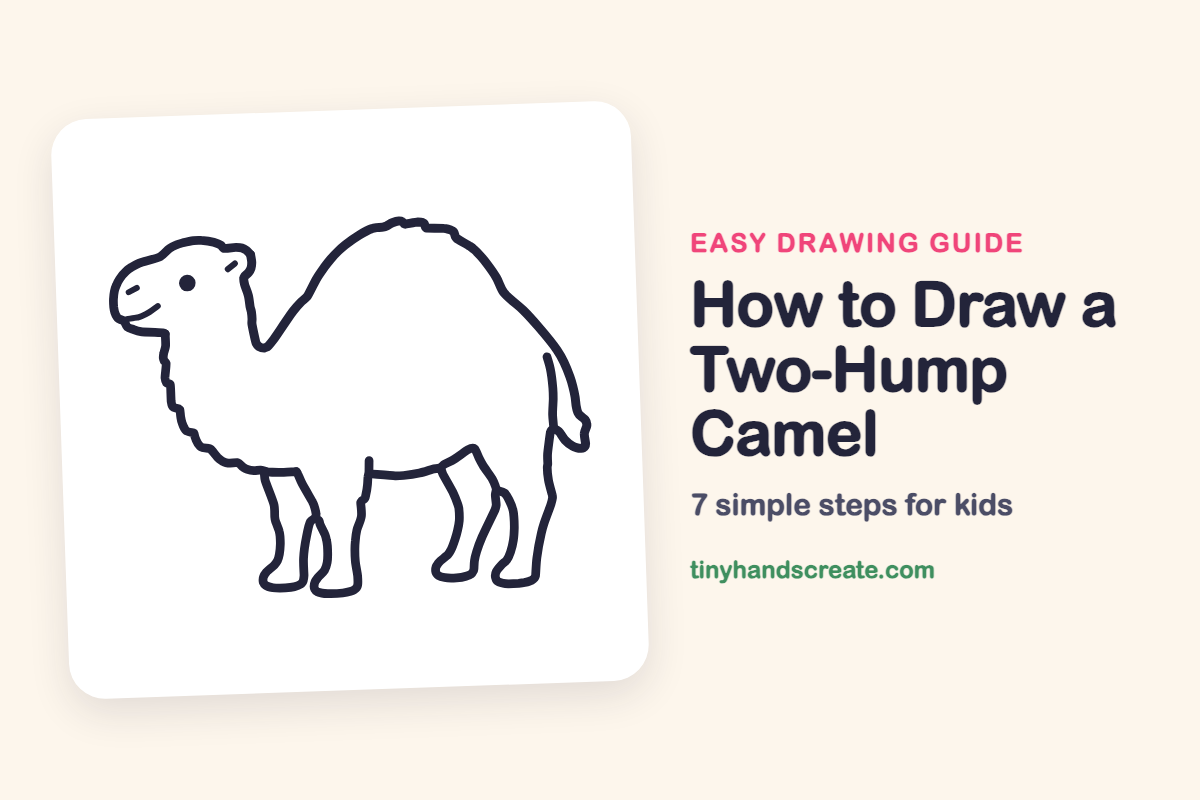
How to Draw a Two-Hump Camel (Easy Step by Step)
This easy step-by-step guide teaches you how to draw a two-hump camel using simple curves for its body parts like the hump, head, neck, and legs. You'll learn to add details like a smile and eye to make your camel friendly.
- Start your camel drawing with big, simple curves.
- Form a large hump, a rounded head, and a shaggy neck.
- Draw four bendy legs and finish them with round feet.
- Add a tiny smile and a round eye to make your camel friendly.
This post contains affiliate links. As an Amazon Associate I earn from qualifying purchases.
A camel is a great first animal because it is mostly big, simple curves. You will draw a big hump, a rounded head, a shaggy neck, and four bendy legs with round feet. A tiny smile and a round eye make it look friendly.
- Medium
- 15 minutes
- 7 steps
You need: paper, a pencil, an eraser, and crayons or markers for coloring.
Start drawing


In this article (7 sections)
How to draw a two-hump camel step by step
How to Draw a Two-Hump Camel · tinyhandscreate.com
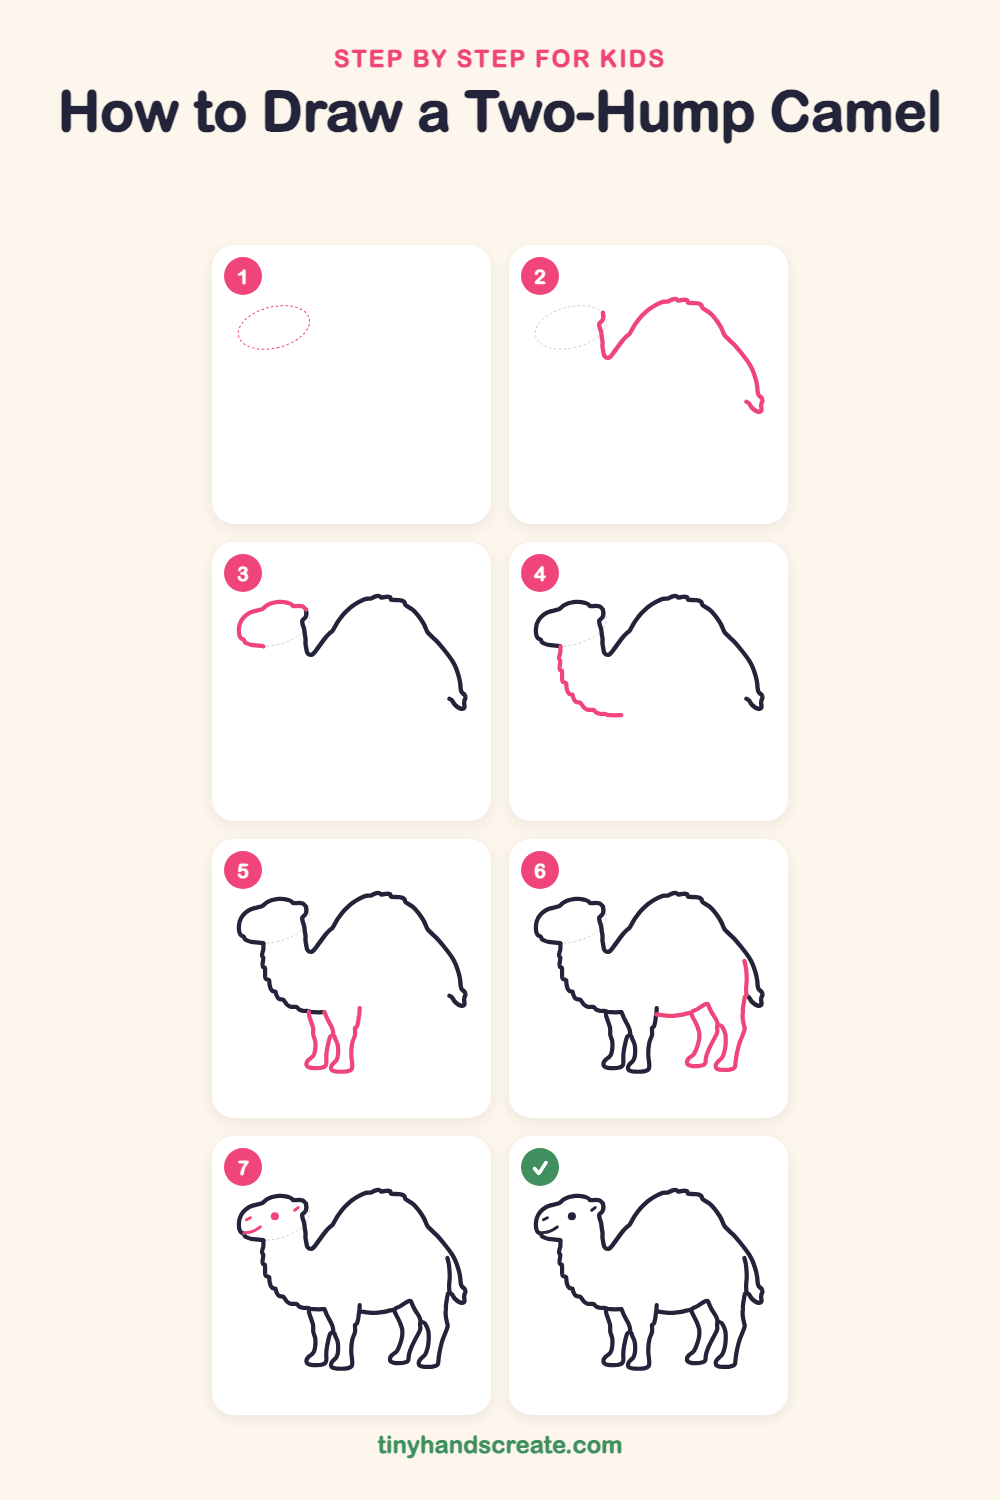
Step 1: Guide shapes
Lightly sketch this oval. It only shows where the big parts go, so press softly. You will erase it at the end.
Step 2: Back and hump
Start near where the head will go and draw a short line that dips down. Then curve up into a big, round hump and sweep the line down to the rump, ending with a tiny curl for the tail.
Step 3: The head
On the left, draw a rounded head shape with a flat, friendly nose at the front. Add a small bump at the top right for the ear and finish with a curve underneath for the chin.
Step 4: The fluffy neck
Start at the chin and draw a wavy, bumpy line down to show shaggy fur. Let it curve at the bottom and head to the right, toward the belly.
Step 5: Front legs
Draw two long legs going down from the bottom of the neck. Give each one a wide, round foot, and let the back leg peek out behind the front one.
Step 6: Belly and back legs
Draw a gentle curve for the belly, from the front legs toward the back. Add two more legs with round feet, and draw a long line down the back of the rump to the last foot.
Step 7: Face details
Add a round dot for the eye, a small dash for the nostril, and a short curved smile under the nose. Draw a little line inside the ear.
All done!
Erase the guide shapes, go over your lines, then color it in.
Finished your two-hump camel? Keep the pencils out and learn how to draw a fox or how to draw a hedgehog next.
Tips for drawing a two-hump camel
- Draw the back as one smooth, flowing line so the hump looks round and the rump slopes down gently.
- The legs are the trickiest part. Draw the front pair first, and let one overlap the other so they look like they are walking.
- For the fluffy neck, make small wavy bumps instead of a smooth line. Keep them short and similar in size.
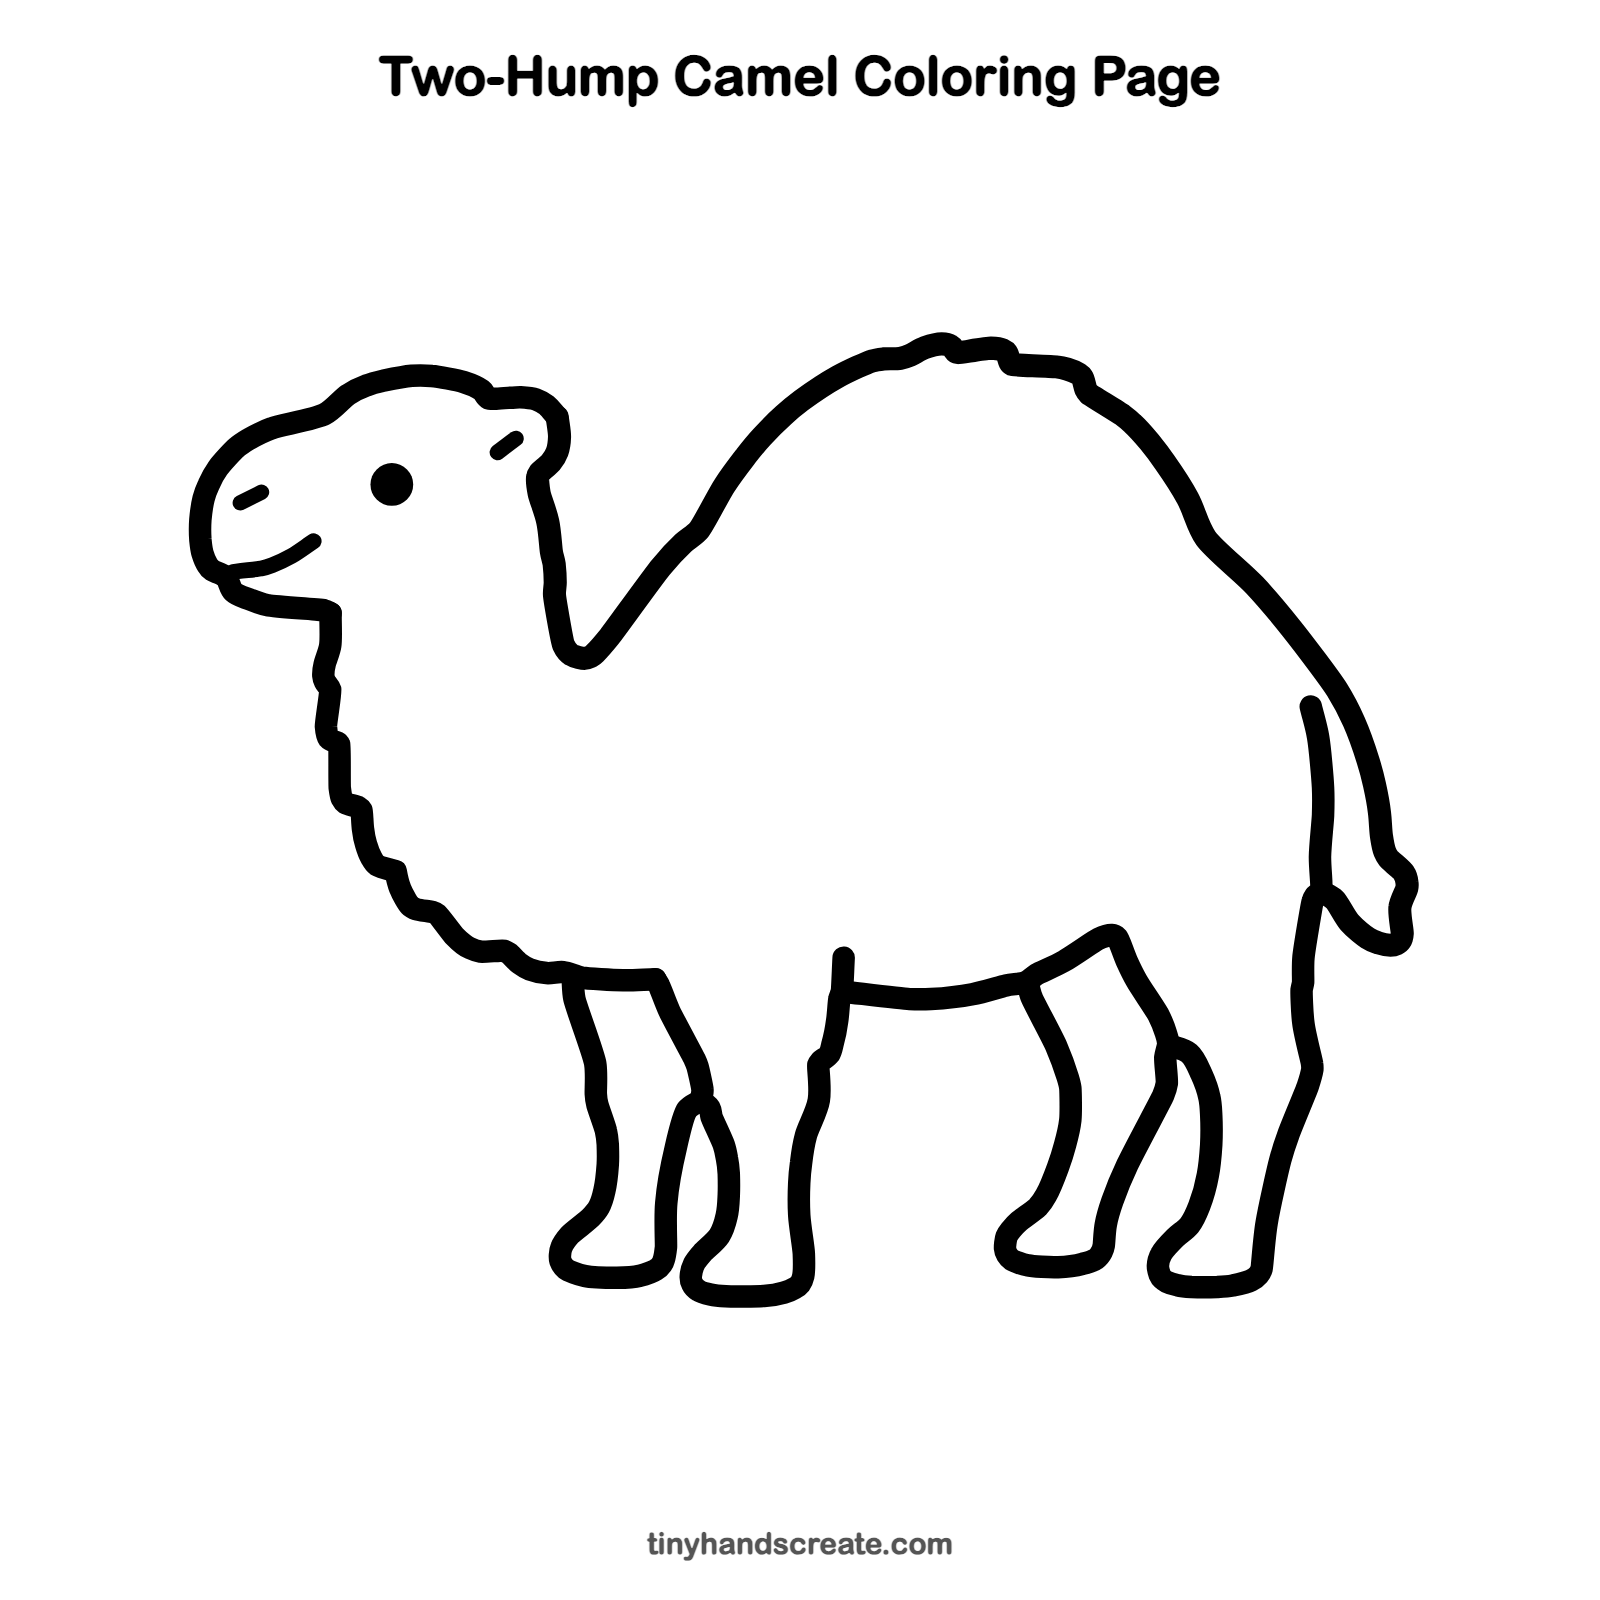
Free two-hump camel coloring page
Want to go straight to coloring? Open this two-hump camel coloring page at full size and print it. It is the same drawing you just learned, with clean lines ready for crayons or markers.
How to color your two-hump camel drawing
Try sandy tan and light brown for the body, with darker brown on the hump and neck fur. For a creative twist, give the camel a bright striped blanket and a desert sunset behind it.
Two-hump camel fun fact for kids
Two-hump camels are called Bactrian camels. Their humps store fat, not water, and the camel can live off that fat when food is hard to find.
Questions about drawing a two-hump camel
What shapes do I need to draw a camel?
You need a big curved line for the back and hump, a rounded shape for the head, and long, bendy shapes for the legs. Add small rounded shapes for the feet.
How do I make my camel look cuter?
Give it a round eye and a curved smile. Make the head a little rounder and the neck fur extra fluffy.
How do I draw the legs so they look natural?
Draw the legs a little wider at the top and bend them slightly. Let one front leg overlap the other so the camel looks like it is walking.