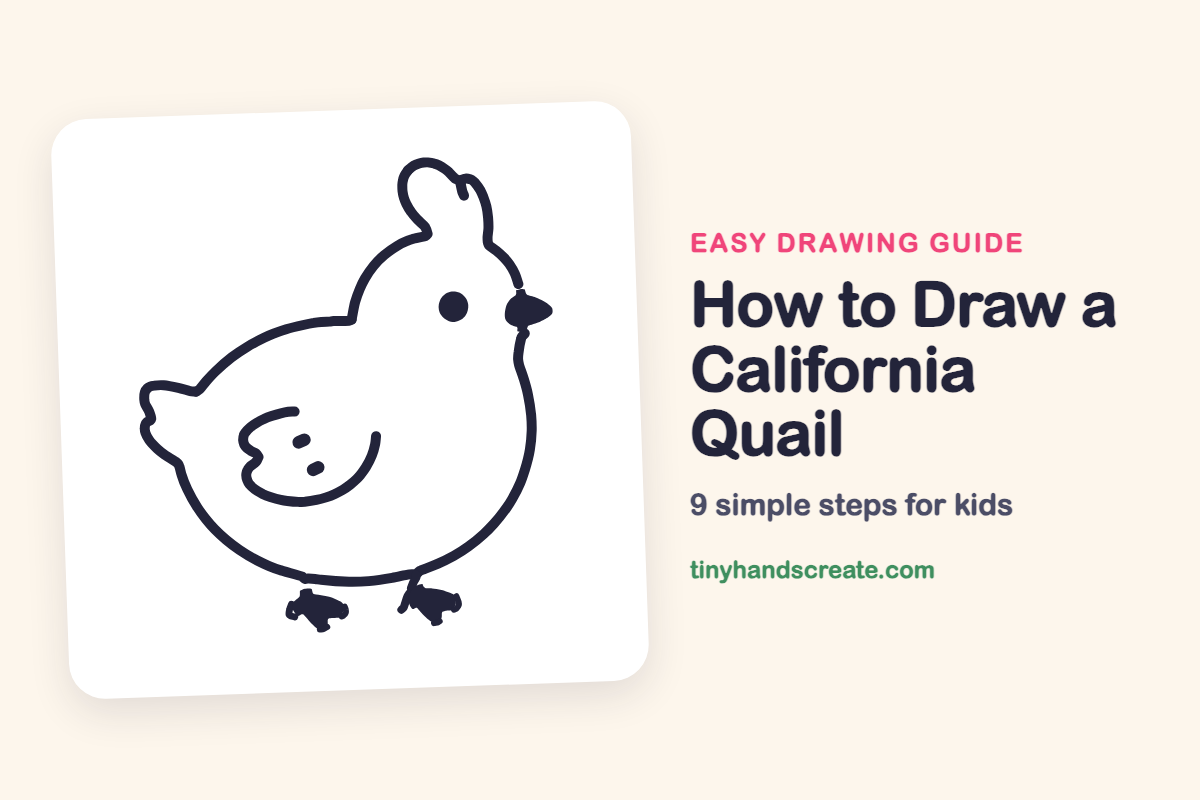
How to Draw a California Quail (Easy Step by Step)
Learn how to draw a California quail with this easy step-by-step guide. You'll discover how to capture its distinctive curly feather, round body, and swoopy head, making it a perfect first bird drawing for beginners.
- You can easily draw a California quail, perfect for beginners.
- Focus on its distinctive curly head feather.
- Start with a big round body and a swoopy head.
- Add small details to bring your quail to life.
This post contains affiliate links. As an Amazon Associate I earn from qualifying purchases.
The California quail is a plump little bird with a curly feather on top of its head, and that plume makes it fun to draw. You only need a big round body, a swoopy head, and a few tiny details. It is a great first bird for beginners.
- Easy
- 12 minutes
- 9 steps
You need: paper, a pencil, an eraser, and crayons or markers for coloring.
Start drawing


In this article (7 sections)
How to draw a California quail step by step
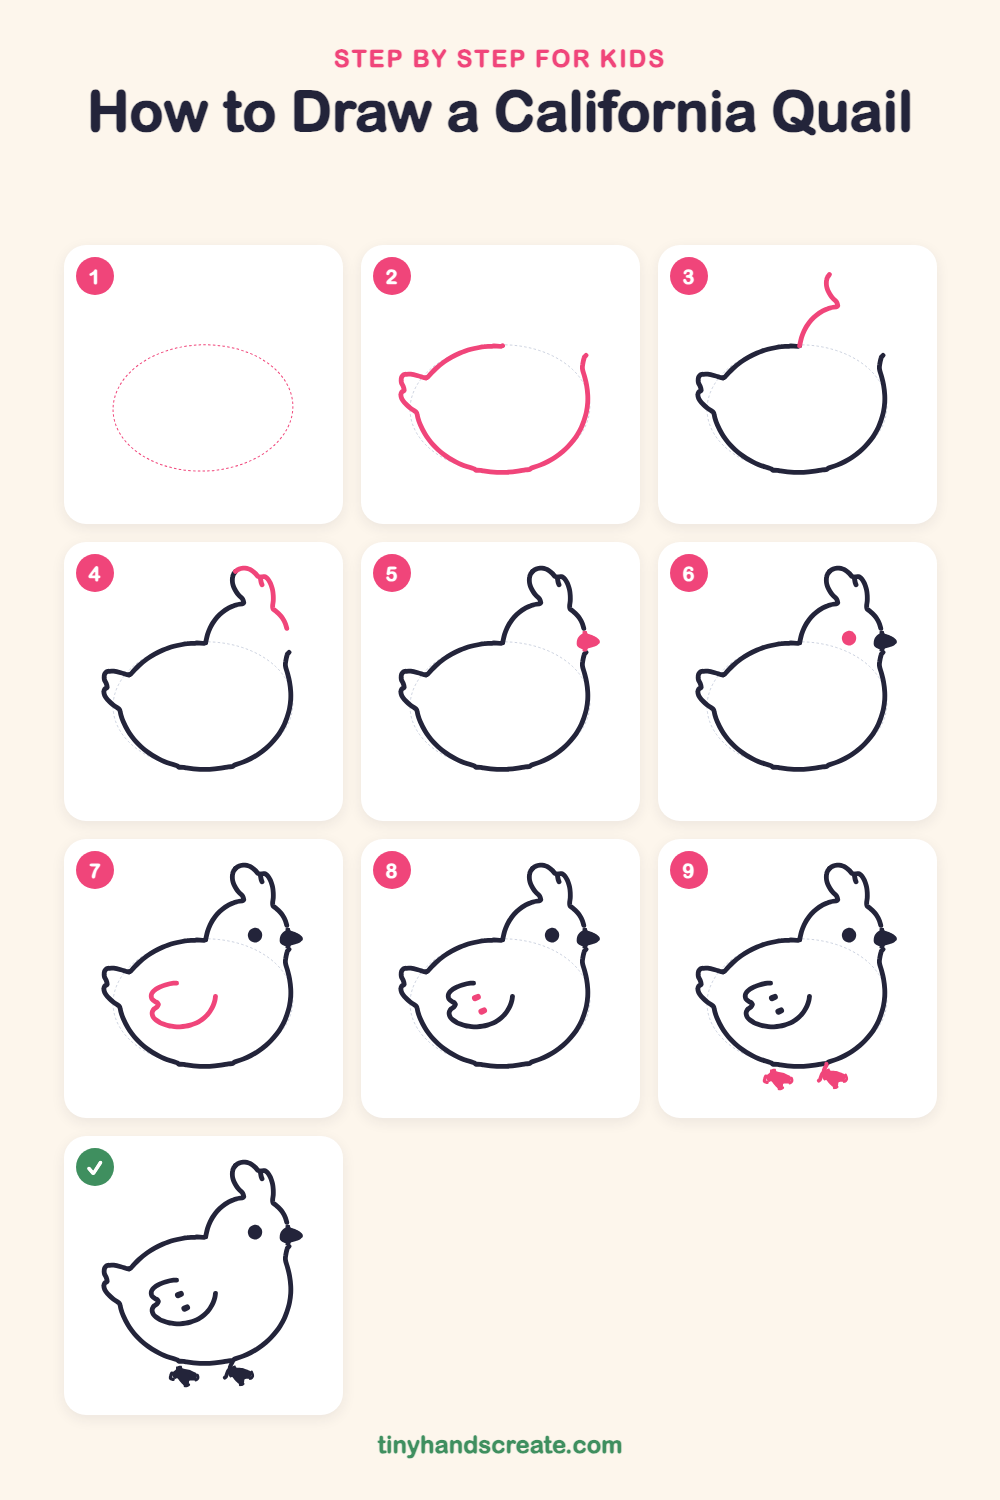
How to Draw a California Quail · tinyhandscreate.com
Step 1: Guide shapes
Lightly sketch this oval. It only shows where the big parts go, so press softly. You will erase it at the end.
Step 2: Body and tail
Draw a big round body like an egg lying on its side, with a small pointy tail on the left that has a wavy edge. Leave the top open from the middle to the right side, because the head will go there.
Step 3: Back of the head
Start at the open top of the body, near the middle. Draw a curved line that swoops up and to the right, then give it a little wiggle at the top.
Step 4: Plume and face
At the top of that line, draw a rounded, curly bump for the feather plume. From the plume, draw a line that curves down on the right to the front of the face.
Step 5: The beak
At the front of the face, on the right, draw a small triangle that points to the right. Fill it in dark.
Step 6: The eye
Draw one round dot in the middle of the head, a bit back from the beak. Fill it in dark.
Step 7: The wing
In the middle of the body, draw a curved shape like a smile, with a wavy end on the left. It looks like a little wing resting on the side.
Step 8: Wing spots
Inside the wing, add two tiny dots near the left end, one above the other. Fill them in dark.
Step 9: The little feet
Under the body, draw two small feet a little apart. Give each one a few short toes, like tiny claws.
All done!
Erase the guide shapes, go over your lines, then color it in.
Finished your California quail? Keep the pencils out and learn how to draw a fox or how to draw a hedgehog next.
Tips for drawing a California quail
- Draw the body oval first and keep it light. The tail and head attach to it, so a good round body makes everything else easier.
- The curly plume is the trickiest part. Think of a little rounded bump that leans forward, and draw it slowly in one smooth line.
- Keep the feet small and simple. Two little feet with a few short toes is all you need.
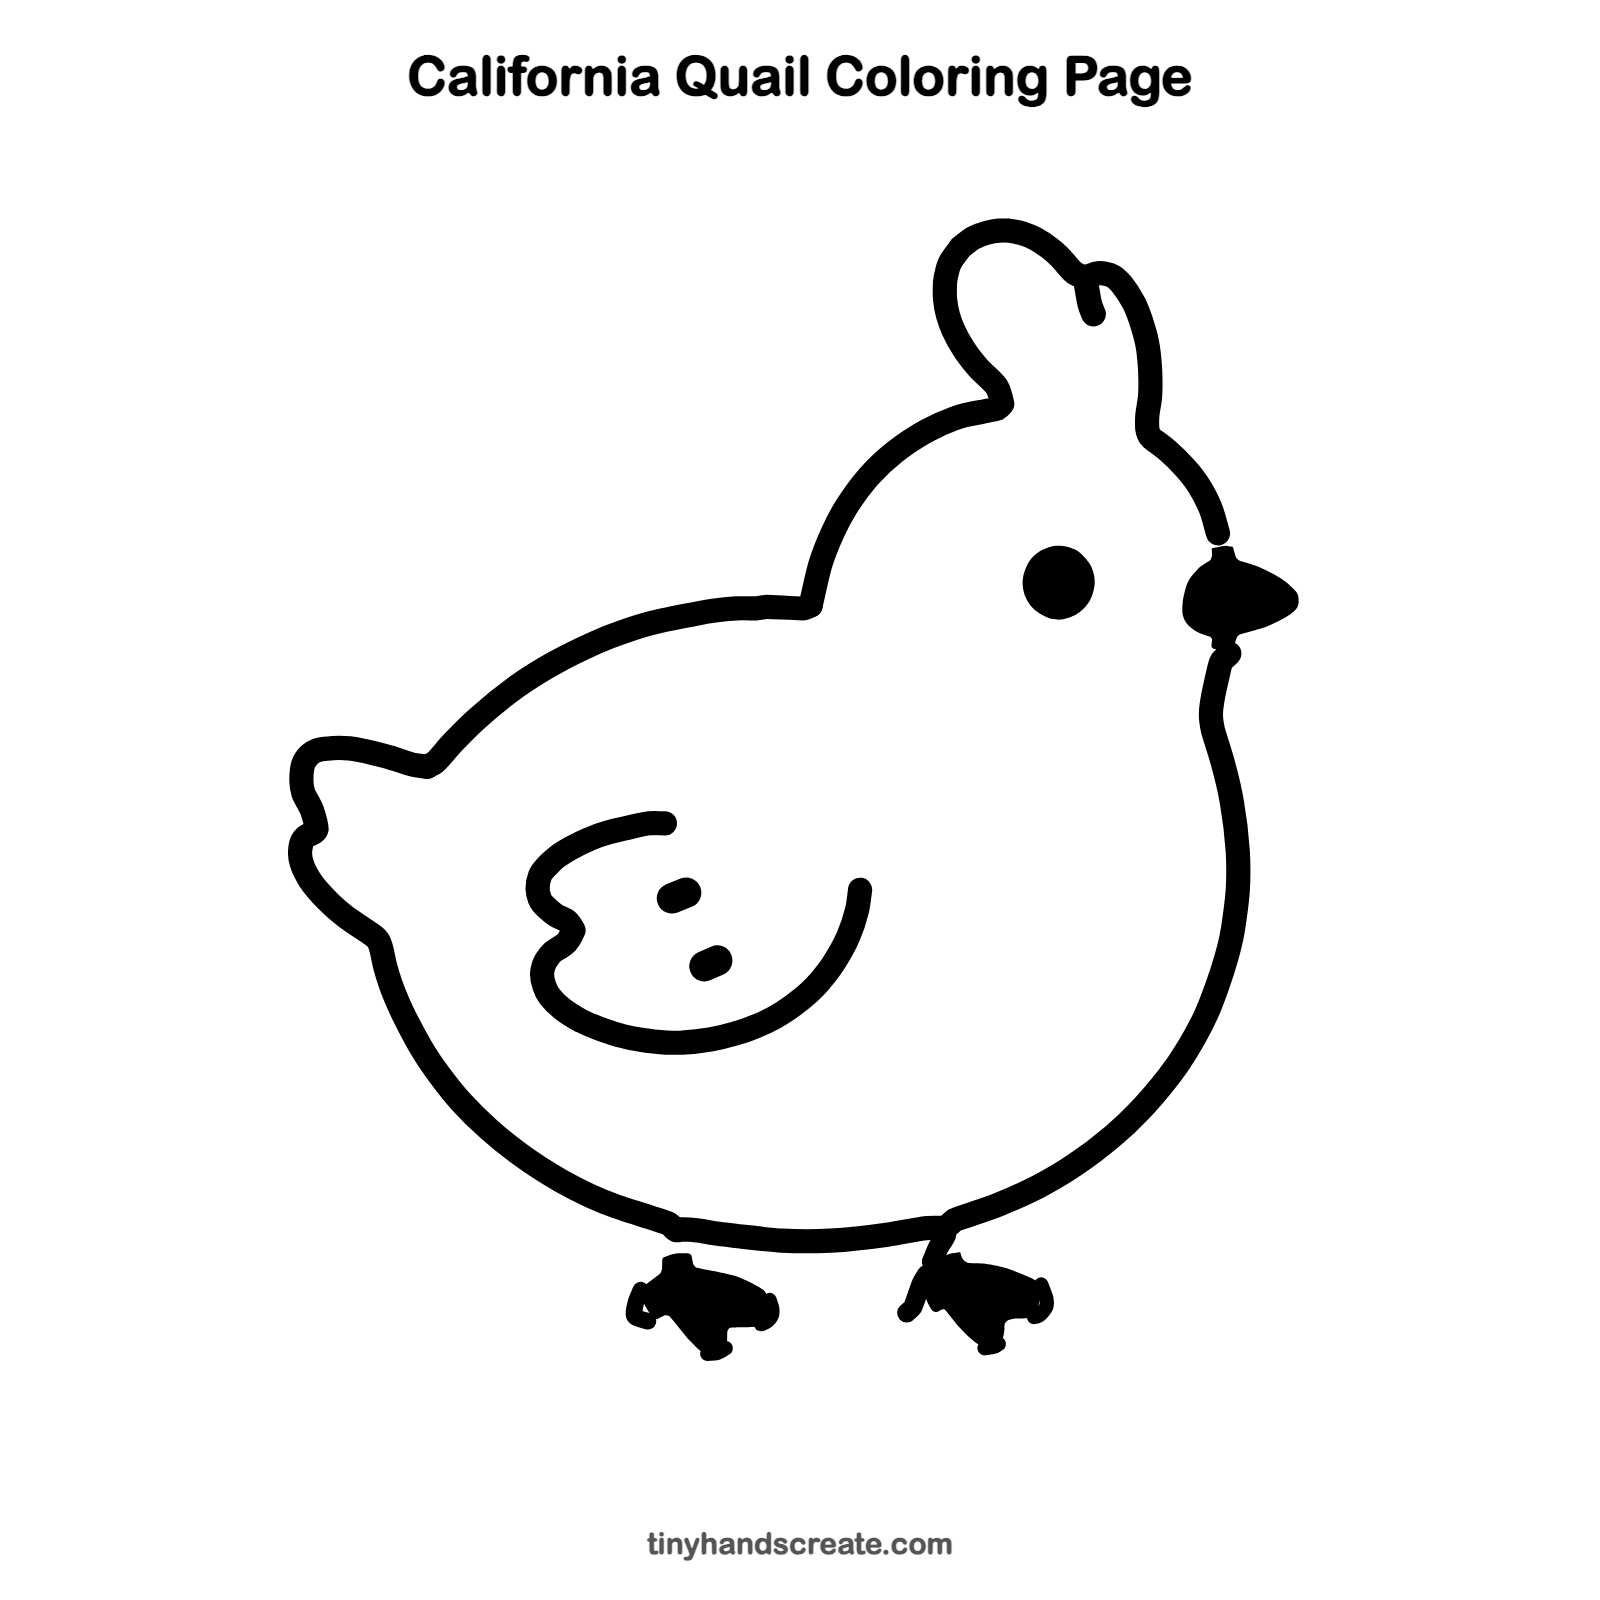
Free California quail coloring page
Want to go straight to coloring? Open this California quail coloring page at full size and print it. It is the same drawing you just learned, with clean lines ready for crayons or markers.
How to color your California quail drawing
Try soft grays and browns for the body, with a rusty brown wing and a dark plume. For a creative twist, give your quail a rainbow topknot or put it in a sunny meadow of flowers.
California quail fun fact for kids
The curly feather on a California quail's head is called a plume, or topknot. Quail often run along the ground in groups instead of flying, and a group of quail is called a covey.
Questions about drawing a California quail
What shapes do I need to draw a California quail?
Start with a big round body and a small pointy tail. Then add a swoopy head with a curly plume, a small triangle for the beak, and little dots for the eye and wing spots.
How do I make my quail look cuter?
Make the body extra round and the eye a big dark dot. A curlier plume and tiny feet also make it look sweeter.
How do I draw the quail's head feather?
Draw a rounded, curly bump on top of the head that leans forward. Practice it on scrap paper first, then add it to your bird.