How to Draw a Turnip (Easy Step by Step)
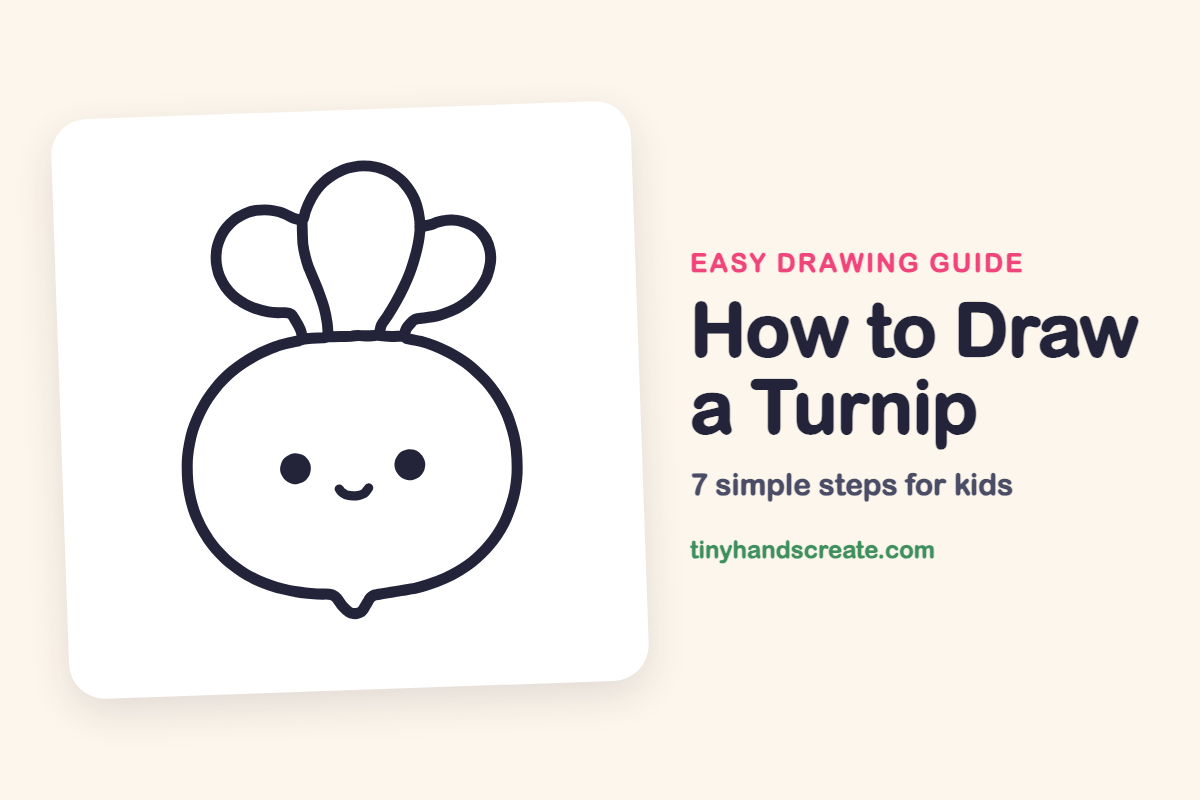
Learn how to draw a cute turnip easily using simple shapes like a wide oval, three leaf shapes, and dots. You can finish your drawing in minutes and give it your own silly personality.
- Start your turnip drawing with a wide oval for its body.
- Add three simple leaf shapes to the top of the turnip.
- Give your turnip a cute face using two dots and a small curve for a smile.
- Finish your drawing quickly and add your own unique personality.
This post contains affiliate links. As an Amazon Associate I earn from qualifying purchases.
A turnip is a great first vegetable to draw because it is just a big round body with a few leaves on top. This cute version uses a wide oval, three leaf shapes, two dots, and one little curve for a smile. You can finish it in a few minutes and give it your own silly personality.
- Easy
- 8 minutes
- 7 steps
You need: paper, a pencil, an eraser, and crayons or markers for coloring.
Start drawing
In this article (7 sections)
How to draw a turnip step by step
How to Draw a Turnip · tinyhandscreate.com
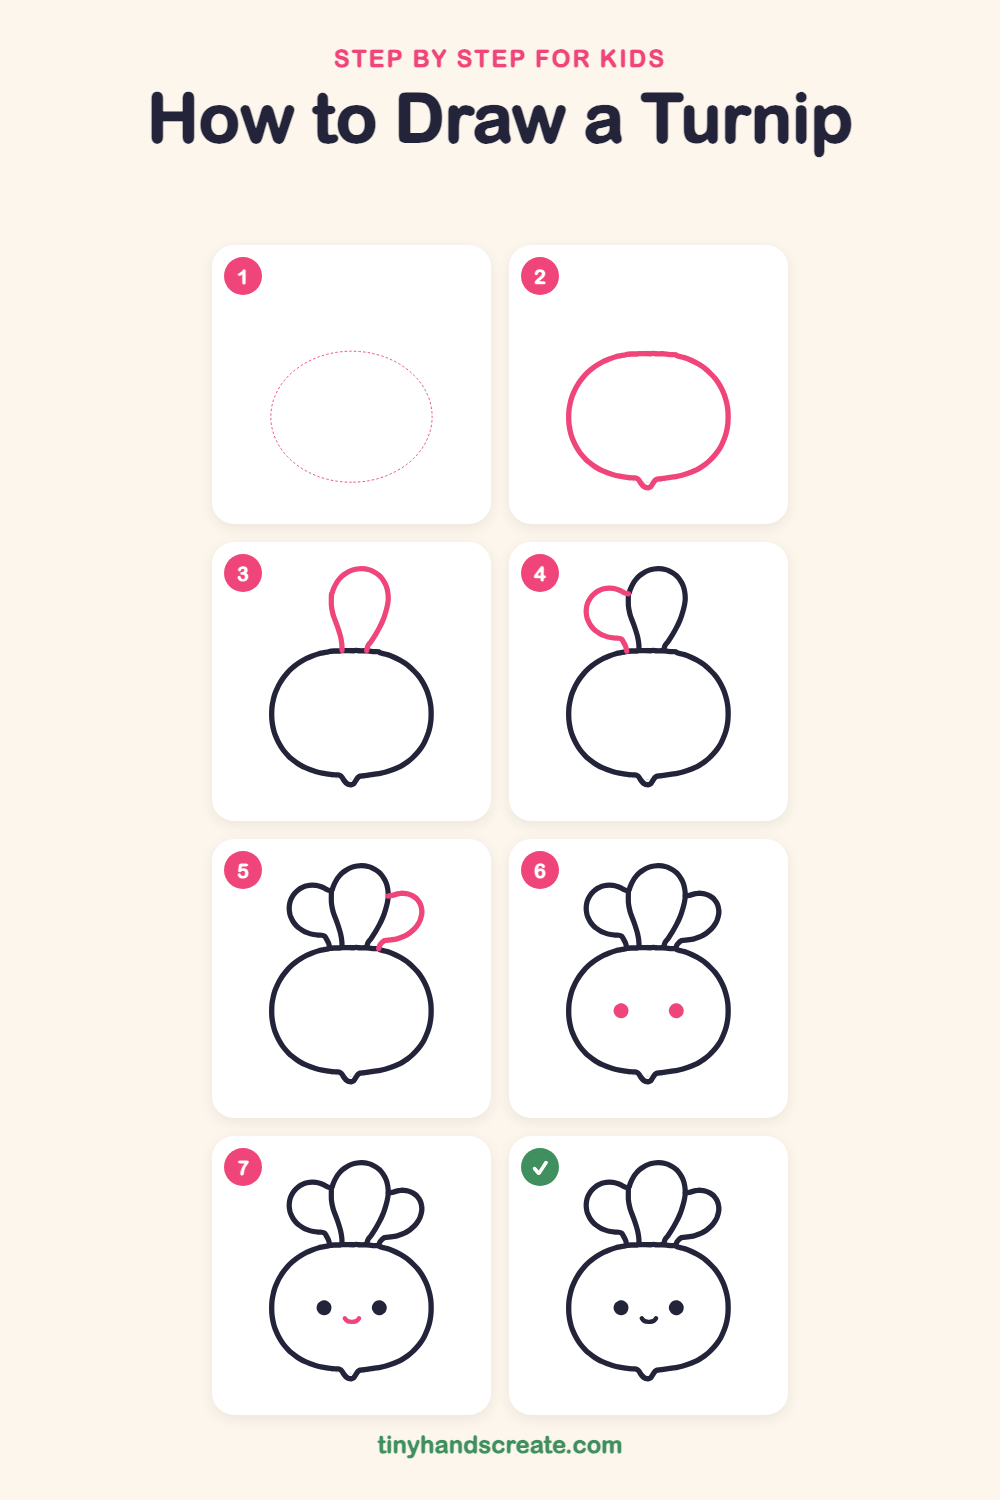
Step 1: Guide shapes
Lightly sketch this oval. It only shows where the big parts go, so press softly. You will erase it at the end.
Step 2: Round turnip body
Draw a big wide oval that is a little flatter on top, like a fat ball. At the bottom, add a tiny pointed tip that dips down like a small root.
Step 3: The middle leaf
Start at two spots close together on top of the turnip. Draw a tall teardrop shape that rises up and closes with a round curve at the top.
Step 4: The left leaf
Start on the left side of the middle leaf, near its top. Draw a round curve that bulges out to the left, then bring it back down to touch the top of the turnip.
Step 5: The right leaf
Do the same on the other side. Start on the right side of the middle leaf, draw a round curve that bulges out to the right, then bring it down to touch the top of the turnip.
Step 6: The two eyes
Halfway down the turnip, draw two small round dots side by side with a space between them. Fill them in solid.
Step 7: The happy smile
Between the eyes and a little below them, draw a small curve that looks like a tiny smile.
All done!
Erase the guide shapes, go over your lines, then color it in.
Finished your turnip? Keep the pencils out and learn how to draw boba tea or how to draw a cupcake next.
Tips for drawing a turnip
- Draw the big oval first so the leaves have a clear spot to sit on top.
- Make the middle leaf the tallest and let the side leaves be smaller, so they look tucked in behind it.
- Keep the eyes far apart in the middle of the body. A small smile between and just below them makes the face look extra cute.
Free turnip coloring page
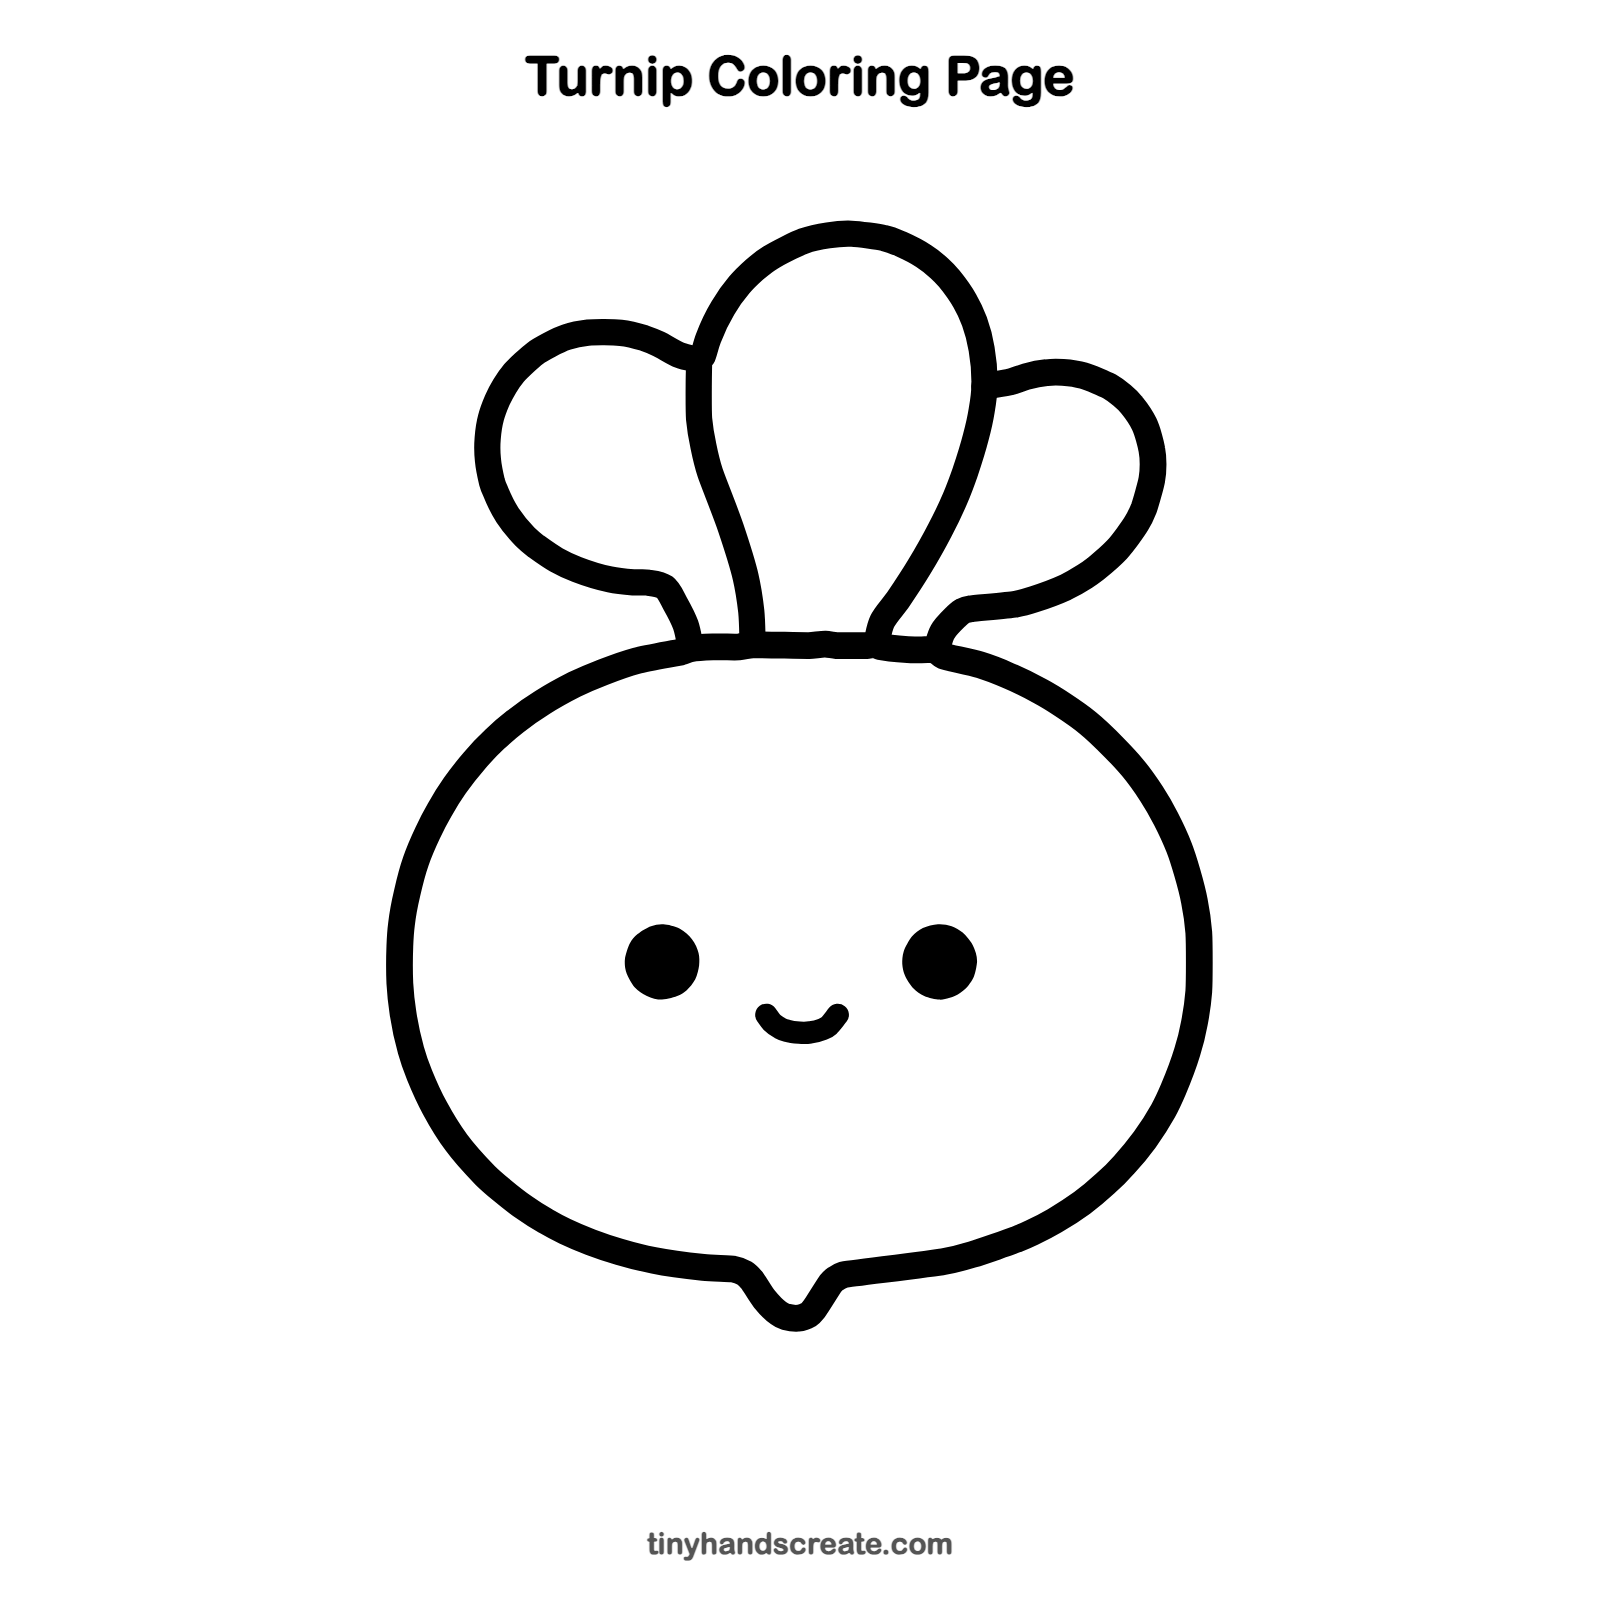
Want to go straight to coloring? Open this turnip coloring page at full size and print it. It is the same drawing you just learned, with clean lines ready for crayons or markers.
How to color your turnip drawing
Try purple and white for the turnip body and bright green for the leaves. For a creative twist, color the two eyes and the smile in a dark color so they stand out against the body.
Turnip fun fact for kids
Turnips belong to the same plant family as cabbage, broccoli and radishes. People eat the round root, and the leaves are edible too, as turnip greens.
Questions about drawing a turnip
What shapes do I need to draw a turnip?
You need one wide oval for the body and three rounded leaf shapes for the top. Two small dots and a short curve make the face.
How do I make my turnip look cuter?
Keep the eyes wide apart and add a tiny smile between and just below them. Making the side leaves smaller than the middle one also helps.
What colors should I use for a turnip?
Real turnips are often white with a purple top, so try those colors with green leaves. You can also make a rainbow turnip if you like.