How to Draw a Tea Bag (Easy Step by Step)
Learn to draw a cute tea bag with a face and a tiny cup using simple shapes. This easy, step-by-step guide is perfect for young artists starting their drawing journey.
- Draw a cute tea bag with a friendly face.
- Start with a rounded square for the tea bag body.
- Add a curved string and two simple dots for eyes.
- Complete your drawing with a tiny teacup.
- Use this easy guide as a first drawing project.
This post contains affiliate links. As an Amazon Associate I earn from qualifying purchases.
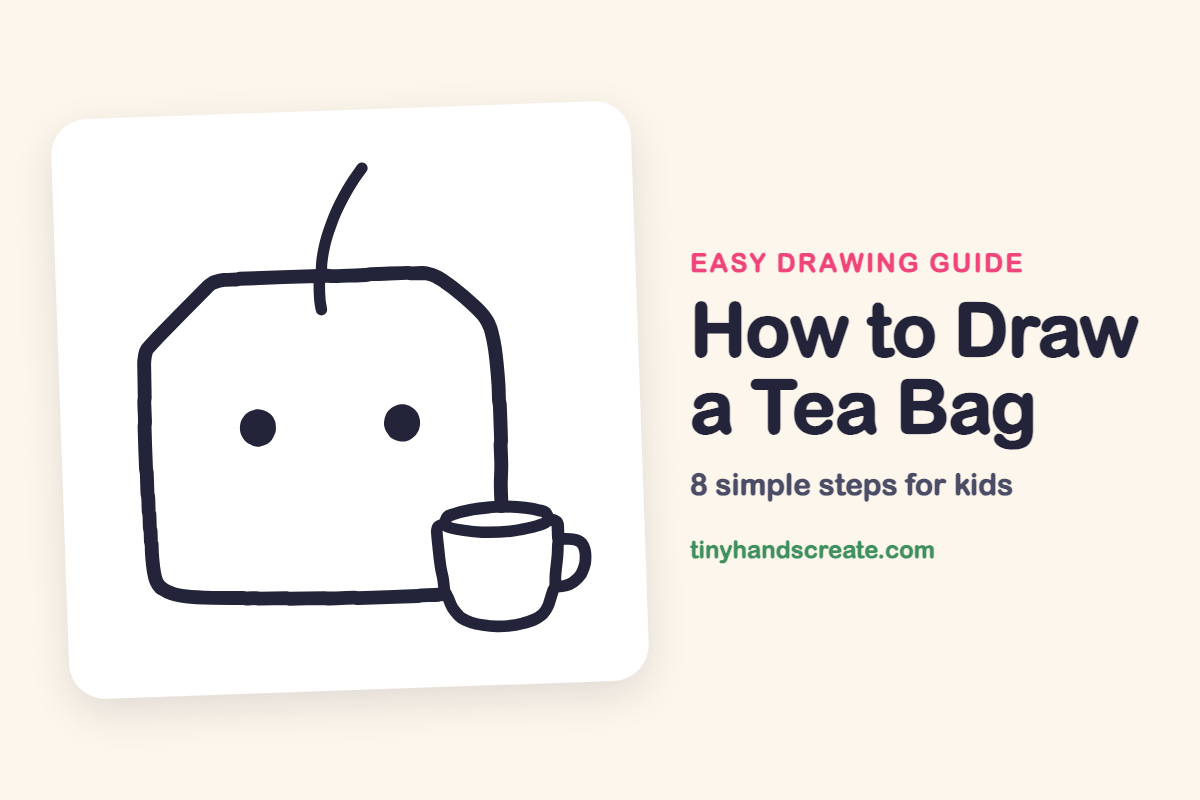
A tea bag with a face and a tiny cup next to it is a sweet, simple drawing. It is built from a rounded square with cut corners, a curved string, two dots, and a little cup. Every part is a basic shape, so it is a good first project for young artists.
- Easy
- 10 minutes
- 8 steps
You need: paper, a pencil, an eraser, and crayons or markers for coloring.
Start drawing
In this article (7 sections)
How to draw a tea bag step by step
How to Draw a Tea Bag · tinyhandscreate.com
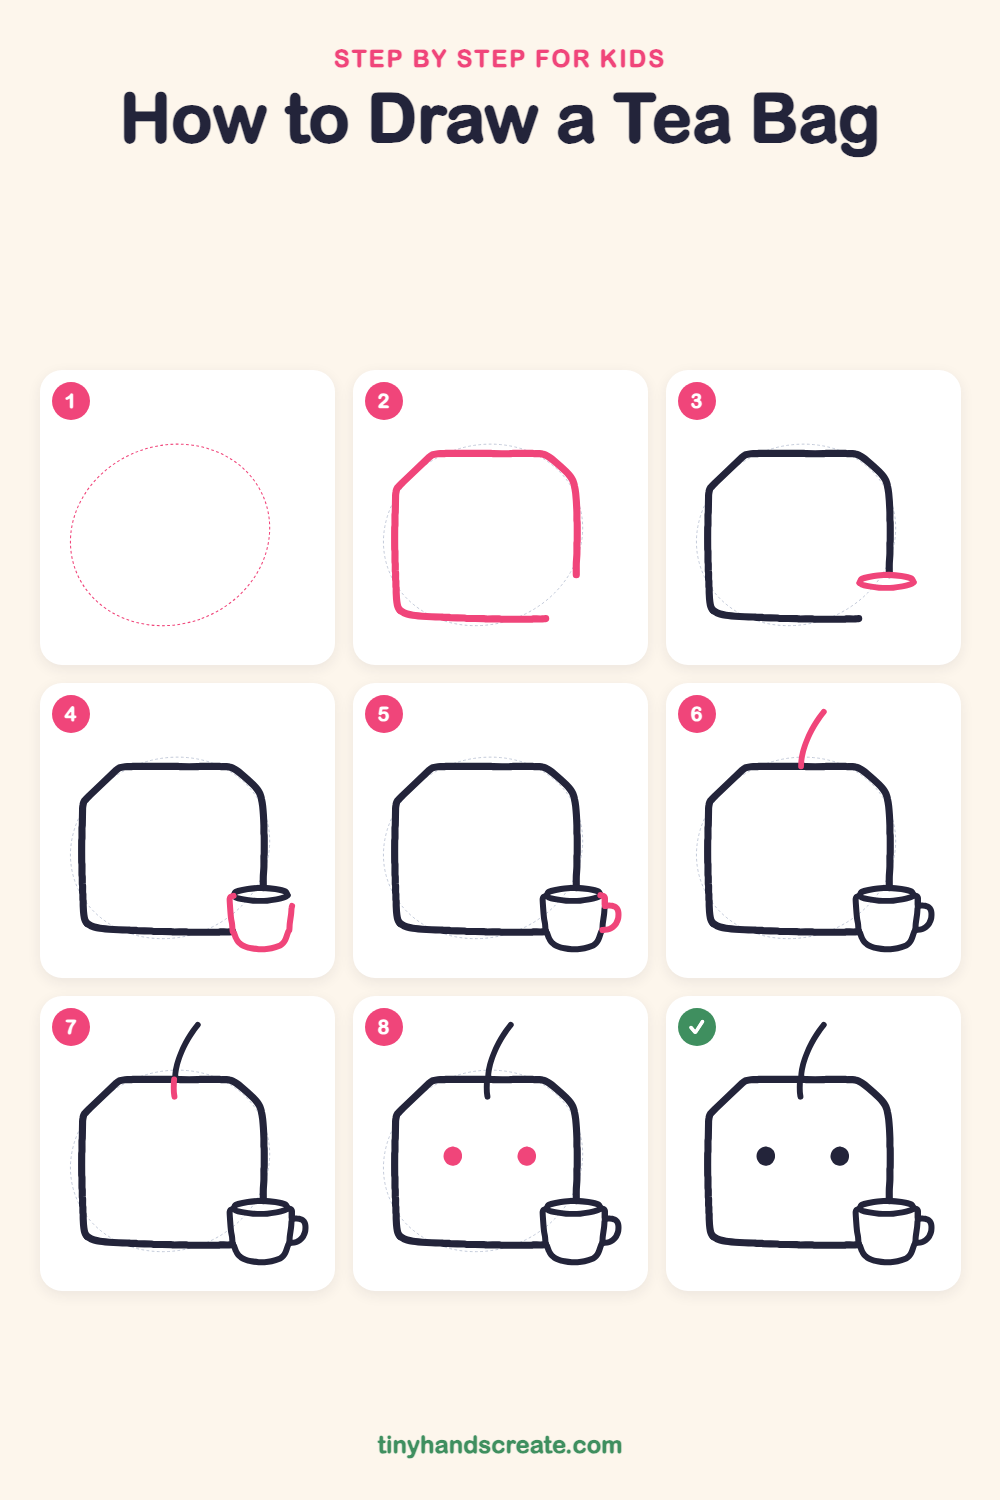
Step 1: Guide shapes
Lightly sketch this oval. It only shows where the big parts go, so press softly. You will erase it at the end.
Step 2: The tea bag body
Draw a wide, rounded square for the tea bag. Give it a flat top, slanted top corners, straight sides and a gently curved bottom. Stop the right side and the bottom a little short of the bottom right corner, to leave room for the cup.
Step 3: The cup rim
At the bottom right corner, where the tea bag's right side ends, draw a small, flat oval. This is the top opening of the cup.
Step 4: The cup bowl
Start at the left end of the oval and draw a line curving down. Draw another line down from the right end, then join them with a rounded bottom like a small bowl.
Step 5: The cup handle
On the right side of the cup, draw a small letter C lying on its side. Start and end it on the cup wall.
Step 6: The string
Start at the middle of the top edge of the tea bag and draw a curved line going up and a little to the right. This is the string.
Step 7: The tag line
Draw a short straight line from the top edge of the tea bag, right below where the string starts, going down a little way into the bag.
Step 8: The two eyes
Draw two round dots for eyes, side by side in the middle of the tea bag. Keep them the same size and at the same height.
All done!
Erase the guide shapes, go over your lines, then color it in.
Finished your tea bag? Keep the pencils out and learn how to draw boba tea or how to draw a cupcake next.
Tips for drawing a tea bag
- Draw the tea bag first and leave a little room in the bottom right corner for the cup.
- The cup rim is a flat oval. If it looks round, squish it by making it wider and shorter, like a pill lying on its side.
- Start the string right at the top edge and let it curve gently. A relaxed, bendy line looks better than a stiff straight one.
Free tea bag coloring page
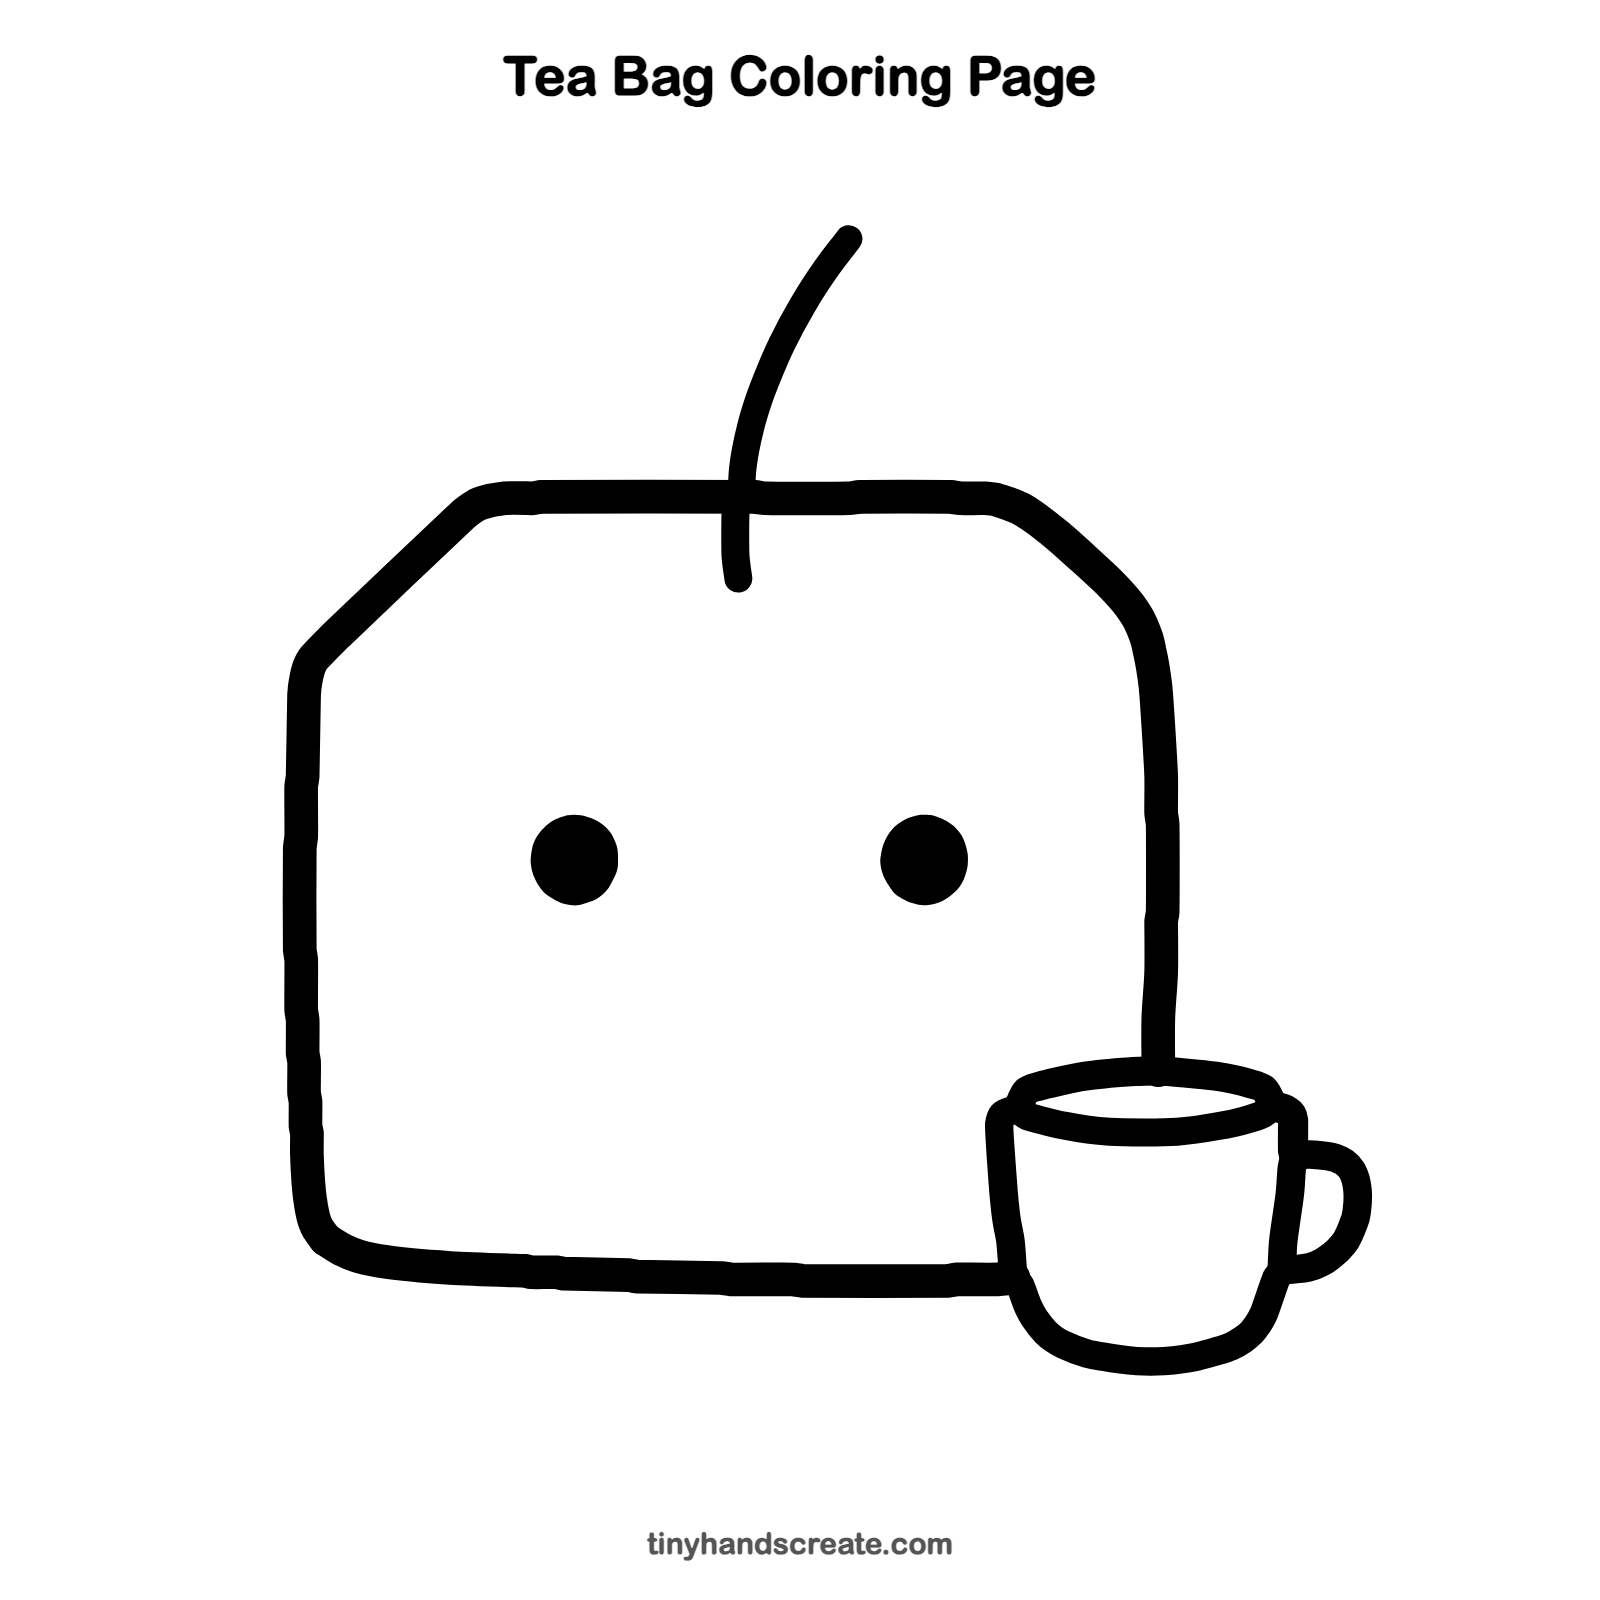
Want to go straight to coloring? Open this tea bag coloring page at full size and print it. It is the same drawing you just learned, with clean lines ready for crayons or markers.
How to color your tea bag drawing
Color the tea bag a light tan or soft green, and make the cup a bright color like red or blue. Give the string a darker color so it stands out against the page.
Tea bag fun fact for kids
Tea bags are often credited to Thomas Sullivan, a New York tea merchant who around 1908 sent tea samples to customers in small silk bags. Some customers dropped the whole bag into hot water, and the idea caught on.
Questions about drawing a tea bag
What shapes do I need to draw a tea bag?
You need a rounded square with cut corners for the bag, a curved line for the string, and two filled dots for the eyes. The cup is a small oval with a rounded bowl below it and a C-shaped handle.
How do I make my tea bag look cuter?
Make the eyes a little bigger and keep them the same size, side by side. You can also give the tea bag a bright, cheerful color.
How do I draw a cup that sits next to the tea bag?
Draw a small flat oval for the rim first, then connect two curved lines down to a rounded bottom. Finish with a C-shaped handle on the right side.