How to Draw a Screw (Easy Step by Step)
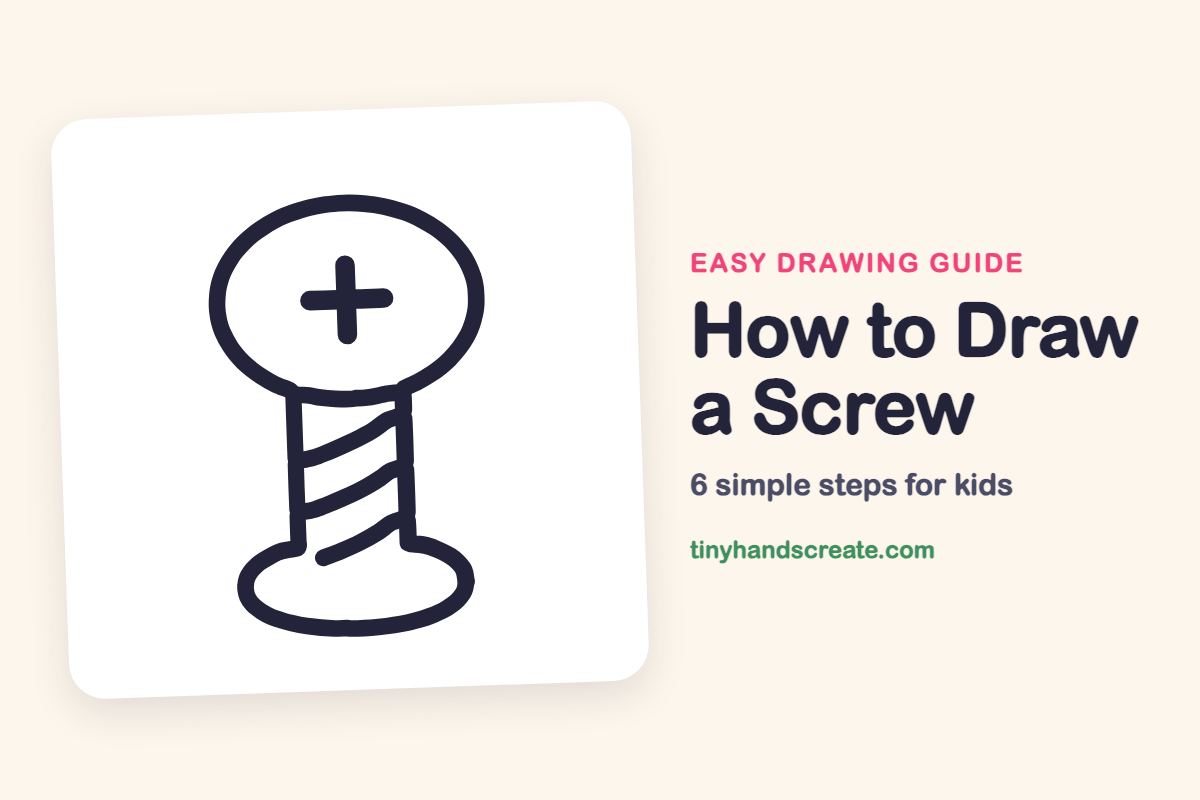
Learn to draw a screw using simple shapes like an oval head, a plus sign, straight sides, and a curved base. You'll discover how slanted lines create the realistic twisted look of the screw.
- Start your screw drawing with an oval head.
- Add a plus sign for the screw's slot.
- Draw two straight sides for the body.
- Finish the base with a curved line.
- Use slanted lines to create the screw's twisted appearance.
This post contains affiliate links. As an Amazon Associate I earn from qualifying purchases.
A screw is a fun first drawing because it is built from just a few simple shapes: an oval head, a plus sign, two straight sides, a curved base, and some slanted lines. The slanted lines that wrap around the middle make it look like a real screw you could twist into wood.
- Easy
- 10 minutes
- 6 steps
You need: paper, a pencil, an eraser, and crayons or markers for coloring.
Start drawing


In this article (7 sections)
How to draw a screw step by step
How to Draw a Screw · tinyhandscreate.com
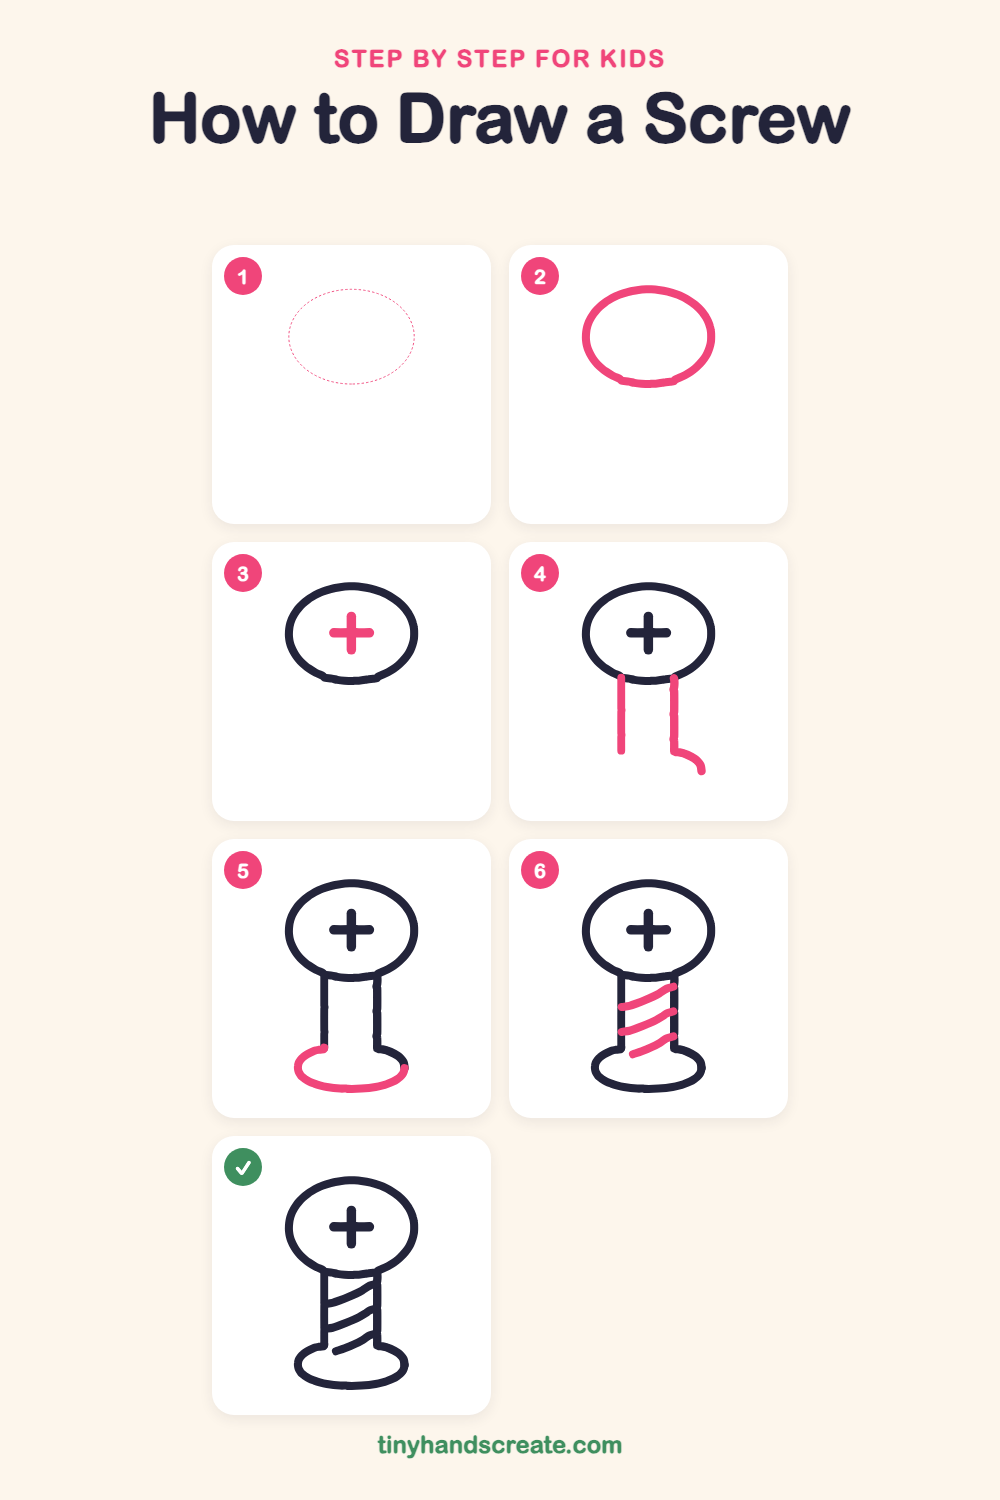
Step 1: Guide shapes
Lightly sketch this oval. It only shows where the big parts go, so press softly. You will erase it at the end.
Step 2: The big flat head
Draw a big wide oval near the top of your page. This round oval is the head of the screw, so make it nice and roomy.
Step 3: The cross slot
Inside the head, draw a plus sign. Make one short line going up and down, then cross it with a line going side to side.
Step 4: The two sides
Under the head, draw two straight lines going down, one on the left and one on the right. Start each one at the bottom edge of the oval and keep them the same distance apart, like the sides of a tall rectangle.
Step 5: The curved base
At the bottom, start at the end of the left line and draw a curve that swoops down and around to the end of the right line. It makes the bottom half of a wide, flat oval that is a little wider than the screw sides.
Step 6: The spiral threads
Between the two sides, draw three slanted lines that curve gently upward as they go to the right. Space them evenly, like steps on a ramp.
All done!
Erase the guide shapes, go over your lines, then color it in.
Finished your screw? Keep the pencils out and learn how to draw a rocket or how to draw a shooting star next.
Tips for drawing a screw
- Draw the big head oval first and leave plenty of room below it, so the screw body has space to fit.
- Keep the two straight sides parallel by looking at the left line while you draw the right one.
- For the threads, start each slanted line at the left side and let it curve up as it reaches the right side. Draw them the same distance apart.
Free screw coloring page
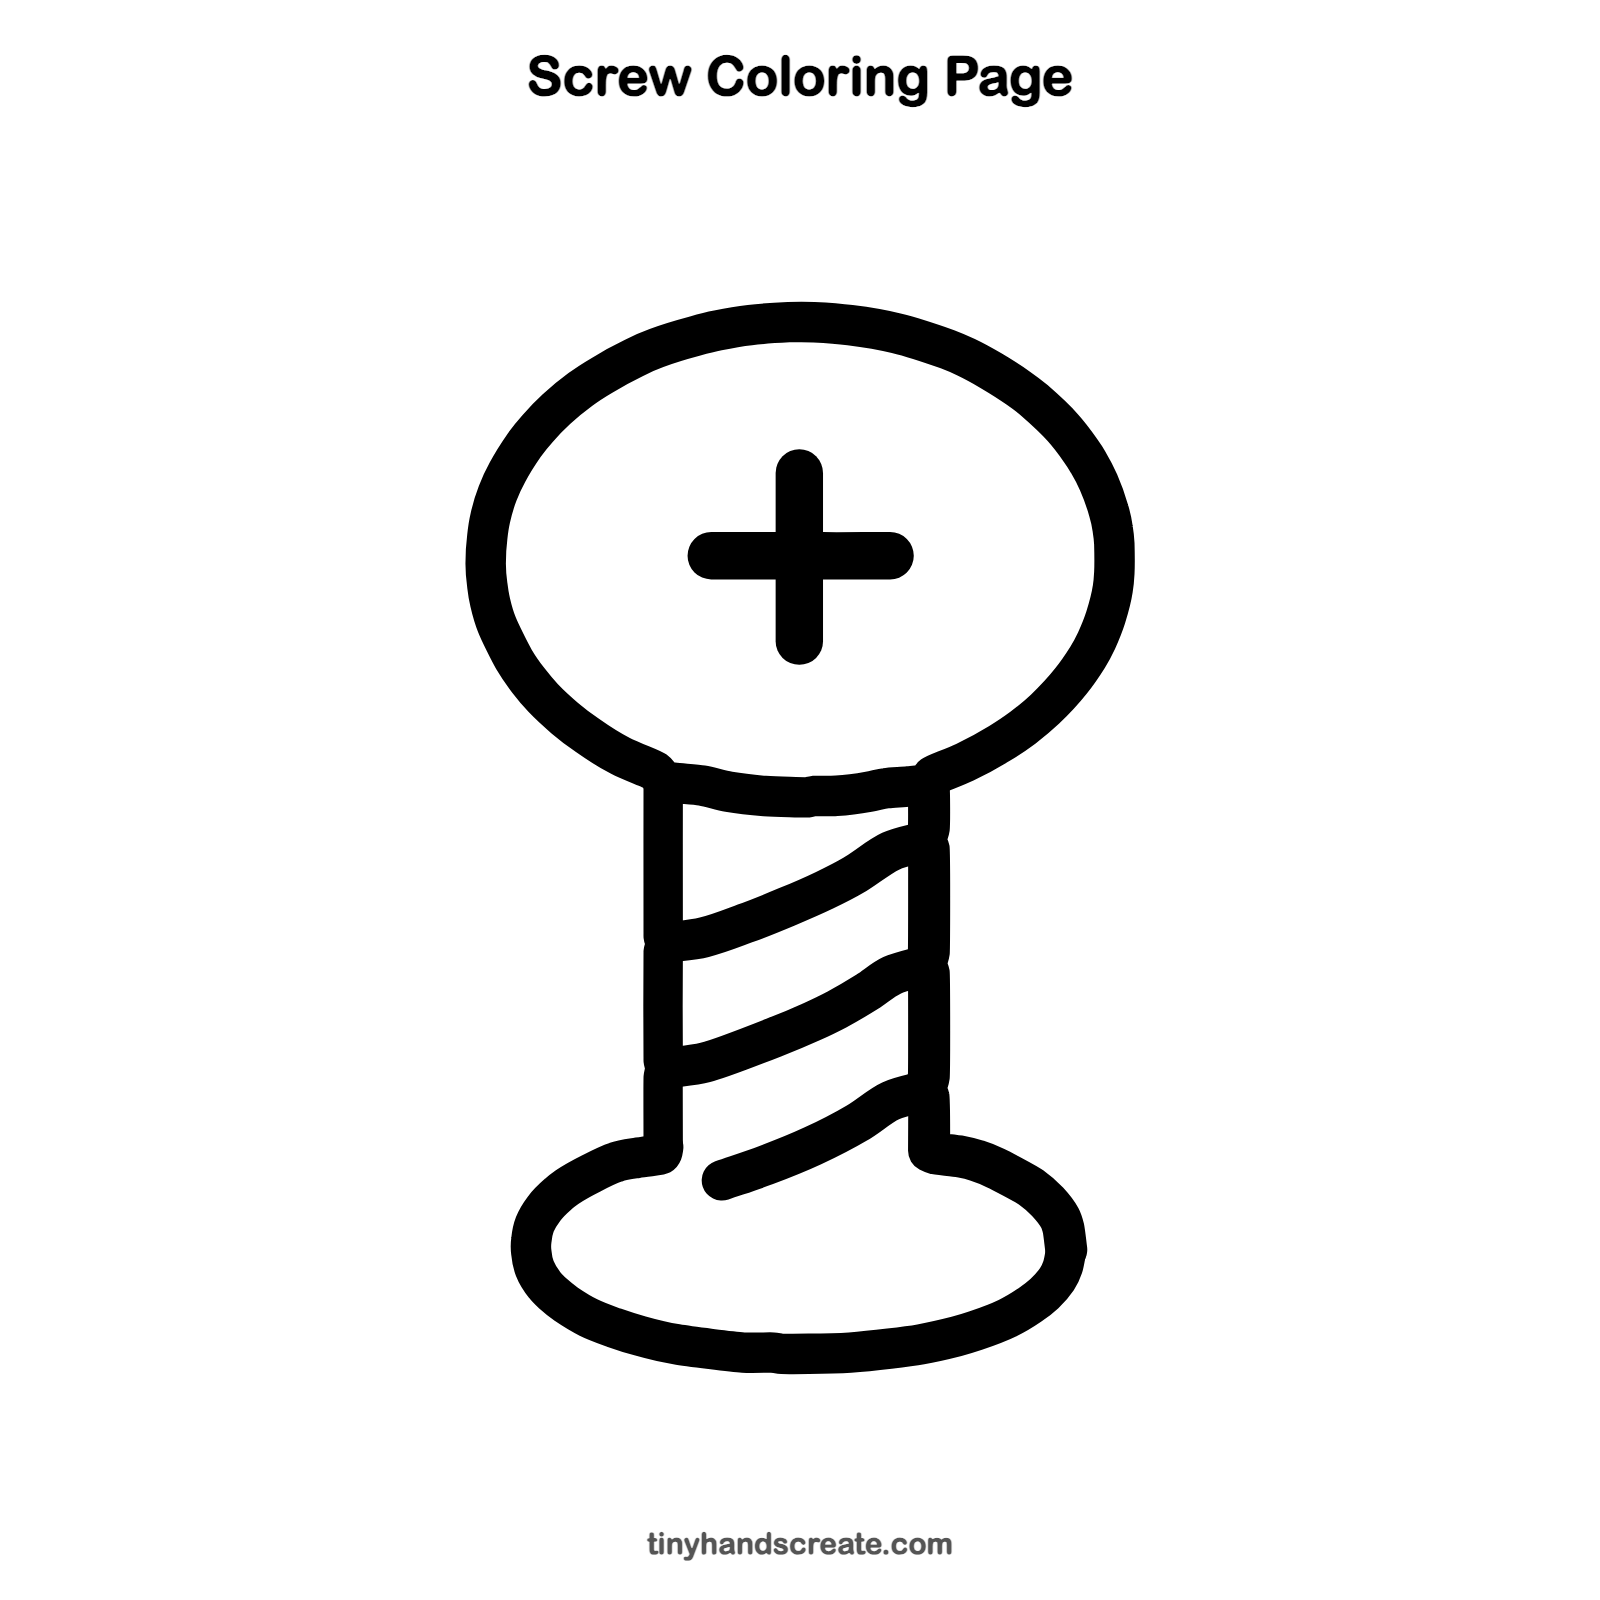
Want to go straight to coloring? Open this screw coloring page at full size and print it. It is the same drawing you just learned, with clean lines ready for crayons or markers.
How to color your screw drawing
Try silver or gray for the screw with a darker gray for the slot and threads. For a creative twist, color the screw like a rainbow candy stick with a different color on each thread.
Screw fun fact for kids
The slanted ridge that winds around a screw is called a thread. It works like a tiny ramp that pulls the screw into the wood as you turn it.
Questions about drawing a screw
What shapes do I need to draw a screw?
You need an oval for the head, a plus sign, two straight lines for the sides, and a curve for the base. The threads are three gently slanted lines.
How do I make the screw threads look right?
Draw slanted lines that start on the left side and curve up toward the right. Keep the gaps between them even so they look like a spiral.
How do I make my screw look shiny?
Leave a small white patch on one side of the head and color around it. The bright spot makes the metal look shiny.