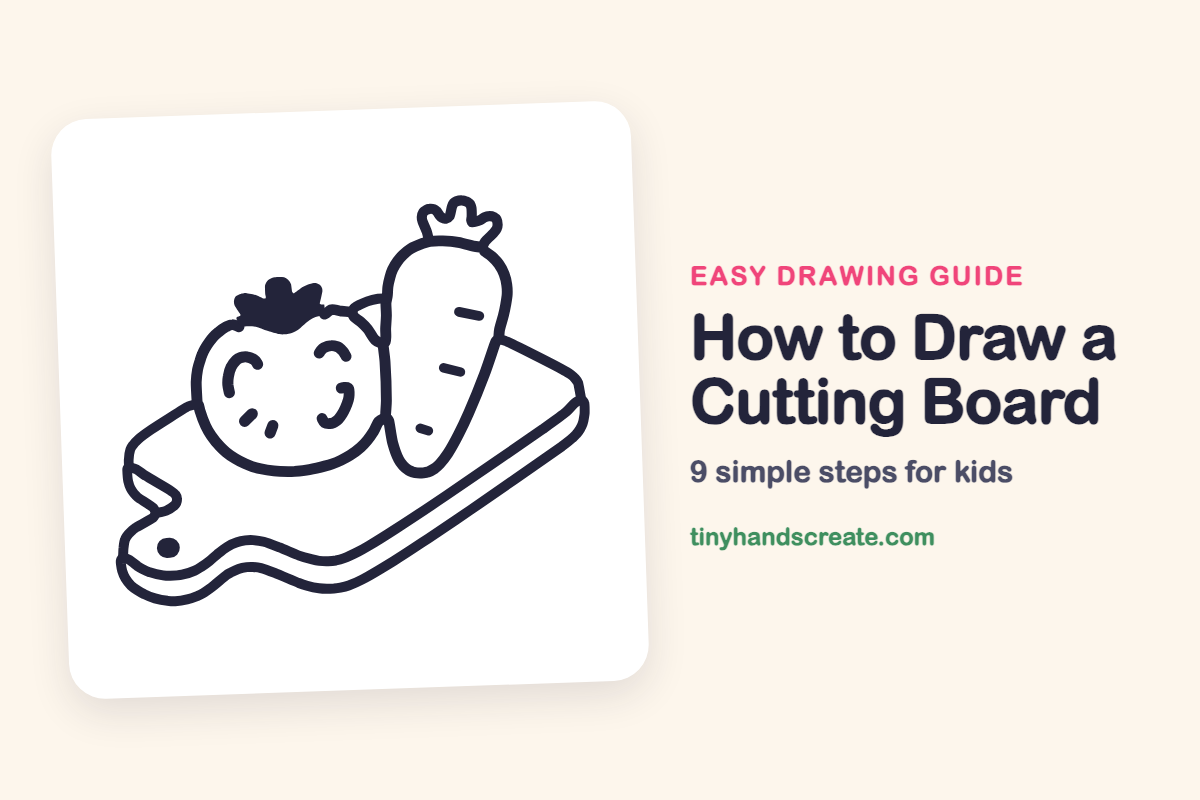
How to Draw a Cutting Board (Easy Step by Step)
Learn to draw a cheerful kitchen scene featuring a cutting board, a smiling tomato, and a carrot. You'll use simple shapes to create this easy step-by-step drawing.
- Draw a cheerful kitchen scene with a cutting board.
- Use simple shapes for the tomato and carrot.
- Create a wavy cutting board with a handle.
- Form the tomato using a round curve.
- Shape the carrot with a long rounded form.
This post contains affiliate links. As an Amazon Associate I earn from qualifying purchases.
This cutting board holds a smiling tomato and a carrot, which makes a cheerful kitchen scene to draw. It is built from simple shapes: a round curve for the tomato, a long rounded shape for the carrot, and a wavy board with a handle underneath.
- Medium
- 15 minutes
- 9 steps
You need: paper, a pencil, an eraser, and crayons or markers for coloring.
Start drawing


In this article (7 sections)
How to draw a cutting board step by step
How to Draw a Cutting Board · tinyhandscreate.com
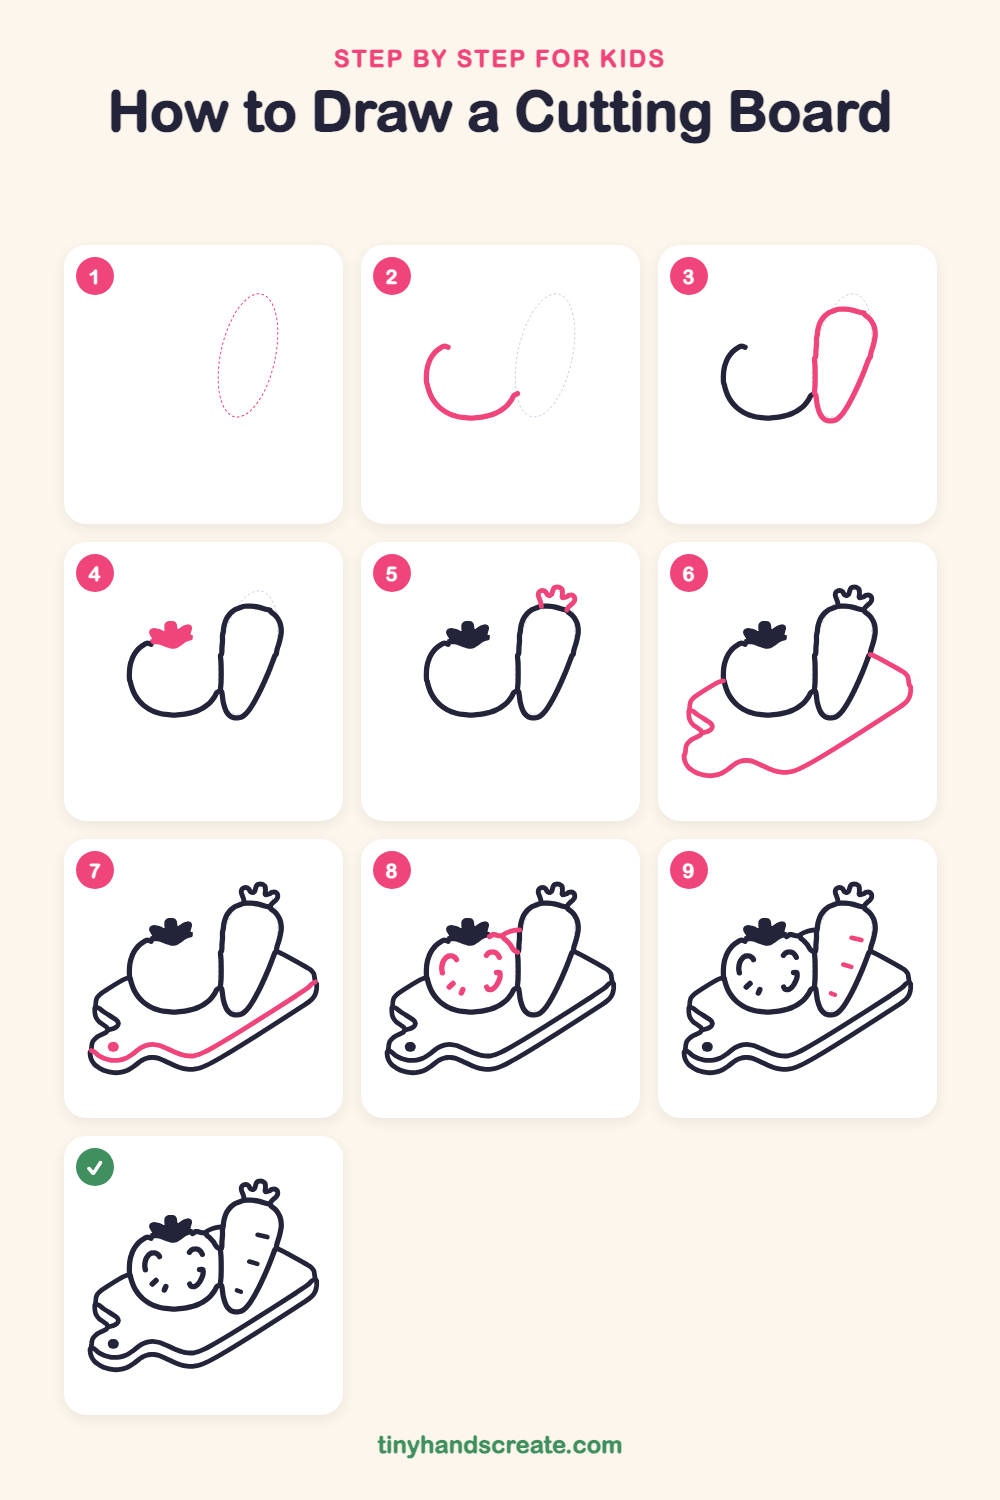
Step 1: Guide shapes
Lightly sketch this oval. It only shows where the big parts go, so press softly. You will erase it at the end.
Step 2: Tomato curve
Draw a curve like a big letter C lying on its side. Start at the upper left, curve down and around the bottom, and end low on the right, leaving the top and right side open.
Step 3: The carrot
Next to the tomato, draw a tall, plump shape that is wide at the top and gets narrower toward a rounded point at the bottom. Let its left side touch the end of the tomato curve.
Step 4: Tomato leaves
At the top left of the tomato, draw a small crown of pointy leaves, like a little splash with a few points. Color it in solid.
Step 5: Carrot top
On top of the carrot, draw a small crown of wiggly leafy bumps. Start and end the crown on the carrot's top edge.
Step 6: Board and handle
Behind the veggies, draw the outline of the cutting board. Start at the tomato's left side, go out to a bumpy handle on the left, then draw a wavy bottom edge and a long slanted line up to the right, ending with a rounded corner by the carrot.
Step 7: Board edge and hole
Draw a second wavy line just inside the bottom edge of the board, following the same curves up to the right corner, to show how thick the board is. Then add a small solid dot in the handle for the hanging hole.
Step 8: Tomato face
Finish the top right of the tomato with a short curve from the leaves over to the carrot. Then give the tomato two curved eyes, a curved smile on the right, and three tiny dashes near the bottom left for shine.
Step 9: Carrot lines
Add three short slanted dashes down the carrot to show its ridges. Space them out evenly from top to bottom.
All done!
Erase the guide shapes, go over your lines, then color it in.
Finished your cutting board? Keep the pencils out and learn how to draw a rocket or how to draw a shooting star next.
Tips for drawing a cutting board
- Draw the tomato curve first, then tuck the carrot against its right end so the two shapes meet neatly instead of crowding each other.
- The board is the trickiest part. Draw its outline in one smooth, slow line, with the bumpy handle on the left and the wavy bottom edge.
- Draw the inner board line by following the bottom edge a finger's width away. Keeping that gap steady makes the board look thick.
Free cutting board coloring page
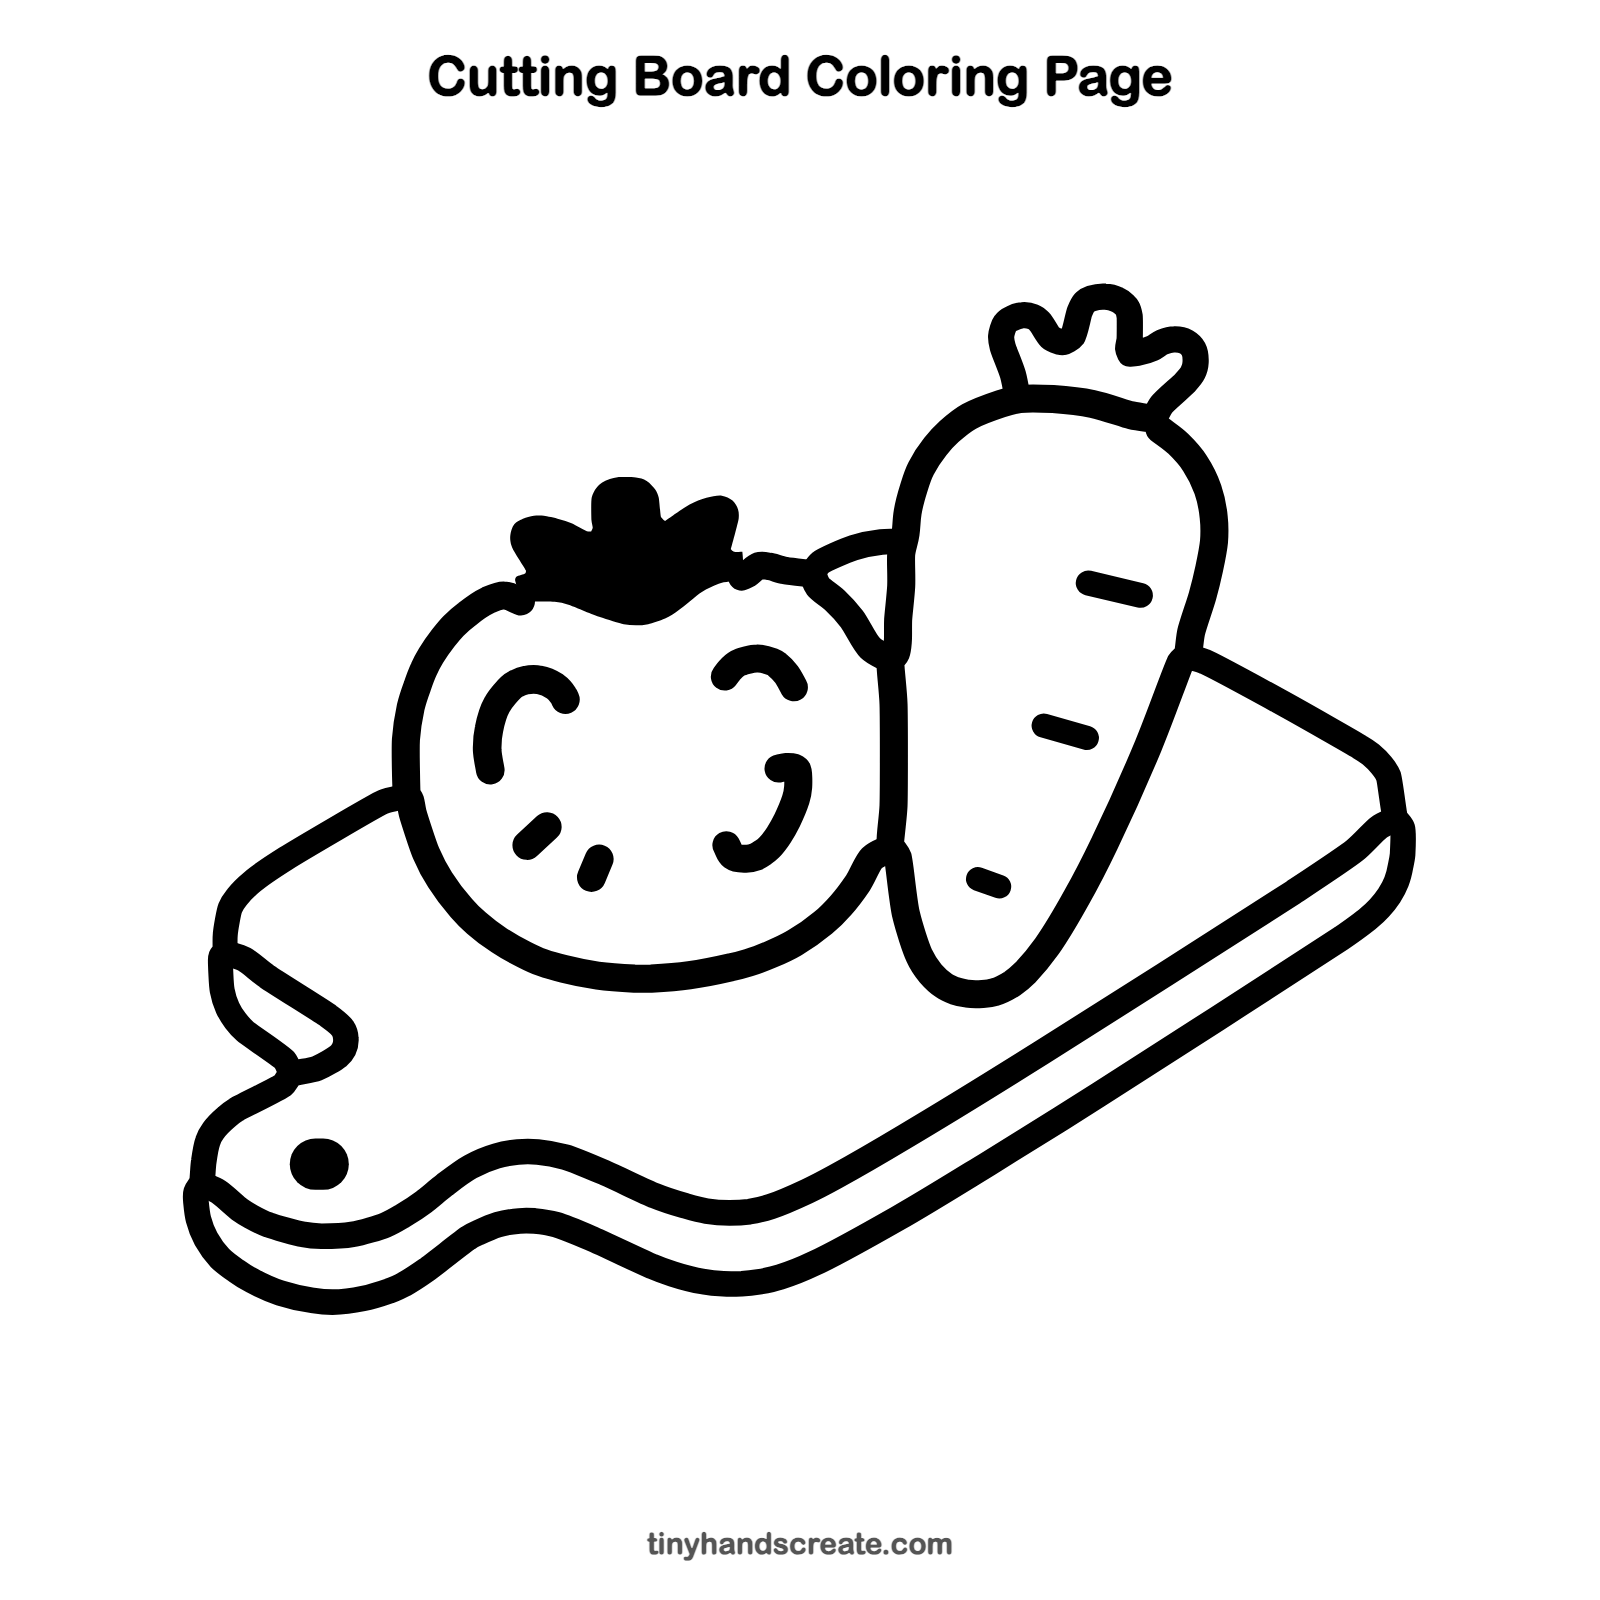
Want to go straight to coloring? Open this cutting board coloring page at full size and print it. It is the same drawing you just learned, with clean lines ready for crayons or markers.
How to color your cutting board drawing
Color the tomato red with green leaves, the carrot orange with green leafy top, and the board a light wood brown. For a creative twist, give the tomato rosy cheeks.
Cutting board fun fact for kids
Carrots were not always orange. Long ago many were purple, yellow, or white, and orange carrots became common in Europe a few hundred years ago.
Questions about drawing a cutting board
How do I draw a cutting board?
Draw a long slanted outline with a bumpy handle on one end and a wavy bottom edge. Add a second line just inside the bottom edge to show how thick the board is, and a small dot in the handle for the hole.
How do I draw a carrot that looks right?
Start with a tall, plump shape that narrows to a rounded point at the bottom. Then add a small leafy crown on top and a few short dashes down its side.
How do I make my tomato look cuter?
Give it a happy face with two curved eyes and a curved smile. A few tiny dashes near the bottom edge also make it look round and shiny.