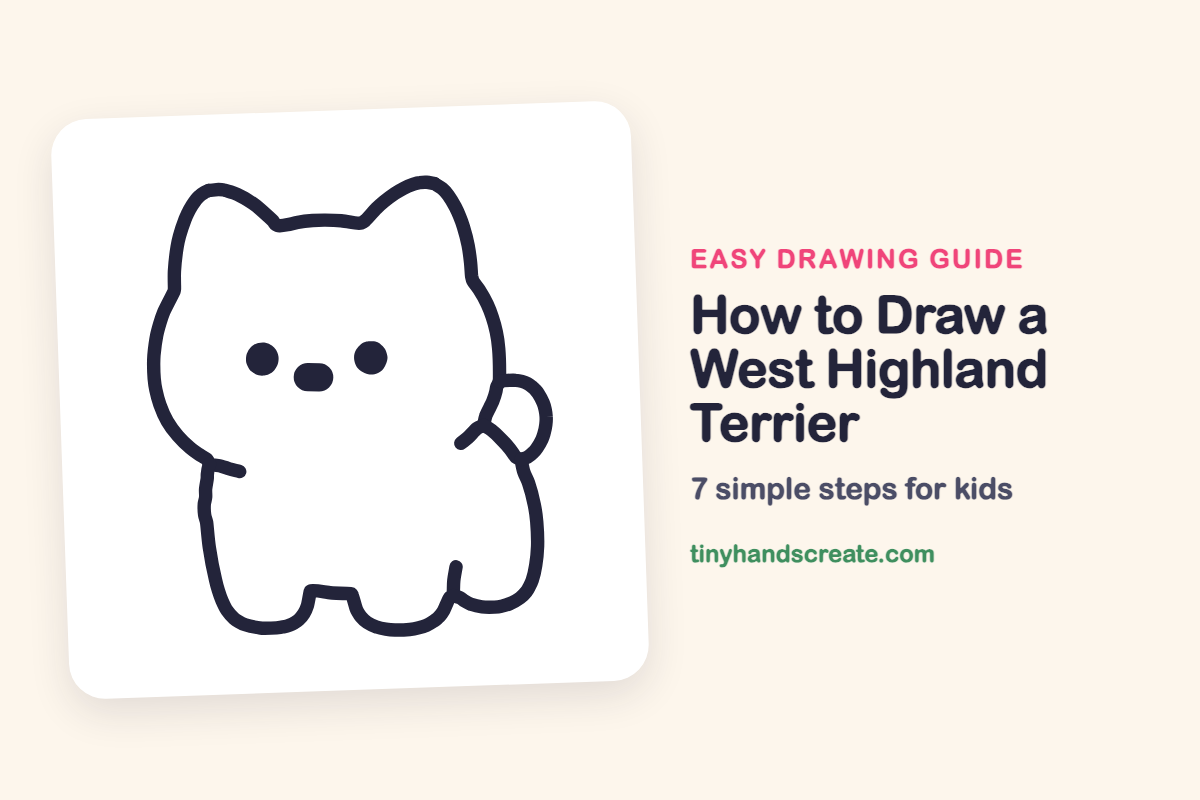
How to Draw a West Highland Terrier (Easy Step by Step)
You will learn how to draw a West Highland Terrier using simple shapes like a round head, rounded ears, and a chubby body. This easy step-by-step guide is perfect for beginners and can help you draw other dog breeds too.
- Draw your Westie using simple shapes: a round head, chubby body, and short feet.
- Create the face with just two dot eyes and an oval nose for an easy start.
- Use this guide as a base to draw other dog breeds by altering ears and tails.
This post contains affiliate links. As an Amazon Associate I earn from qualifying purchases.
This little white terrier is built from a few easy shapes: a big round head, two rounded ears, a chubby body with two short feet, and a small curled tail. The face is just two dot eyes and an oval nose, so it is a great first dog to draw. Once you can draw it, you can try other dogs by changing the ears and the tail.
- Easy
- 10 minutes
- 7 steps
You need: paper, a pencil, an eraser, and crayons or markers for coloring.
Start drawing


In this article (7 sections)
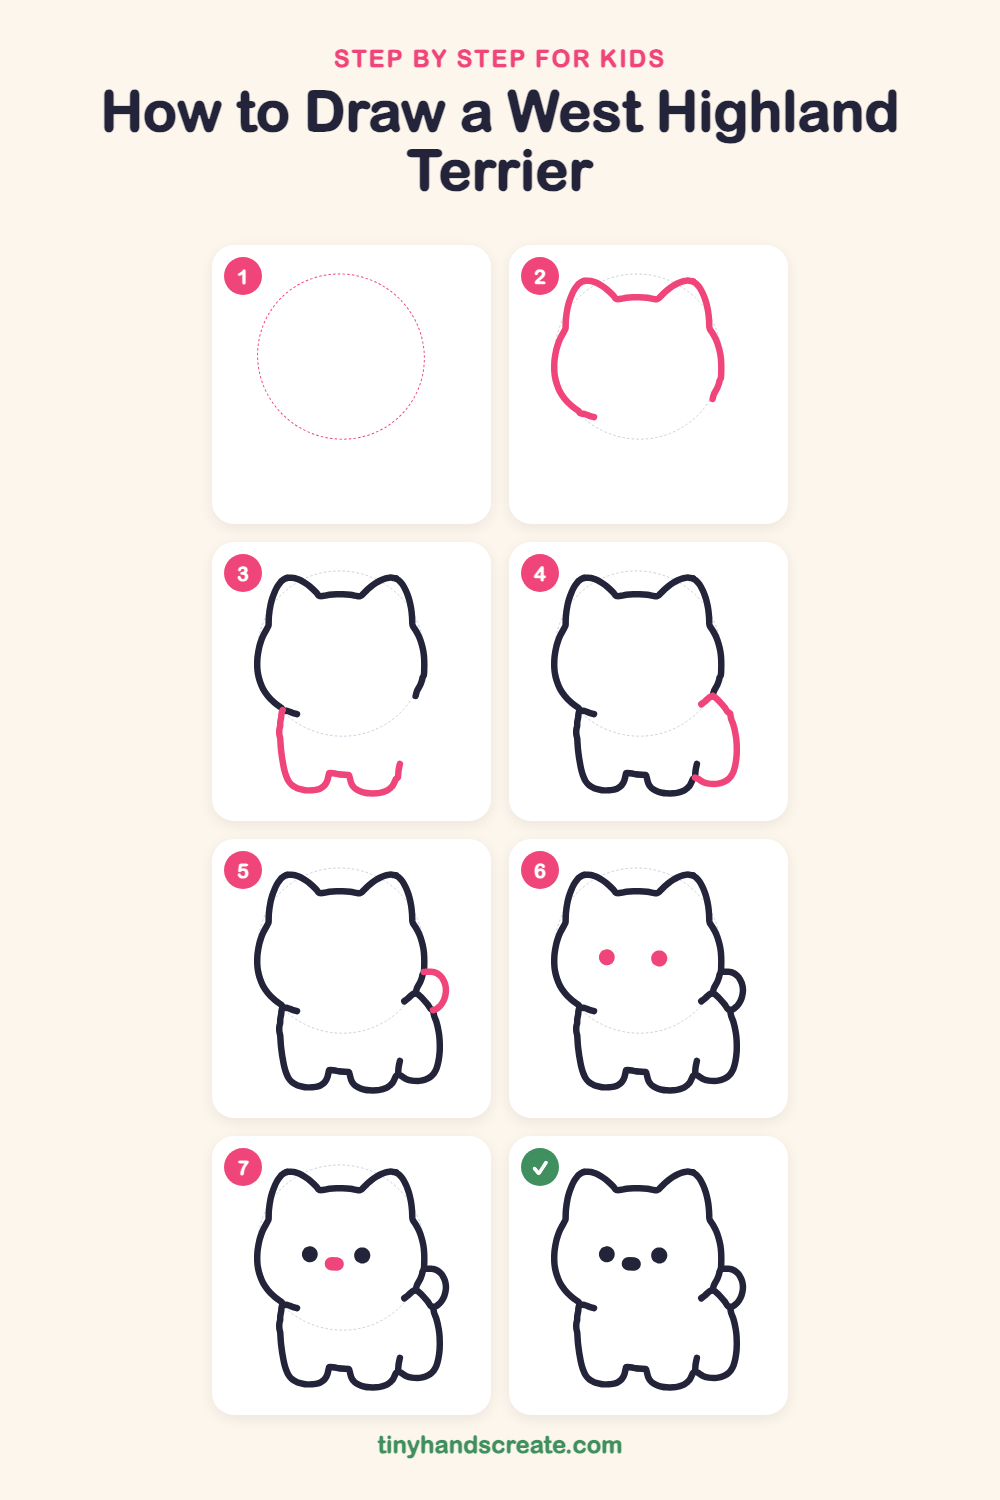
How to draw a West Highland terrier step by step
How to Draw a West Highland Terrier · tinyhandscreate.com
Step 1: Guide shapes
Lightly sketch this oval. It only shows where the big parts go, so press softly. You will erase it at the end.
Step 2: Head and ears
Draw the top of a big, wide head: start low on the left, curve up and over to make two rounded ears with a small dip between them, then curve down the right side. Leave the bottom of the head open.
Step 3: Body and front legs
Start a line going down from the bottom of the left cheek. Curve it along the bottom to make two short, chubby feet with a little gap between them, and finish with a tiny line going up.
Step 4: Back and hip
On the right side, start under the cheek and draw a curved line that bulges out like a round bottom. Bring it down and back in to meet the bottom of the right foot.
Step 5: The tail
On the right side, where the back meets the body, draw a small curl shaped like a backward letter C. Let it stick out a little from the body.
Step 6: The eyes
Add two small, round dots on the face, side by side with a space between them. Make them the same size.
Step 7: The nose
Draw a small oval nose halfway between the eyes and a little lower. Color it in so it matches the eyes.
All done!
Erase the guide shapes, go over your lines, then color it in.
Finished your West Highland terrier? Keep the pencils out and learn how to draw a fox or how to draw a hedgehog next.
Tips for drawing a West Highland terrier
- Draw the head first and make it wide. The big head is what makes this dog look so cute.
- The ears are the trickiest part. Make two rounded bumps on top of the head with a soft dip between them.
- Leave a small gap between the two feet. That little space makes the dog look like it is standing.
- Keep the two eye dots the same size and put the nose in the middle, a little lower.
Free West Highland terrier coloring page
Want to go straight to coloring? Open this West Highland terrier coloring page at full size and print it. It is the same drawing you just learned, with clean lines ready for crayons or markers.
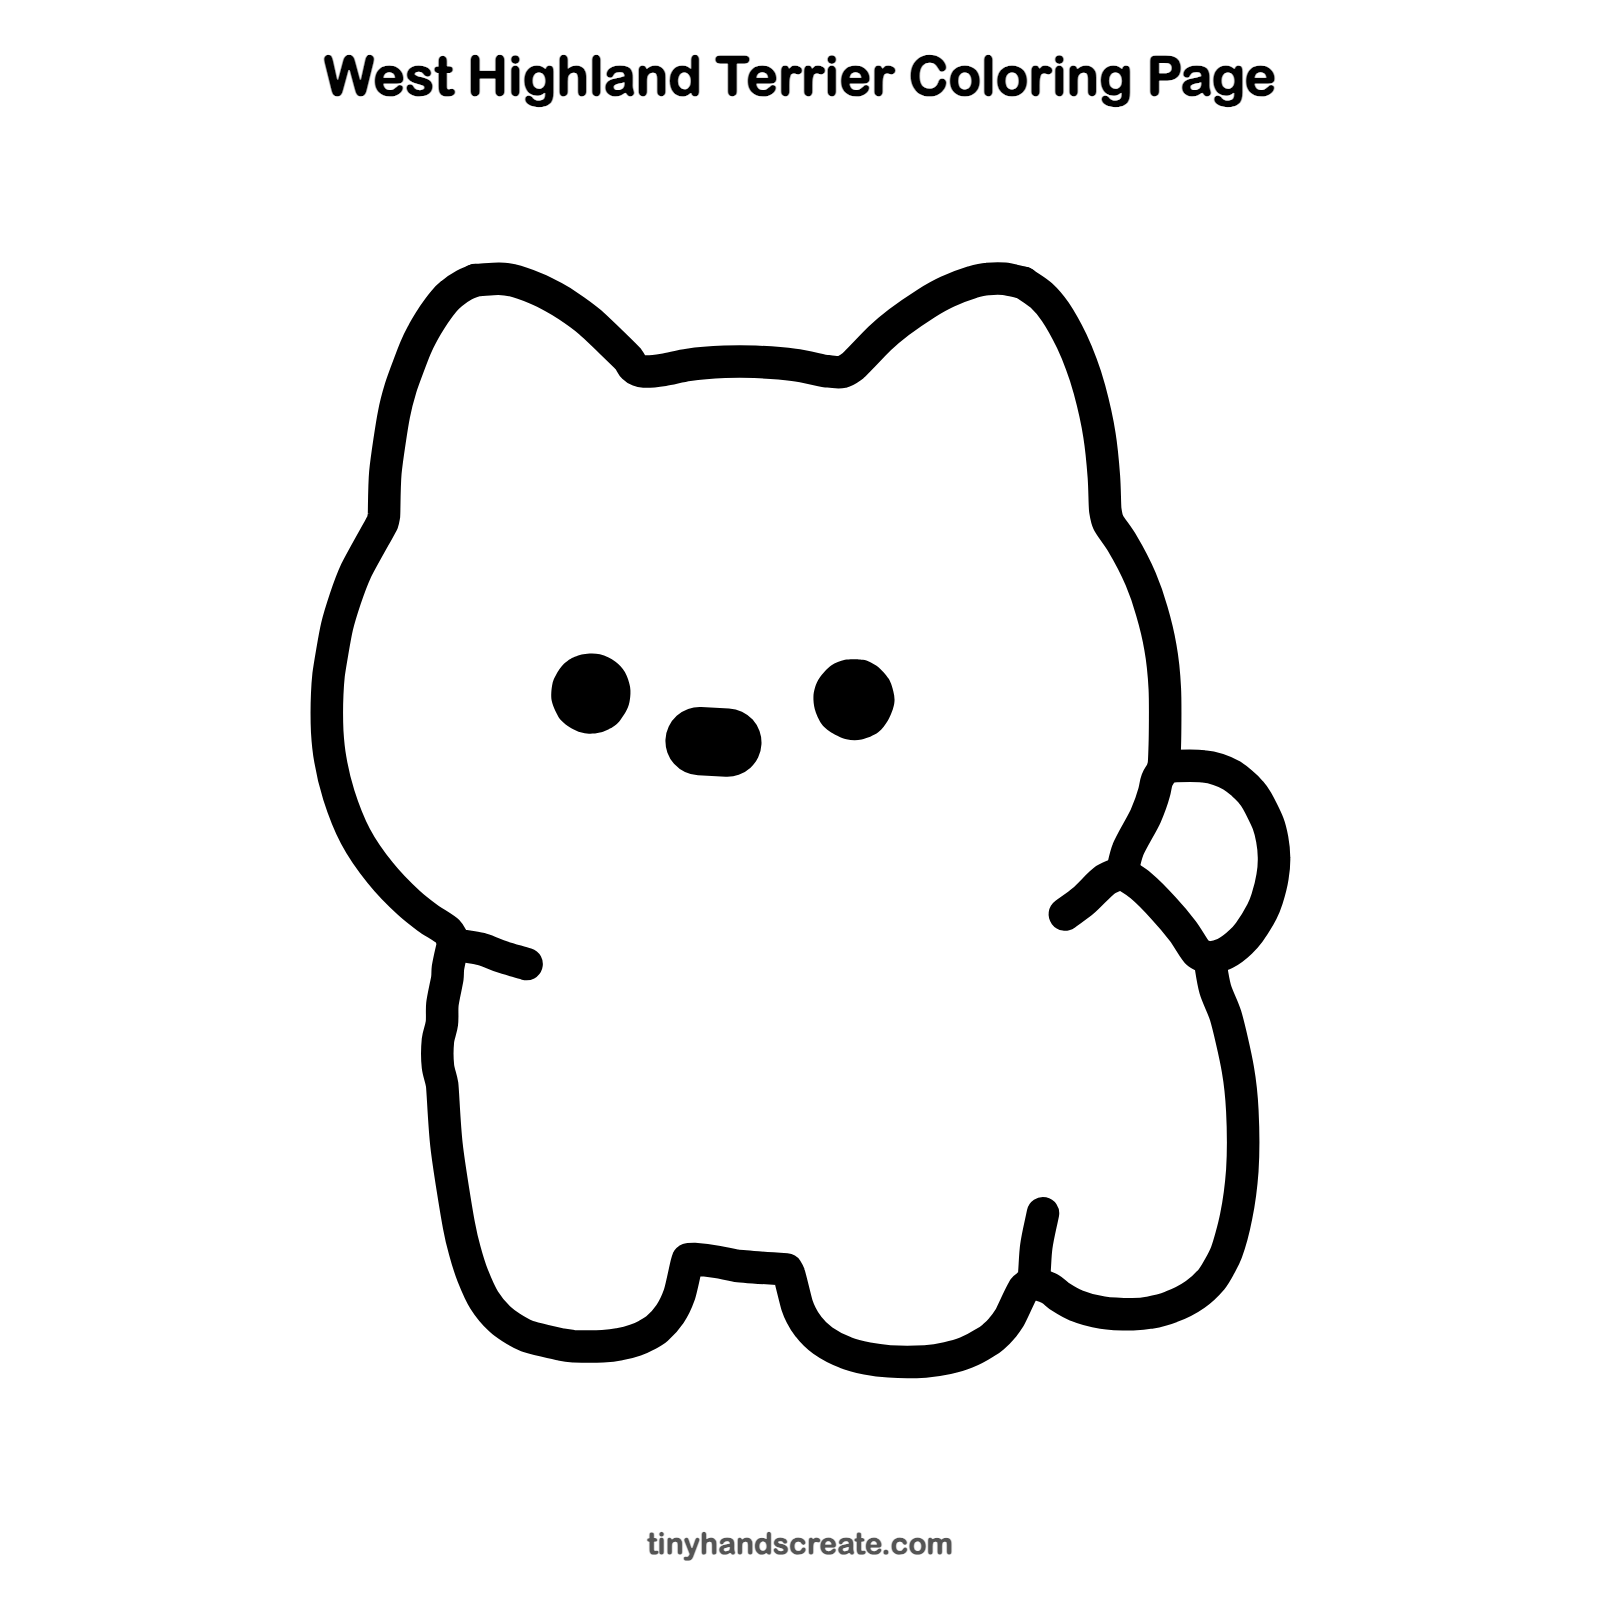
How to color your West Highland terrier drawing
Westies are white, so try leaving the dog white and coloring the background a bright blue or yellow so it stands out. You can also color the nose and eyes black, or give the ears a light gray shade.
West Highland terrier fun fact for kids
The West Highland white terrier, or Westie, comes from Scotland, where it was bred to hunt small animals such as rats and foxes.
Questions about drawing a West Highland terrier
What shapes do I need to draw a Westie?
You need a big rounded shape for the head with two rounded ears on top, a chubby body with two short feet, and a small C-shaped curl for the tail. The face is two dots for eyes and a small oval for the nose.
How do I make my Westie look cuter?
Make the head extra big and put the eyes wide apart. Short, chubby feet help too.
How do I draw a Westie's ears?
Start at the left side of the head and curve up into a rounded bump, dip down a little, then make a second bump the same size. Keeping both ears about equal makes the face look balanced.