How to Draw a Daffodil (Easy Step by Step)
This post contains affiliate links. As an Amazon Associate I earn from qualifying purchases.
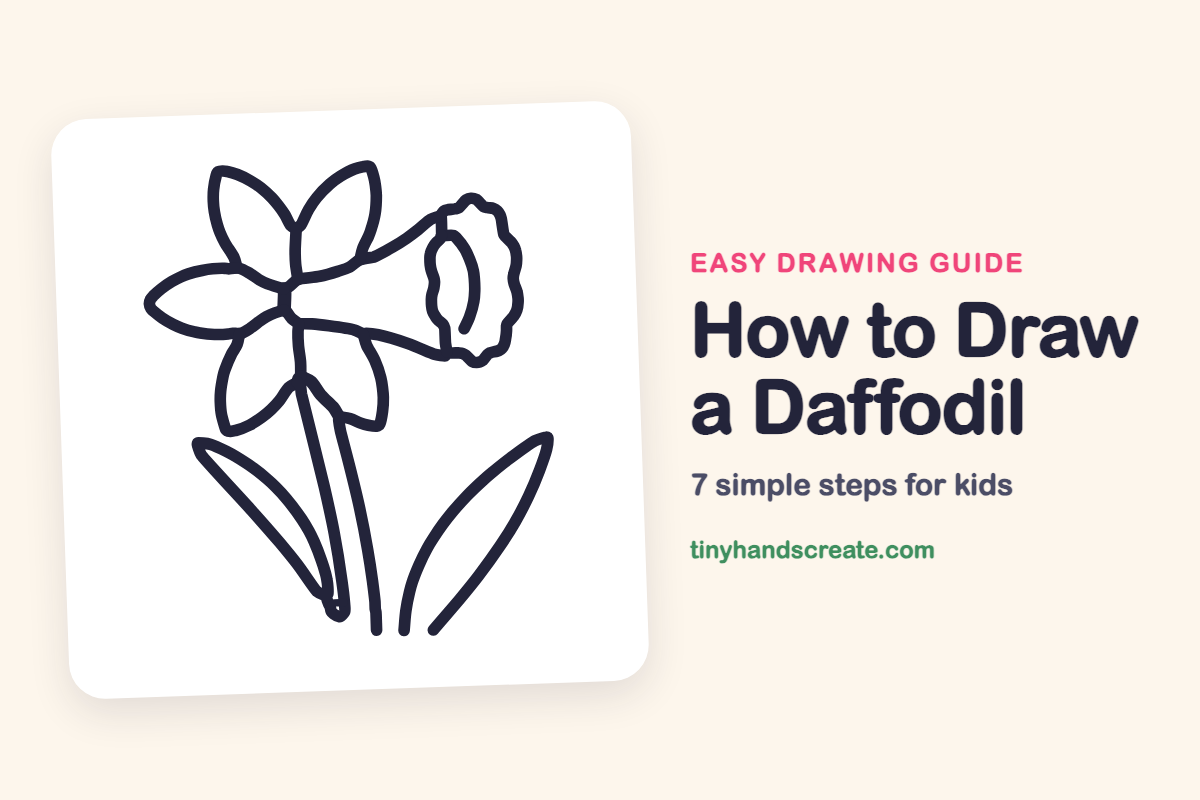
A daffodil looks fancy, but it is made from just a few easy shapes. You will draw a cone for the trumpet, five pointy leaf shapes for the petals, and two long curves for the stem. It is a cheerful spring flower that is fun to color in bright yellow.
- Easy
- 10 minutes
- 7 steps
You need: paper, a pencil, an eraser, and crayons or markers for coloring.
Start drawing
In this article (7 sections)
How to draw a daffodil step by step
How to Draw a Daffodil · tinyhandscreate.com
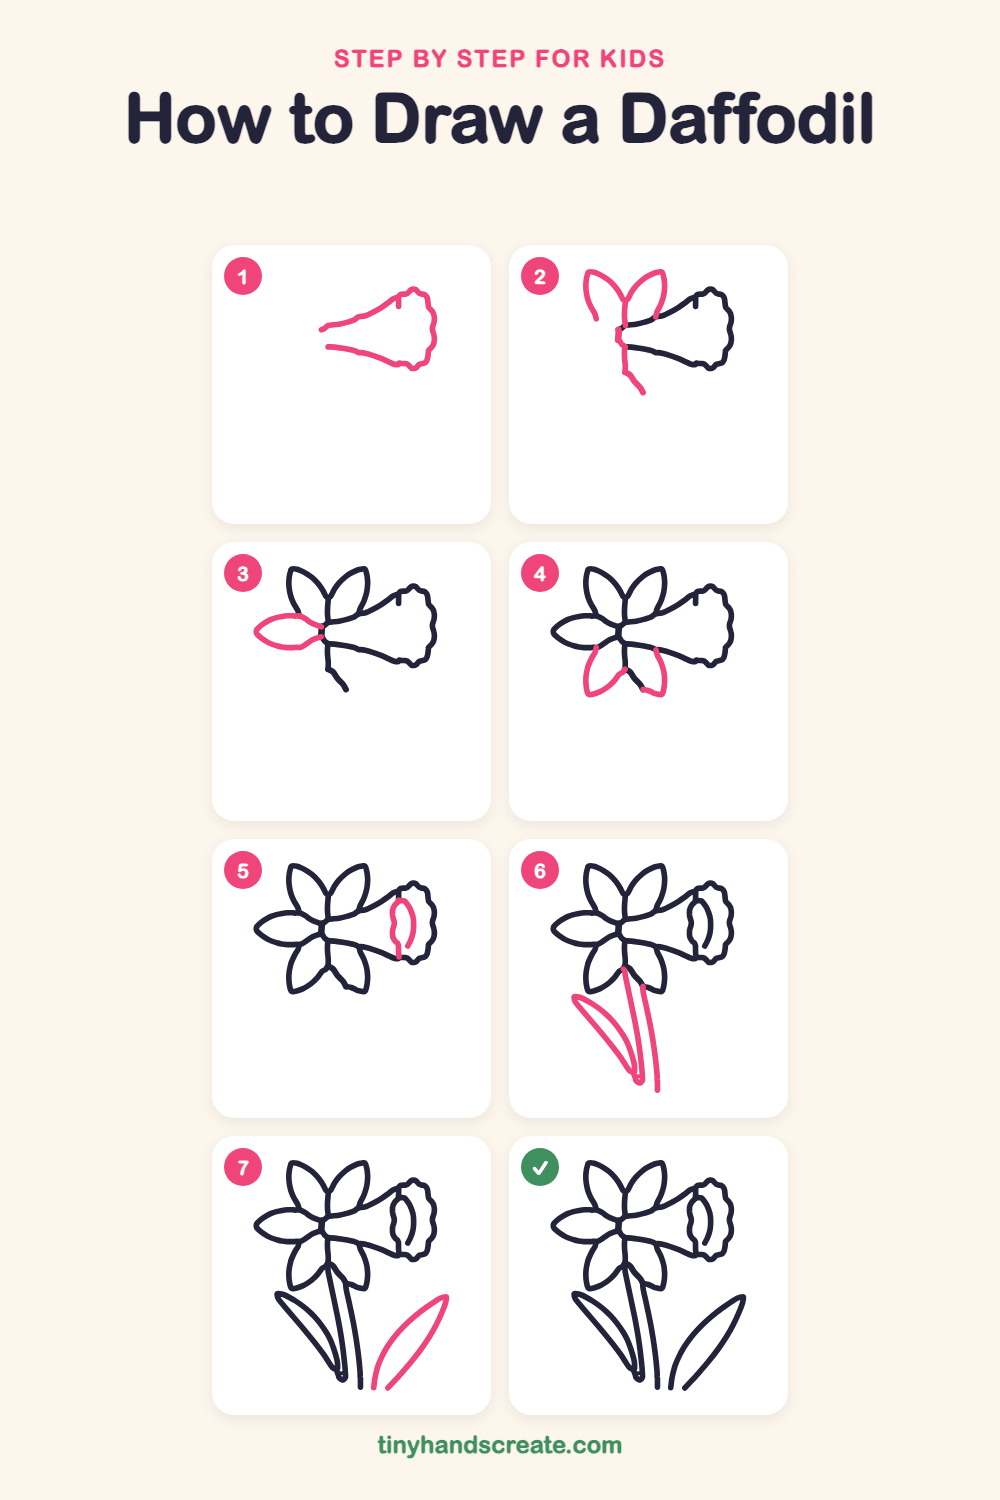
Step 1: Trumpet and ruffled rim
Draw two long lines that start close together on the left and spread apart as they go right, like a cone. At the wide end, connect them with a wavy, bumpy edge, like the rim of a cupcake wrapper.
Step 2: Top petals and center line
At the narrow end of the trumpet, draw two pointy leaf shapes that reach up, one leaning left and one leaning right, joined at the bottom. Then draw a short wobbly line straight down from where they meet, across the narrow end of the trumpet.
Step 3: Left petal
Next to the center, draw a pointy leaf shape that points out to the left, like a lemon lying on its side.
Step 4: Lower petals
Under the trumpet, draw two more pointy leaf shapes that hang down, one on the left of the center line and one on the right. That makes five petals around the center.
Step 5: Inside the cup
Inside the wavy rim, draw a wiggly line down the left side and a smooth curved line next to it. Add a tiny straight line at the bottom to join them to the trumpet.
Step 6: Stem and first leaf
Draw two long, slightly curved lines going down from under the flower to make the stem. Then draw a long skinny leaf shape on the left that starts at the bottom of the stem and points up and out.
Step 7: Second leaf
On the right side, draw another long pointy leaf that starts near the bottom of the stem and curves up and out to the right, ending in a point.
All done!
Go over your lines with a marker, then color it in.
Finished your daffodil? Keep the pencils out and learn how to draw a lily or how to draw a hibiscus flower next.
Tips for drawing a daffodil
- Draw the trumpet first and make it a little tilted. Then the petals will all have a place to start around its narrow end.
- The wavy rim is the trickiest part. Draw small bumps one at a time, like a row of tiny hills, instead of trying to do one long wiggle.
- Make the petals pointy at the tips and rounded on the sides, like lemon shapes. They do not all have to match, because real flowers are never exactly the same.
Free daffodil coloring page
Want to go straight to coloring? Open this daffodil coloring page at full size and print it. It is the same drawing you just learned, with clean lines ready for crayons or markers.
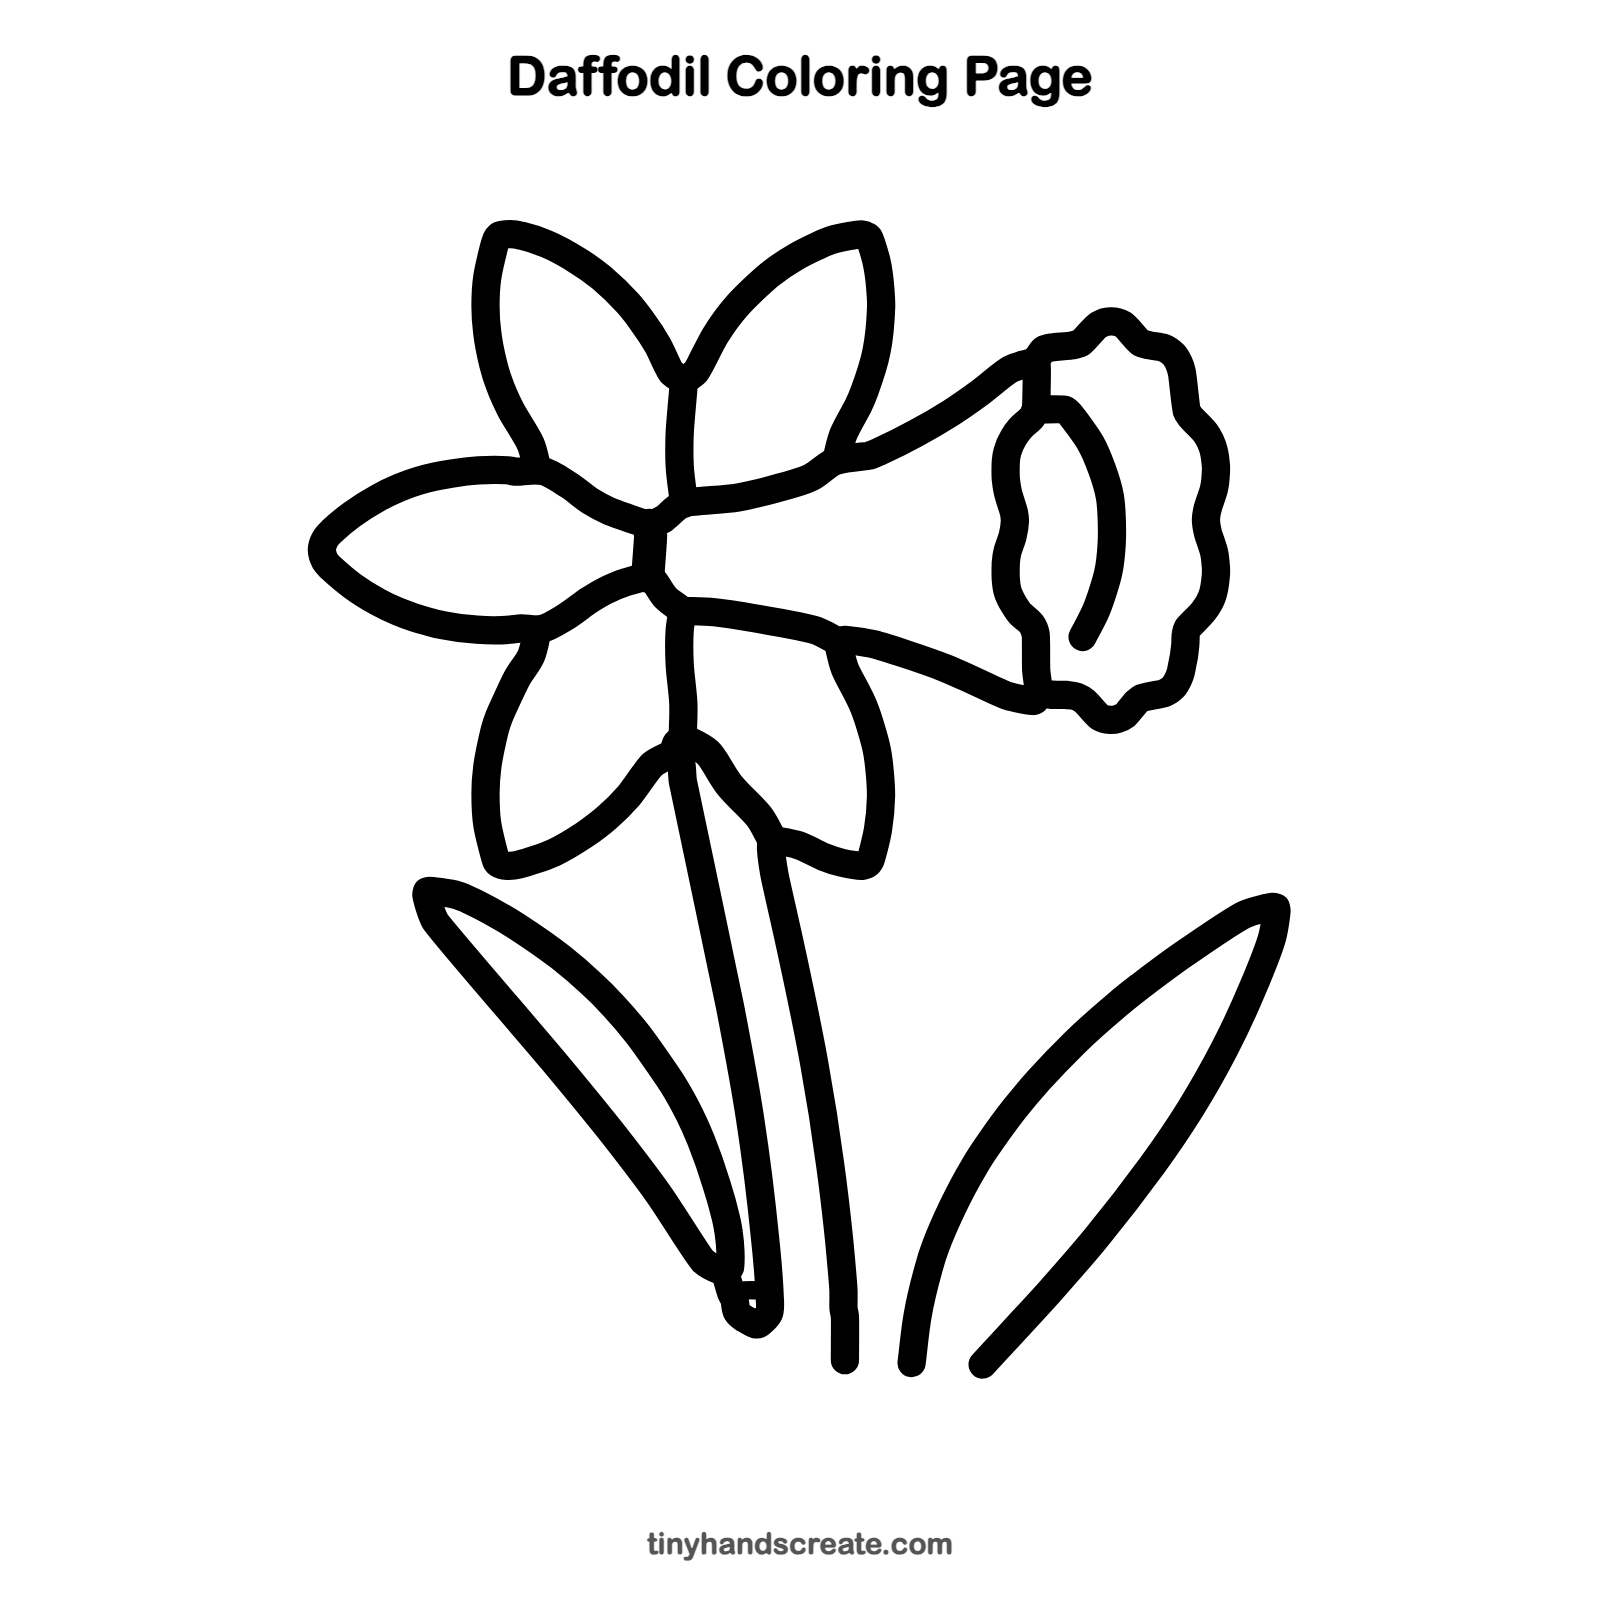
How to color your daffodil drawing
Try bright yellow for the petals, a deeper orange for the trumpet, and green for the stem and leaves. For a creative twist, color the inside of the trumpet a different shade than the rim.
Daffodil fun fact for kids
Daffodils grow from bulbs that are planted in the fall, and the flowers pop up in early spring.
Questions about drawing a daffodil
What shapes do I need to draw a daffodil?
You need a cone for the trumpet, a wavy edge for its rim, and five pointy leaf shapes for the petals. Two long curved lines make the stem, and two skinny leaf shapes finish it.
How do I make my daffodil petals look even?
Draw the top two petals first, then the one on the left, then the two at the bottom. Try to leave about the same gap between each petal as you go around the center.
Do the petals have to be exactly the same?
No. Real daffodil petals are a little different from each other, so small differences in size and tilt make your flower look natural.