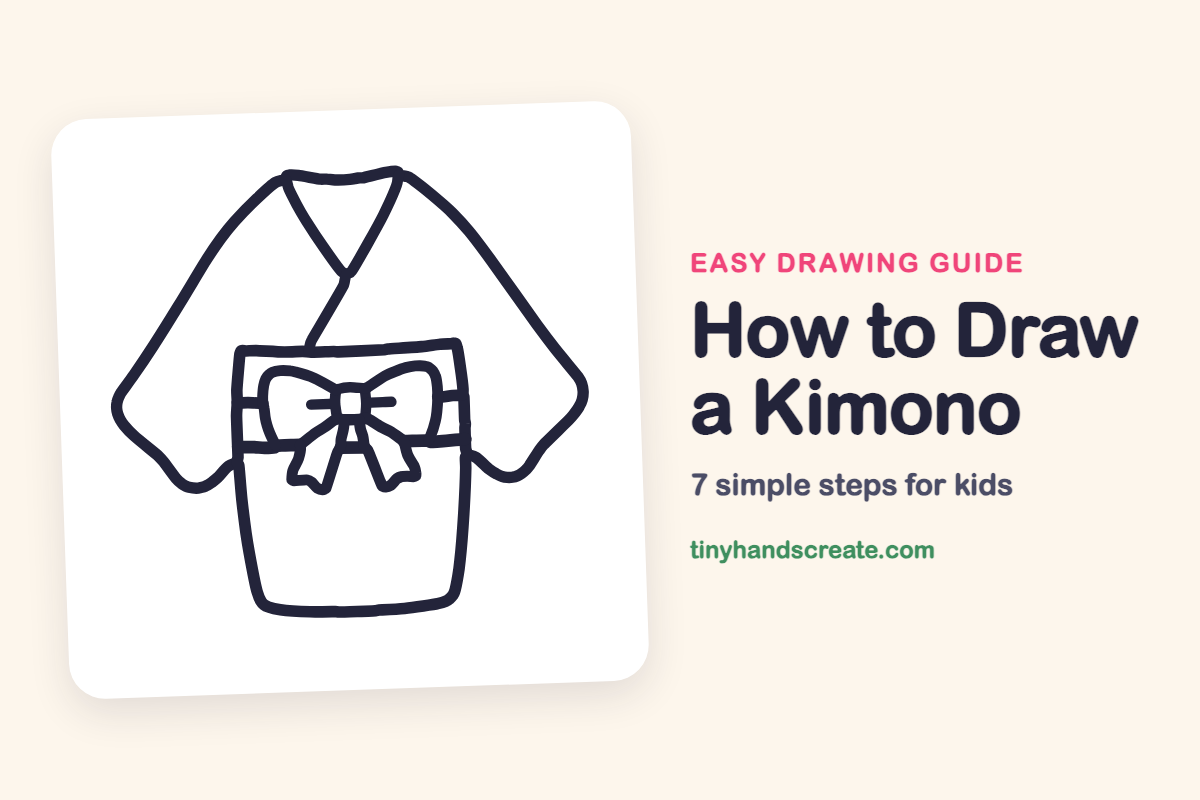
How to Draw a Kimono (Easy Step by Step)
Learn how to draw a kimono easily using simple shapes like a rectangle for the body, wide sleeves, and a bow. You'll discover how to make it look special with a V-shaped collar and belt without complex details.
- Begin your kimono drawing with a simple rectangle for the body.
- Incorporate wide sleeves and a two-loop bow for the obi.
- Add a V-shaped collar and belt to create special details easily.
This post contains affiliate links. As an Amazon Associate I earn from qualifying purchases.
A kimono is a fun drawing because it is built from simple shapes: a rectangle for the body, wide sleeves, and a bow made of two loops. The V-shaped collar and the belt with its bow make it look special without any hard details.
- Easy
- 10 minutes
- 7 steps
You need: paper, a pencil, an eraser, and crayons or markers for coloring.
Start drawing


In this article (7 sections)
How to draw a kimono step by step
How to Draw a Kimono · tinyhandscreate.com
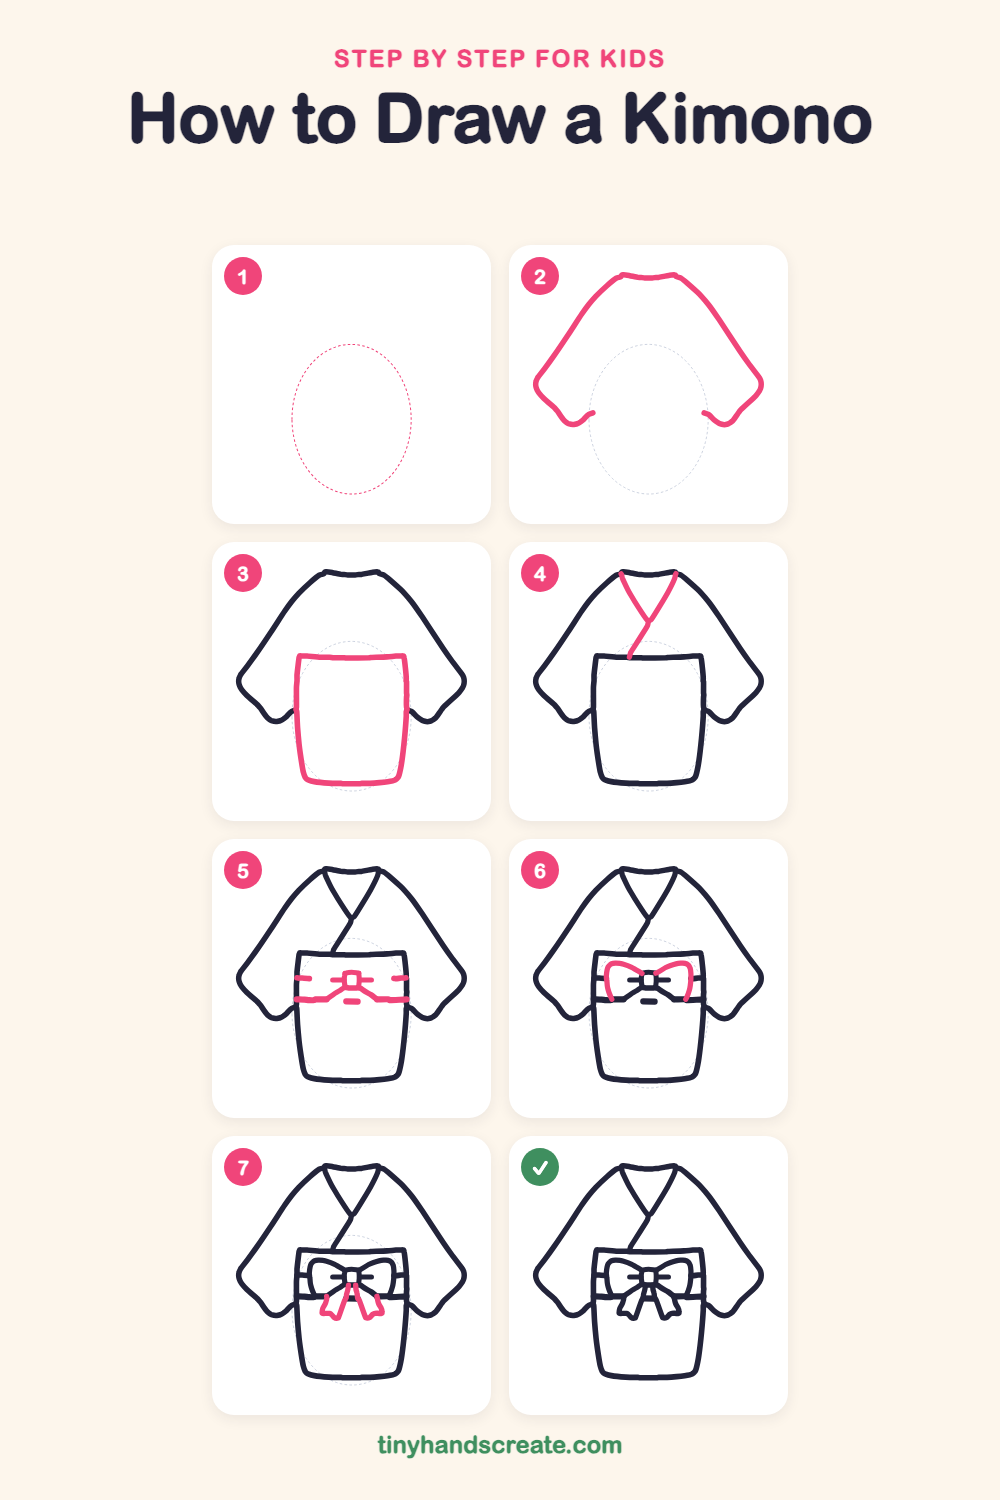
Step 1: Guide shapes
Lightly sketch this oval. It only shows where the big parts go, so press softly. You will erase it at the end.
Step 2: Sleeves and shoulders
Start with a short wavy line across the top for the neckline. From each end, draw a long slanted line down and out to make the wide sleeves, then curve each one around into a rounded cuff that ends in a little curl.
Step 3: The body
Draw a tall rounded rectangle in the middle, a little narrower at the bottom than the top. Its top edge sits under the sleeves and its sides tuck in between them.
Step 4: The collar
Draw a V shape down from the two ends of the neckline. Then draw a short slanted line from the point of the V down to the top edge of the body.
Step 5: The wide belt
Draw two straight lines across the middle of the body, one near the top and one lower down, to make the wide belt called an obi. Add a small square in the center for the knot, with short lines on each side of it.
Step 6: The bow loops
On the belt, draw two big rounded loops like bunny ears, one on the left of the knot and one on the right. Each loop curves from the knot out to the belt's edge.
Step 7: The bow tails
Under the knot, draw two ribbon tails that hang down like a letter V. Give each one a little notch at the bottom.
All done!
Erase the guide shapes, go over your lines, then color it in.
Finished your kimono? Keep the pencils out and learn how to draw a rocket or how to draw a shooting star next.
Tips for drawing a kimono
- Draw the sleeves first and keep them wide and rounded at the bottom, so the kimono looks roomy.
- Make the two bow loops about the same size. Draw one, then match the other to it.
- Start the collar at the two ends of the neckline so the V looks neat, and let the short line run down to the top of the body.
Free kimono coloring page
Want to go straight to coloring? Open this kimono coloring page at full size and print it. It is the same drawing you just learned, with clean lines ready for crayons or markers.
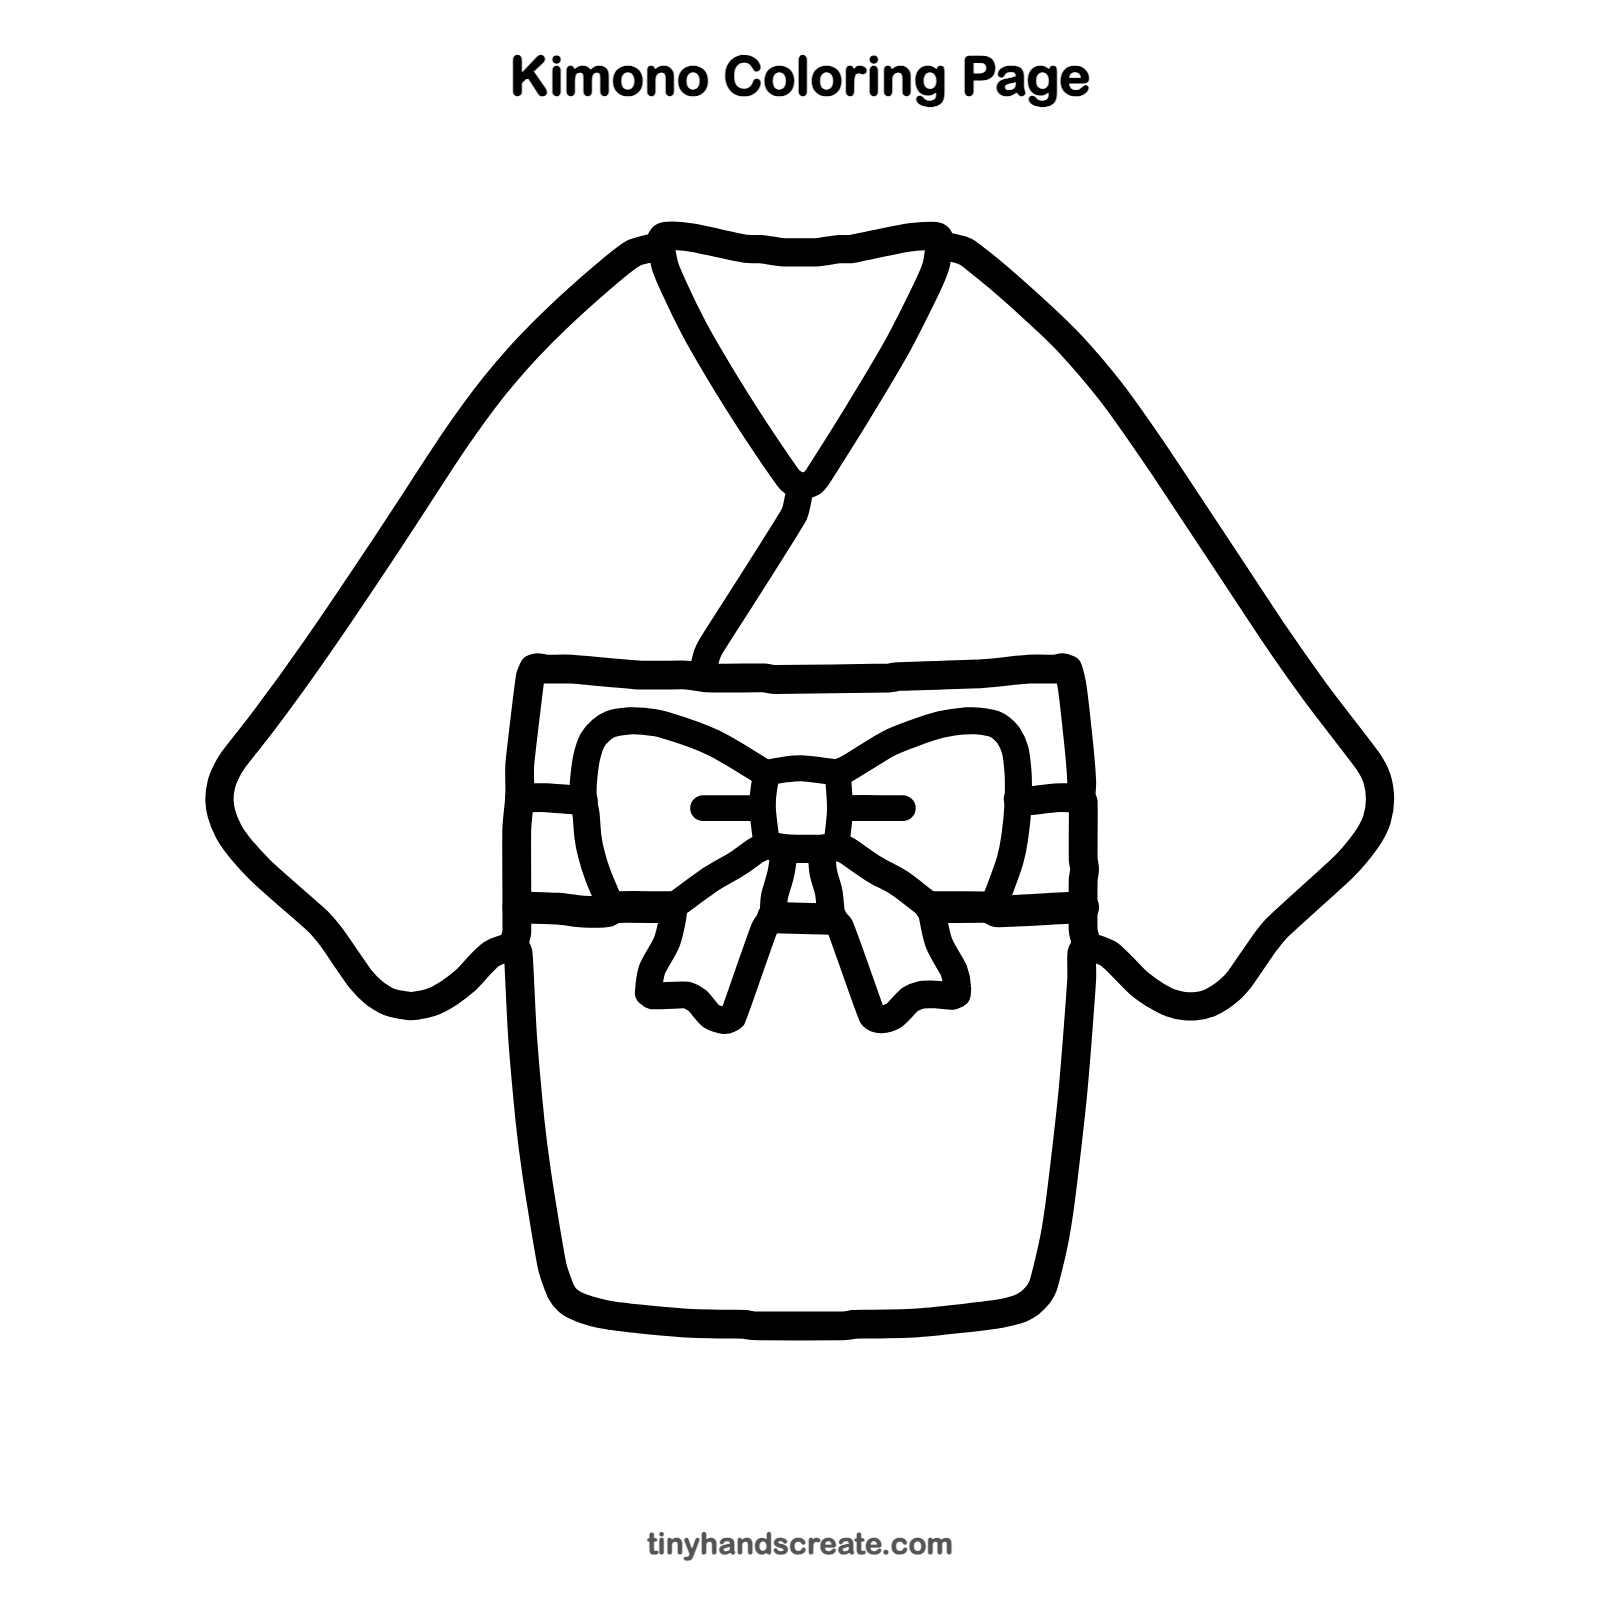
How to color your kimono drawing
Try a bright red or deep blue kimono with a belt in a different color, like gold or pink. For a creative twist, add flowers, waves, or tiny stars all over the sleeves.
Kimono fun fact for kids
A kimono is worn with the left side wrapped over the right, and it is held closed by a wide belt called an obi.
Questions about drawing a kimono
What shapes do I need to draw a kimono?
You need a tall rectangle for the body, two wide sleeve shapes, and two loops for the bow. A few straight lines make the collar and belt.
How do I make my kimono look more real?
Add a V-shaped collar and a wide belt with a bow. Patterns on the sleeves help too.
What is the belt on a kimono called?
It is called an obi. It is a wide sash wrapped around the middle and tied in a bow.