How to Draw a Christmas Moose (Easy Step by Step)
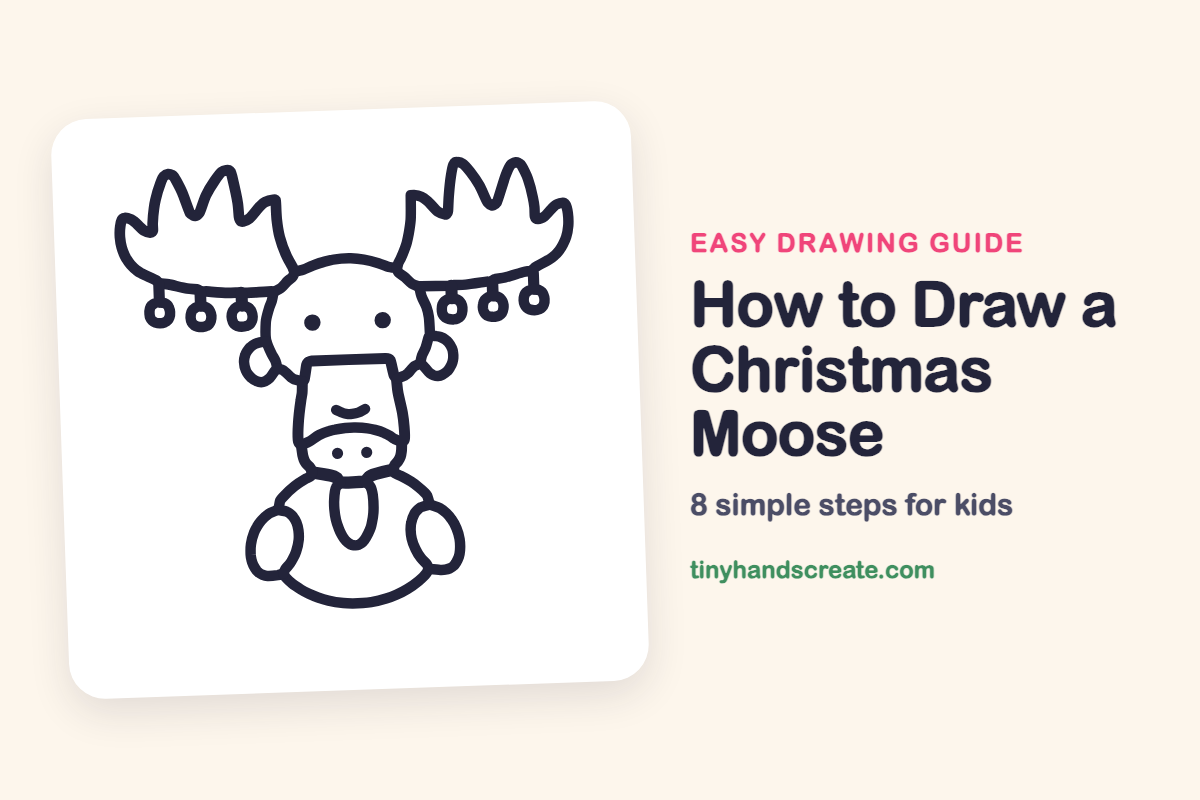
Learn to draw a festive Christmas moose with this easy step-by-step guide. You'll use simple curves, circles, and ovals to create a friendly design, complete with holiday ornaments on its antlers.
- You'll build your Christmas moose using simple curves, circles, and ovals.
- Construct your moose with a round head, a round tummy, and big pointy antlers.
- Add little ornaments to the antlers to give your drawing a festive holiday feel.
This Christmas moose is built from simple curves, circles and ovals, so it is a friendly drawing for beginners. A round head, a round tummy and a big pair of pointy antlers are all you need. The little ornaments hanging from the antlers make it feel just right for the holidays.
- Medium
- 15 minutes
- 8 steps
You need: paper, a pencil, an eraser, and crayons or markers for coloring.
Start drawing
In this article (7 sections)
How to draw a Christmas moose step by step
How to Draw a Christmas Moose · tinyhandscreate.com
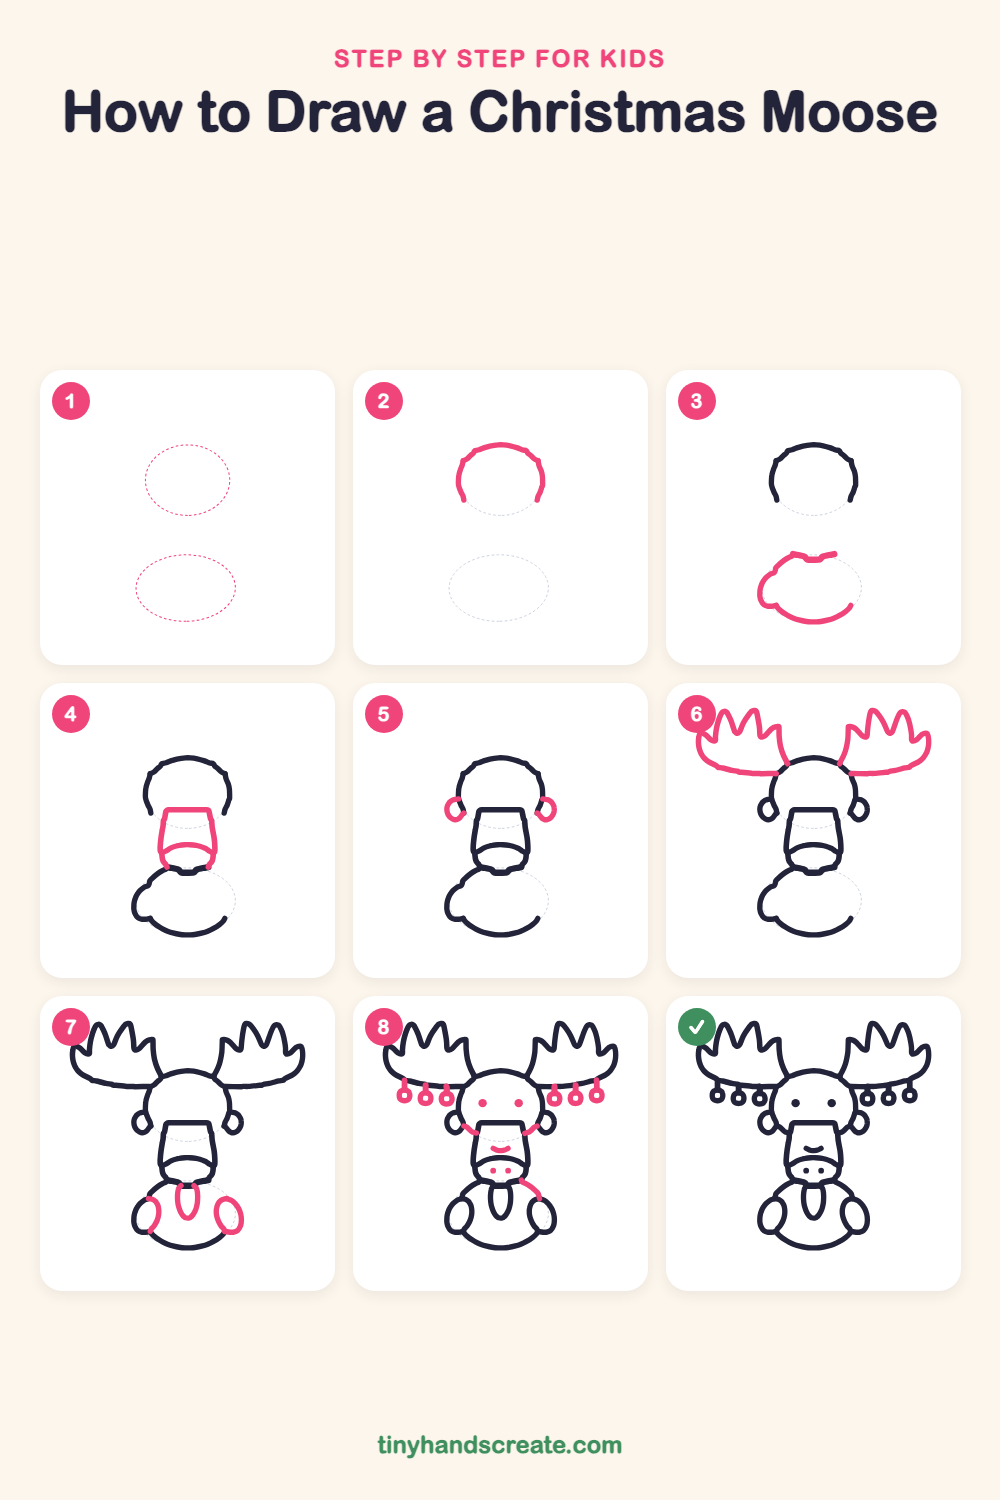
Step 1: Guide shapes
Lightly sketch these 2 ovals. They only show where the big parts go, so press softly. You will erase them at the end.
Step 2: Top of the head
Near the top of your page, draw a curved line like an upside-down bowl. This is the top of the moose's head, so leave the bottom open and leave plenty of room above it for the antlers.
Step 3: The round tummy
Under the head, draw a big curved shape like a round bowl for the tummy. Start on the left, curve down and around the bottom, and end on the right, leaving the top open.
Step 4: The long snout
Below the head, draw a tall shape like a flat-topped bucket that gets a little narrower toward the bottom. Then add a curved, bowl-shaped line across the bottom of it for the muzzle.
Step 5: Two small ears
Draw a small loop shaped like a teardrop on each side of the head, just above the snout. Make them match, with the pointed ends tucked against the head.
Step 6: The big antlers
From the top sides of the head, draw a long curved branch going out to each side. Then draw pointy peaks along the top of each branch, like a crown of mountains.
Step 7: Arms and tummy patch
Draw a tall oval on each side of the tummy for the arms. Then draw a long, narrow leaf shape down the middle of the tummy.
Step 8: Face and ornaments
Add two round dots for eyes, a small curved smile on the snout, and two little dots for nostrils on the muzzle. Last, hang three short strings under each antler and finish each with a small ring, like a Christmas ornament.
All done!
Erase the guide shapes, go over your lines, then color it in.
Finished your Christmas moose? Keep the pencils out and learn how to draw a snowman or how to draw Santa Claus next.
Tips for drawing a Christmas moose
- Draw the antler branches as long, gentle curves first, then add the pointy peaks on top. Try to make the peaks about the same height on both sides.
- The snout is the trickiest part. Start with the flat top, let the sides lean in a little, then close it off with the curved muzzle.
- Space the three ornaments under each antler evenly. Draw the short string first, then a small ring at the bottom.
Free Christmas moose coloring page
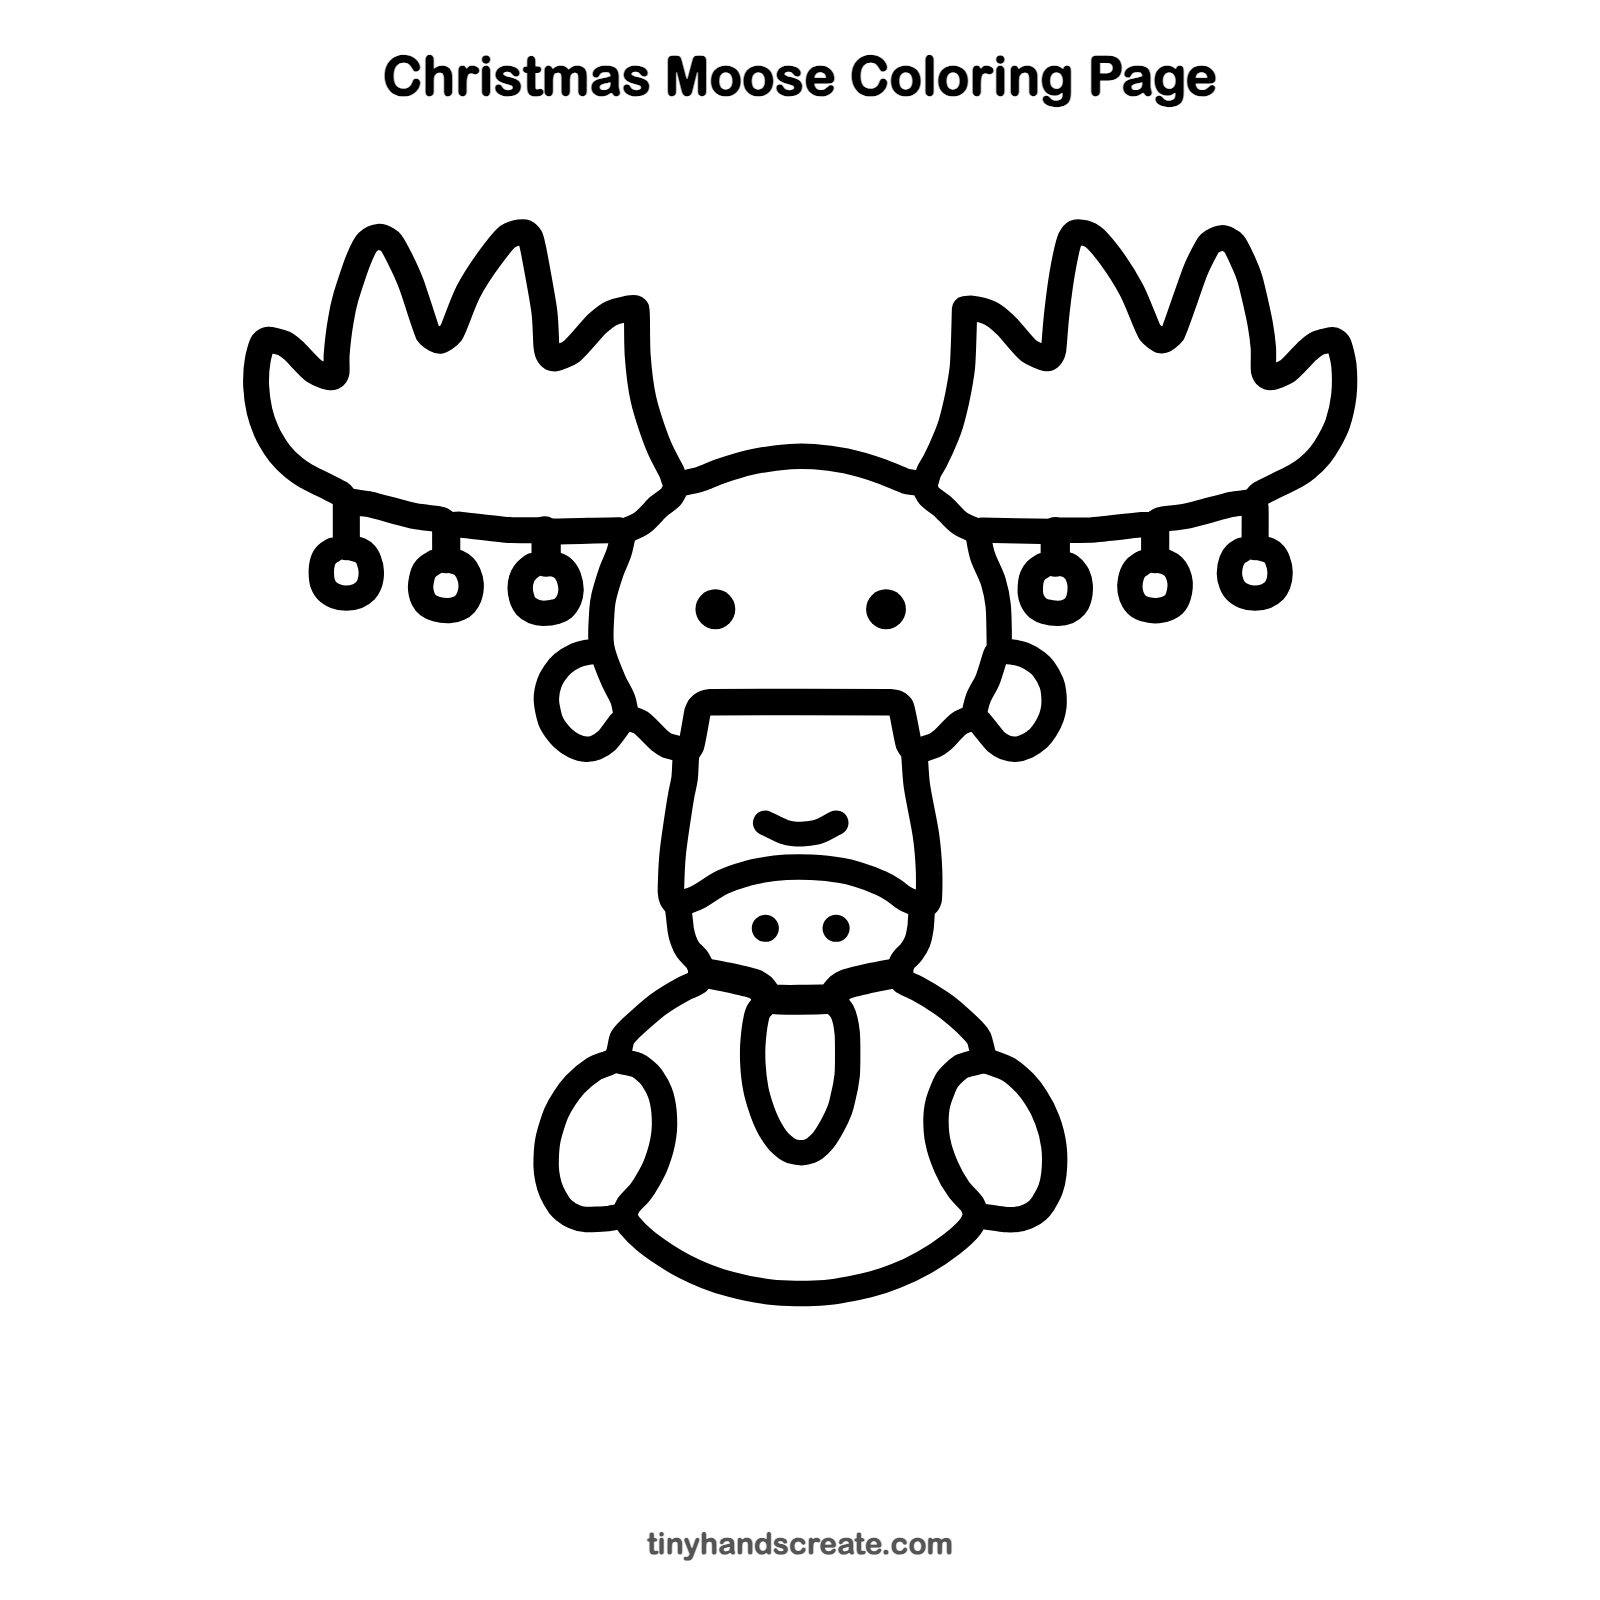
Want to go straight to coloring? Open this Christmas moose coloring page at full size and print it. It is the same drawing you just learned, with clean lines ready for crayons or markers.
How to color your Christmas moose drawing
Try warm browns for the body and head, with a lighter tan for the snout and the tummy patch. For a creative twist, color each ornament a different bright color, like red, gold, green and blue.
Christmas moose fun fact for kids
Moose are the largest members of the deer family, and only the males grow antlers. They shed them every winter and grow a brand new pair each spring.
Questions about drawing a Christmas moose
What shapes do I need to draw a Christmas moose?
You need curves, circles and ovals for the head, body, ears and arms, plus a bucket shape for the snout. The antlers are long curves with pointy peaks.
How do I make my moose look cuter?
Place the eyes wide apart and keep the smile small and curved. Round, chunky antlers and big ornaments also add to the cute look.
How do I draw antlers that look the same on both sides?
Draw the first antler, then hold your page up to a window and look through the back to see its shape. You can also count the peaks as you go so both sides match.