How to Draw a Christmas Garland (Easy Step by Step)
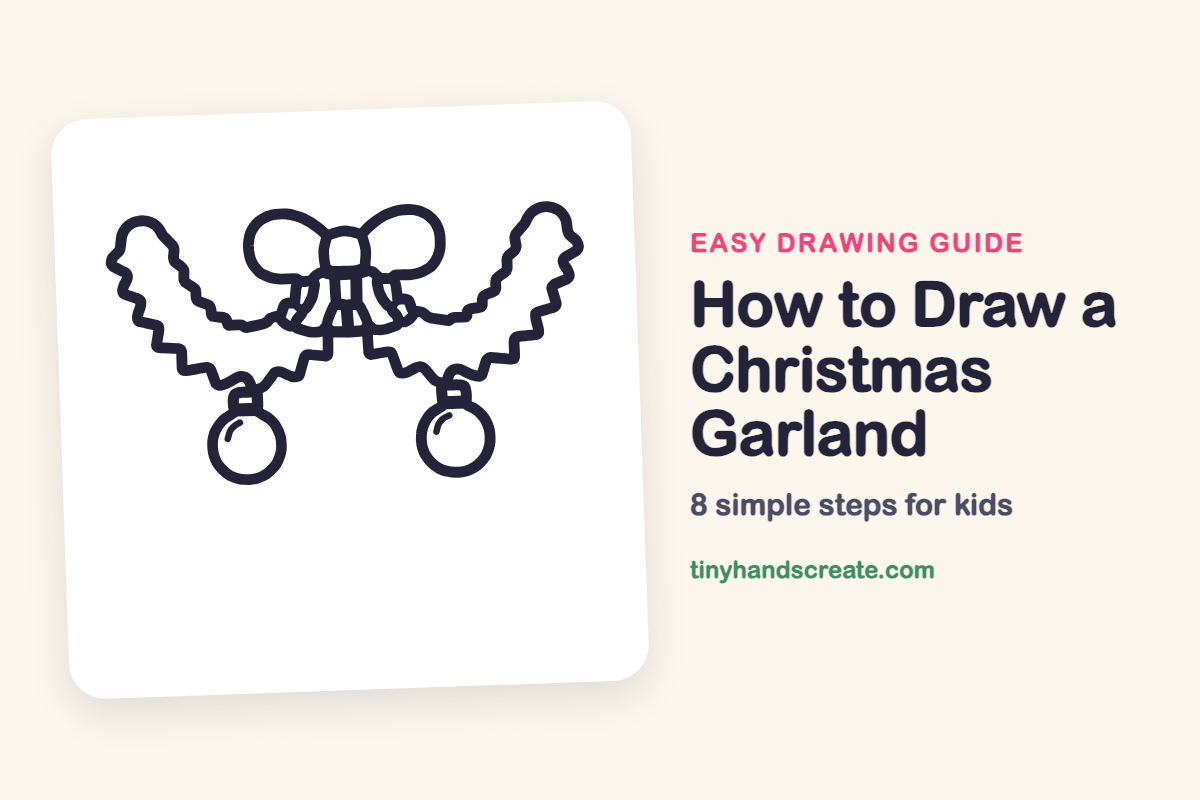
A Christmas garland is a fun mix of loops, bumpy lines and circles. You will draw a bow in the middle, two bumpy swags of pine branches, and two round ornaments hanging at the bottom. Once you can draw a circle and a wavy line, you can draw the whole thing.
- Medium
- 15 minutes
- 8 steps
You need: paper, a pencil, an eraser, and crayons or markers for coloring.
Start drawing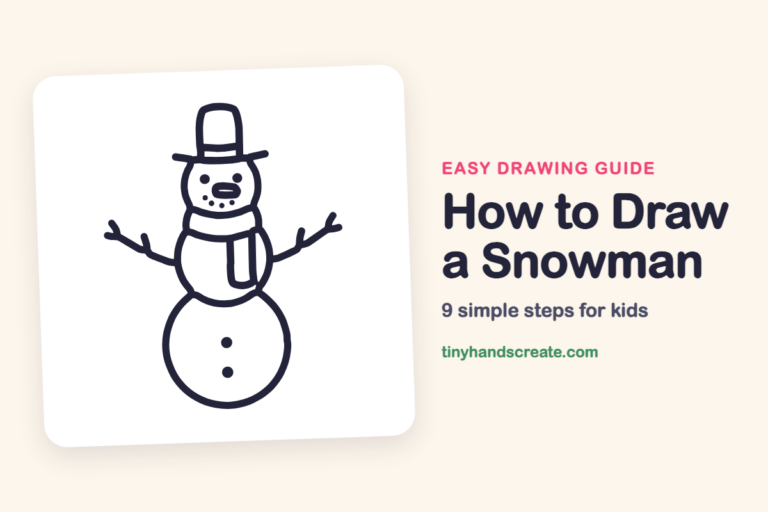
In this article (7 sections)
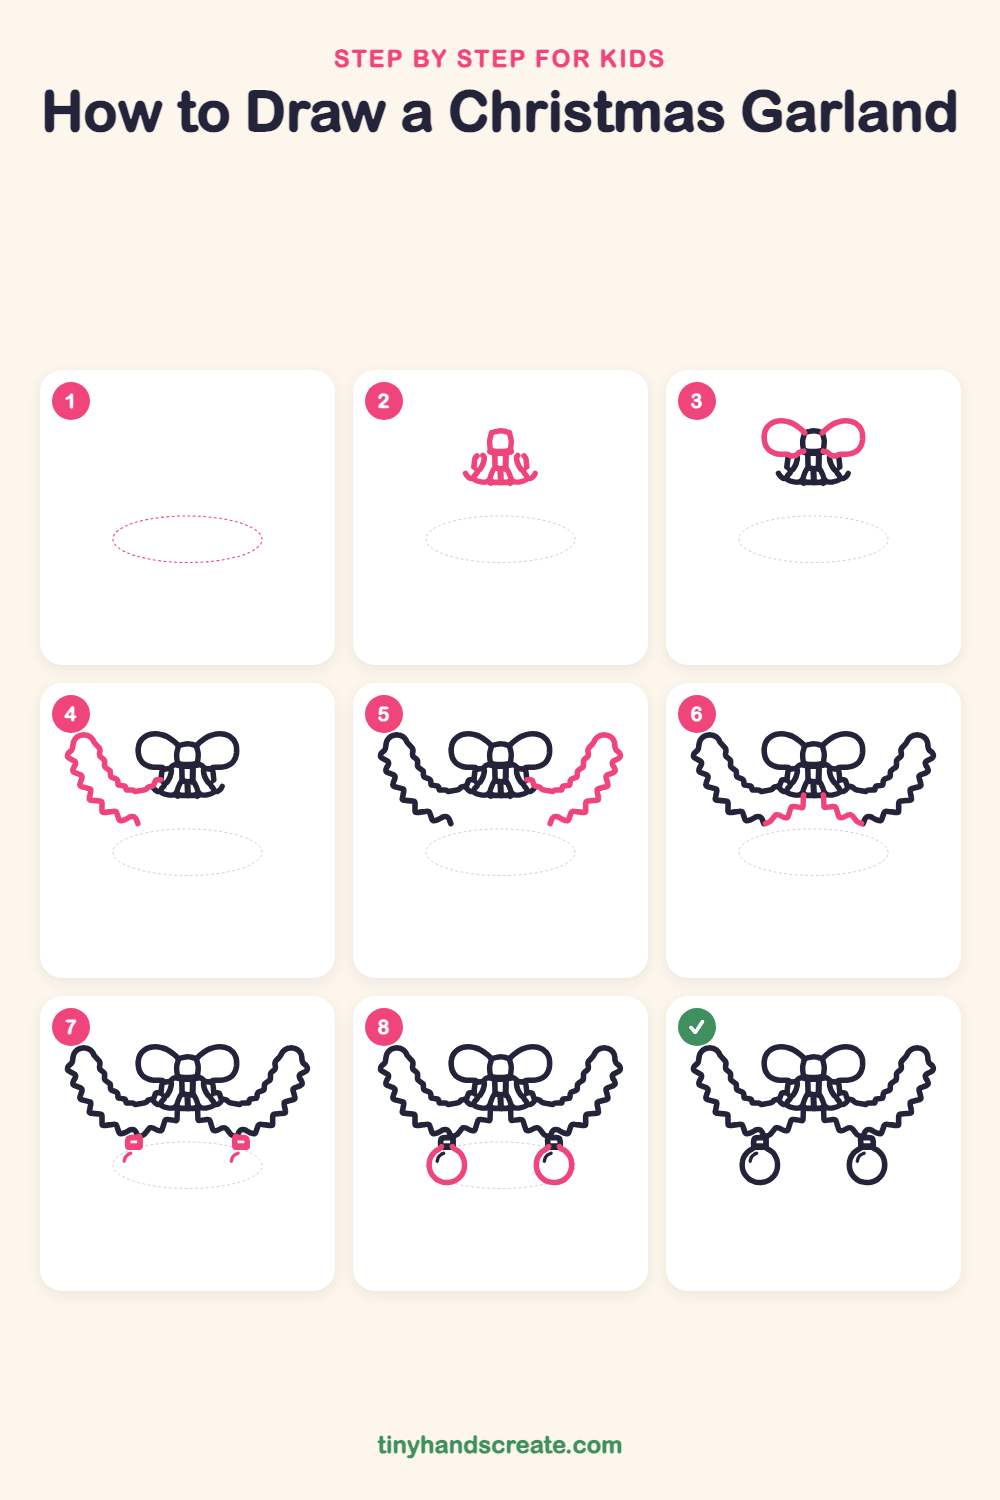
How to draw a Christmas garland step by step
How to Draw a Christmas Garland · tinyhandscreate.com
Step 1: Guide shapes
Lightly sketch this oval. It only shows where the big parts go, so press softly. You will erase it at the end.
Step 2: Bow knot and tails
Draw a small rounded square at the top middle for the knot of the bow. Under it, draw a row of short straight lines hanging down like ribbon tails, then add a wide curved line across the bottom and a little curl on each side.
Step 3: The two bow loops
Draw a big rounded loop on the left side of the knot, like a leaf or a sideways teardrop. Then draw a matching loop on the right side so the bow looks like a butterfly.
Step 4: Left garland swag
Start just under the left side of the bow and draw a bumpy, wavy line that curves out to the left and up to a rounded tip. From that tip, draw another bumpy line back down and toward the middle, ending below the bow.
Step 5: Right garland swag
Do the same on the right side. Start under the right side of the bow, draw a bumpy line out and up to a rounded tip, then bring a bumpy line back down toward the middle.
Step 6: Swag centers
At the bottom of each swag, draw a short bumpy line that joins the swag end up to the bottom of the bow. This closes the swags so they hang from the bow.
Step 7: Ornament caps
Where each swag dips lowest, draw a small rounded square with a tiny dash in the middle. These are the caps that hold the ornaments. Under each cap, draw a short curved line.
Step 8: Round ornaments
Under each cap, draw a big circle. Start at one side of the cap, curve all the way around, and meet the other side. The small curved line from the last step ends up inside as a shine mark.
All done!
Erase the guide shapes, go over your lines, then color it in.
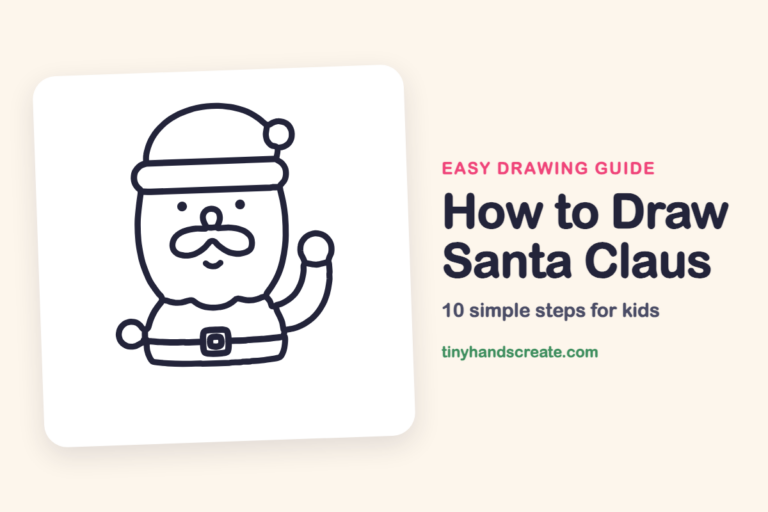
Finished your Christmas garland? Keep the pencils out and learn how to draw a snowman or how to draw Santa Claus next.
Tips for drawing a Christmas garland
- The bumpy swags are the trickiest part. Draw them slowly with short, pointy bumps, and try to keep each bump about the same size.
- Make the bow loops by drawing a big rounded leaf shape on each side. Draw the left one first, then match it on the right.
- For the ornaments, trace around a bottle cap or coin first if your circles come out wobbly. Draw the small shine curve under each cap before you add the circle.
Free Christmas garland coloring page
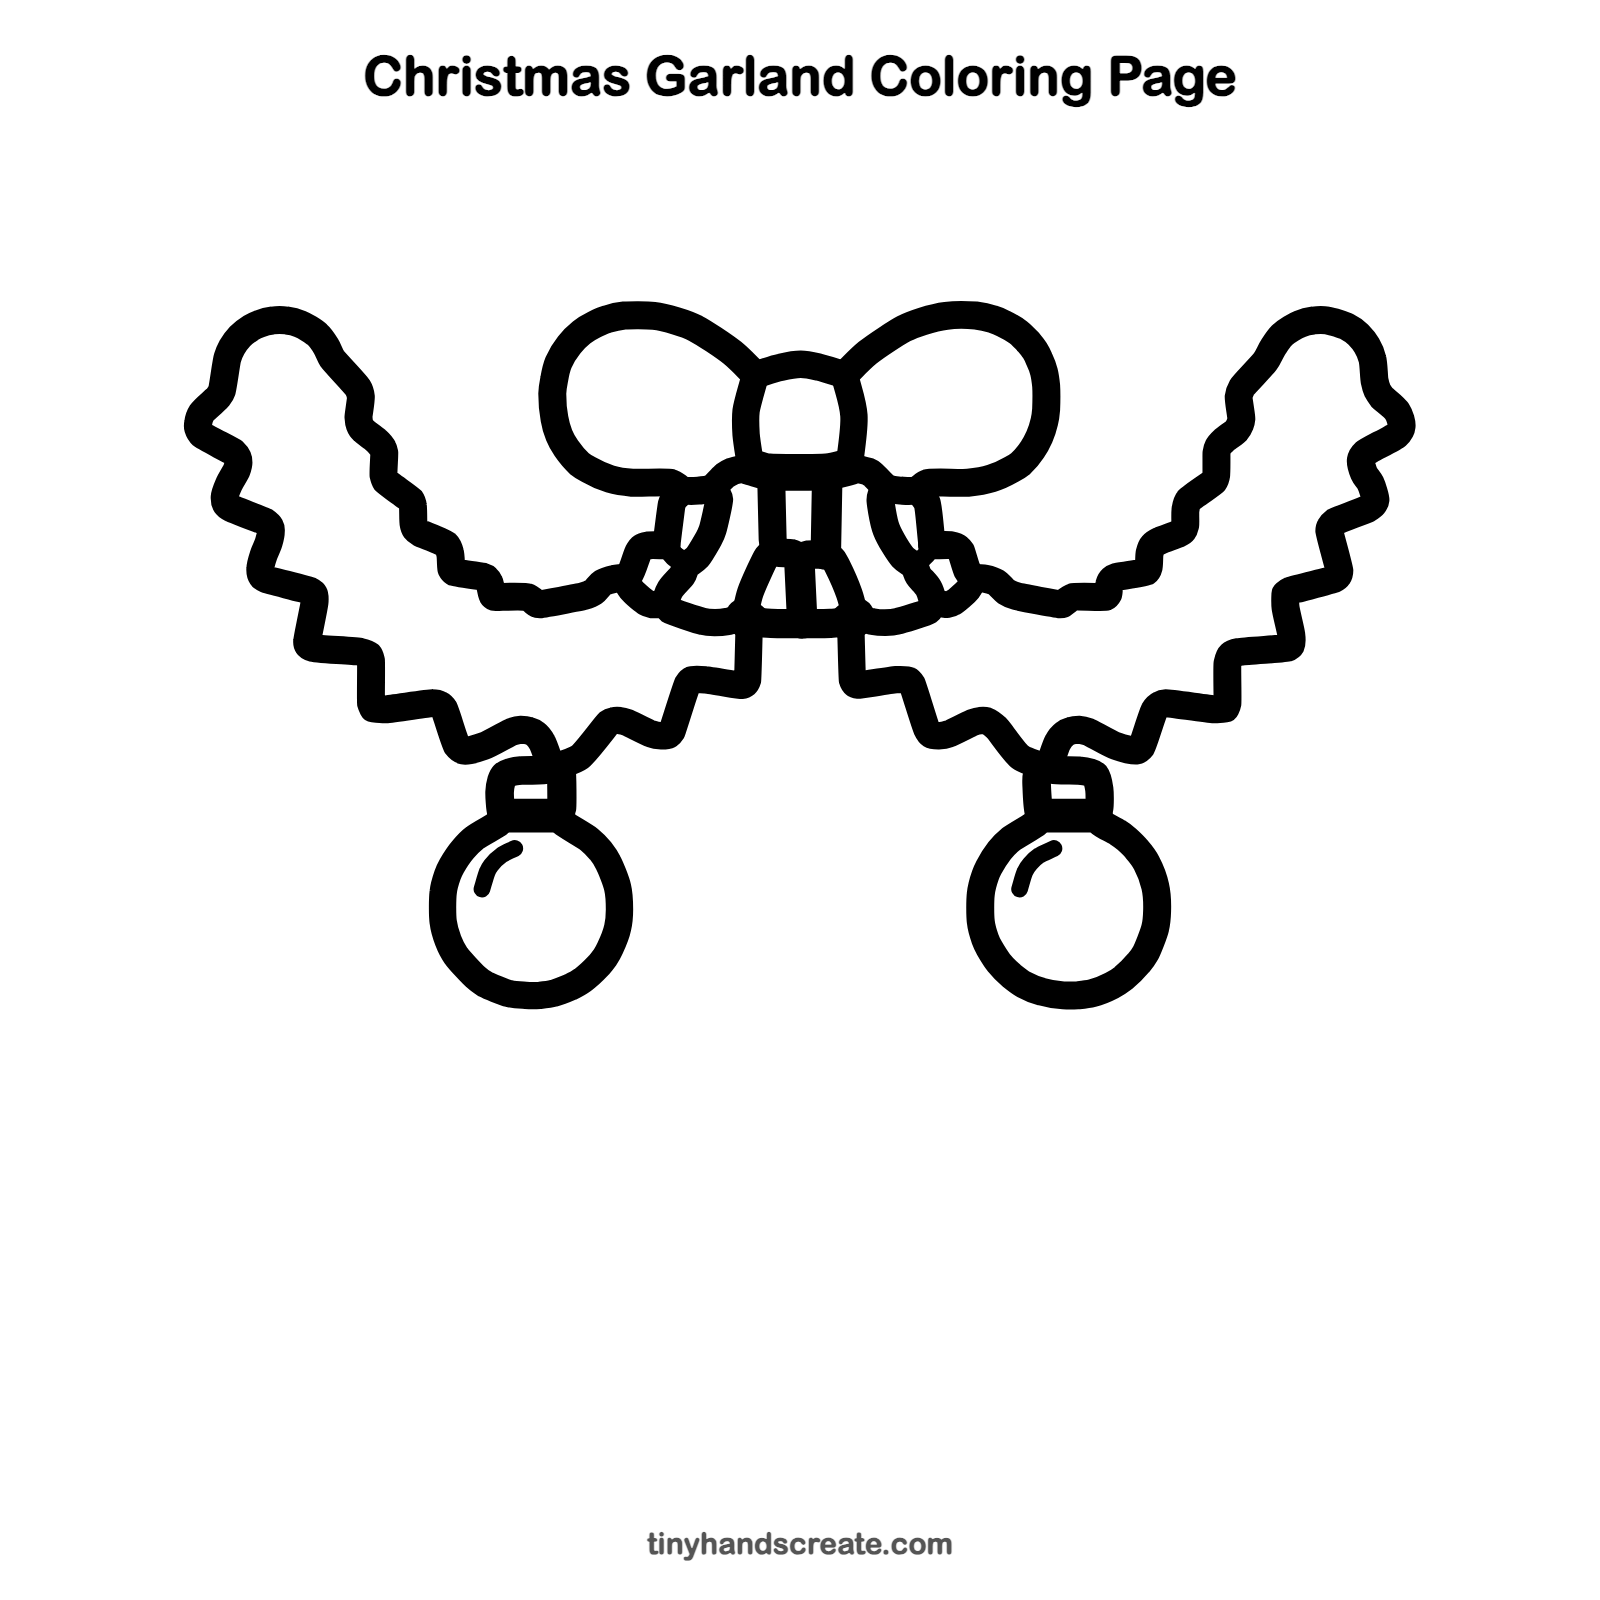
Want to go straight to coloring? Open this Christmas garland coloring page at full size and print it. It is the same drawing you just learned, with clean lines ready for crayons or markers.
How to color your Christmas garland drawing
Color the swags in deep greens, the bow bright red, and the ornaments gold, silver or blue. For a creative twist, add glitter glue or dots of paint for lights along the garland.
Christmas garland fun fact for kids
People have decorated their homes with evergreen branches for thousands of years, because the plants stay green all winter long.
Questions about drawing a Christmas garland
What shapes do I need to draw a Christmas garland?
You need circles for the ornaments, rounded loops for the bow, a small square for the knot and caps, and bumpy wavy lines for the pine branches.
How do I make my garland swags look neat?
Draw a light pencil curve first to show where the garland will hang. Then make short pointy bumps along it, keeping them about the same size.
How do I make my ornaments look shiny?
Draw a small curved line inside each ornament near the top left. Leave a little white space next to it when you color so it looks like a bright reflection.