How to Draw a Pumpkin Patch (Easy Step by Step)
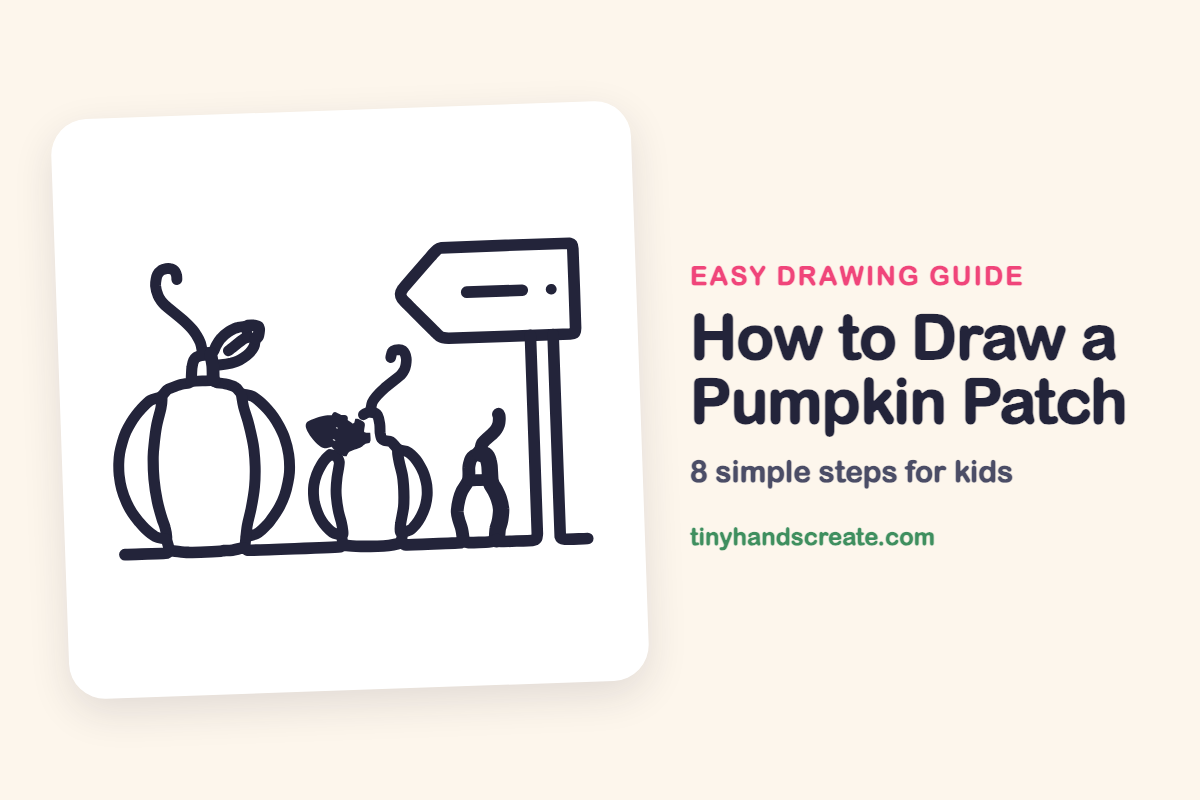
A pumpkin patch is a cozy scene to draw because almost everything is built from curvy lines. You will make two pumpkins and a little gourd, add curly vines and leaves, and finish with a wooden sign on two posts.
- Medium
- 15 minutes
- 8 steps
You need: paper, a pencil, an eraser, and crayons or markers for coloring.
Start drawingIn this article (7 sections)
How to draw a pumpkin patch step by step
How to Draw a Pumpkin Patch · tinyhandscreate.com
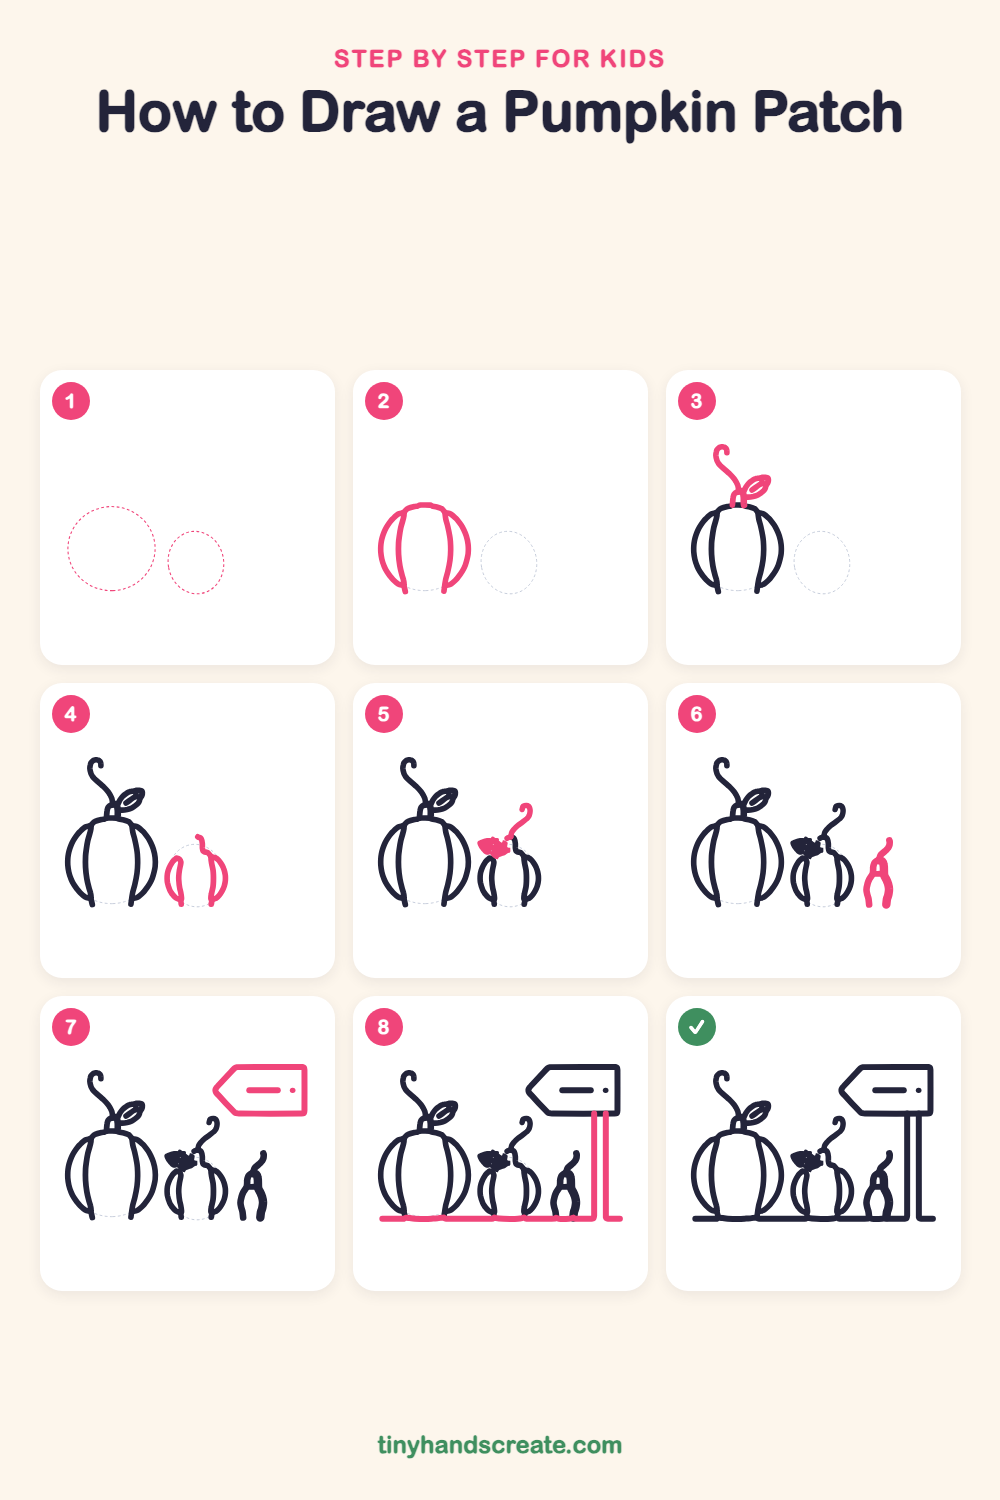
Step 1: Guide shapes
Lightly sketch these 2 ovals. They only show where the big parts go, so press softly. You will erase them at the end.
Step 2: The big pumpkin
On the left side of the page, draw two curved lines that bow outward, one on each side, like the sides of a round ball. Then draw two more curved lines inside them, bending like parentheses, so the pumpkin has a tall middle section.
Step 3: Stem, vine and leaf
On top of the big pumpkin, draw a short, chunky stem. From the stem, draw a long curly vine that swirls up and ends in a little curl, and add a pointed leaf with a line down its middle.
Step 4: The middle pumpkin
To the right of the big pumpkin, a little lower on the page, draw a smaller pumpkin the same way: two curved lines on the outside and two curved lines inside. Add a tiny wiggly stem at the top.
Step 5: Middle vine and leaf
On top of the middle pumpkin, draw a small leaf on the left side of the stem, like a pointed oval. Then draw a curly vine that swirls up and to the right from the stem.
Step 6: The little gourd
Next to the middle pumpkin, draw a small gourd. Start with a wiggly, narrow shape that is wider at the bottom and thinner at the top, then finish the top with a curly tail.
Step 7: The wooden sign
Up on the right, draw a rectangle with a pointy arrow shape on its left end. Inside, add a short dash and a little dot, like pretend words.
Step 8: Posts and ground
Draw two straight lines going down from the bottom of the sign to make its posts. Finish with one long line across the bottom, under the pumpkins and the posts, so everything sits on the ground.
All done!
Erase the guide shapes, go over your lines, then color it in.
Finished your pumpkin patch? Keep the pencils out and learn how to draw witch boots or how to draw a zombie hand next.
Tips for drawing a pumpkin patch
- Draw the big pumpkin first and take your time, so the middle pumpkin and the gourd have room to sit next to it.
- The curved lines inside each pumpkin are easiest if you draw them from top to bottom in one smooth stroke.
- Make the vines by drawing a wavy line and ending with a small spiral, like a snail shell.
Free pumpkin patch coloring page
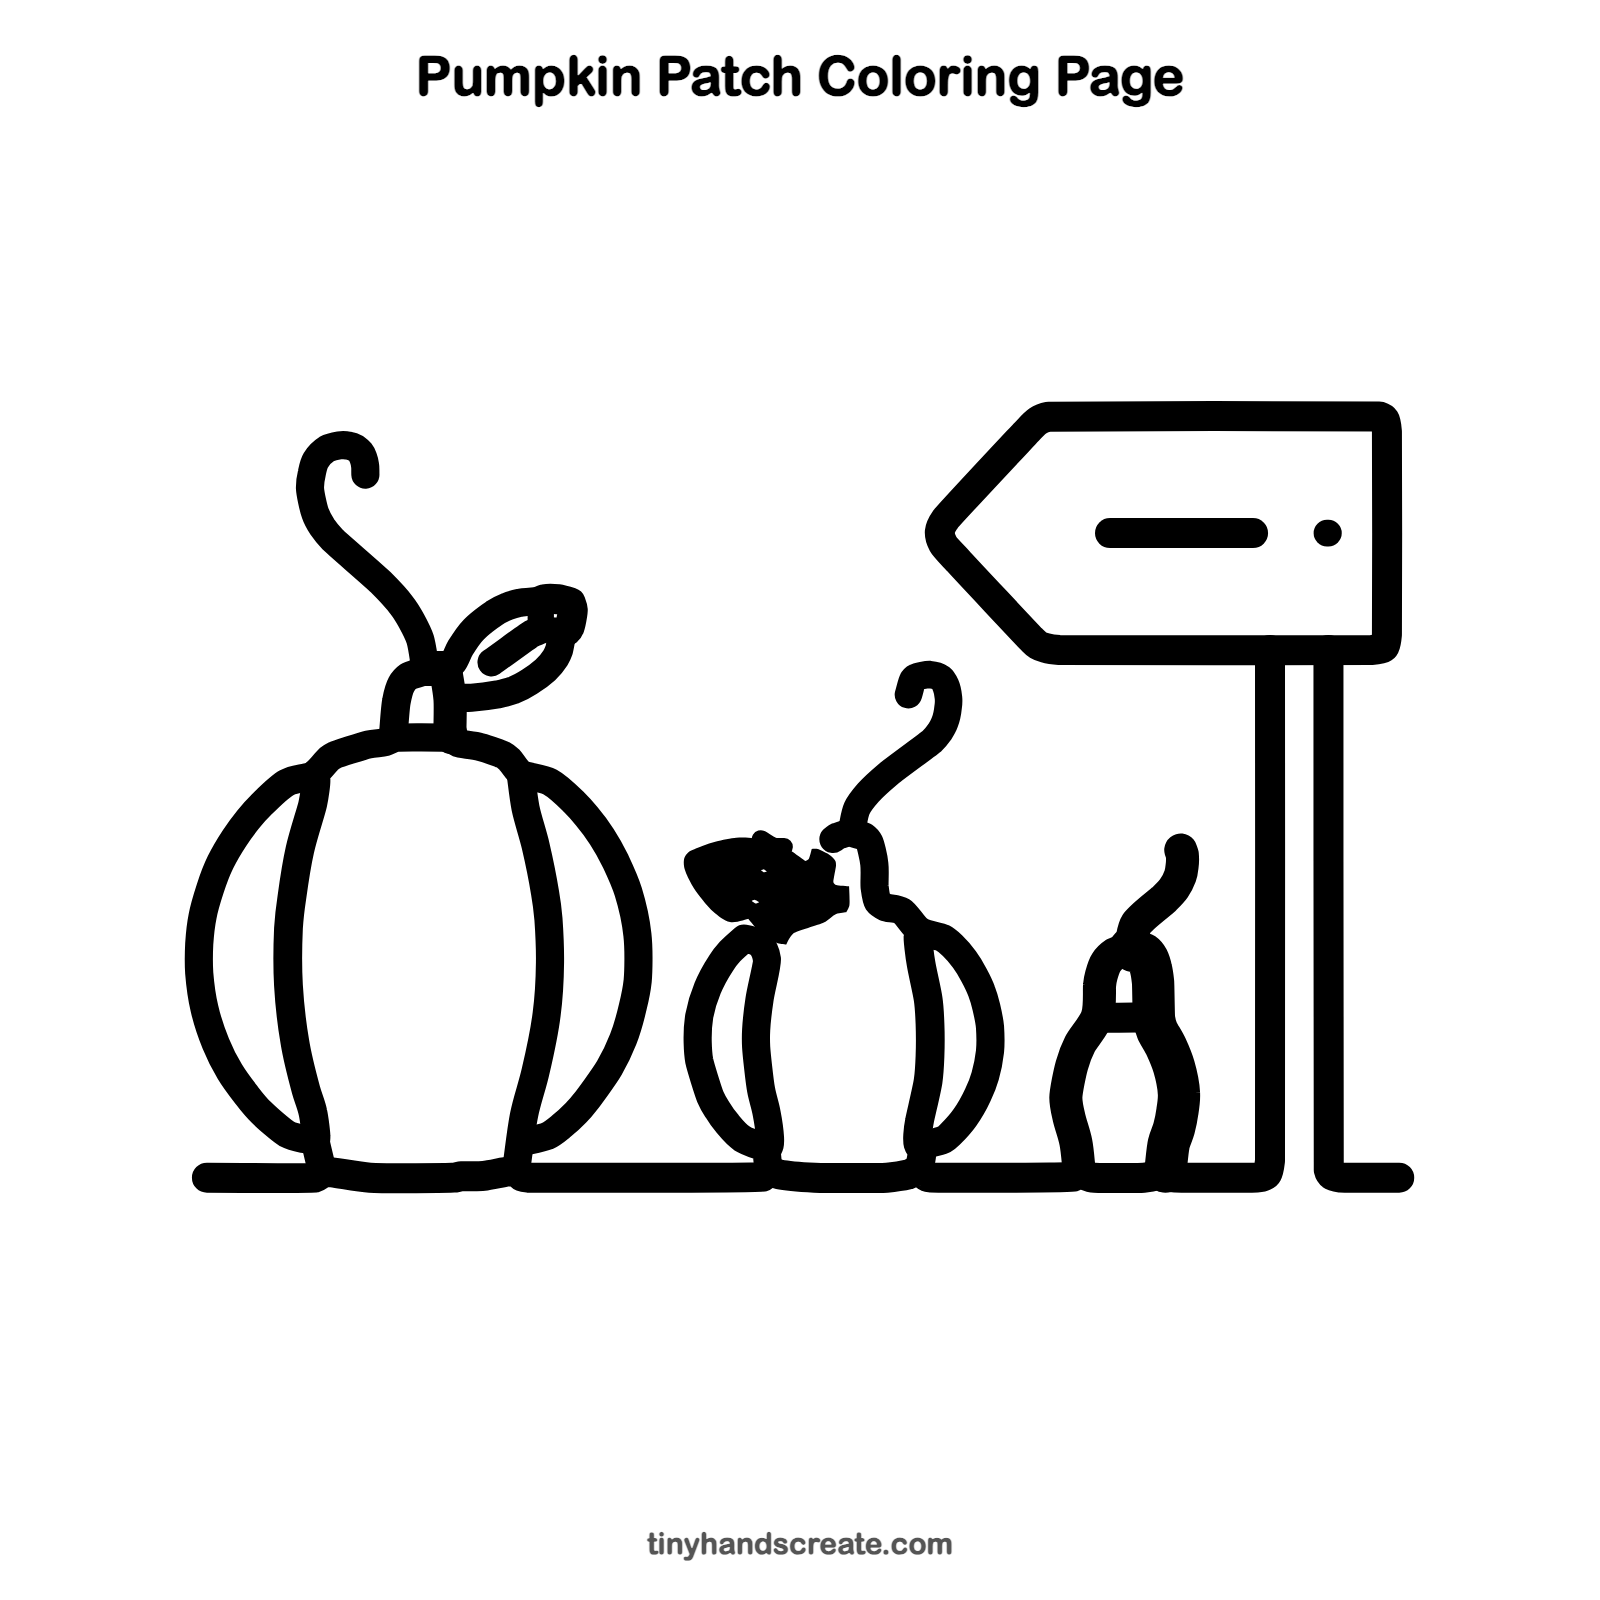
Want to go straight to coloring? Open this pumpkin patch coloring page at full size and print it. It is the same drawing you just learned, with clean lines ready for crayons or markers.
How to color your pumpkin patch drawing
Try bright orange for the pumpkins, green for the vines and leaves, and brown for the sign and posts. For a twist, make the little gourd purple or white, like the unusual ones you sometimes find at a real patch.
Pumpkin patch fun fact for kids
Pumpkins are technically a fruit, because they grow from a flower and have seeds inside. They grow on long vines along the ground.
Questions about drawing a pumpkin patch
What shapes do I need to draw a pumpkin patch?
You need curved lines for the pumpkins and the gourd, a rectangle with a pointed end for the sign, and wavy lines for the vines. Straight lines make the posts and the ground.
How do I make my pumpkins look round?
Draw curved lines on each side that bow outward, then add two more curves inside that bend the same way. The curves make the pumpkin look like it has sections.
How can I make my pumpkin patch look cuter?
Make the pumpkins different sizes and add curly vines and leaves. You can also color the sign and the little gourd in fun colors.