How to Draw Papel Picado (Easy Step by Step)
Learn how to draw colorful papel picado banners using an easy step-by-step method. You'll use simple shapes like rectangles, zigzags, hearts, and stars to create your own festive designs.
- Learn to draw colorful papel picado banners.
- Master basic shapes: rectangles, zigzags, and circles.
- Incorporate hearts and stars into your designs.
- Create custom patterns for your banners.
This post contains affiliate links. As an Amazon Associate I earn from qualifying purchases.
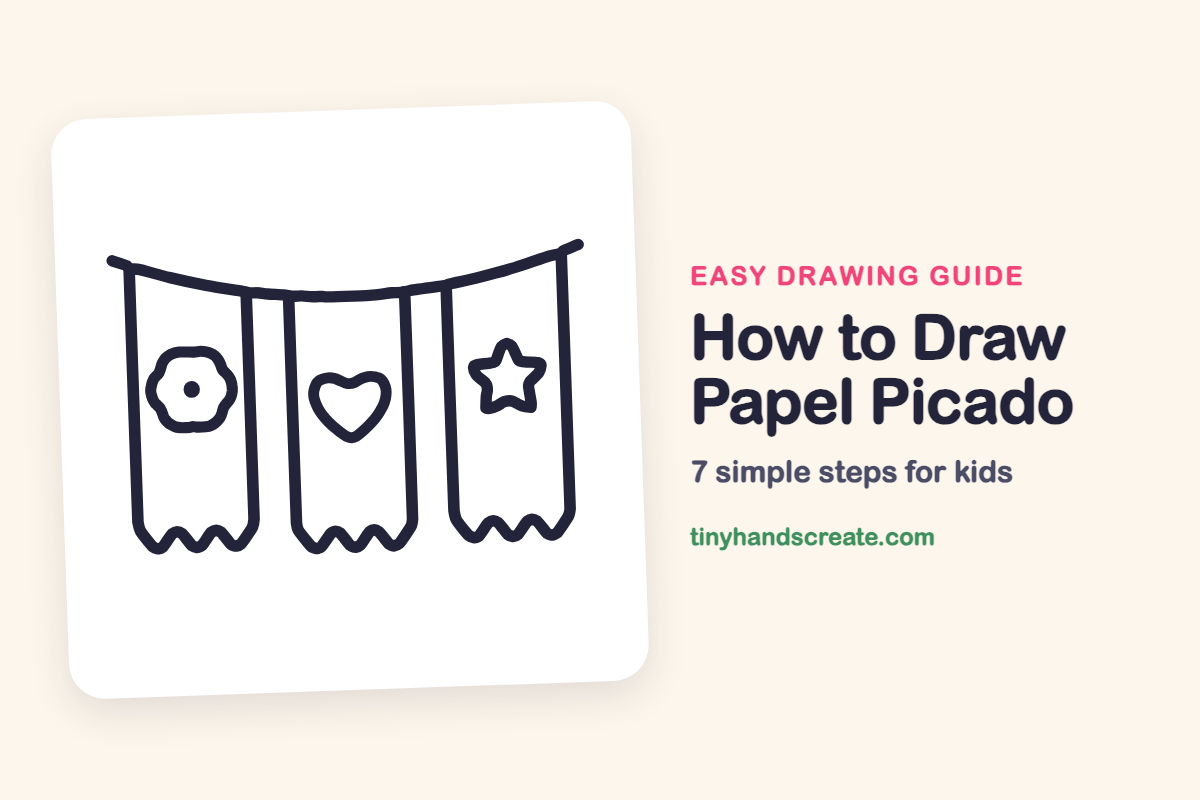
Papel picado is the colorful cut-paper banner people hang up for celebrations, and this drawing shows three of them hanging from a string. It is built from simple shapes: long rectangles, a zigzag edge, a bumpy circle, a heart, and a star. Once you can draw those, you can fill your banners with any pattern you like.
- Easy
- 12 minutes
- 7 steps
You need: paper, a pencil, an eraser, and crayons or markers for coloring.
Start drawing
In this article (7 sections)
How to draw papel picado step by step
How to Draw Papel Picado · tinyhandscreate.com
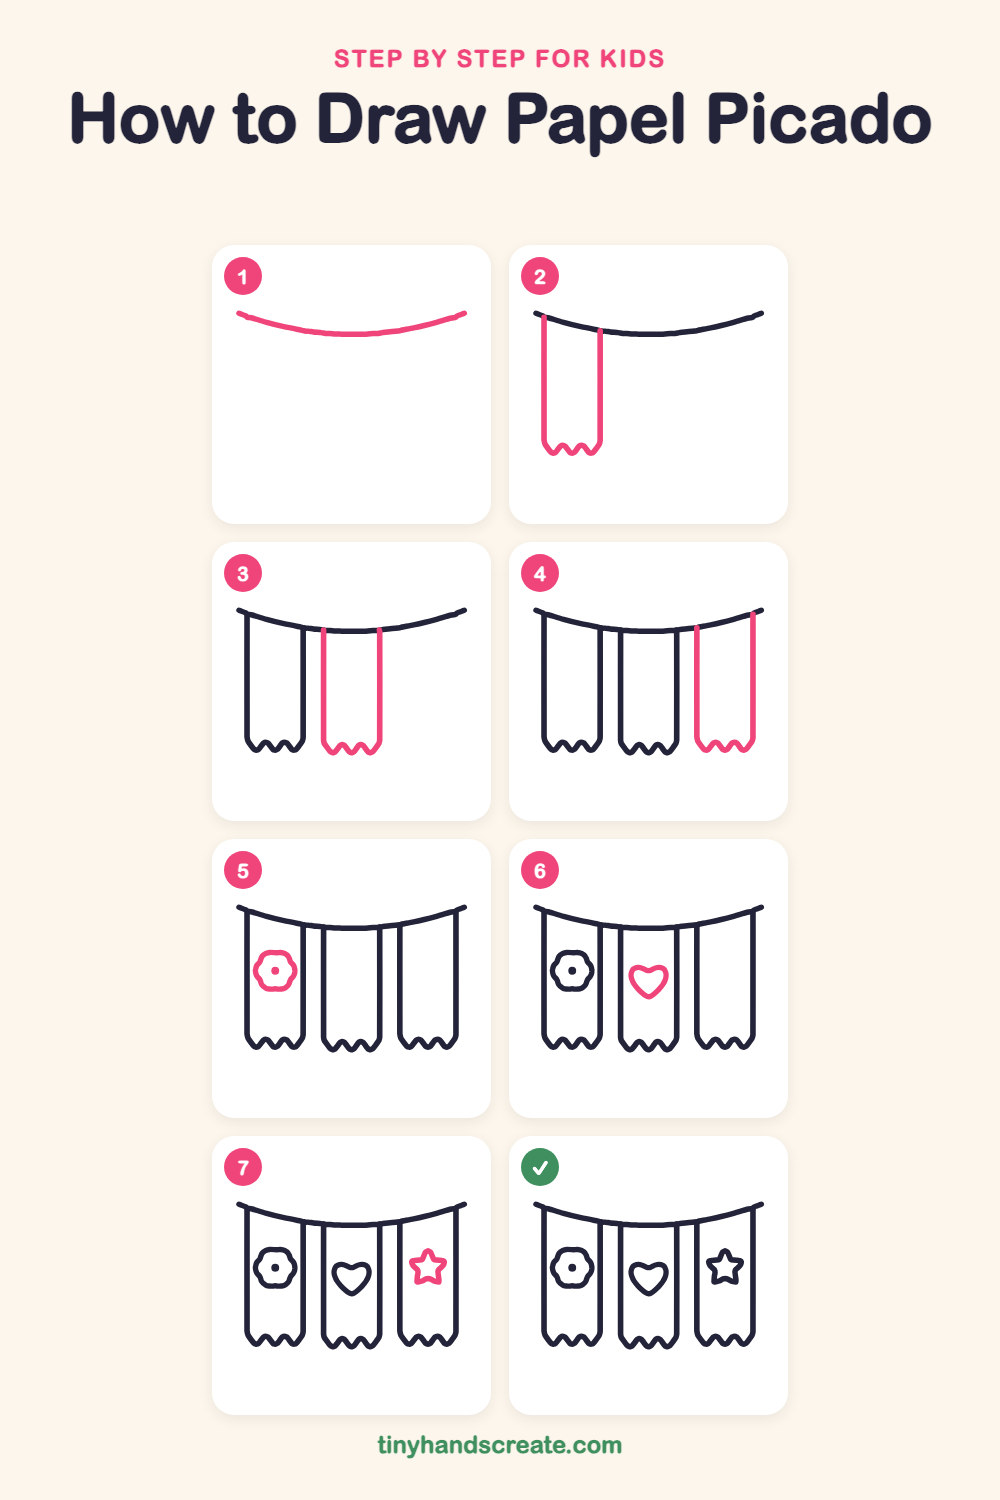
Step 1: The hanging string
Start near the left side of the page and draw a long, gentle curve like a smile that stretches across. Let both ends curl up a little.
Step 2: The left banner
Draw two long straight lines hanging down from the string, like a tall rectangle with no bottom. Close the bottom with a zigzag of little hills and valleys.
Step 3: The middle banner
Leave a small gap, then hang a second banner from the string. Make it the same width as the first, and end it with a wiggly zigzag bottom.
Step 4: The right banner
Hang the third banner on the right side, matching the other two. Finish its bottom edge with the same bumpy zigzag.
Step 5: The flower
In the middle of the left banner, draw a wobbly circle with soft bumps around it for petals. Add a small dot in the center.
Step 6: The heart
On the middle banner, draw two small bumps side by side at the top. Then curve each side down to meet in a point at the bottom.
Step 7: The star
On the right banner, draw a star with five points. Start at the top point and zigzag in and out, then close it where you began.
All done!
Go over your lines with a marker, then color it in.
Finished your papel picado? Keep the pencils out and learn how to draw a menorah or how to draw a dreidel next.
Tips for drawing papel picado
- Draw the string first and keep it as a loose curve. The banners hang from it, so the curve decides where each one starts.
- Make the three banners about the same width and length. Use the first one as a guide and compare the others to it.
- For the zigzag bottoms, make a few small wiggles, going slowly. Try a light pencil dotted line first, then trace over it.
Free papel picado coloring page
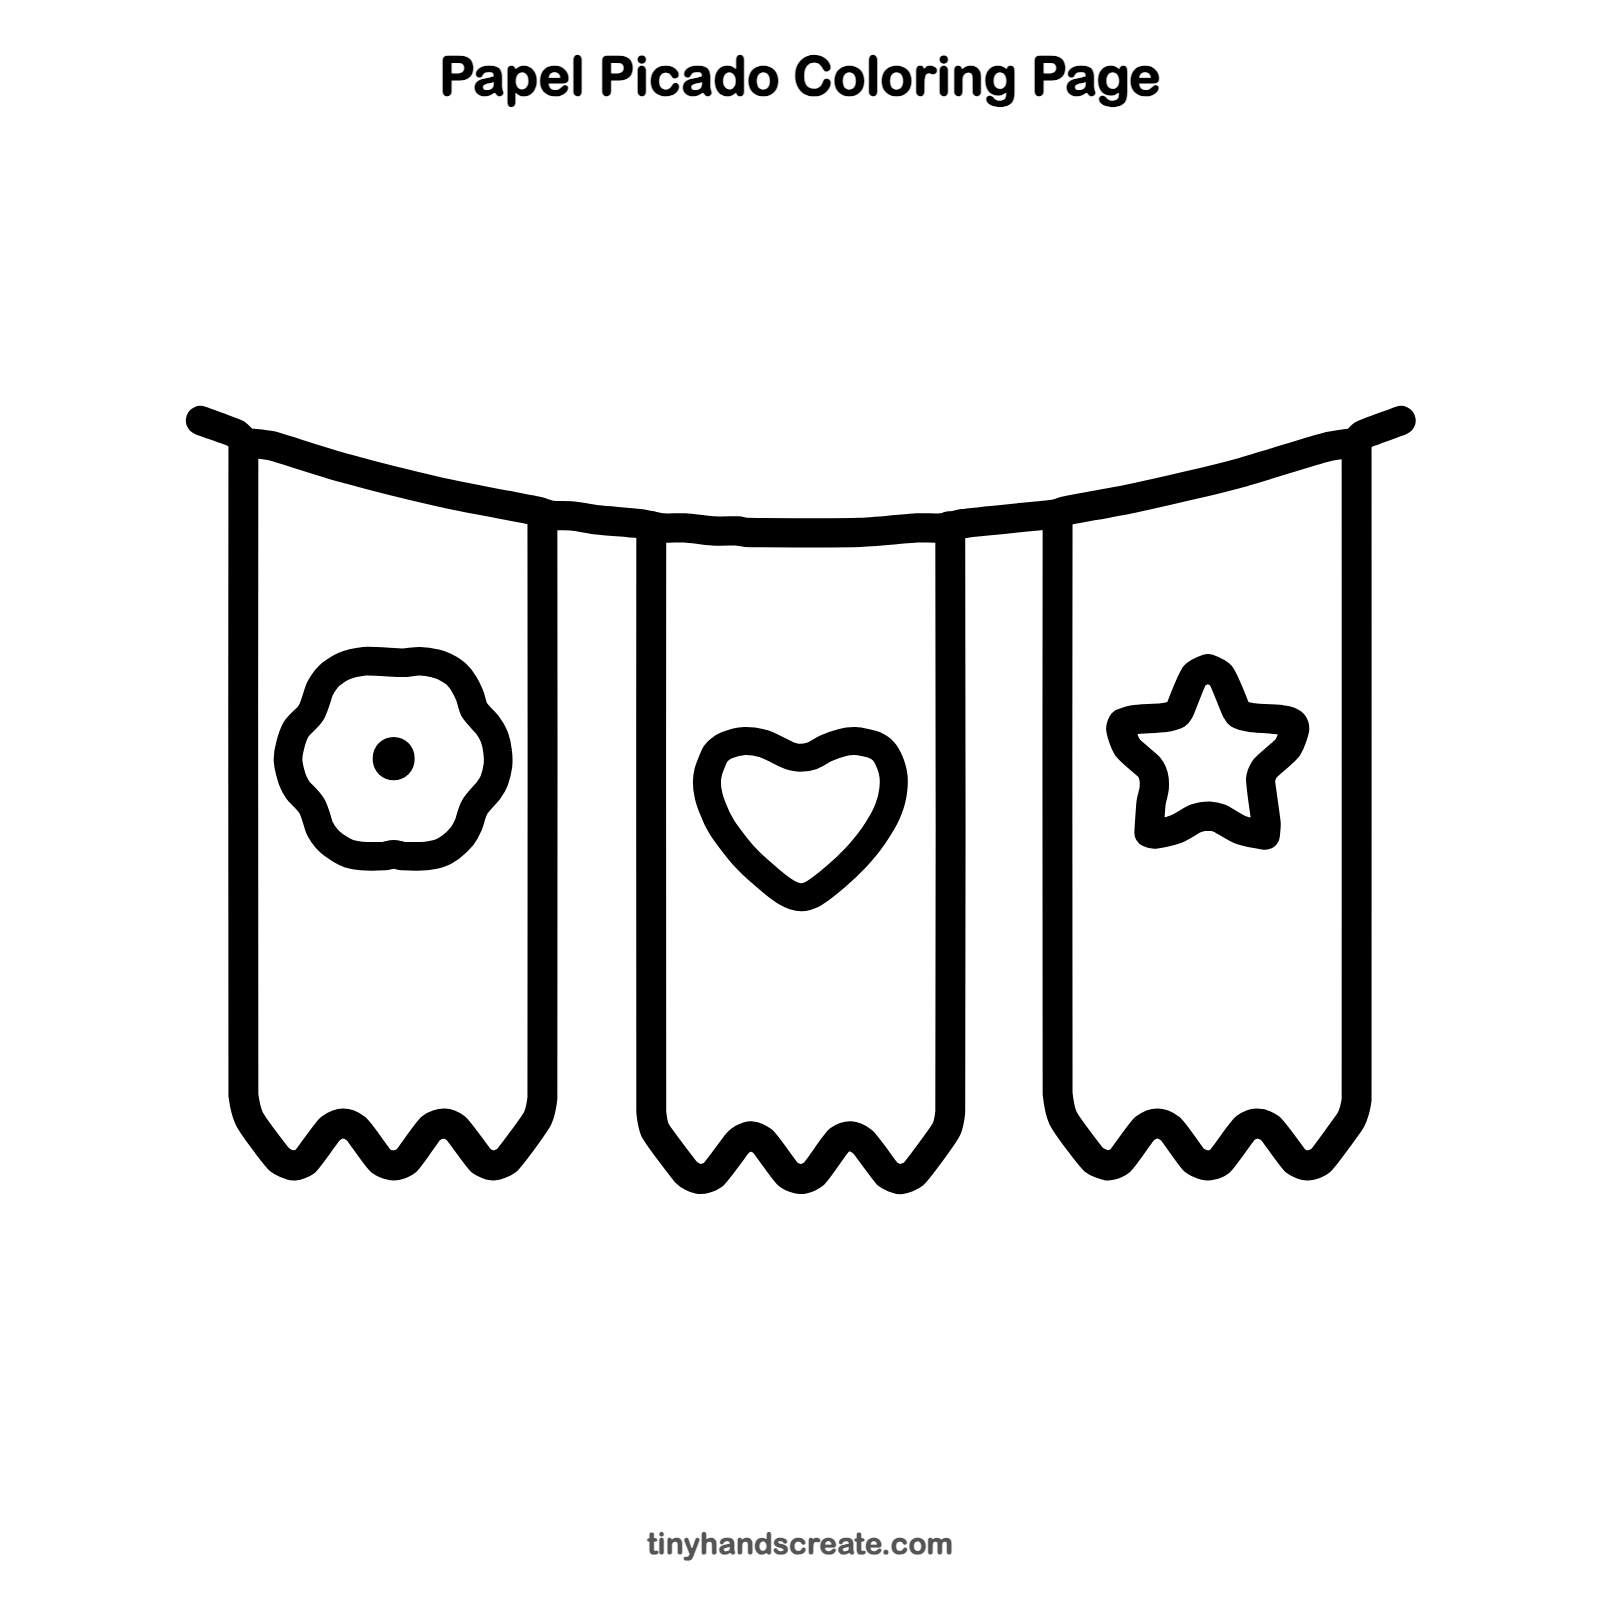
Want to go straight to coloring? Open this papel picado coloring page at full size and print it. It is the same drawing you just learned, with clean lines ready for crayons or markers.
How to color your papel picado drawing
Try bright banners in pink, purple, and green with orange shapes in the middle, just like real papel picado. For a creative twist, give each banner a different color and add tiny cut-out dots along the edges.
Papel picado fun fact for kids
Papel picado means 'punched paper' in Spanish. In Mexico, artists make it by cutting designs into stacks of thin tissue paper with small chisels, and families hang it for celebrations like Day of the Dead.
Questions about drawing papel picado
What shapes do I need to draw papel picado?
You need a long curve for the string, tall rectangles for the banners, and zigzags for the bottoms. The flower, heart, and star are the decorations in the middle.
How do I make my banners look even?
Draw the first banner, then match the width and length of the others to it. Leave the same size gap between each one.
How can I make my papel picado fancier?
Add small dots, hearts, or tiny triangles along the edges of each banner. You can also draw more banners on the string in a row.