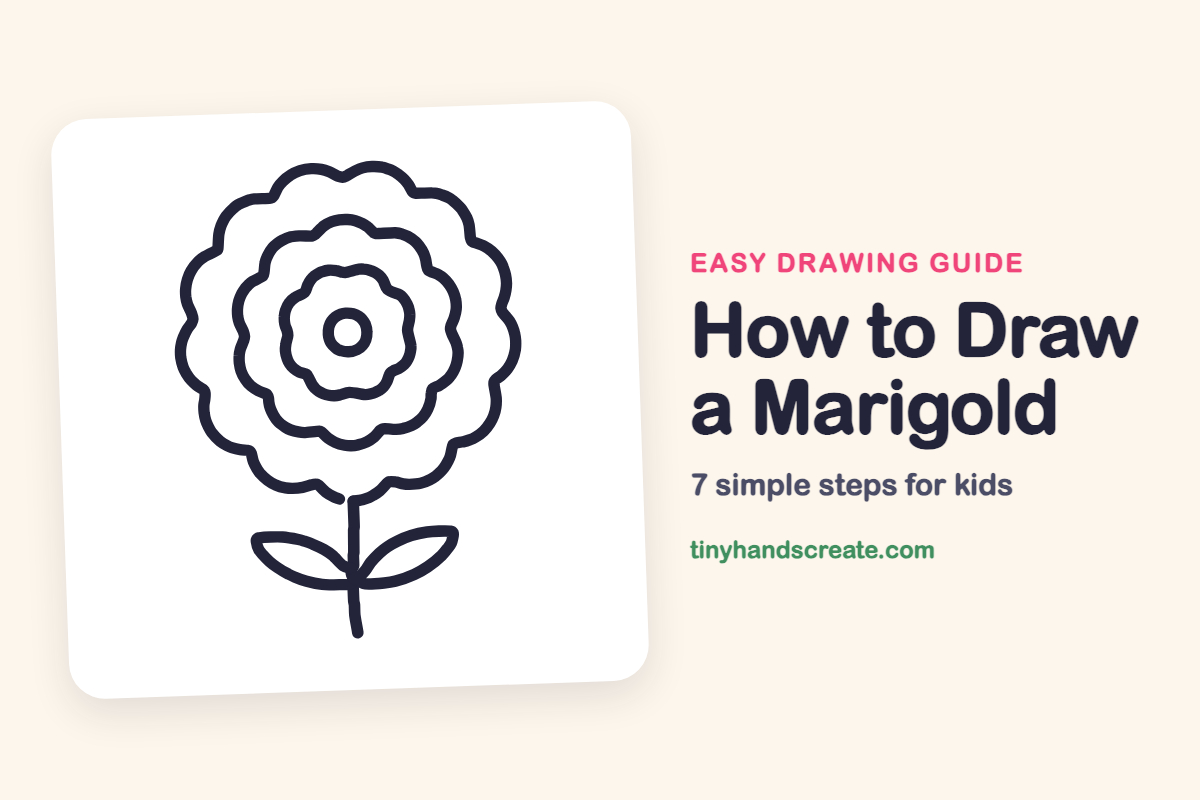
How to Draw a Marigold (Easy Step by Step)
This post contains affiliate links. As an Amazon Associate I earn from qualifying purchases.
A marigold is a happy, puffy flower, and it is built from three bumpy rings that get smaller toward the middle. If you can draw a circle and a bumpy cloud edge, you can draw this whole flower. A small center circle, a stem and two pointy leaves finish it off.
- Easy
- 10 minutes
- 7 steps
You need: paper, a pencil, an eraser, and crayons or markers for coloring.
Start drawing


In this article (7 sections)
How to draw a marigold step by step
How to Draw a Marigold · tinyhandscreate.com
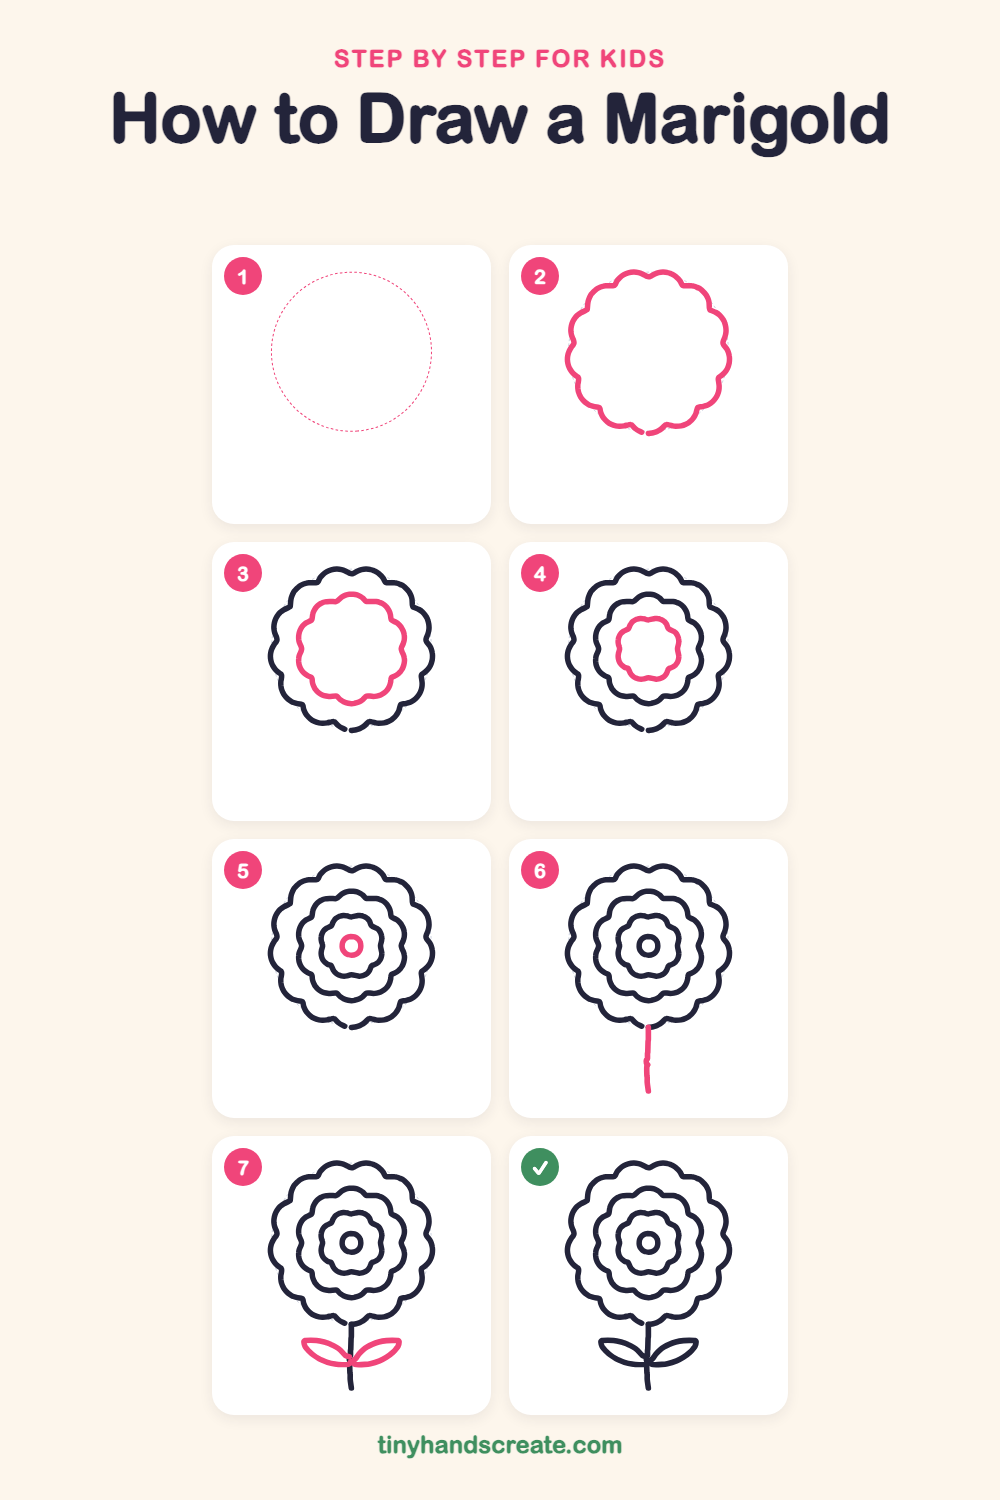
Step 1: Guide shapes
Lightly sketch this oval. It only shows where the big parts go, so press softly. You will erase it at the end.
Step 2: Outer bumpy ring
Draw a big ring with a bumpy, scalloped edge near the top of your page, like a puffy cloud. Go all the way around and stop almost where you started, leaving a tiny gap at the bottom.
Step 3: Middle bumpy ring
Inside the big ring, leave a little space and draw a smaller bumpy ring. Make its bumps bouncy like the outside ones.
Step 4: Inner bumpy ring
Draw an even smaller bumpy ring inside the middle one. Its bumps are a bit rounder, like a tiny flower of its own.
Step 5: Center circle
In the very middle, draw a small round circle. This is the heart of the marigold.
Step 6: The stem
Start at the little gap at the bottom of the big ring and draw one long line going straight down.
Step 7: Two leaves
Near the bottom of the stem, draw a pointy leaf shape on the left, like a long lemon slice, with one end touching the stem. Add a matching leaf on the right so the stem looks like it is holding out its arms.
All done!
Erase the guide shapes, go over your lines, then color it in.
Finished your marigold? Keep the pencils out and learn how to draw a menorah or how to draw a dreidel next.
Tips for drawing a marigold
- Draw the outer ring as a light circle first, then add the bumps on top. It is easier to keep the scallops even that way.
- Keep the space between the rings about the same all the way around, so the flower looks like it has layers.
- Draw each leaf as two curved lines that meet at a point, and let the other end touch the stem.
Free marigold coloring page
Want to go straight to coloring? Open this marigold coloring page at full size and print it. It is the same drawing you just learned, with clean lines ready for crayons or markers.
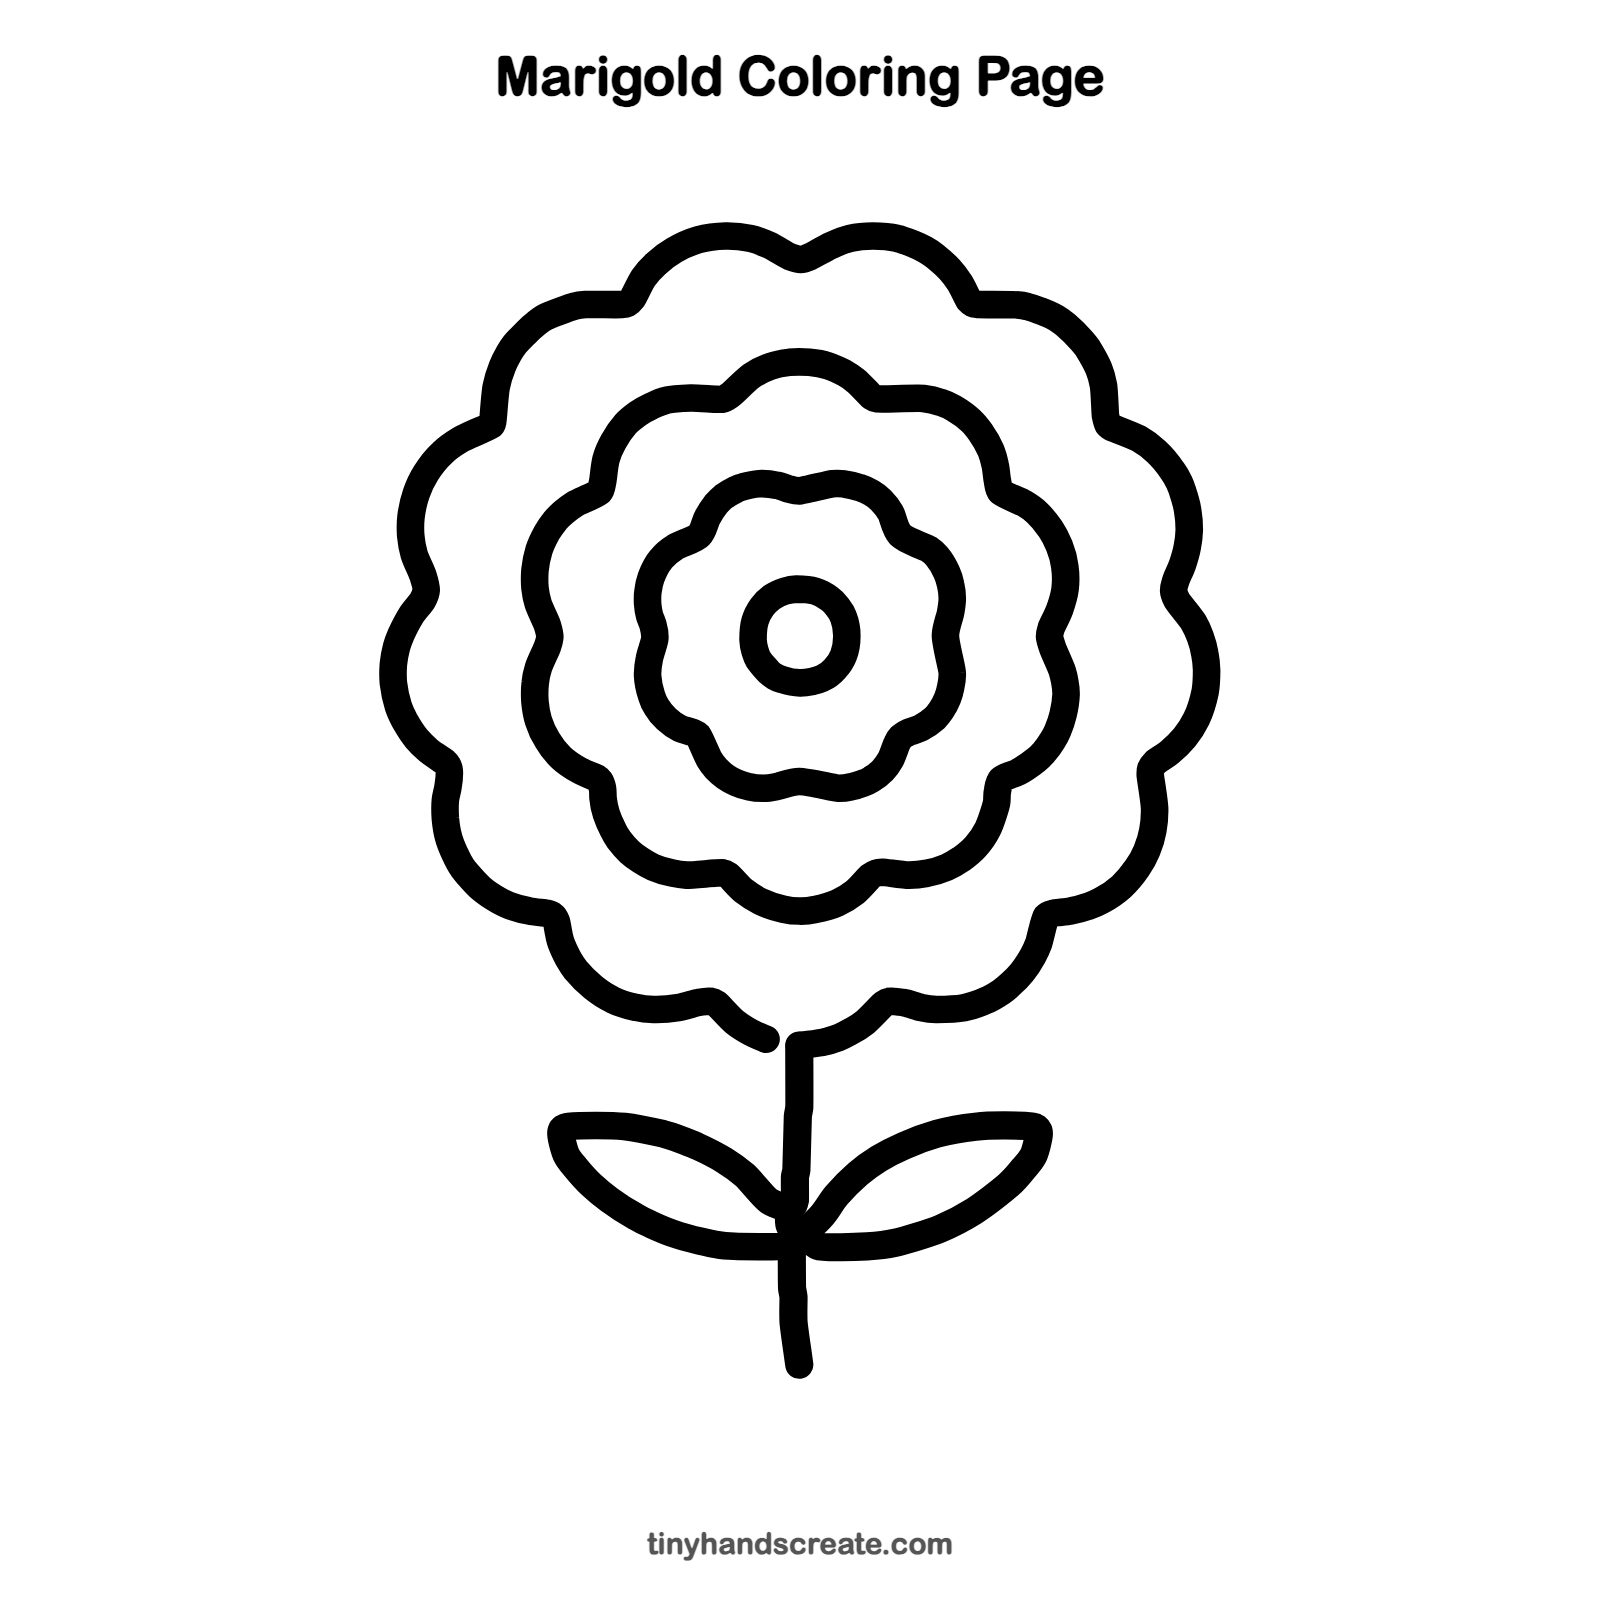
How to color your marigold drawing
Try orange, yellow and gold for the rings, with a brown center and green for the stem and leaves. For a creative twist, color each ring a different shade so the flower glows like a sunset.
Marigold fun fact for kids
In Mexico, marigolds are called cempasúchil, and they are a traditional flower of the Día de los Muertos celebration.
Questions about drawing a marigold
What shapes do I need to draw a marigold?
You need three bumpy, scalloped rings for the petals, a small circle for the center, a straight line for the stem, and two pointy oval shapes for the leaves.
How do I make my marigold look fuller?
Add one more bumpy ring between the middle ring and the center, and keep the bumps close together. More rings make the flower look puffy and full.
Why are marigolds used on Dia de los Muertos?
In Mexican tradition, the bright orange color and strong smell of marigolds are said to help guide spirits home. Families place them on altars and along paths.