How to Draw a Brain (Easy Step by Step)
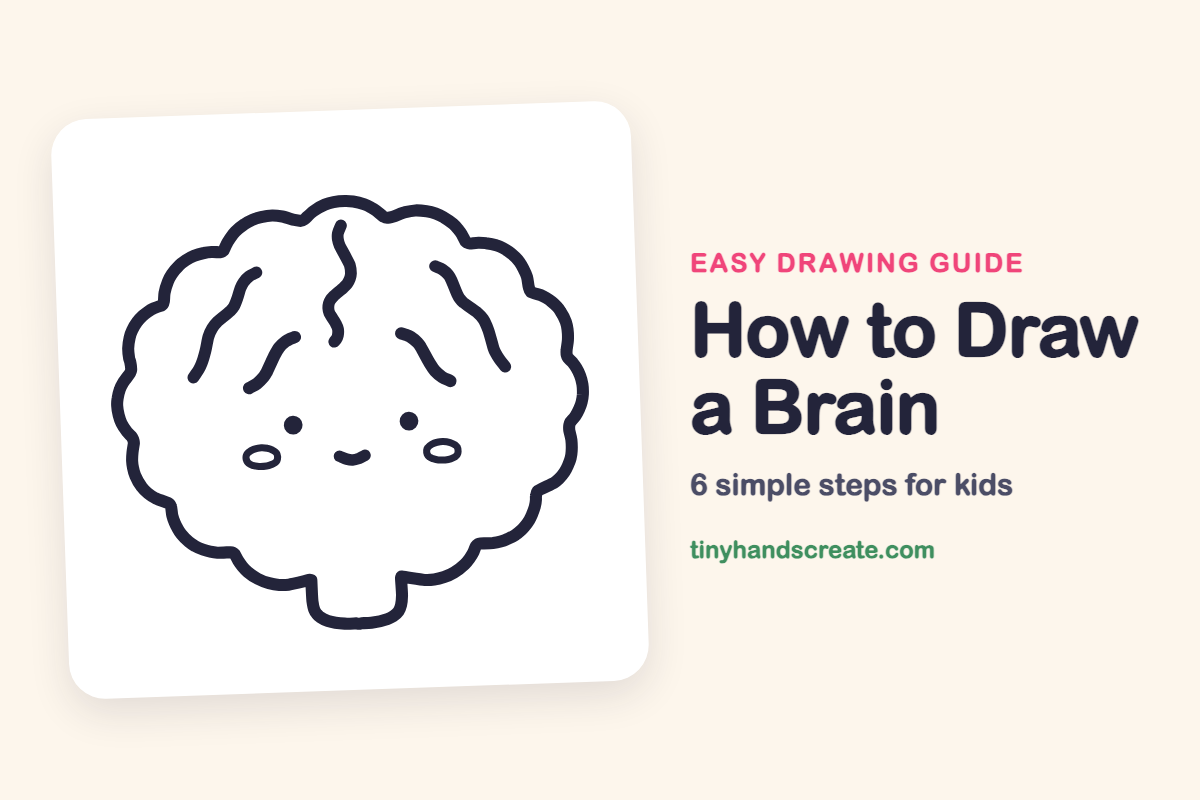
Learn to draw a cute, smiling "kawaii brain" with this easy step-by-step guide. You'll create a puffy cloud-like brain using bumpy outlines, curvy lines, and a simple face, perfect for practicing smooth, wavy strokes.
- Draw a "kawaii brain" that looks like a puffy, smiling cloud.
- Start with a bumpy cloud outline for the brain's main shape.
- Add a simple face using dots, a smile, and two small ovals.
- Use short, curvy lines to create the brain's wiggly texture.
- Practice smooth, wavy lines as you draw the brain's features.
This post contains affiliate links. As an Amazon Associate I earn from qualifying purchases.
A kawaii brain is a cute, smiling brain that looks like a puffy cloud with wiggly lines on top. It is built from one bumpy cloud outline, a few short curvy lines, and a simple face made of dots, a smile, and two small ovals. It is a great drawing for practicing smooth, wavy lines.
- Easy
- 10 minutes
- 6 steps
You need: paper, a pencil, an eraser, and crayons or markers for coloring.
Start drawing
In this article (7 sections)
How to draw a brain step by step
How to Draw a Brain · tinyhandscreate.com
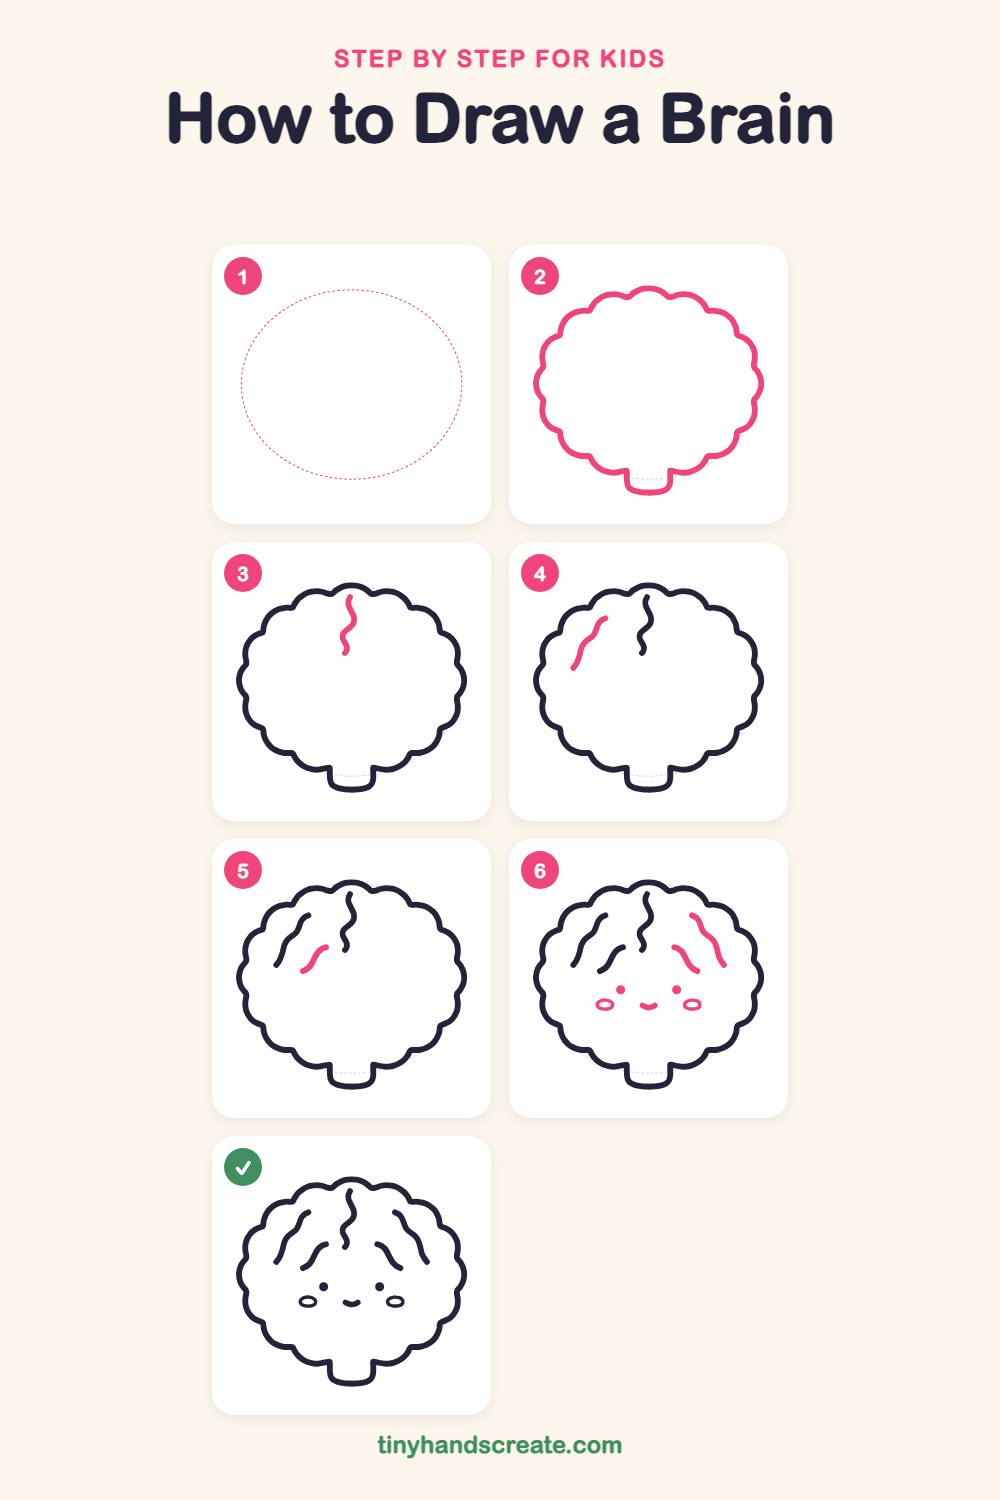
Step 1: Guide shapes
Lightly sketch this oval. It only shows where the big parts go, so press softly. You will erase it at the end.
Step 2: Cloud-shaped outline
Draw a big bumpy cloud shape made of lots of small round scallops, like a puffy cloud. Add a little rounded stub at the bottom middle for the brain stem.
Step 3: The middle groove
Near the top middle, inside the cloud, draw a short wiggly line going down, like a little S-shaped snake.
Step 4: Left outer wrinkle
On the left side, draw a short curvy line that starts near the top and bends down and to the left, like a small slide.
Step 5: Right wrinkle and inner wrinkles
Do the same on the right side with a short curvy line that bends down and to the right. Then add one shorter curvy line on each side, a little closer to the middle groove.
Step 6: Happy face
Low in the middle, draw two small round dots for eyes and a tiny smile between them. Add a small oval on each side, below the eyes, for cheeks.
All done!
Erase the guide shapes, go over your lines, then color it in.
Finished your brain? Keep the pencils out and learn how to draw a flexing arm or how to draw a waving hand next.
Tips for drawing a brain
- The bumpy outline is the trickiest part. Take your time and add the small round bumps one at a time, going all the way around.
- Make the wiggly lines with slow, gentle curves instead of sharp zigzags.
- Place the eyes and cheeks low in the middle of the brain so the face looks sweet and a little sleepy.
Free brain coloring page
Want to go straight to coloring? Open this brain coloring page at full size and print it. It is the same drawing you just learned, with clean lines ready for crayons or markers.
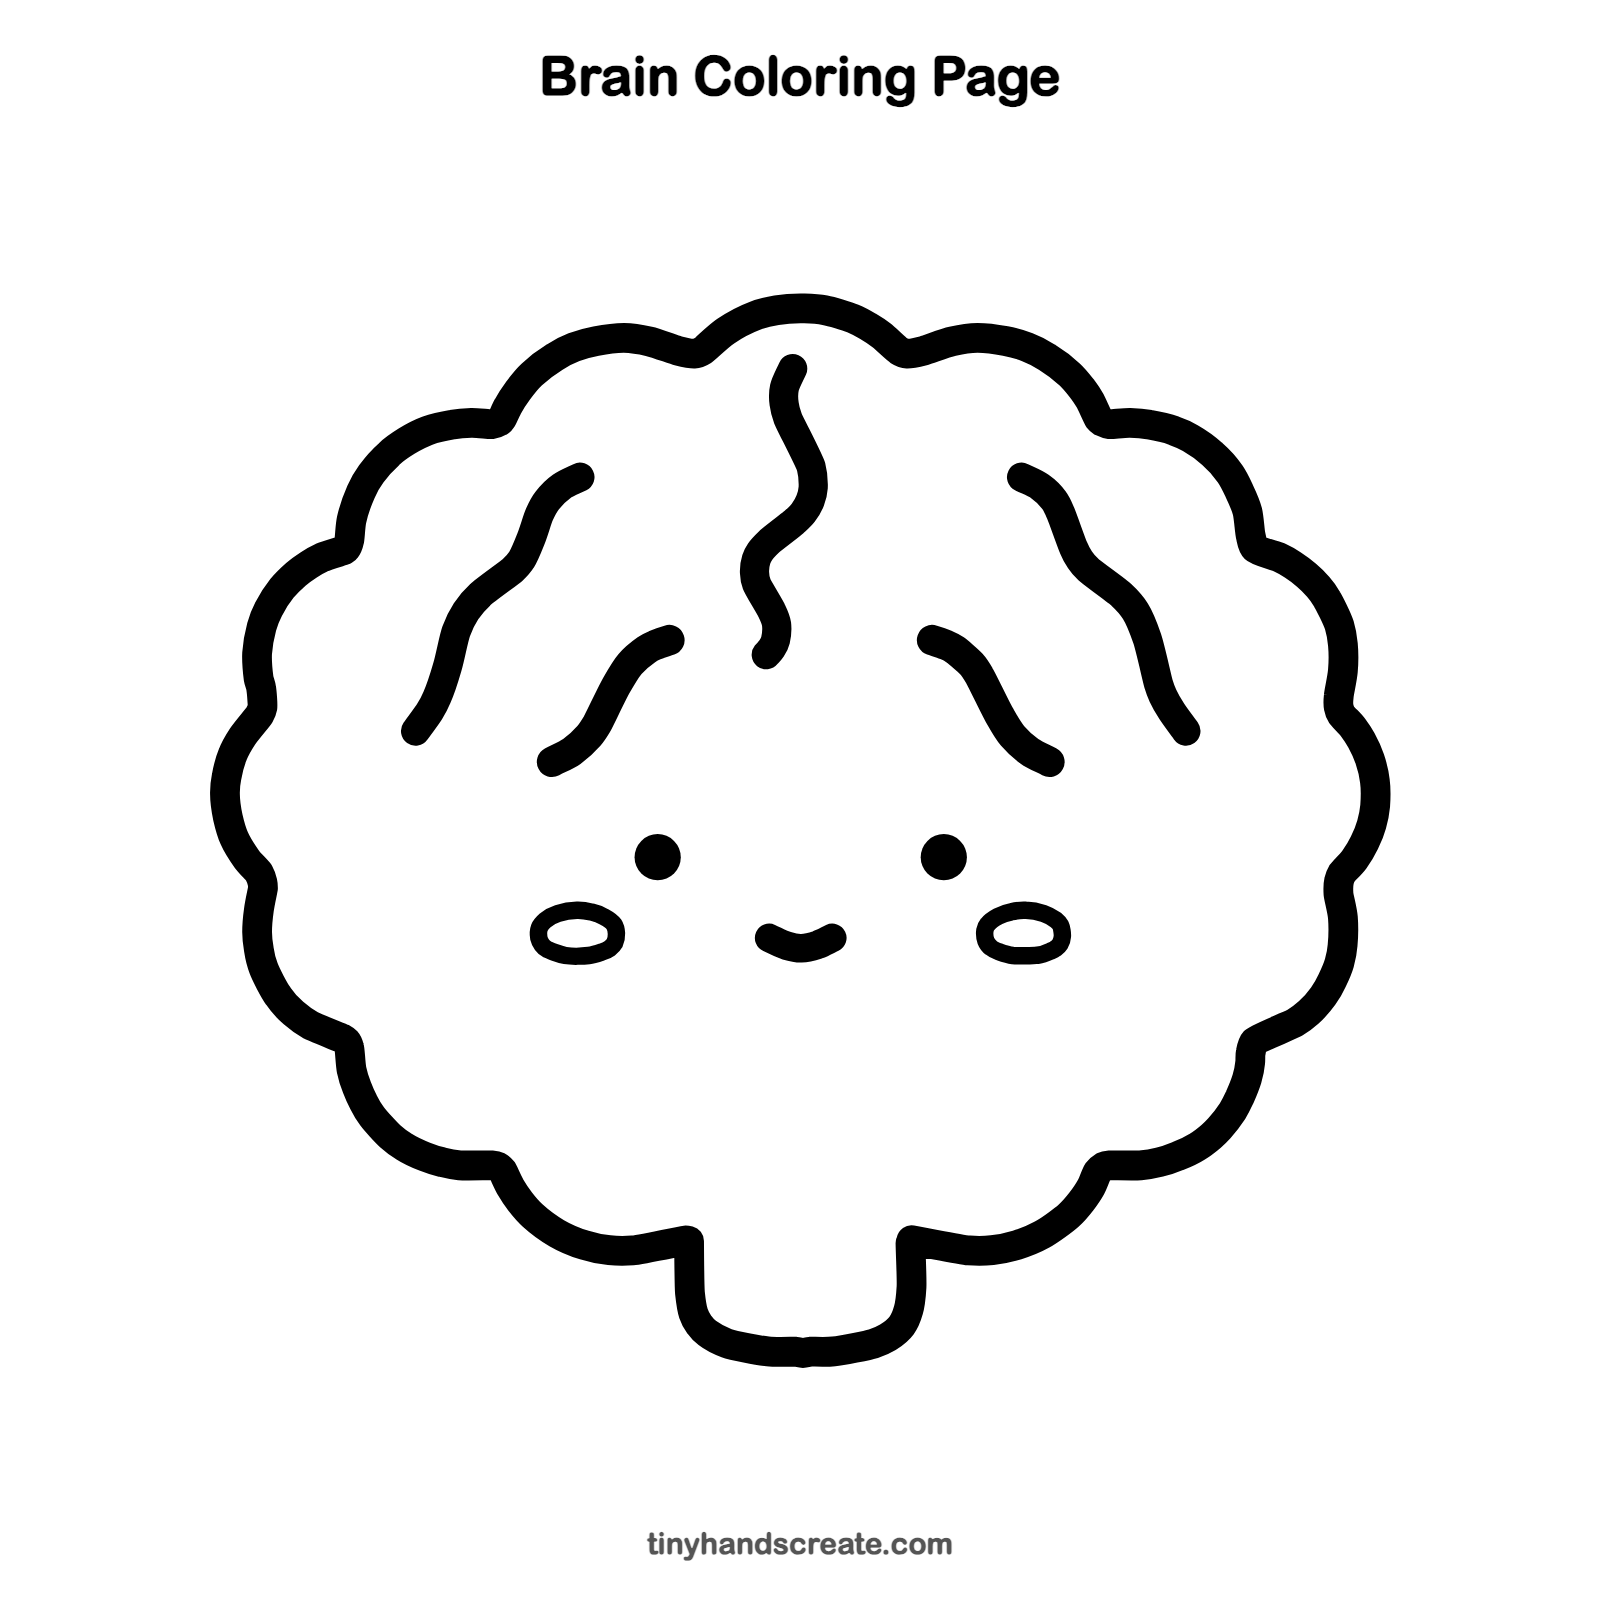
How to color your brain drawing
Soft pink or peach looks like a classic brain, with darker pink for the wiggly lines and the cheeks. For a creative twist, give the brain a rainbow of pastel colors, with each bump a different shade.
Brain fun fact for kids
An adult human brain weighs about three pounds, and its surface is folded into wrinkles so that a lot of brain can fit inside your head.
Questions about drawing a brain
What shapes do I need to draw a brain?
You need a bumpy cloud outline made of lots of small round scallops, and some short curvy lines for the wrinkles. The face uses two dots, a small curve, and two little ovals.
How do I make my brain drawing look cuter?
Keep the shapes round and puffy, and put the face low with the eyes wide apart. Add little oval cheeks and a tiny smile.
Why does a brain have wrinkles?
The wrinkles let a big sheet of brain fold up and fit inside a small head. Drawing the wiggly lines is a fun way to show this.