How to Draw a Flexing Arm (Easy Step by Step)
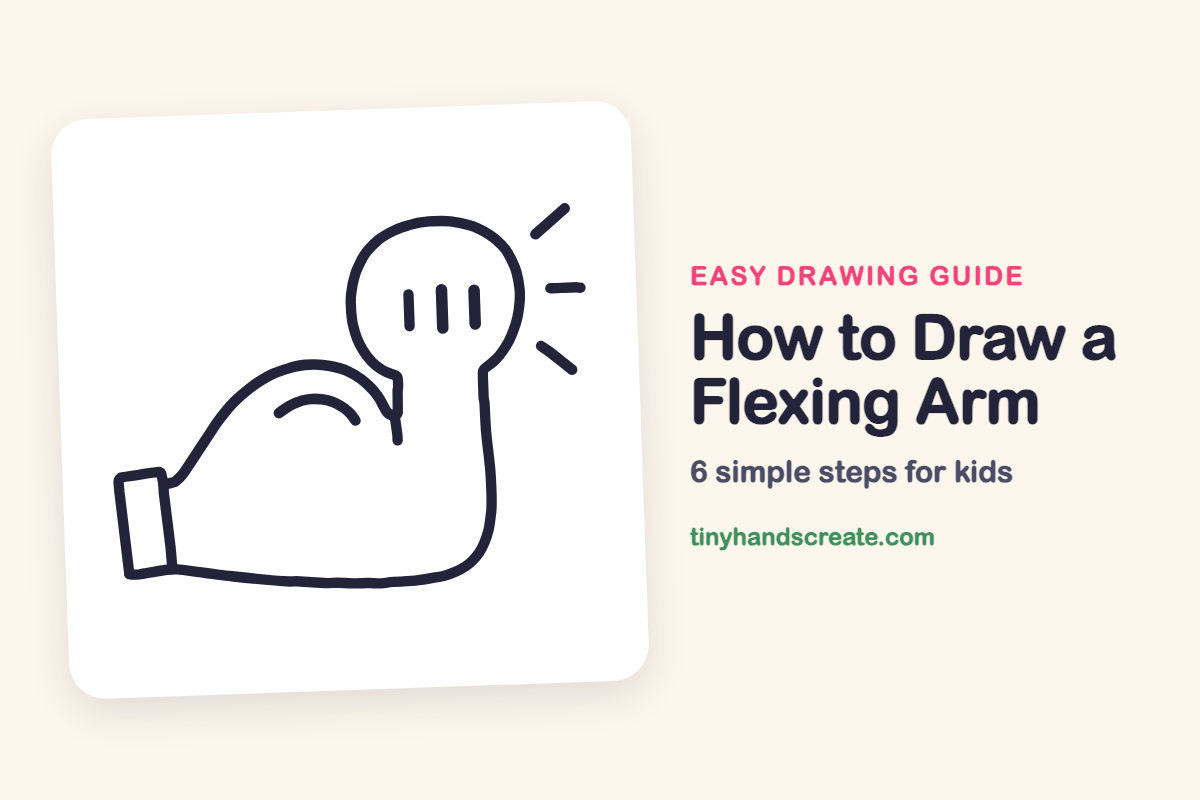
Learn to draw a flexing arm with this easy step-by-step guide. You'll start with basic shapes like a round fist and bent arm outline, then add muscles, a cuff, and power lines to show strength.
- Start your drawing with a round fist and a bent arm outline.
- Add a big muscle hill to give your arm a strong appearance.
- Include a cuff detail on the arm for a complete look.
- Finish your flexing arm drawing with little power lines.
This post contains affiliate links. As an Amazon Associate I earn from qualifying purchases.
A flexing arm is a fun drawing because it shows strength with just a few easy shapes. You start with a round fist and a bent arm outline, add a big muscle hill and a cuff, and finish with little power lines.
- Easy
- 10 minutes
- 6 steps
You need: paper, a pencil, an eraser, and crayons or markers for coloring.
Start drawing
In this article (7 sections)
How to draw a flexing arm step by step
How to Draw a Flexing Arm · tinyhandscreate.com
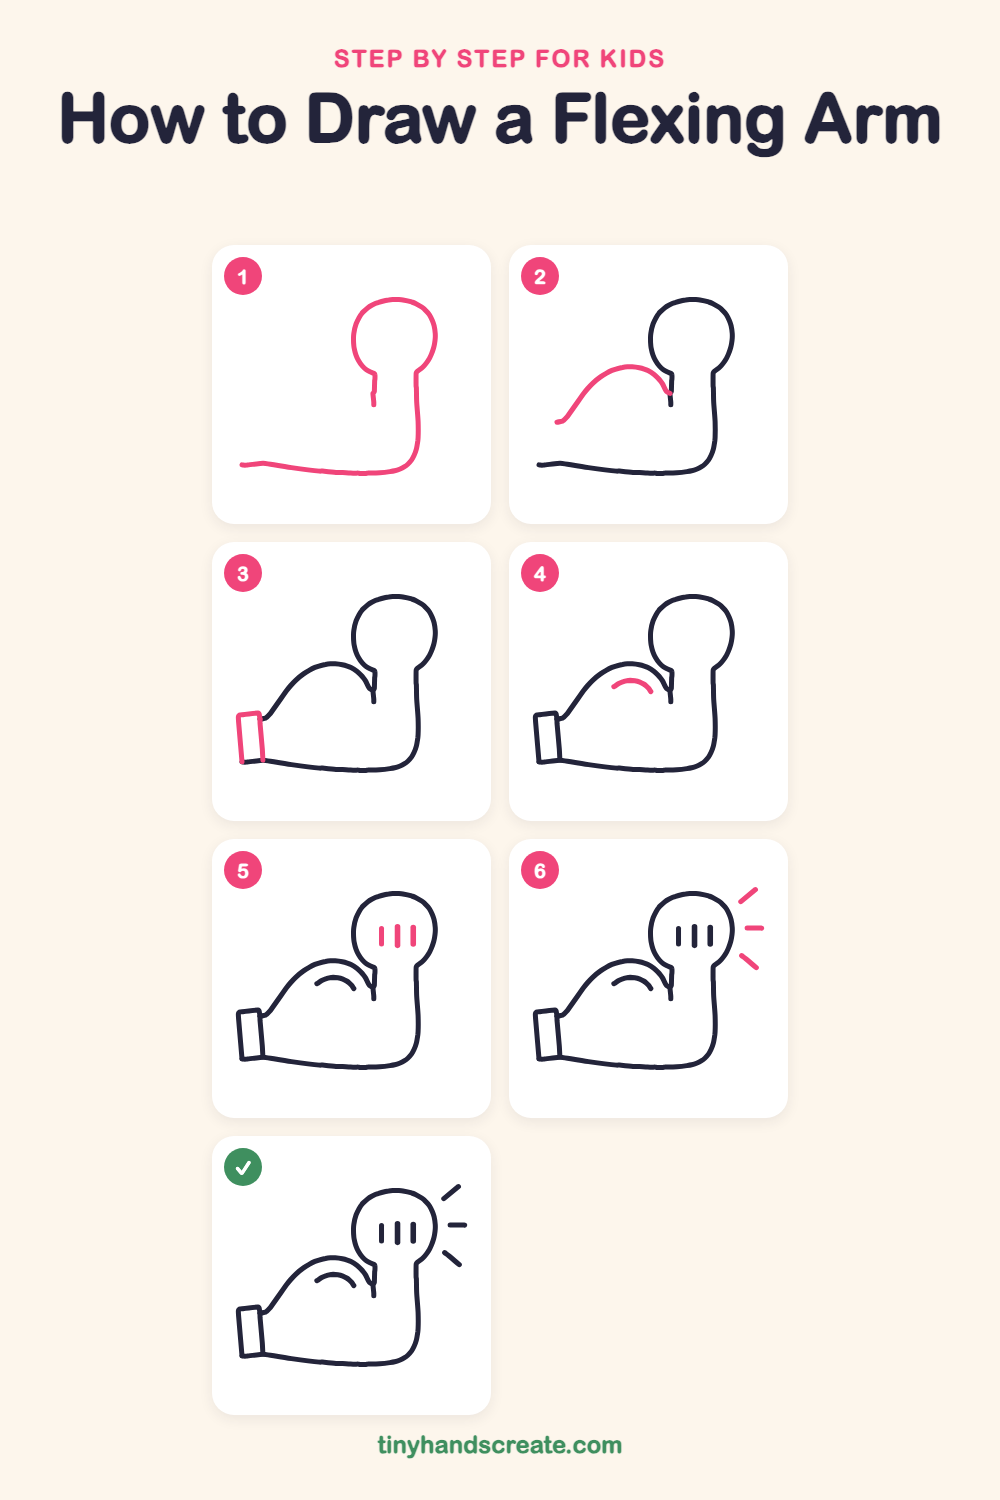
Step 1: Fist and arm outline
Draw a round circle near the top right for the fist. From the bottom of the circle, draw a short neck line down, then a long line down the right side that curves around the bottom and runs left in a gently wavy straight edge.
Step 2: The muscle hill
Start at the left end of the bottom edge, a little above it, and draw a big smooth hill that rises up and curves down to meet the neck under the fist. This is the bulging muscle!
Step 3: The cuff
At the left end of the arm, draw a tall, skinny rectangle that looks like a sleeve. Its bottom touches the end of the bottom edge and its right side meets the start of the hill.
Step 4: Muscle curve
Inside the big hill, draw a small curved line shaped like a rainbow. It shows where the muscle pops out.
Step 5: Fist lines
Inside the fist circle, draw three short straight lines side by side, standing up tall. They make the fingers of the fist.
Step 6: Power lines
Next to the upper right of the fist, draw three short lines that point outward like sun rays. One angles up, one goes straight out in the middle, and one angles down.
All done!
Go over your lines with a marker, then color it in.
Finished your flexing arm? Keep the pencils out and learn how to draw a waving hand or how to draw a laughing face next.
Tips for drawing a flexing arm
- The muscle hill is the trickiest line, so draw it in one slow curve from the cuff end up and over to the fist.
- Make the fist circle about as tall as the arm is thick so the two parts look balanced.
- Keep the three fist lines the same height and evenly spaced, and draw the power lines last so they do not touch the fist.
Free flexing arm coloring page
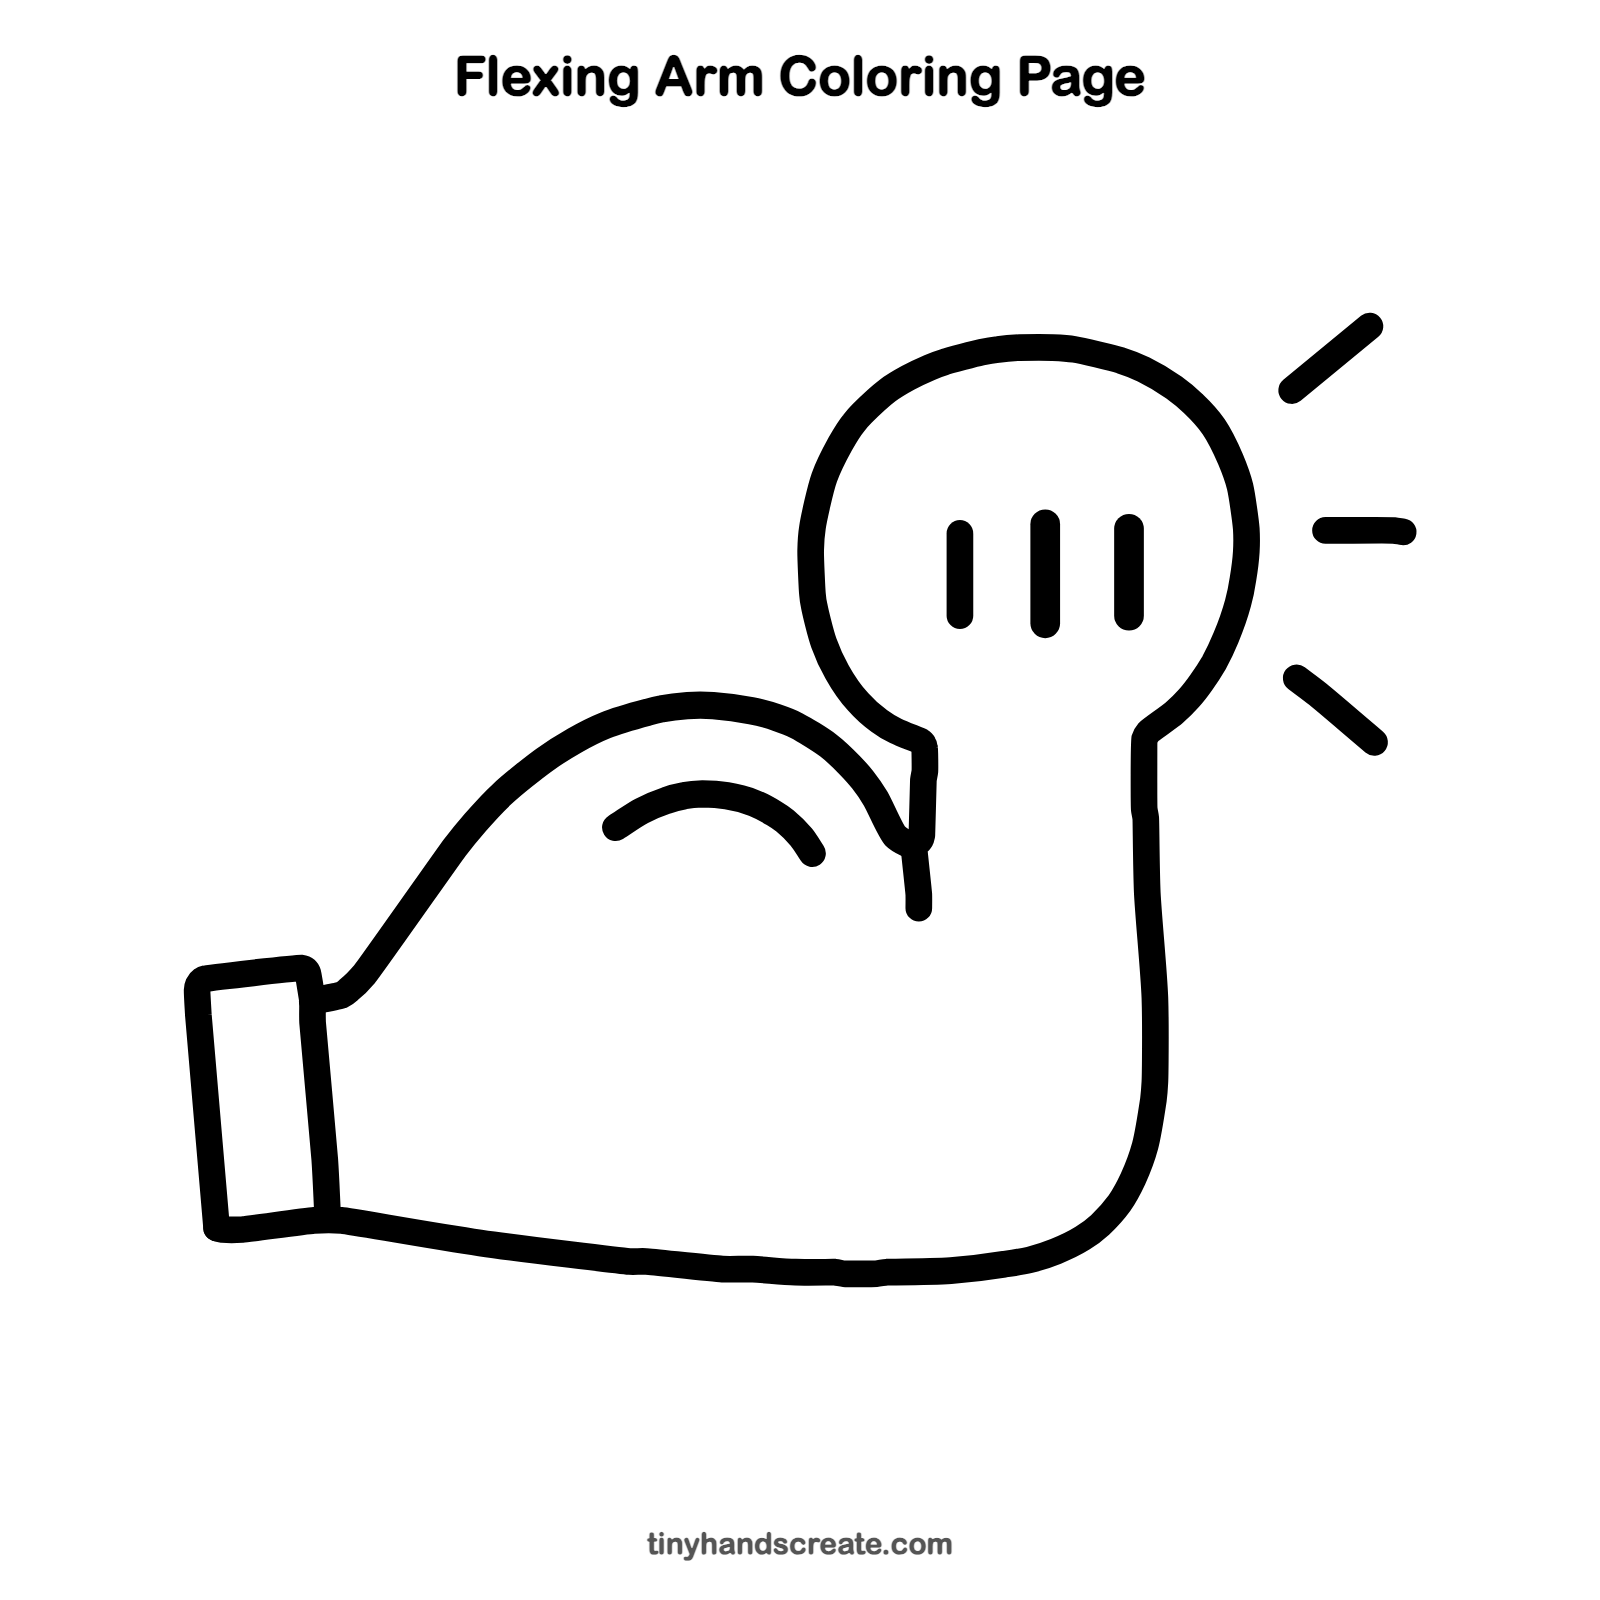
Want to go straight to coloring? Open this flexing arm coloring page at full size and print it. It is the same drawing you just learned, with clean lines ready for crayons or markers.
How to color your flexing arm drawing
Try warm skin tones or a bright superhero blue for the arm, and red for the cuff. For a creative twist, color the power lines in rainbow colors.
Flexing arm fun fact for kids
Your biceps muscle gets shorter and thicker when you bend your arm, which is why it bulges when you flex.
Questions about drawing a flexing arm
What shapes do I need to draw a flexing arm?
You need a circle for the fist, a long bent line for the arm outline, a big hill for the muscle, a rectangle for the cuff, and a few curved and straight lines for the details.
How do I make the muscle look bigger?
Make the hill on top of the arm taller and rounder, and add the small curved line inside it. The bigger the bump, the stronger the arm looks.
Can I draw the arm without a cuff?
Yes. Just end the arm with a straight line on the left side, or draw a bracelet or a watch instead.