How to Draw a T-Shirt (Easy Step by Step)
This post contains affiliate links. As an Amazon Associate I earn from qualifying purchases.
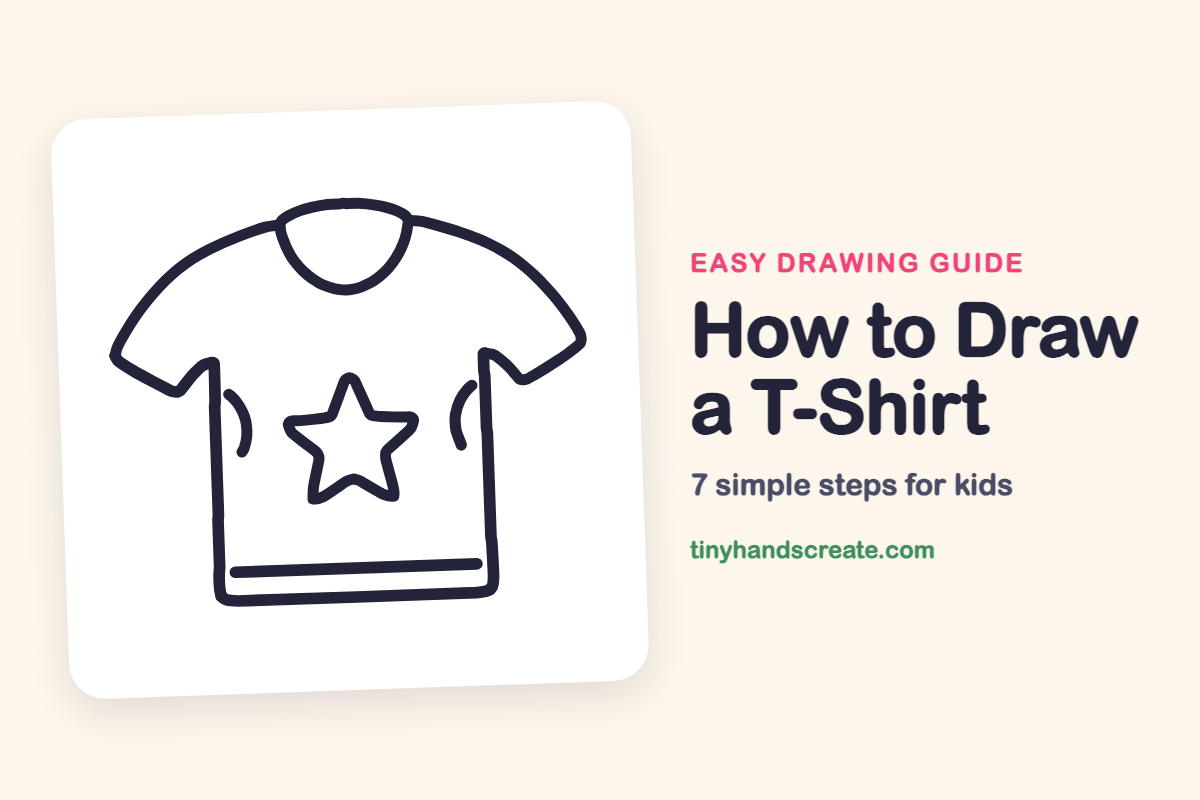
A T-shirt is a great first clothing drawing because it is built from just a few simple shapes: a curved top, a U for the neck, and straight lines for the body. The star in the middle makes it feel like your very own design. Once you can draw this one, you can add any picture you like.
- Easy
- 10 minutes
- 7 steps
You need: paper, a pencil, an eraser, and crayons or markers for coloring.
Start drawing
In this article (7 sections)
How to draw a T-shirt step by step
How to Draw a T-Shirt · tinyhandscreate.com
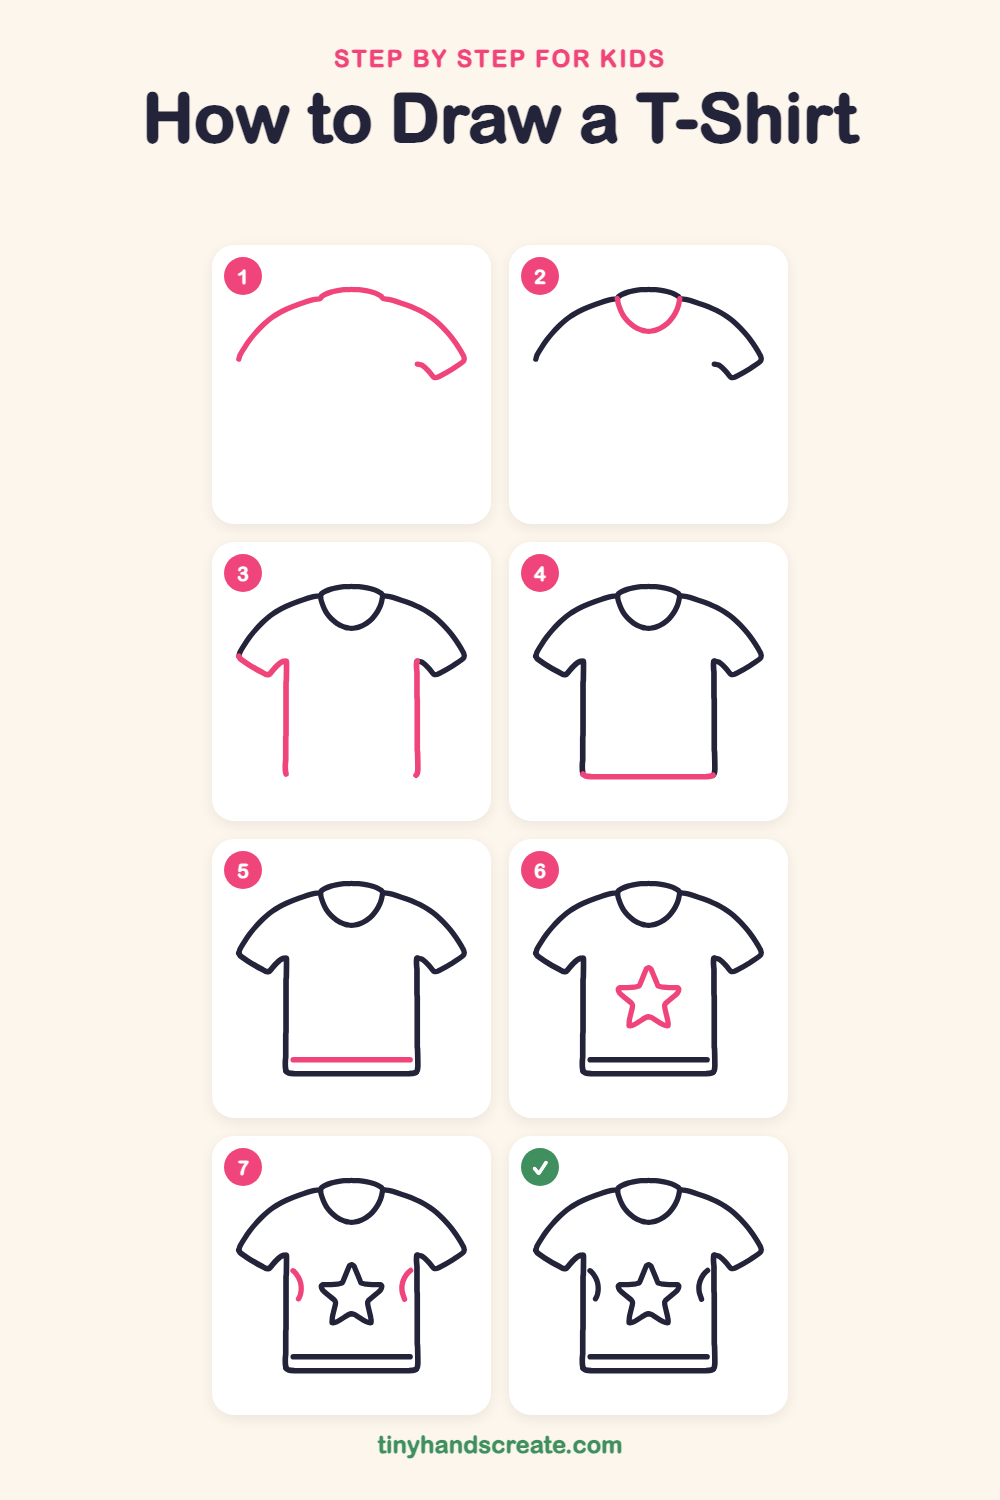
Step 1: Shoulders and sleeve tops
Start with a wide, gentle hill shape across the top. Draw it from the left sleeve tip, up over the shoulders with a small bump in the middle for the back of the collar, and down to the right sleeve, where it ends in a little hook.
Step 2: The neckline
Under the bump in the middle, draw a smooth U shape, like a smile. Start at the left end of the bump and finish at the right end.
Step 3: Sleeve opening and sides
On the left, draw a short slanted line down and in from the sleeve tip to make the sleeve opening. Then draw a straight line down from each sleeve to make the two sides of the shirt.
Step 4: The bottom edge
Connect the two sides at the bottom with a long, flat line. Round the corners a little so it looks soft.
Step 5: The hem stripe
Draw a short straight line across the shirt just above the bottom edge, with a little space between them. Stop before it touches the sides. This makes the folded hem.
Step 6: The big star
In the middle of the shirt, draw a five-pointed star. Make one point at the top, two out to the sides, and two down at the bottom.
Step 7: Side curves
Add one small curved line on each side of the star, near the edges of the shirt. They bend toward the star, like a pair of parentheses, and show where the shirt folds.
All done!
Go over your lines with a marker, then color it in.
Finished your T-shirt? Keep the pencils out and learn how to draw a pair of jeans or how to draw a baseball cap next.
Tips for drawing a T-shirt
- Draw the top curve in one smooth, slow stroke so both shoulders match. If it wobbles, lightly sketch it first and then go over it.
- Start the star by marking five dots in a circle, then connect every other dot. This makes the points even.
- Keep the two side curves about the same size and the same distance from the edges, so the shirt looks balanced.
Free T-shirt coloring page
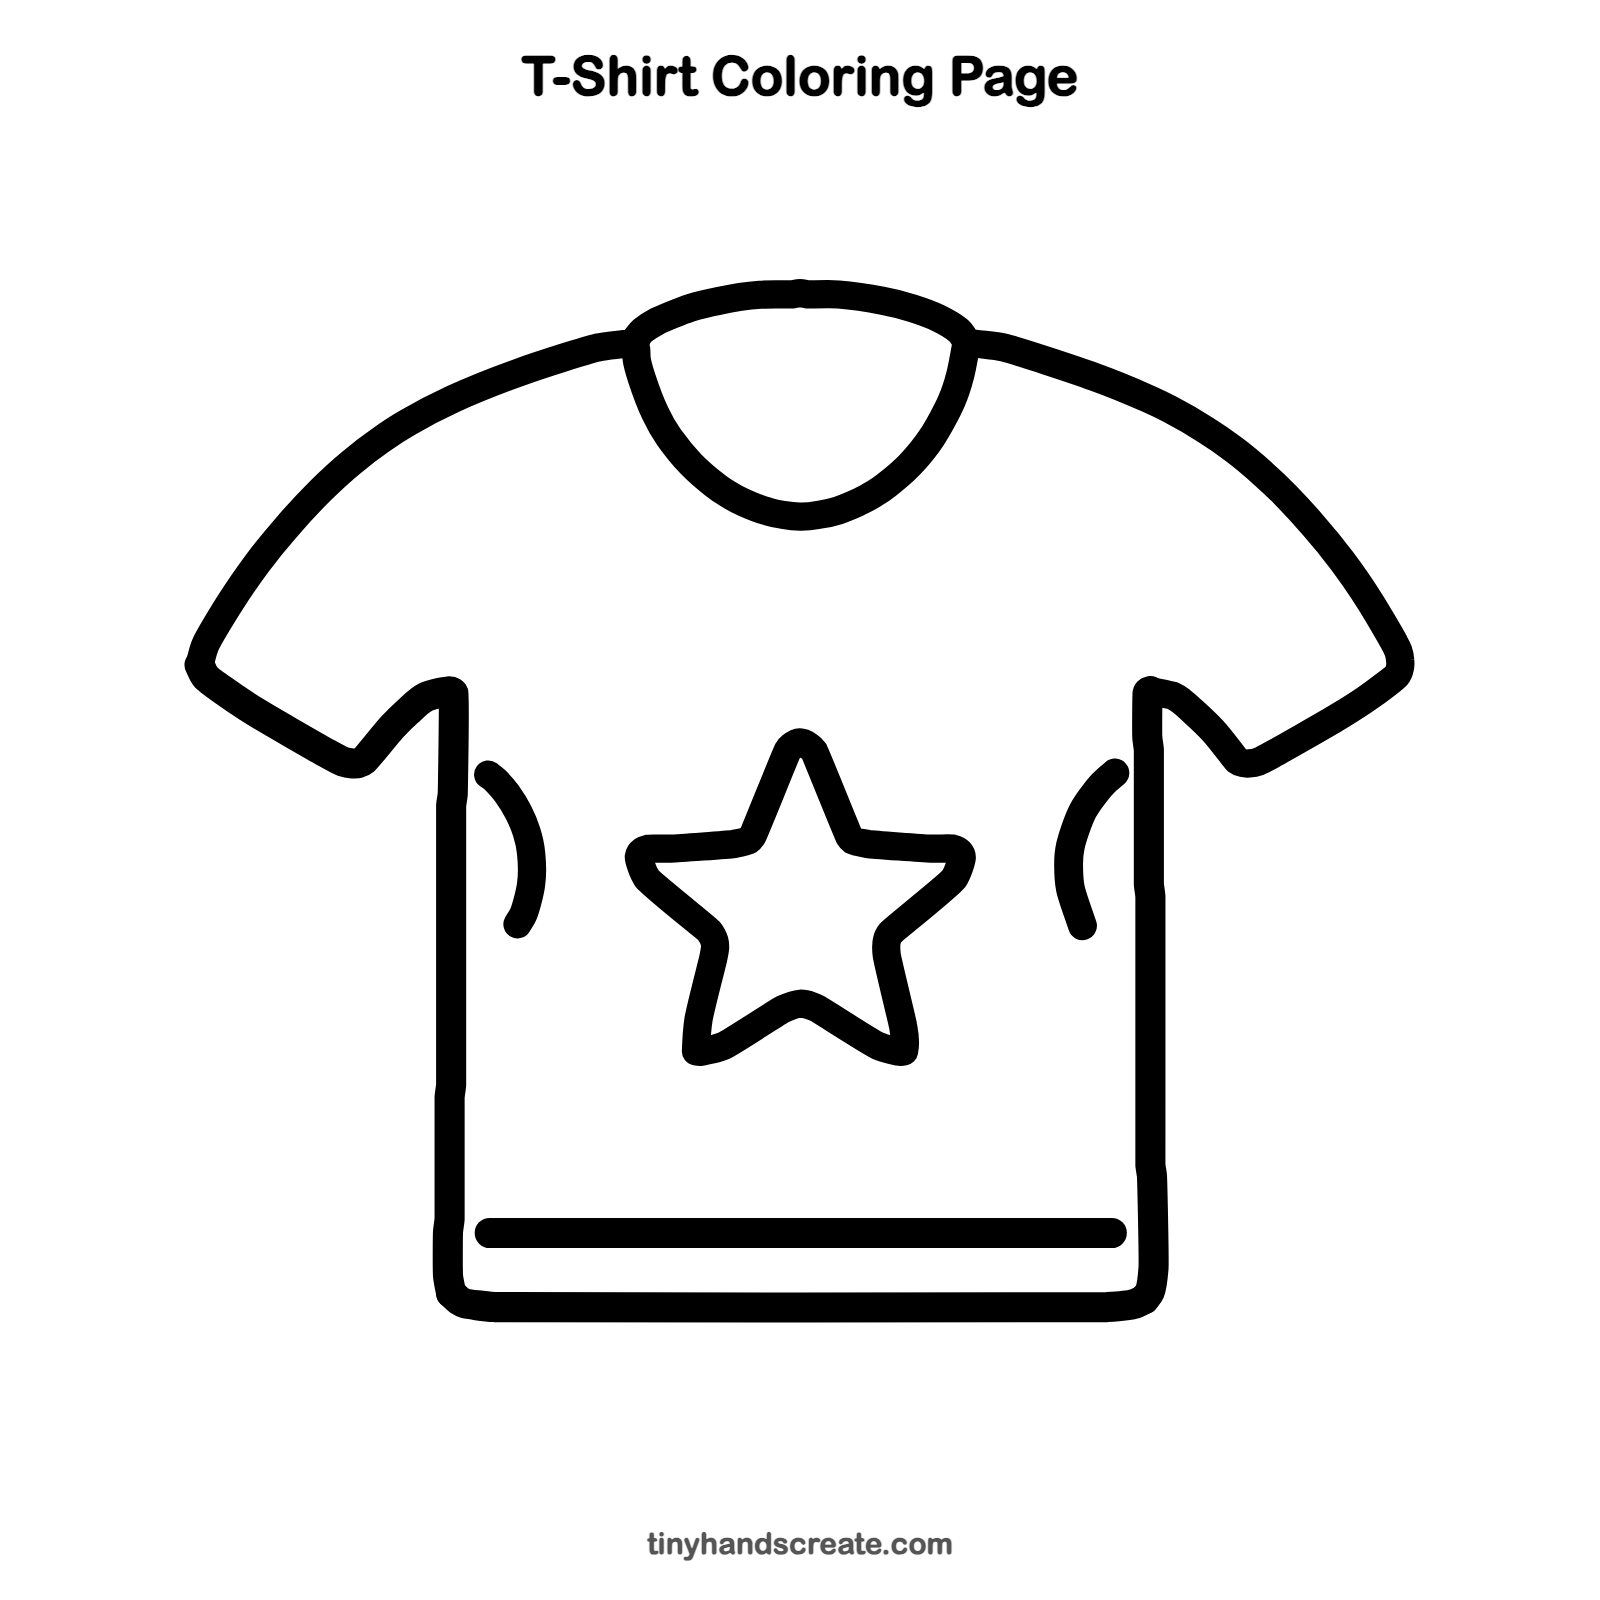
Want to go straight to coloring? Open this T-shirt coloring page at full size and print it. It is the same drawing you just learned, with clean lines ready for crayons or markers.
How to color your T-shirt drawing
Try a bright color for the shirt, like sky blue or red, and make the star yellow or white. For a creative twist, decorate the shirt with stripes, dots, or a picture of your favorite animal instead of the star.
T-shirt fun fact for kids
The T-shirt gets its name from its shape. With the sleeves stretched out, the shirt looks like the letter T.
Questions about drawing a T-shirt
What shapes do I need to draw a T-shirt?
You need a wide curved line for the shoulders, a U shape for the neck, straight lines for the sides and bottom, and a star for the design.
How do I make my T-shirt look more real?
Add the little curved lines at the sides and a hem stripe near the bottom. These small details make the shirt look like it has folds and a hem.
How can I draw a star on my T-shirt?
Make five dots in a circle shape, then connect each dot to the one two places away from it. You will get a neat five-pointed star.