How to Draw a Rice Cooker (Easy Step by Step)
This post contains affiliate links. As an Amazon Associate I earn from qualifying purchases.
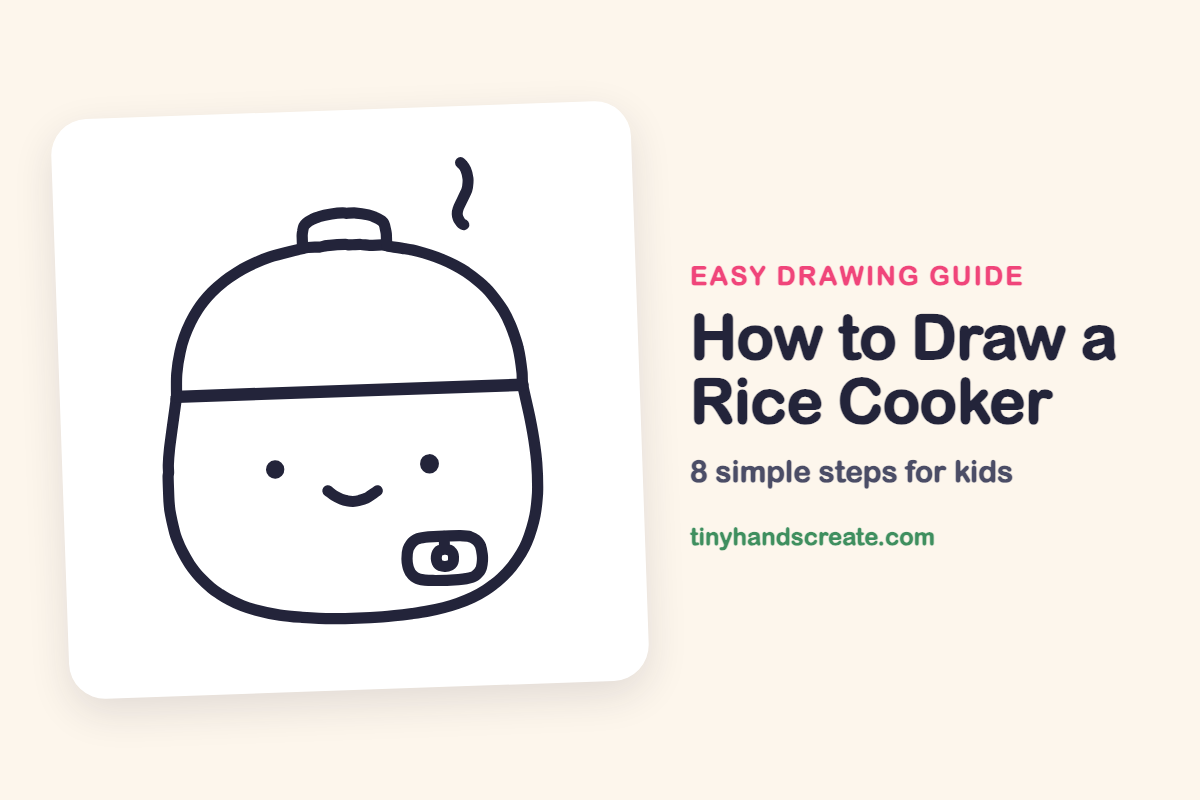
A rice cooker is a friendly drawing because it is built from big, simple shapes: a rounded body, a lid line, and a small handle. A smiling face, a little control panel, and a curl of steam turn it into a cheerful kitchen buddy. Anyone can draw it with curves, dots, and one straight line.
- Easy
- 10 minutes
- 8 steps
You need: paper, a pencil, an eraser, and crayons or markers for coloring.
Start drawing


In this article (7 sections)
How to draw a rice cooker step by step
How to Draw a Rice Cooker · tinyhandscreate.com
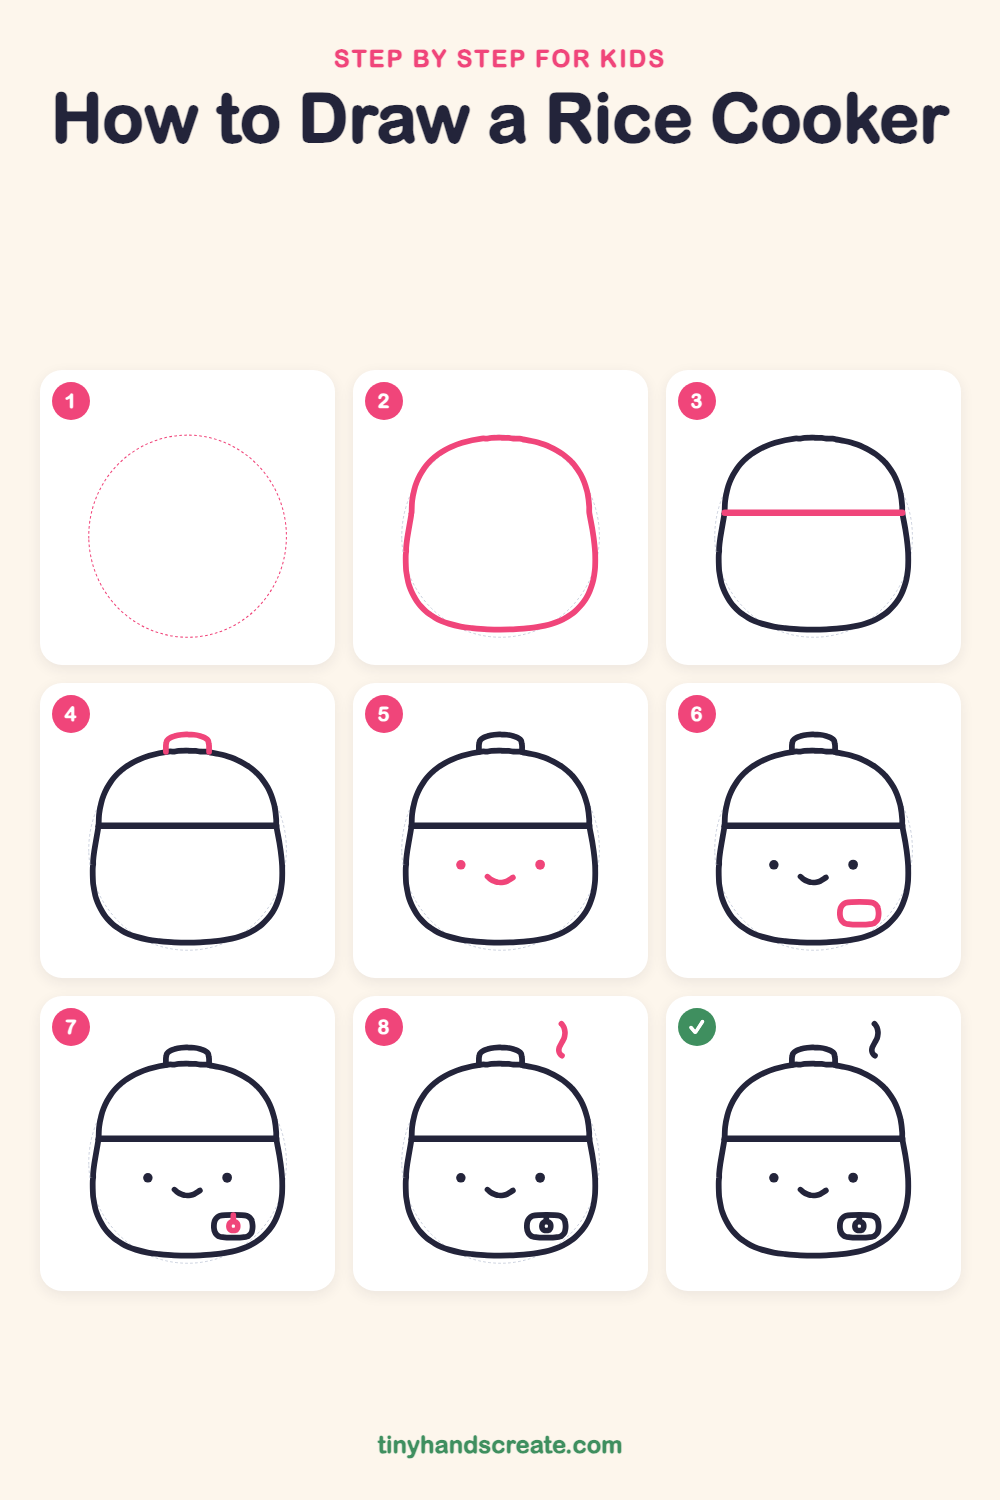
Step 1: Guide shapes
Lightly sketch this oval. It only shows where the big parts go, so press softly. You will erase it at the end.
Step 2: The cooker body
Draw one big rounded shape that is narrower and domed at the top and wider and rounded at the bottom, like a squished egg or a bell. Keep the line smooth and closed so it makes one whole shape.
Step 3: The lid line
Draw one straight line across the upper part of the body, from the left side to the right side. It touches the outline at both ends and shows where the lid sits.
Step 4: The lid handle
On top of the lid, draw a small bump like an upside-down U with a flat top. Connect both ends to the curve of the lid.
Step 5: The happy face
Draw two small round dots for eyes, side by side in the middle of the body below the lid line. Add a little curved smile between them, a bit lower.
Step 6: The control panel
Near the bottom right of the body, draw a small rounded rectangle, like a pill lying on its side. This is the panel where the button lives.
Step 7: The round button
Inside the pill, draw a tiny circle with a dot in the middle of it to make a button.
Step 8: The steam
Above the lid on the right side, draw one short wavy line that wiggles like a little snake. It shows that the rice is hot and cooking.
All done!
Erase the guide shapes, go over your lines, then color it in.
Finished your rice cooker? Keep the pencils out and learn how to draw boba tea or how to draw a cupcake next.
Tips for drawing a rice cooker
- Draw the body first as one soft, rounded shape, narrower at the top and wider at the bottom, so the cooker looks like it sits steady.
- Use a ruler or a steady hand for the lid line, and make sure it touches both sides of the body so the lid looks closed.
- Draw the pill-shaped panel first, then fit the small circle with a dot inside it.
Free rice cooker coloring page
Want to go straight to coloring? Open this rice cooker coloring page at full size and print it. It is the same drawing you just learned, with clean lines ready for crayons or markers.
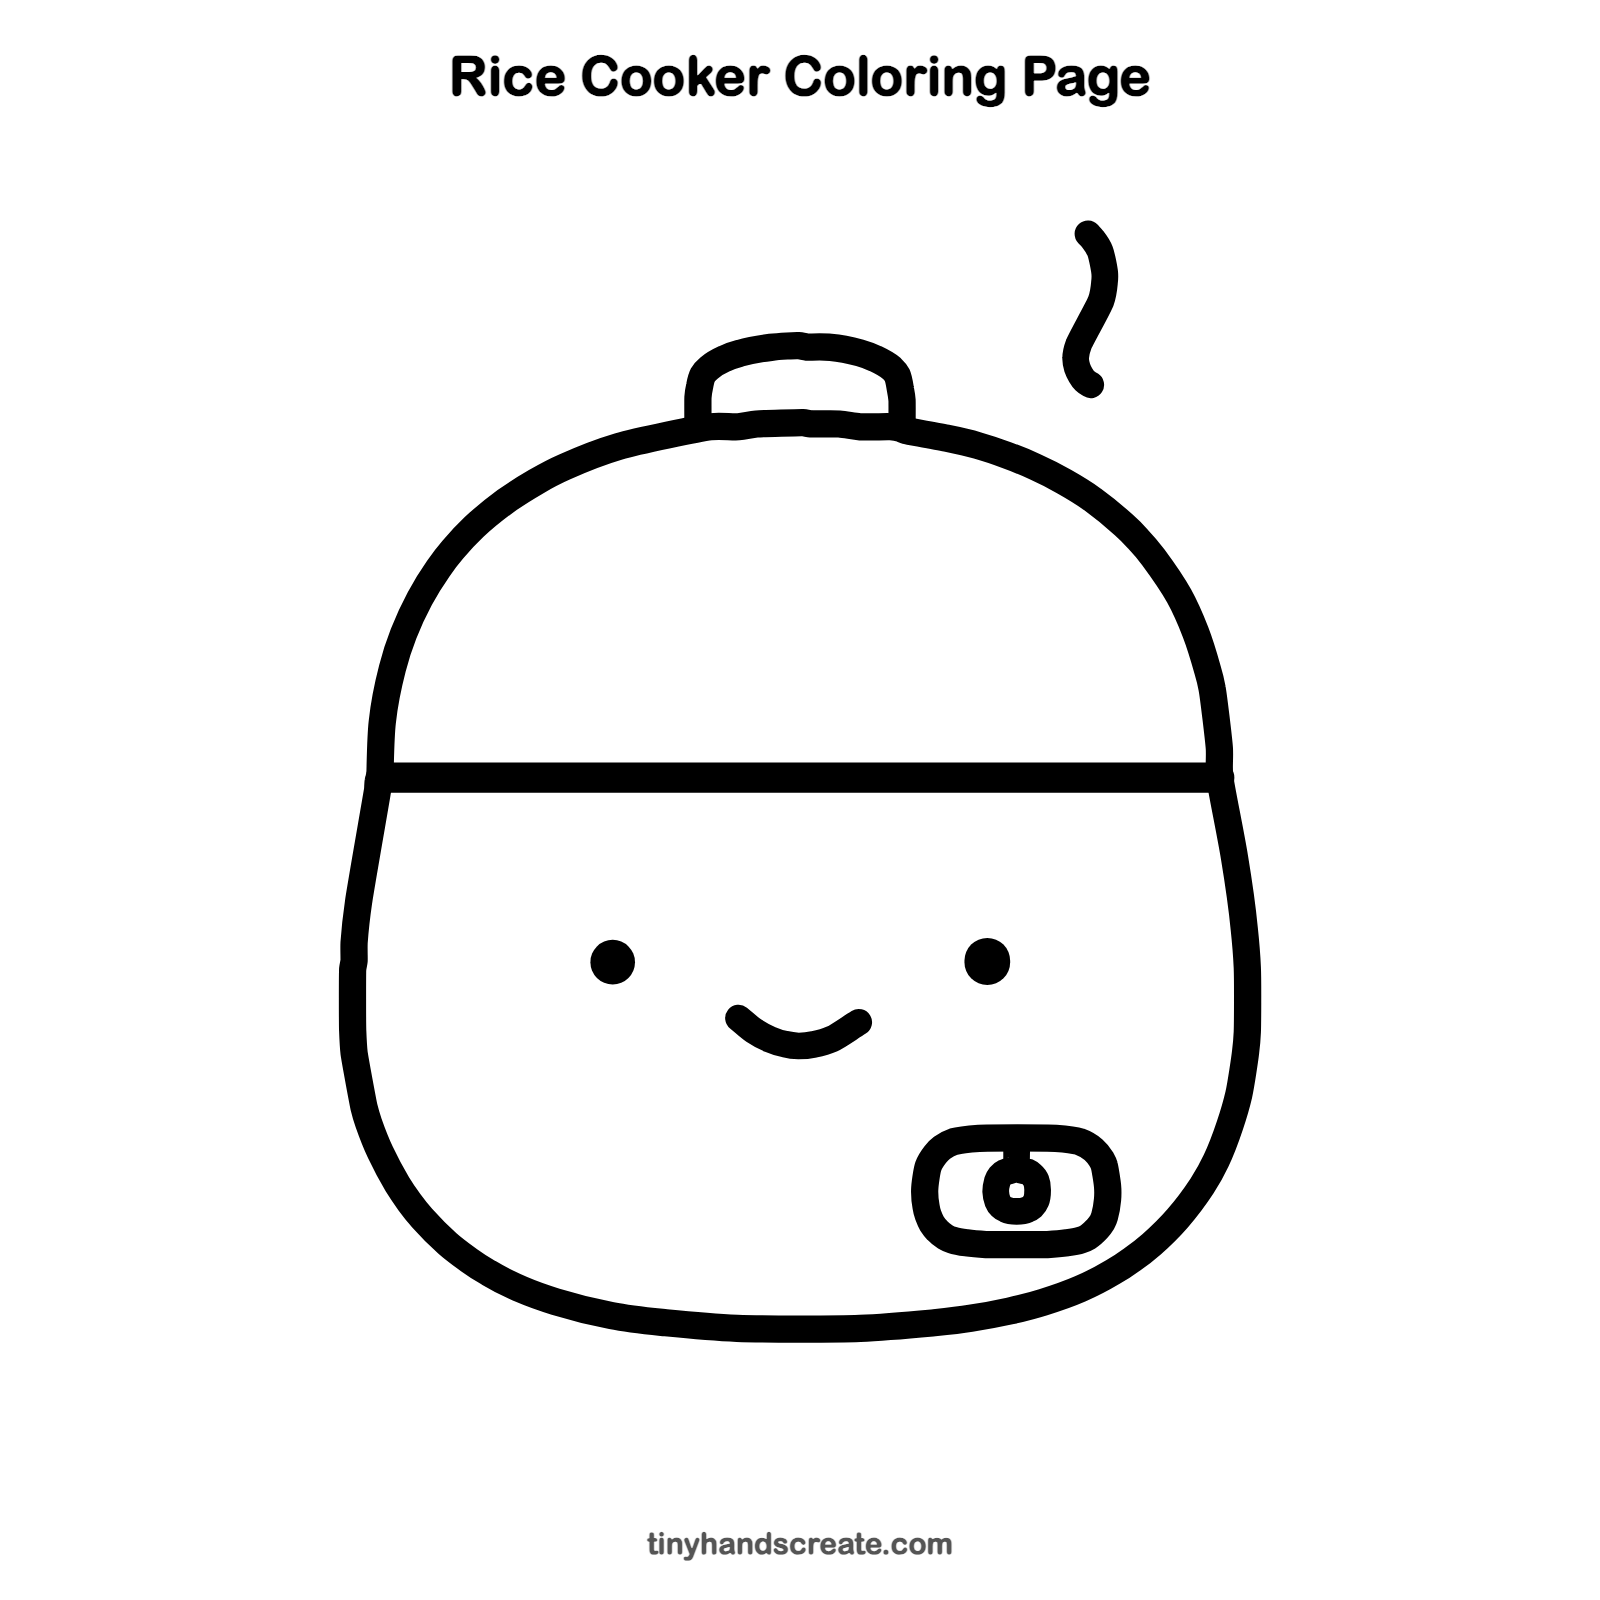
How to color your rice cooker drawing
Try a soft cream or pale pink for the body, with a darker color on the lid and handle. Color the panel button a bright shade so it stands out, and make the steam light blue or gray.
Rice cooker fun fact for kids
Many electric rice cookers switch to a keep-warm mode on their own when the rice is done. Once the water is absorbed, the pot gets hotter than boiling water, and the cooker senses that change.
Questions about drawing a rice cooker
What shapes do I need to draw a rice cooker?
You need a big rounded shape for the body, one straight line for the lid, a small upside-down U for the handle, and a pill shape with a small circle for the control panel. Dots and a curve make the face.
How do I make my rice cooker look cuter?
Put the eyes wide apart and the smile low, and keep all the corners round. Adding a little steam curl makes it feel alive.
How do I draw steam coming from a rice cooker?
Draw a thin wavy line above the lid, like a gentle S shape. Keep it short and loose so it looks like a little puff of steam.