How to Draw a Snow Cone (Easy Step by Step)
This post contains affiliate links. As an Amazon Associate I earn from qualifying purchases.
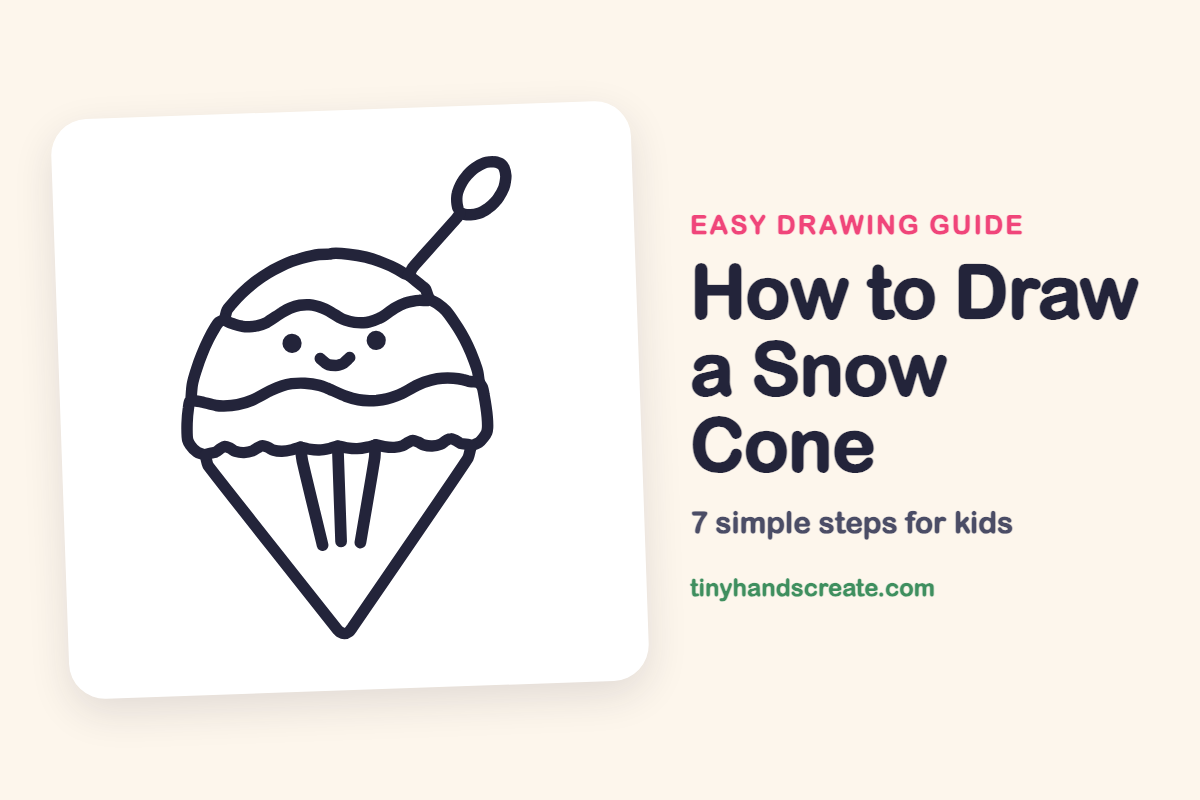
A snow cone is a cold, colorful treat, and this one has a sweet smiling face. It is built from just a few simple shapes: a dome, a cone, some wavy lines, and a little oval spoon. Once you can draw a half circle and a triangle, you can draw this.
- Easy
- 10 minutes
- 7 steps
You need: paper, a pencil, an eraser, and crayons or markers for coloring.
Start drawing

In this article (7 sections)
How to draw a snow cone step by step
How to Draw a Snow Cone · tinyhandscreate.com
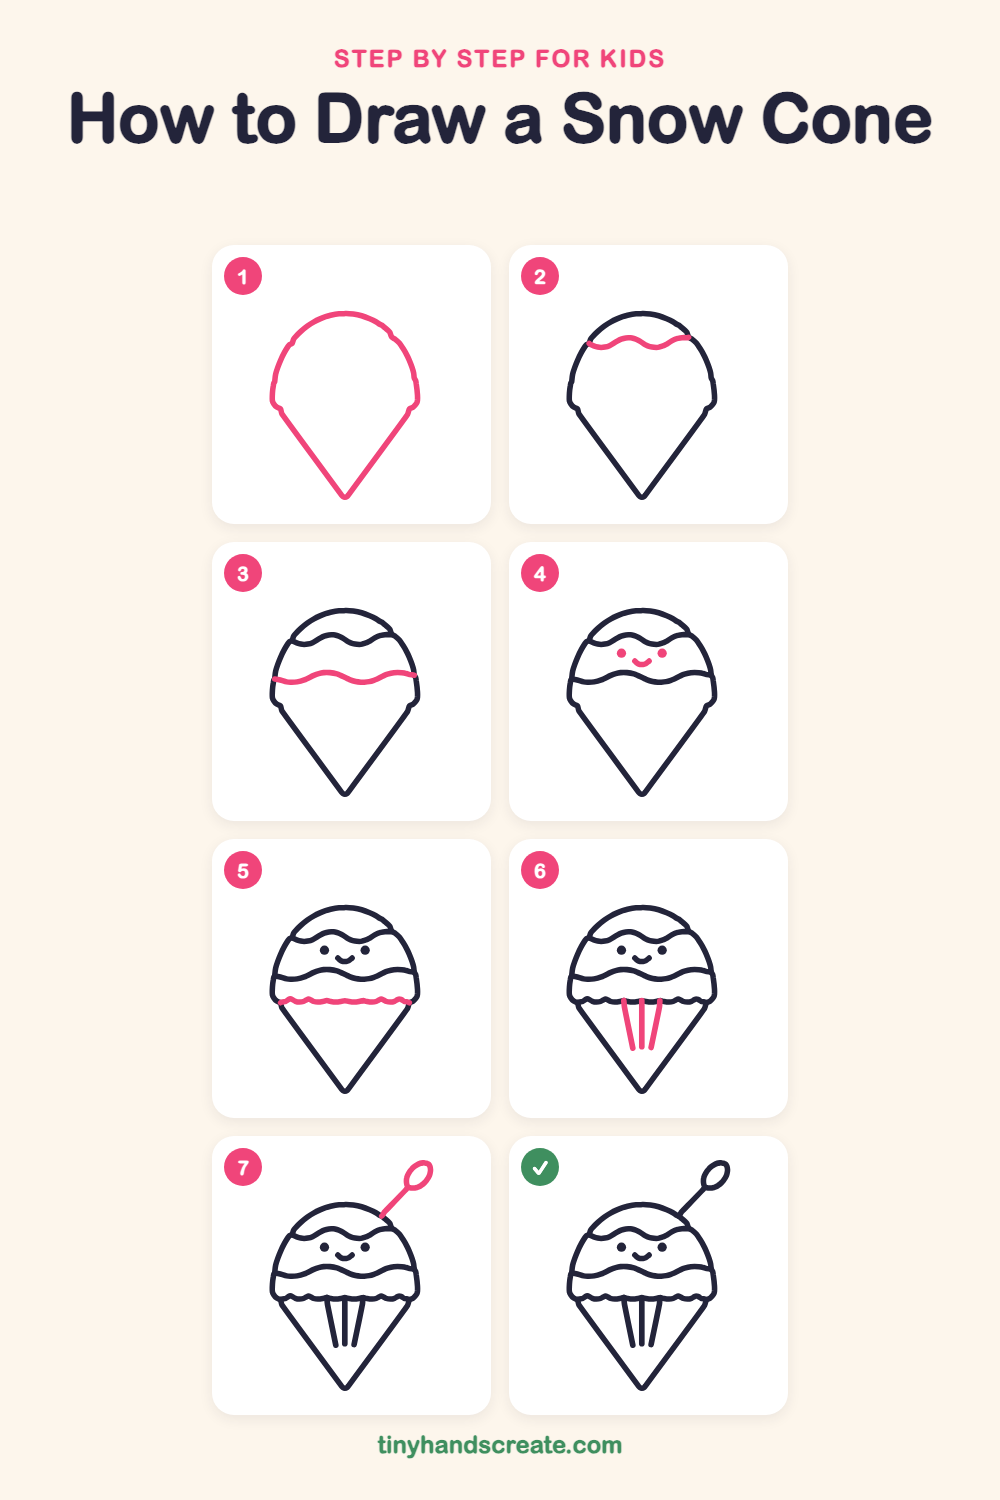
Step 1: Dome and cone
Start with a big rounded dome, like a half circle. Then draw two straight lines from the bottom corners of the dome down to meet at a point, making a cone.
Step 2: Top wavy stripe
Near the top of the dome, draw a long wiggly line from one side to the other, like a gentle ocean wave. Let both ends touch the dome outline.
Step 3: Lower wavy stripe
Draw another wiggly line lower down on the dome, going from side to side just like the first one. Leave a roomy gap between the two lines for the face.
Step 4: Smiling face
Between the two wavy stripes, draw two small filled dots for eyes. Add a little smile that curves like a tiny bowl between and just below them.
Step 5: Scalloped edge
Where the dome meets the cone, draw a row of little bumps from one side to the other, like a frilly paper cupcake liner. Make each bump a small curve and keep them about the same size.
Step 6: Cone lines
Under the bumpy edge, draw three short lines going down inside the cone. Make the middle one straight up and down, and tilt the side ones in a little toward the bottom.
Step 7: Spoon straw
Draw a short straight stick poking out of the top right of the dome, slanting up and to the right. At the end of the stick, add a small tilted oval for the scoop.
All done!
Go over your lines with a marker, then color it in.
Finished your snow cone? Keep the pencils out and learn how to draw a pickle or how to draw a peanut next.
Tips for drawing a snow cone
- Draw the dome first and make it big and round, so the cone has room to fit underneath.
- For the wavy stripes, think of drawing a lazy snake. Keep the curves smooth and let the ends touch the dome edge.
- Draw the bumpy edge slowly, one little bump at a time. Try to keep every bump about the same size.
Free snow cone coloring page
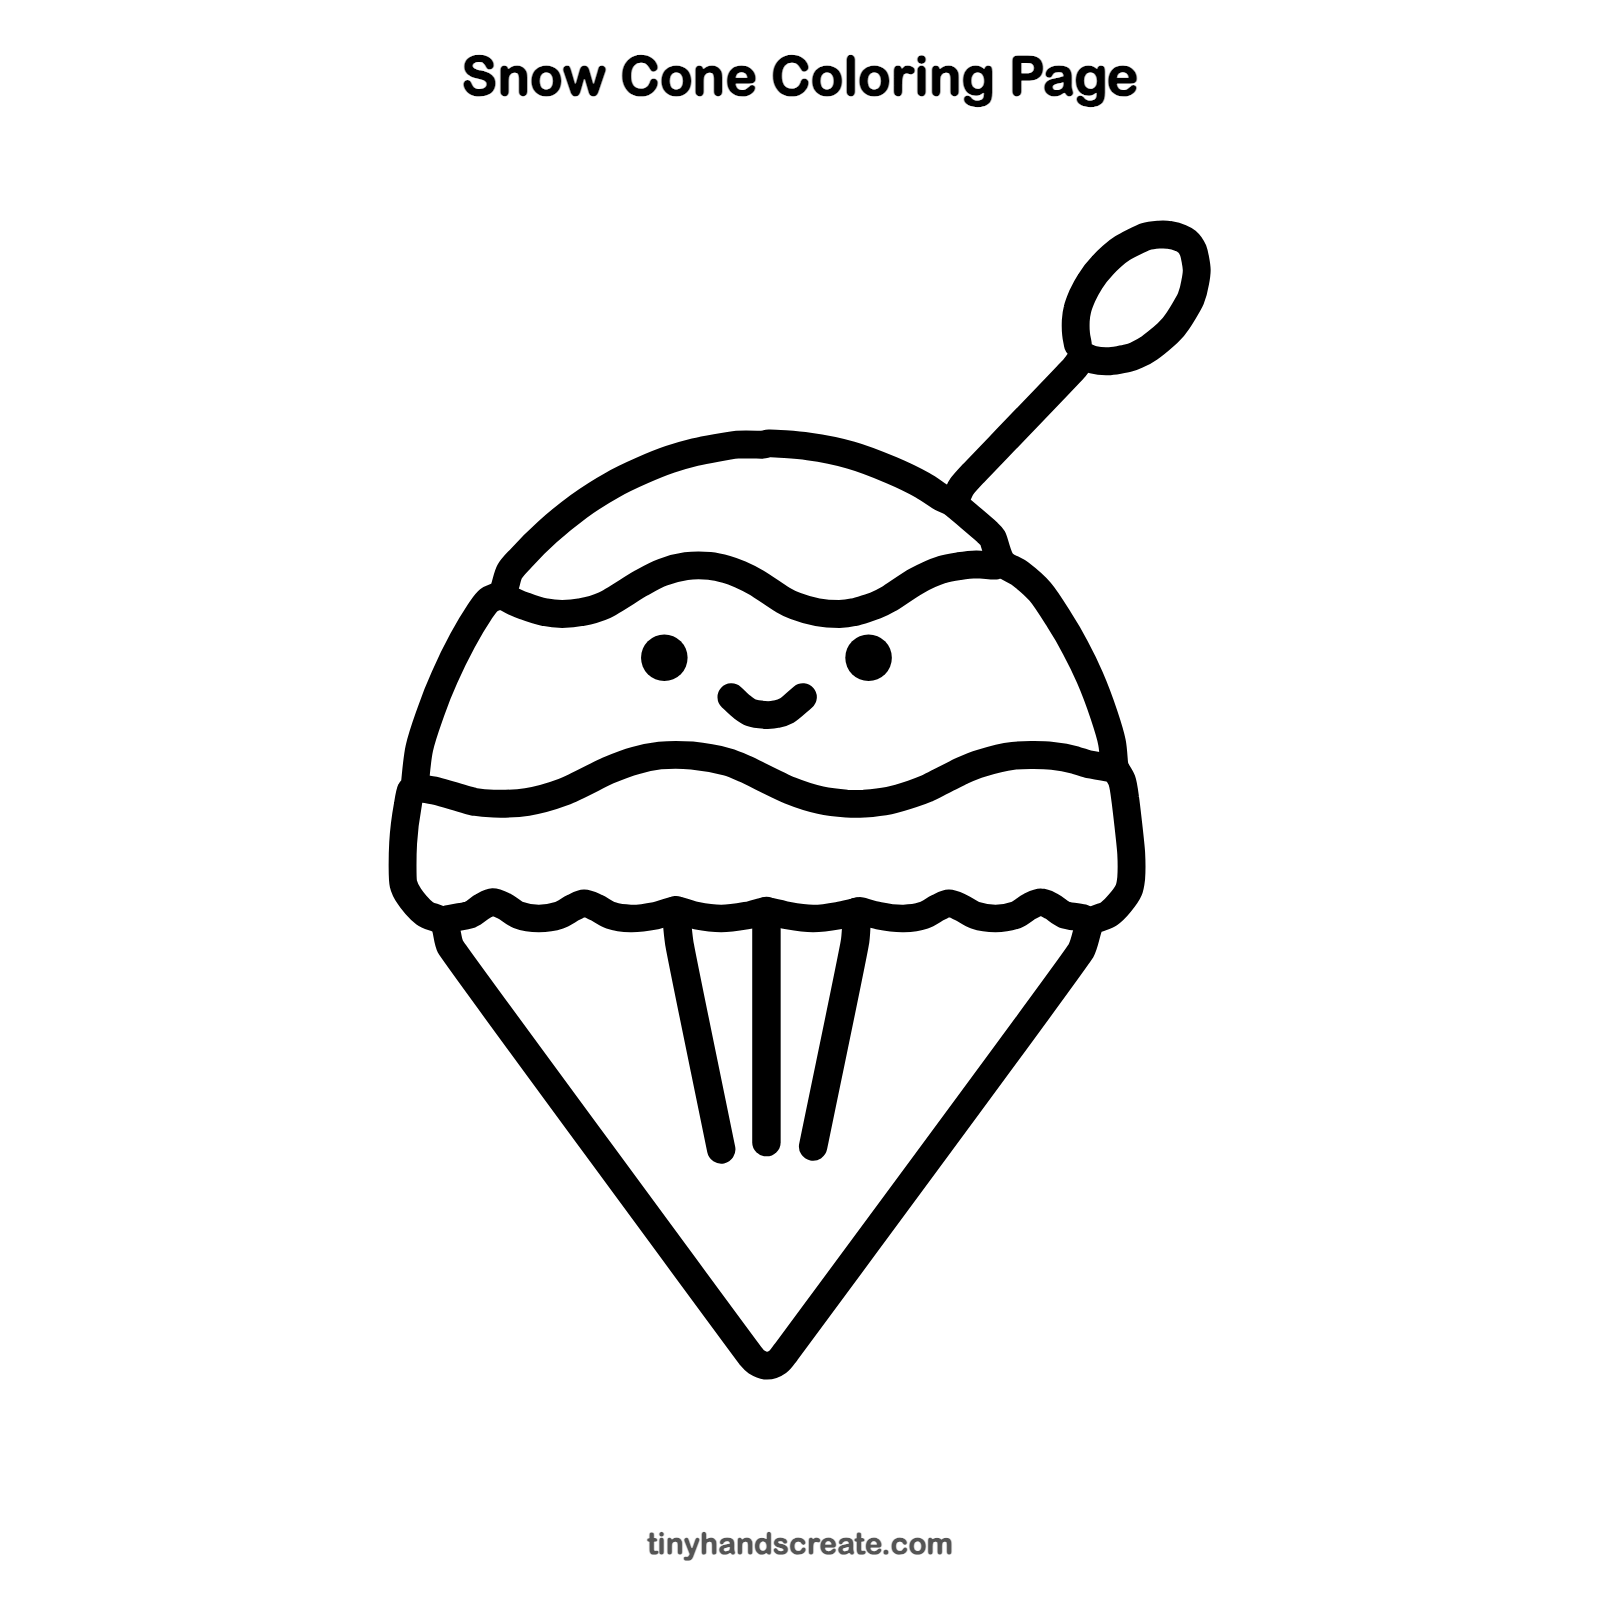
Want to go straight to coloring? Open this snow cone coloring page at full size and print it. It is the same drawing you just learned, with clean lines ready for crayons or markers.
How to color your snow cone drawing
Color the dome in fruity syrup colors like cherry red, blue raspberry, and grape purple, and try a light tan for the cone. The spoon can be any color you like.
Snow cone fun fact for kids
Snow cones are made from shaved or crushed ice topped with flavored syrup.
Questions about drawing a snow cone
What shapes do I need to draw a snow cone?
You need a half circle for the dome, a triangle for the cone, and a small oval for the spoon. The wavy stripes and bumpy edge are just curvy lines added on top.
How do I make my snow cone look cuter?
Give it a happy face with two round dot eyes and a small smile between the two wavy stripes. Keep the eyes small and a little apart so the face looks extra sweet.
How do I draw the wavy lines evenly?
Start at one side and make gentle up and down curves, like small hills, all the way across. Try practicing on scrap paper first, then draw them on the dome.