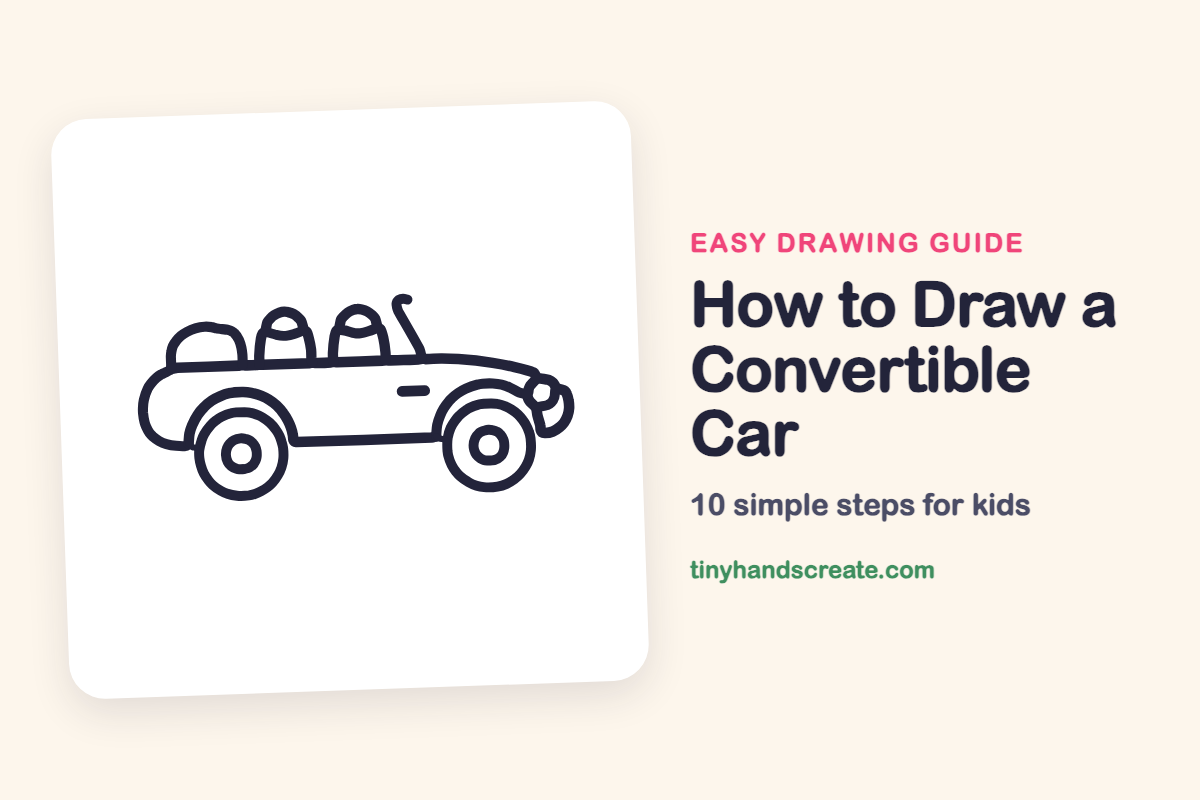
How to Draw a Convertible Car (Easy Step by Step)
A convertible is a car with no roof, so you can see the seats and the open sky above them. It is built from simple shapes: a long loaf for the body, two circles for the wheels, and two rounded bumps for the seats. Once you have those, the little details are easy to add.
- Medium
- 15 minutes
- 10 steps
You need: paper, a pencil, an eraser, and crayons or markers for coloring.
Start drawingIn this article (7 sections)
How to draw a convertible car step by step
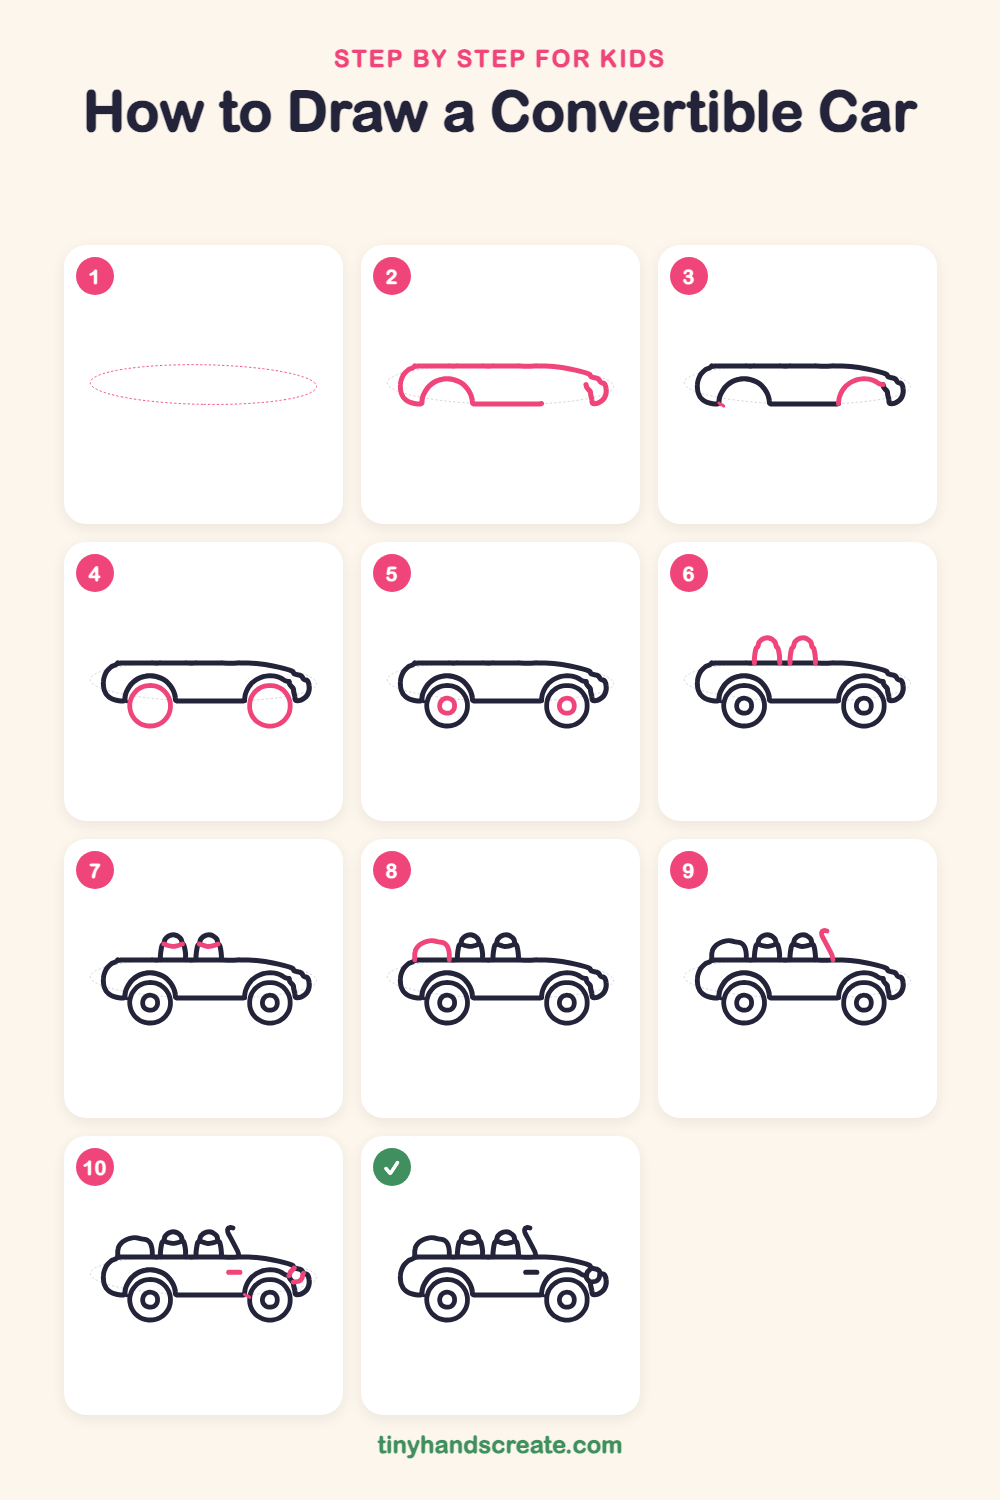
How to Draw a Convertible Car · tinyhandscreate.com
Step 1: Guide shapes
Lightly sketch this oval. It only shows where the big parts go, so press softly. You will erase it at the end.
Step 2: Body and first arch
Draw a long, flat-topped shape like a loaf of bread, with a straight top line and rounded ends. Add a bump shaped like an upside-down U near the left end for the first wheel arch.
Step 3: Second wheel arch
Near the right end of the car, draw another upside-down U that starts at the bottom edge and curves up and back down. Make it about the same size as the first arch.
Step 4: The wheels
Draw a big circle under each arch so the top of the circle tucks up into the arch. Make the front and back wheels about the same size.
Step 5: The hubcaps
Draw a small circle in the middle of each wheel. Keep both circles the same size.
Step 6: The two seats
On top of the car, draw two tall, rounded shapes like upside-down U's that stand on the top line. Leave a little gap between them.
Step 7: Headrests
Draw a short curved line across the top part of each seat. This makes the headrest look like a separate cushion.
Step 8: The folded roof
Behind the seats, at the back of the car, draw a lumpy dome shape sitting on the top line. This is the roof folded down.
Step 9: The windshield
Just in front of the seats, draw a long slanted line that starts at the top of the car and rises up and back. Finish it with a little hook at the top.
Step 10: Headlight and door handle
At the front of the car, draw a small ring for the headlight. Then add a short dash on the side of the body for the door handle.
All done!
Erase the guide shapes, go over your lines, then color it in.
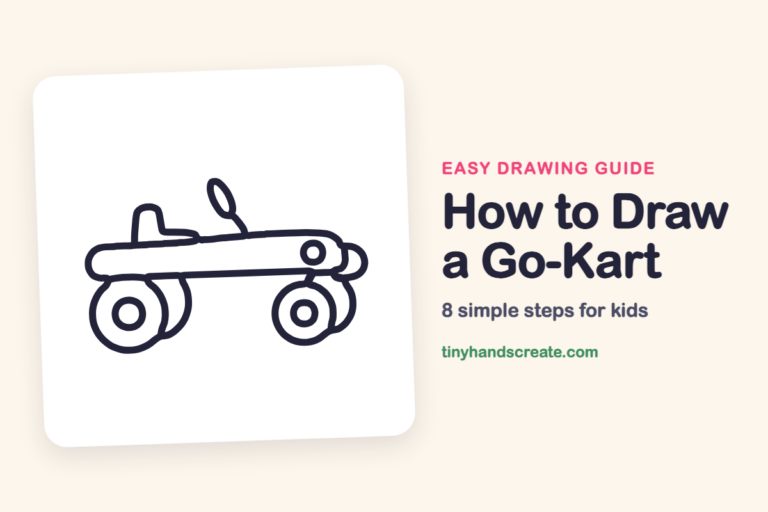
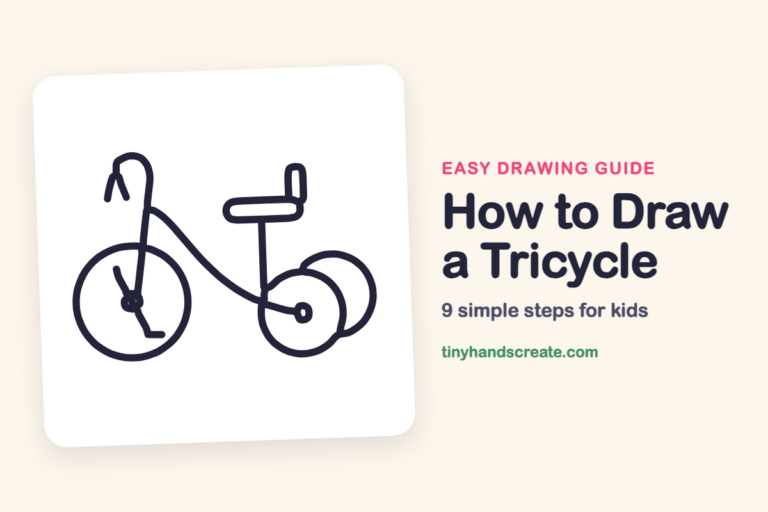
Finished your convertible car? Keep the pencils out and learn how to draw a go-kart or how to draw a tricycle next.
Tips for drawing a convertible car
- Draw the long top line of the body first and keep it as straight as you can. Everything else sits on that line, so a steady line makes the whole car look good.
- Draw the first wheel, then match the second one to it. Try tracing a coin or bottle cap if your circles keep coming out wobbly.
- Leave a small gap between the two seats so they do not blend together. Make them the same height so they look like a pair.
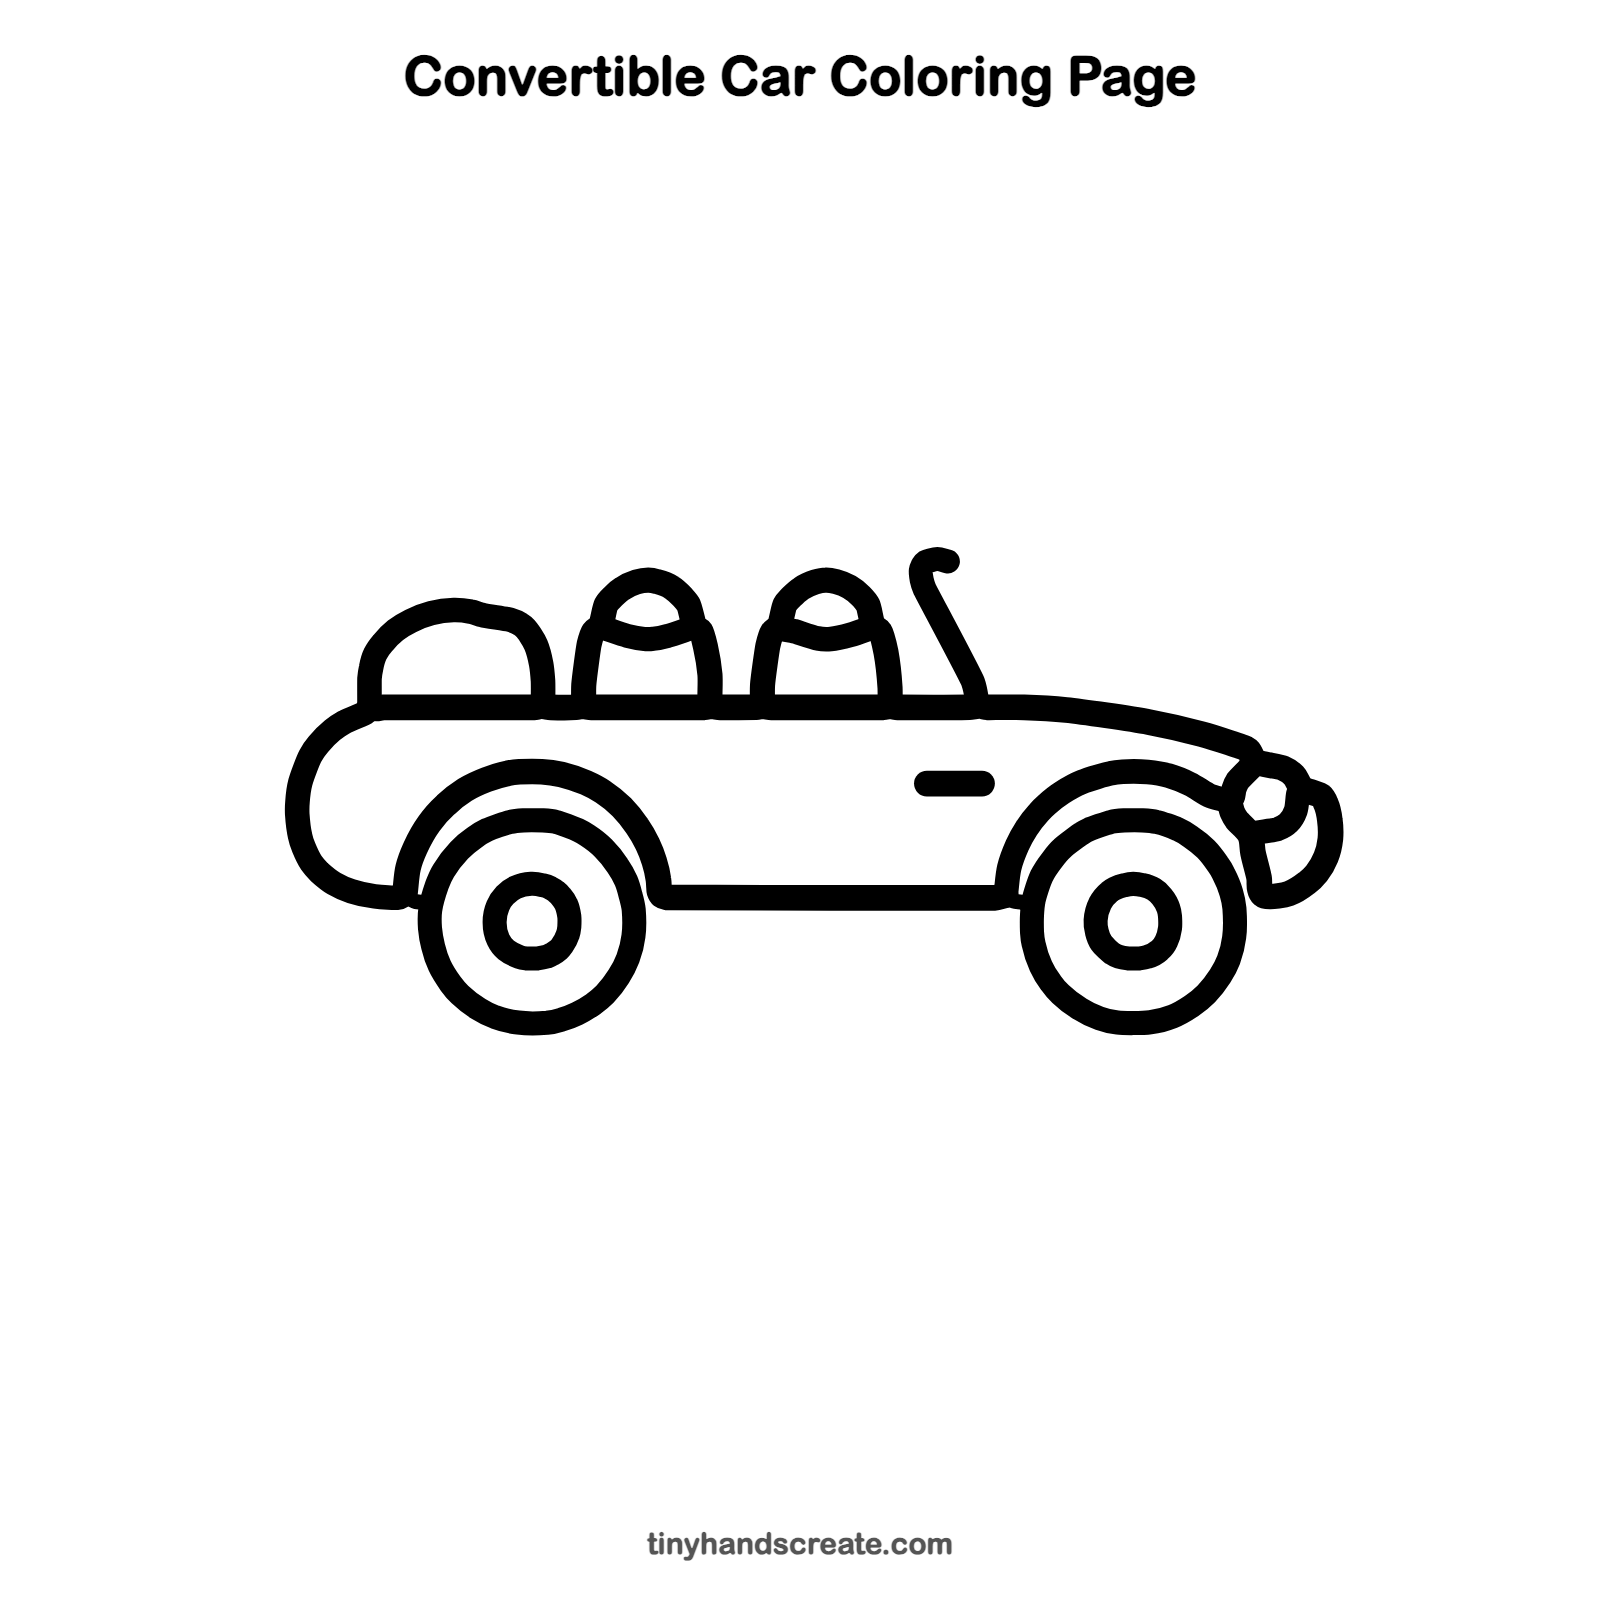
Free convertible car coloring page
Want to go straight to coloring? Open this convertible car coloring page at full size and print it. It is the same drawing you just learned, with clean lines ready for crayons or markers.
How to color your convertible car drawing
Try a bright red or sunny yellow body with dark gray wheels and light blue seats. The folded roof and windshield hook could be a different color, like black or brown.
Convertible car fun fact for kids
The first gasoline-powered car, built by Karl Benz in 1885, had only three wheels.
Questions about drawing a convertible car
What shapes do I need to draw a convertible?
You need a long rounded rectangle for the body, two circles for the wheels, and two tall rounded shapes for the seats. A small ring for the headlight finishes the front.
Where does the folded roof go?
It sits on the back of the car, behind the seats, as a lumpy dome. It shows that the roof is folded down.
How do I draw wheels that look round?
Draw a big circle first, then a smaller one in the middle. Tracing a cup or a coin is a good way to get a round shape, then draw over it with your pencil.