How to Draw an Eel (Easy Step by Step)
Learn to draw a friendly, wiggly eel peeking from a sandy hole with this easy step-by-step guide. You'll create its round head, long curvy body, and simple details, perfect for beginners.
- Draw a friendly, wiggly eel peeking from a sandy hole.
- Construct the eel with a round head and long curvy body.
- Add simple details like little bumps and a hole.
- Master an easy drawing, great for your first sea creature.
This post contains affiliate links. As an Amazon Associate I earn from qualifying purchases.
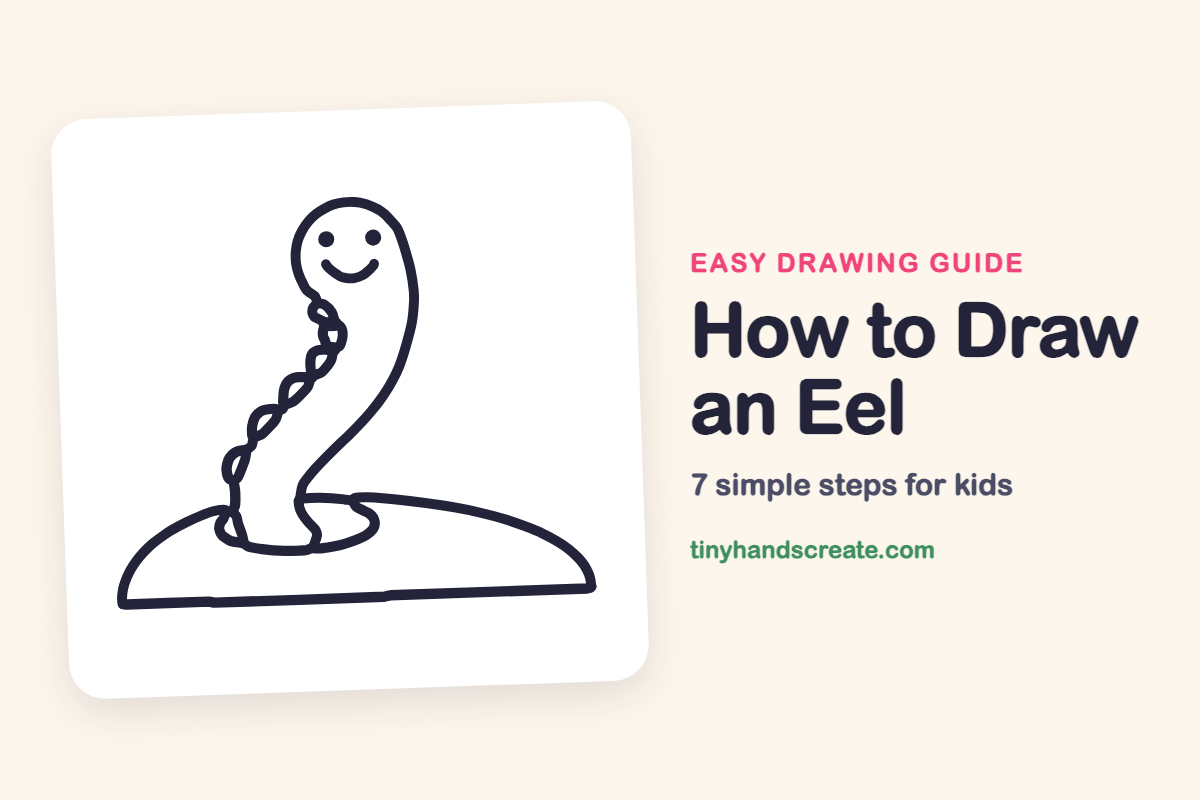
This eel is a friendly, wiggly friend peeking out of a hole in a sandy mound. It is built from a round head, a long curvy body, a row of little bumps and a simple hole. Everything is smooth and easy to follow, so it is a great first sea creature.
- Easy
- 10 minutes
- 7 steps
You need: paper, a pencil, an eraser, and crayons or markers for coloring.
Start drawing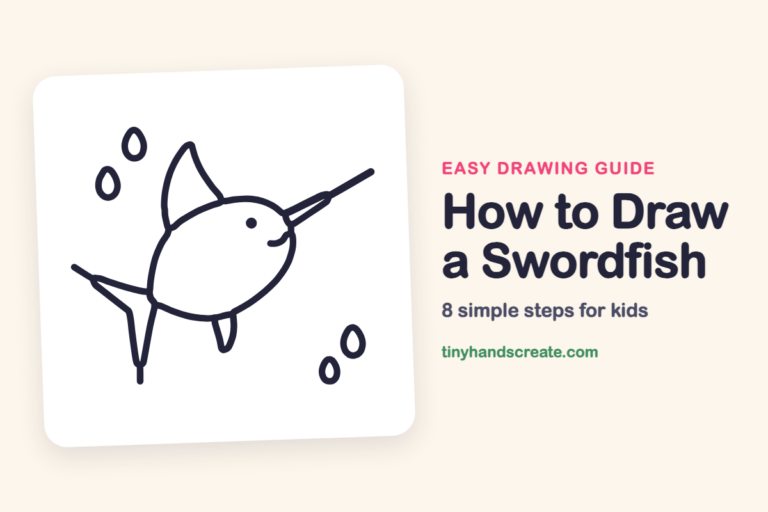
In this article (7 sections)
How to draw an eel step by step
How to Draw an Eel · tinyhandscreate.com
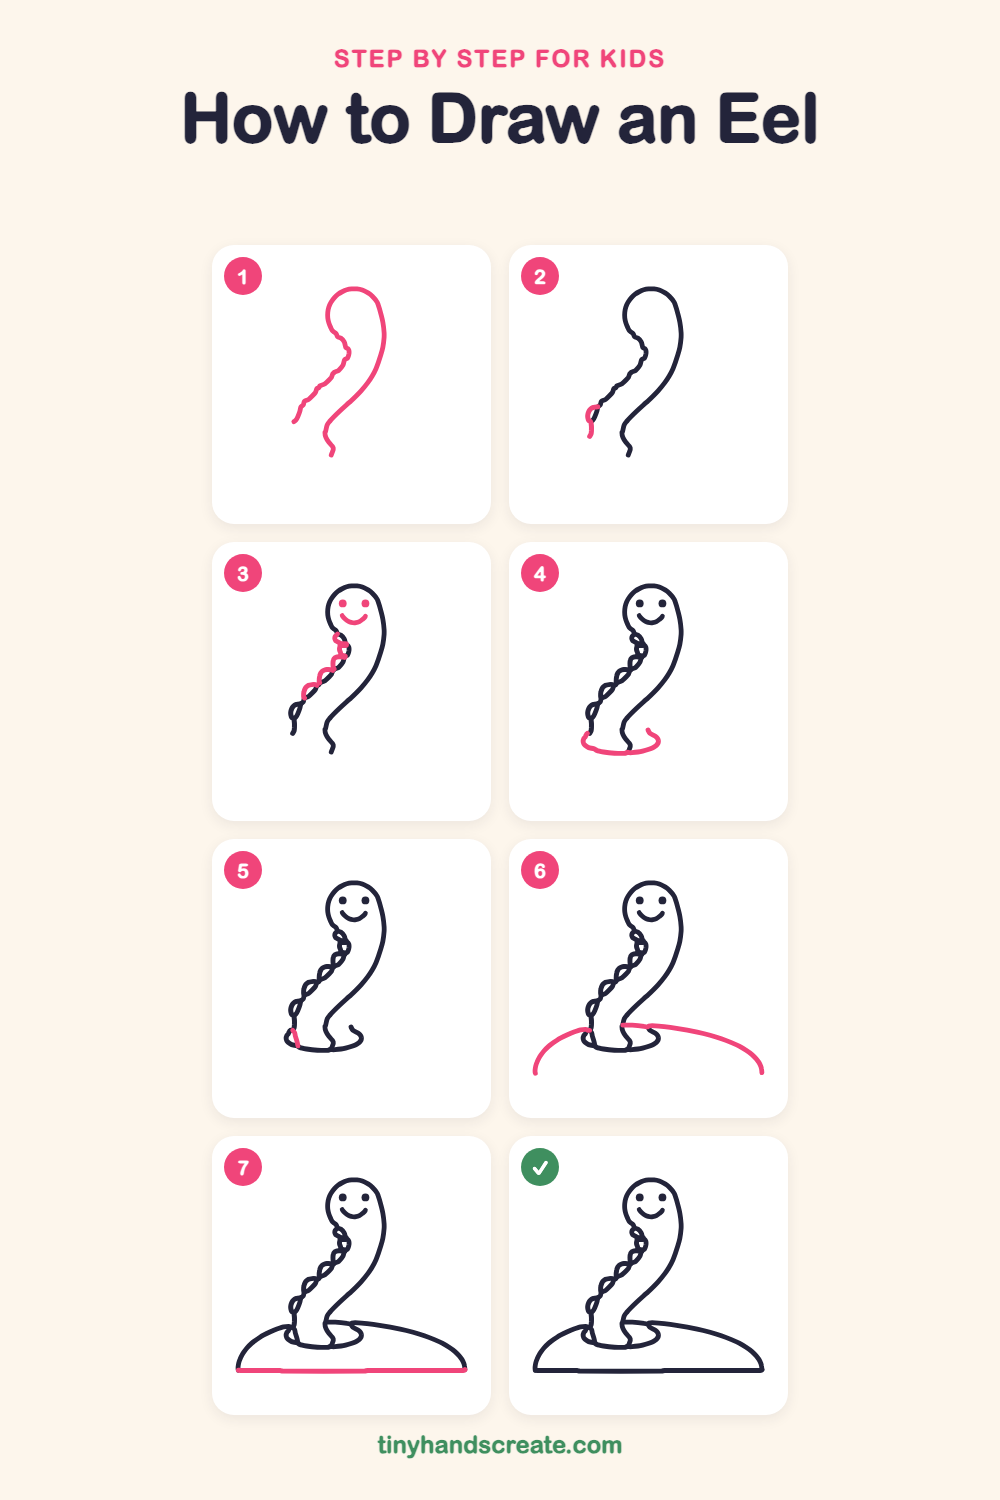
Step 1: Head and body
Start on the left near the bottom and draw a bumpy line going up to a round head. Curve over the top, then draw a smooth line down the right side so the body gets a little narrower near the bottom.
Step 2: Left edge curl
At the bottom end of the bumpy left line, draw a tiny curl that turns the line down a little further.
Step 3: Face and bumps
Add two small dots for eyes and a little curved smile under them. Then go along the left side of the neck and body and draw a row of small bumps, like tiny rounded hills.
Step 4: Front of the hole
At the bottom of the body, draw a wide, curved line like a bowl that swings out to the left and right of the eel. This is the front edge of the hole.
Step 5: Close the hole
At the left end of the bowl, draw a tiny short line to close the hole where it meets the body.
Step 6: The sandy mound
Draw a big gentle hill on each side of the hole. Start each one at the hole and curve it outward and down. Do the left side first, then the right.
Step 7: The ground line
Finish with one long straight line along the bottom, joining the two ends of the hill.
All done!
Go over your lines with a marker, then color it in.
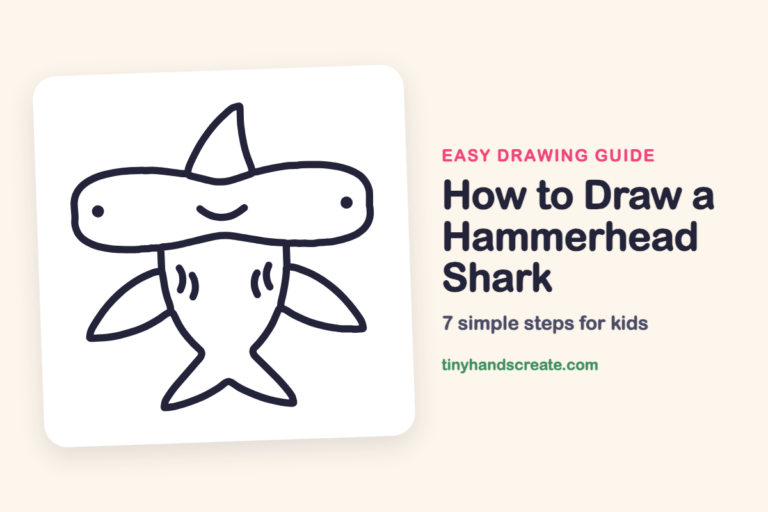
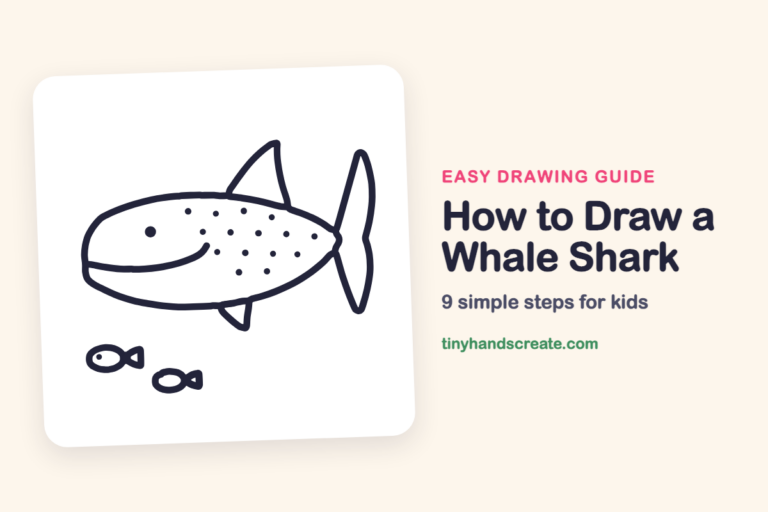
Finished your eel? Keep the pencils out and learn how to draw a swordfish or how to draw a hammerhead shark next.
Tips for drawing an eel
- Draw the body with two curvy lines that stay about the same distance apart. Go slowly and lightly so the curves look smooth.
- The bumps on the side are the trickiest part. Make each one like a small rainbow, and keep them in a neat row along the body.
- Draw the front of the hole as a wide bowl shape around the bottom of the body, and keep the two ends of the bowl close to the body.
Free eel coloring page
Want to go straight to coloring? Open this eel coloring page at full size and print it. It is the same drawing you just learned, with clean lines ready for crayons or markers.

How to color your eel drawing
Try a green or gray body with a lighter belly, and sandy yellow for the mound. For a creative twist, add stripes or spots along the eel.
Eel fun fact for kids
Garden eels live in groups on the sandy sea floor, with their tails in burrows and their bodies sticking up like a garden of plants.
Questions about drawing an eel
What shapes do I need to draw an eel?
You need a round shape for the head, two long curvy lines for the body, small rounded bumps along one side, and a wide bowl shape for the hole.
How do I make my eel look cuter?
Give it two round dots for eyes and a curved smile, and keep the head nice and round. A wide, happy smile makes it look friendly.
How do I make the body curve smoothly?
Move your whole arm instead of just your fingers, and draw one side in a single smooth stroke. Practice the curve on scrap paper first.