How to Draw a Sea Urchin (Easy Step by Step)
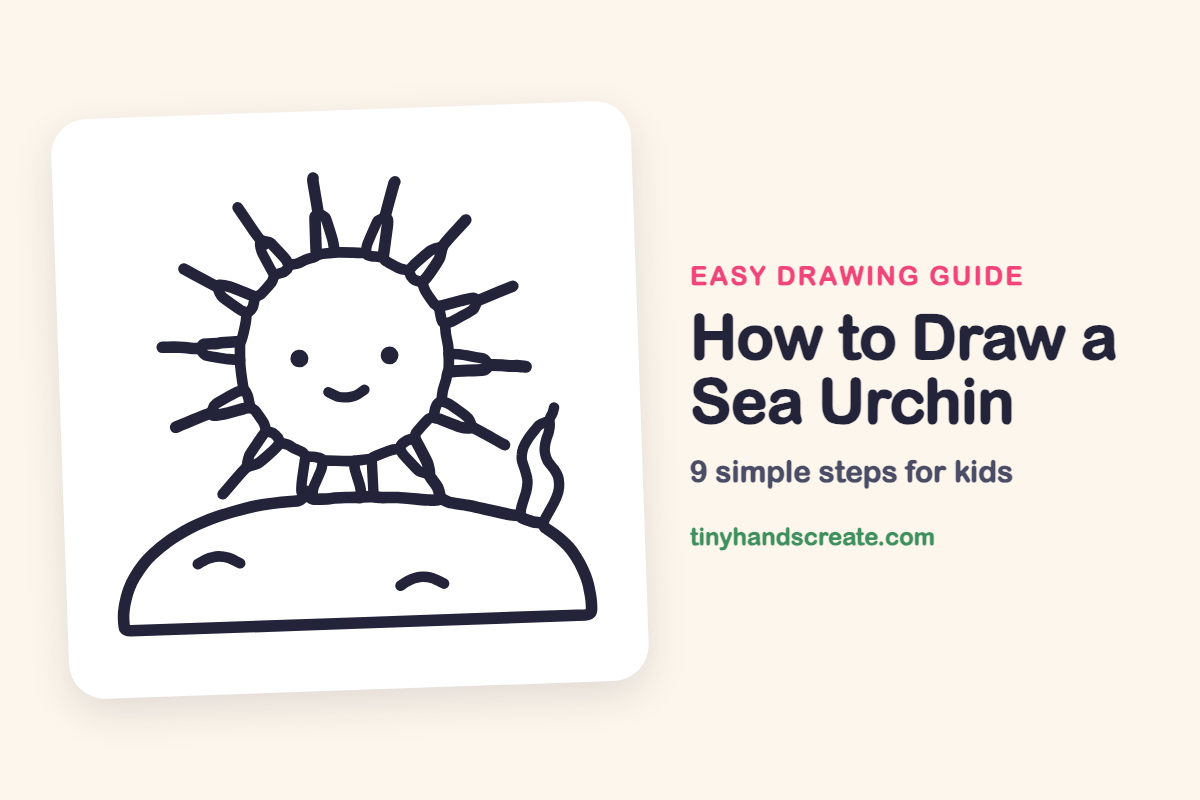
You'll learn how to draw a sea urchin with easy step-by-step instructions, starting with a simple circle and adding spikes, a smiley face, and an underwater scene.
- Begin your sea urchin drawing with a basic circle.
- Add a simple smiley face to your sea urchin.
- Draw thin, pointy spikes all around the circle.
- Complete the scene by adding a rocky mound and a wiggle of seaweed.
This post contains affiliate links. As an Amazon Associate I earn from qualifying purchases.
A sea urchin looks like a spiky little ball, which makes it a fun one to draw. This one starts with a simple circle and a smiley face, then grows thin, pointy spikes all around it. A rocky mound and a wiggle of seaweed finish the scene.
- Easy
- 12 minutes
- 9 steps
You need: paper, a pencil, an eraser, and crayons or markers for coloring.
Start drawing
In this article (7 sections)
How to draw a sea urchin step by step
How to Draw a Sea Urchin · tinyhandscreate.com
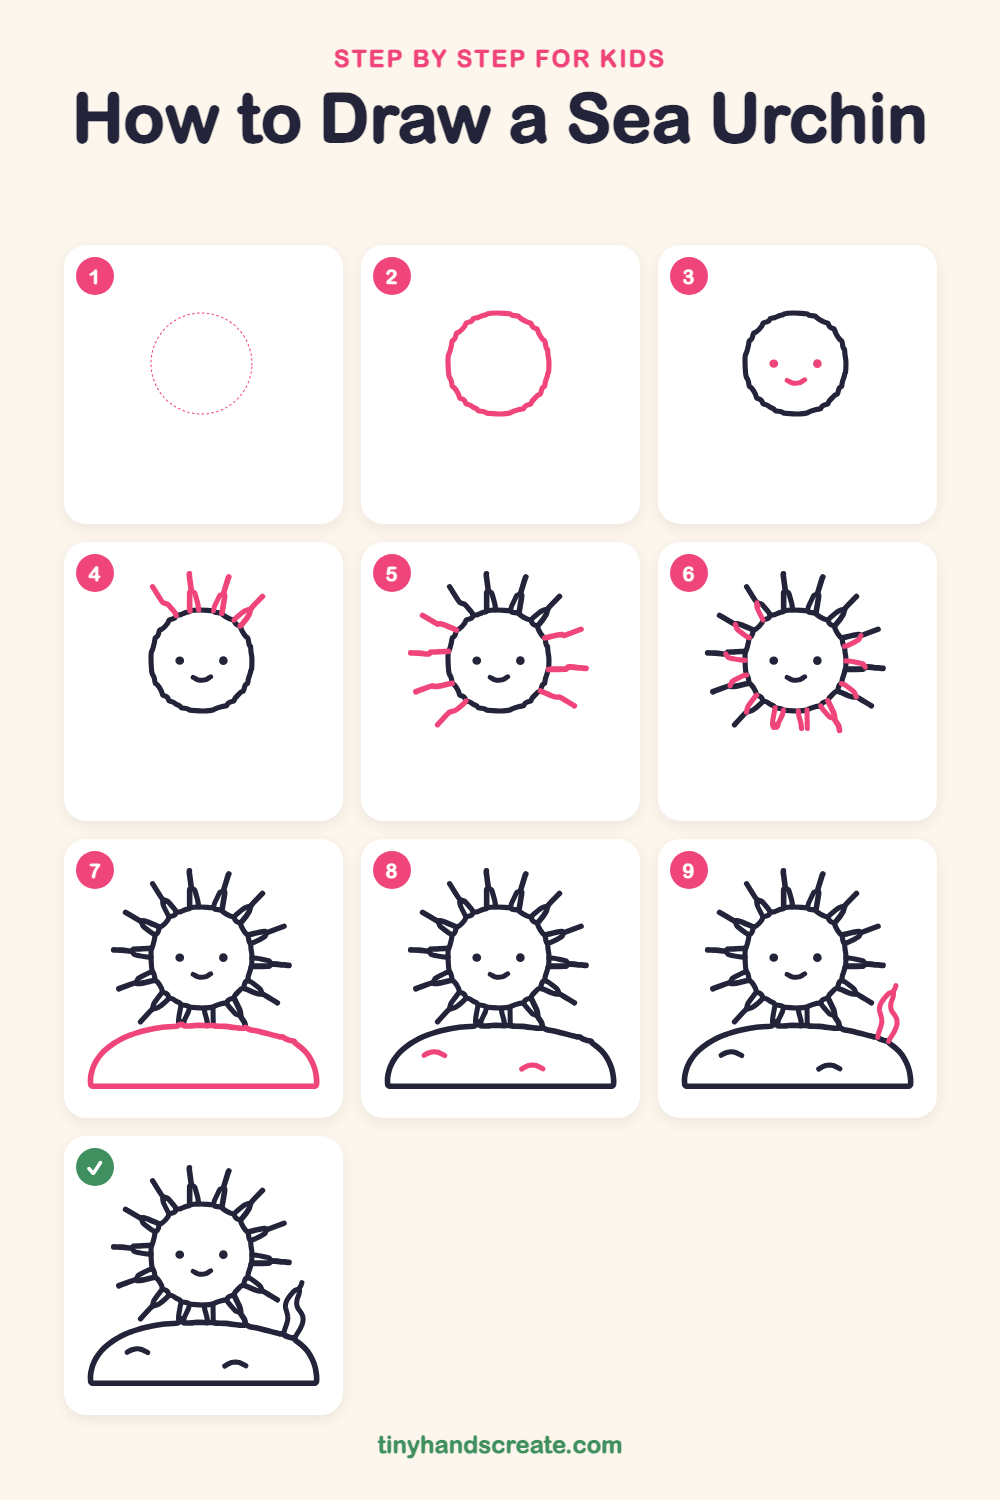
Step 1: Guide shapes
Lightly sketch this oval. It only shows where the big parts go, so press softly. You will erase it at the end.
Step 2: The round body
Start with a big circle in the middle of your paper. Leave lots of room all around it for the spikes, and a wide space at the bottom for a rock.
Step 3: The smiley face
Inside the circle, add two small round dots for eyes. Then draw a little curved smile underneath, like a tiny bowl.
Step 4: Spikes on top
Draw a few short, skinny spikes along the top of the circle. Start each one at the circle and poke it up and out, like the rays of a sun.
Step 5: Side and lower spikes
Keep adding skinny spikes around the left and right sides of the circle, and a few toward the bottom left and bottom right. Draw each one from the circle outward, and make some a little longer than others.
Step 6: Double-line spikes
Next to the spikes on the left and right sides, draw a second short line that starts at the circle and leans toward the spike, so each one looks like a thin point. Then add a few short spikes along the bottom of the circle, each made of two close lines.
Step 7: The rocky mound
Draw a wide, gentle hill shape under the sea urchin, like half of a flat oval. Let its top edge touch the bottom spikes, then close it with a straight line along the bottom.
Step 8: Rock marks
On the mound, draw two small curved lines, like little hills or closed eyes. They make the rock look bumpy and friendly.
Step 9: Wavy seaweed
On the right side, start at the edge of the mound and draw two wavy lines that curl upward and meet at a point at the top. It looks like a wiggly leaf of seaweed.
All done!
Erase the guide shapes, go over your lines, then color it in.
Finished your sea urchin? Keep the pencils out and learn how to draw an eel or how to draw a swordfish next.
Tips for drawing a sea urchin
- Draw the spikes starting from the circle and heading outward, so they all point away from the center like sun rays.
- Make the spikes different lengths. A few short ones between the long ones will make the sea urchin look more real.
- Draw the seaweed as an S-shaped wave first, then add the second line right beside it so both curves match.
Free sea urchin coloring page
Want to go straight to coloring? Open this sea urchin coloring page at full size and print it. It is the same drawing you just learned, with clean lines ready for crayons or markers.
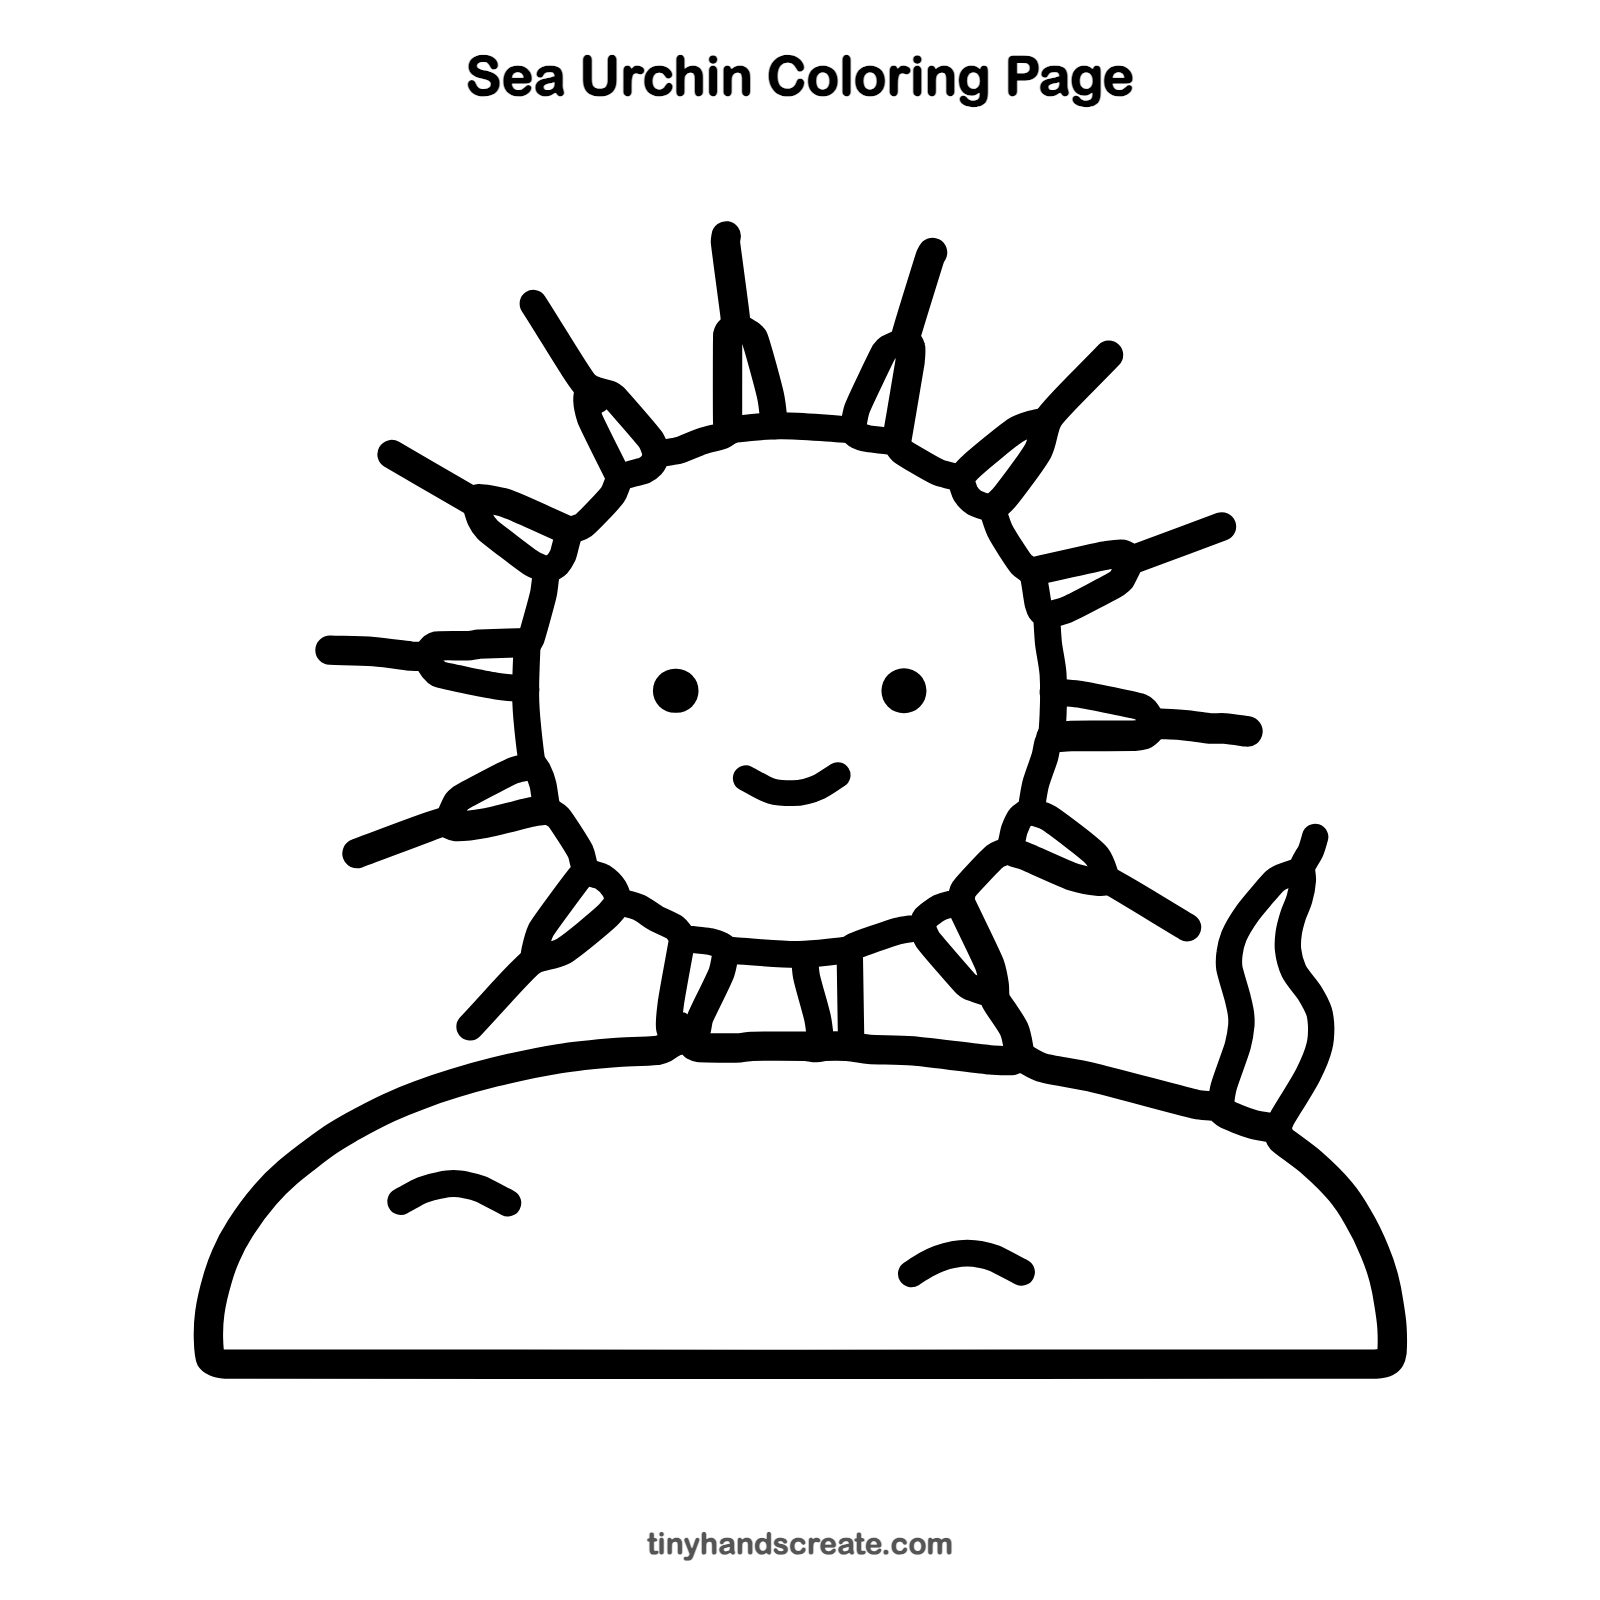
How to color your sea urchin drawing
Try deep purple or dark blue for the body and spikes, with a gray or sandy mound and green seaweed. For a creative twist, give every spike a different rainbow color.
Sea urchin fun fact for kids
Sea urchins have no brain, but they can sense light and touch all over their bodies. They also have hundreds of tiny tube feet between their spikes that help them move and hold on to rocks.
Questions about drawing a sea urchin
What shapes do I need to draw a sea urchin?
You need a circle for the body and thin, pointy lines for the spikes. A half oval makes the rock, and wavy lines make the seaweed.
How do I make my sea urchin look cuter?
Give it a little smile and two round eyes, and keep the spikes thin and pointy but not too long. Adding little rock marks makes the scene feel friendly.
How do I get the spikes to look even?
Imagine the circle is a clock and draw one spike at each hour first. Then fill the gaps between them with extra spikes.