How to Draw a Mole (Easy Step by Step)
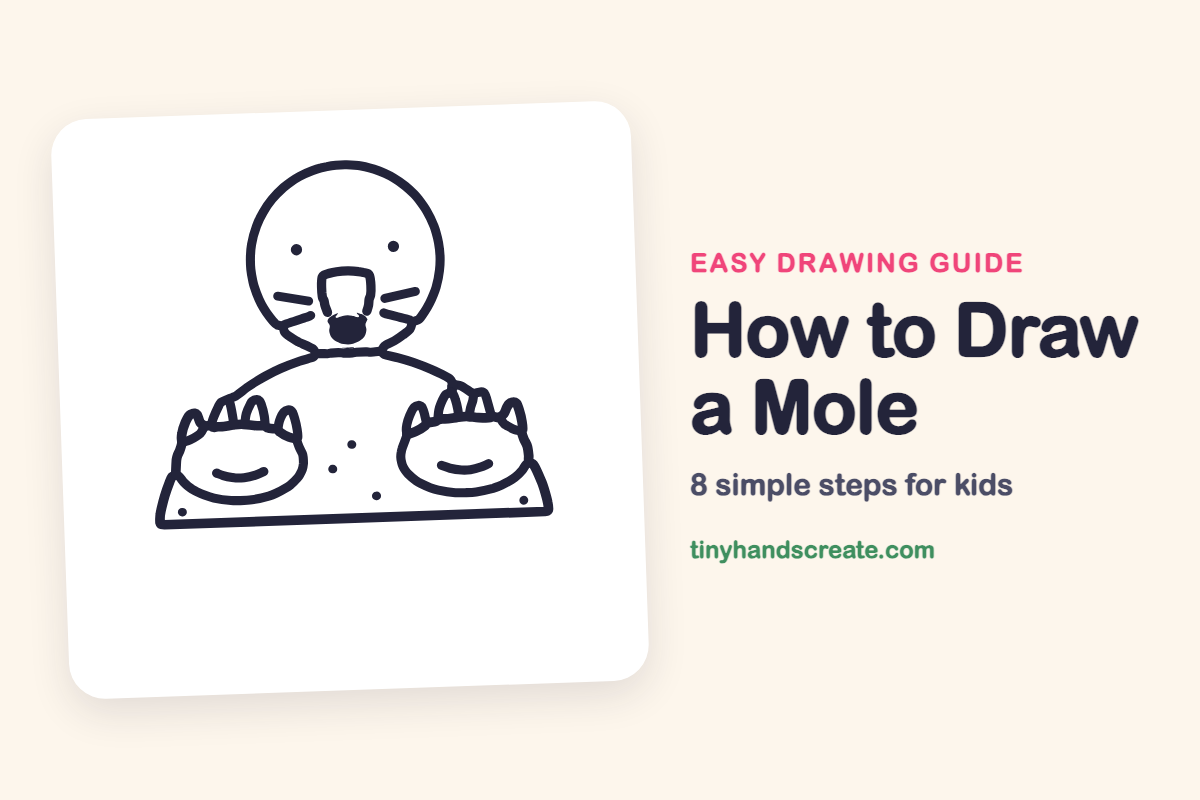
A mole is a friendly digger, and this one is built from a few simple shapes: a circle for the head, a dome for the body, and two round paws. The pointy claws and tiny dirt specks give it lots of character. It is a good drawing for beginners because every part is easy to copy.
- Easy
- 12 minutes
- 8 steps
You need: paper, a pencil, an eraser, and crayons or markers for coloring.
Start drawingIn this article (7 sections)
How to draw a mole step by step
How to Draw a Mole · tinyhandscreate.com
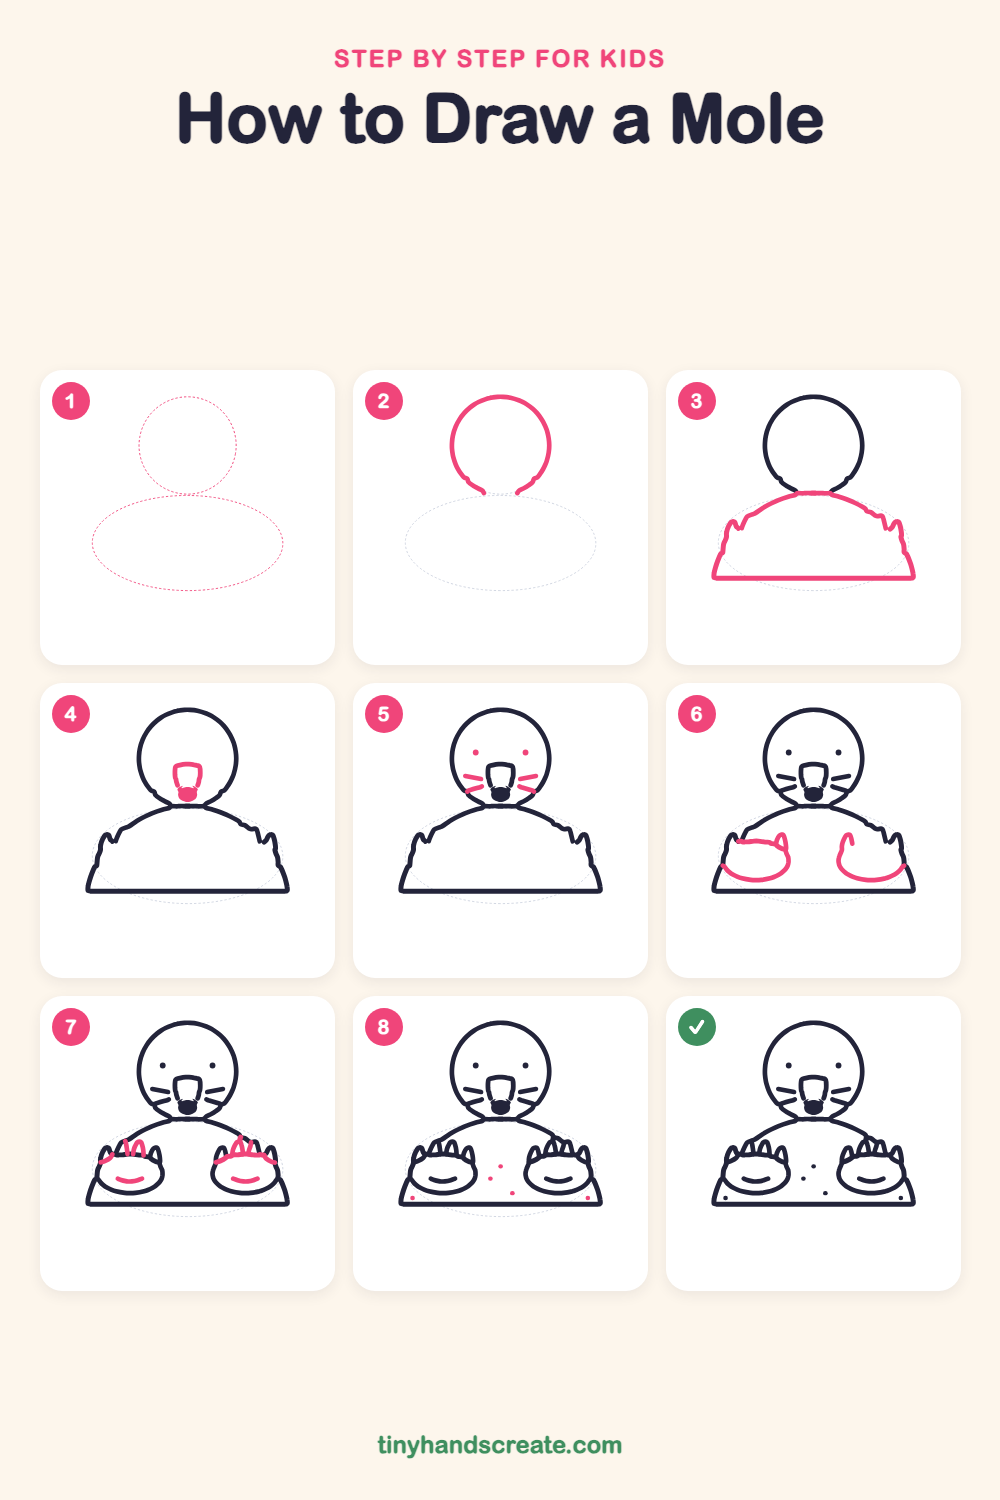
Step 1: Guide shapes
Lightly sketch these 2 ovals. They only show where the big parts go, so press softly. You will erase them at the end.
Step 2: The round head
Draw a big circle near the top of your paper. Leave a tiny gap at the bottom where the head will meet the body.
Step 3: The dome body
Under the head, draw a wide hill shape that starts at the bottom of the circle and curves out to each side. Add a few little bumps near the sides, then close it with a straight line along the bottom, like a mound of dirt.
Step 4: Snout and nose
Low on the face, draw a small rounded rectangle for the snout. Under it, draw a little oval and color it in for the nose.
Step 5: Eyes and whiskers
Draw two tiny dots for eyes, high on the head. Then add two short whisker lines on each side of the snout.
Step 6: Big digging paws
At each bottom corner of the body, draw a round paw that looks like a bowl, with a small bump on its top edge. Make both paws about the same size so your mole looks ready to dig.
Step 7: Claws and palms
On top of each paw, draw a row of small pointy claws to finish the paw shape. Then add a small smile curve inside each paw.
Step 8: Dirt specks
Dot a few little specks of dirt on the body, with one near each bottom corner. Scatter them so they look natural.
All done!
Erase the guide shapes, go over your lines, then color it in.
Finished your mole? Keep the pencils out and learn how to draw a bison or how to draw an alpaca next.
Tips for drawing a mole
- Draw the paws first, then add the claws along the top. Keep each claw small and pointy.
- Keep both paws about the same size and height so your mole looks balanced.
- Draw the snout low on the face and the eyes high on the head so there is room between them and the face stays easy to read.
Free mole coloring page
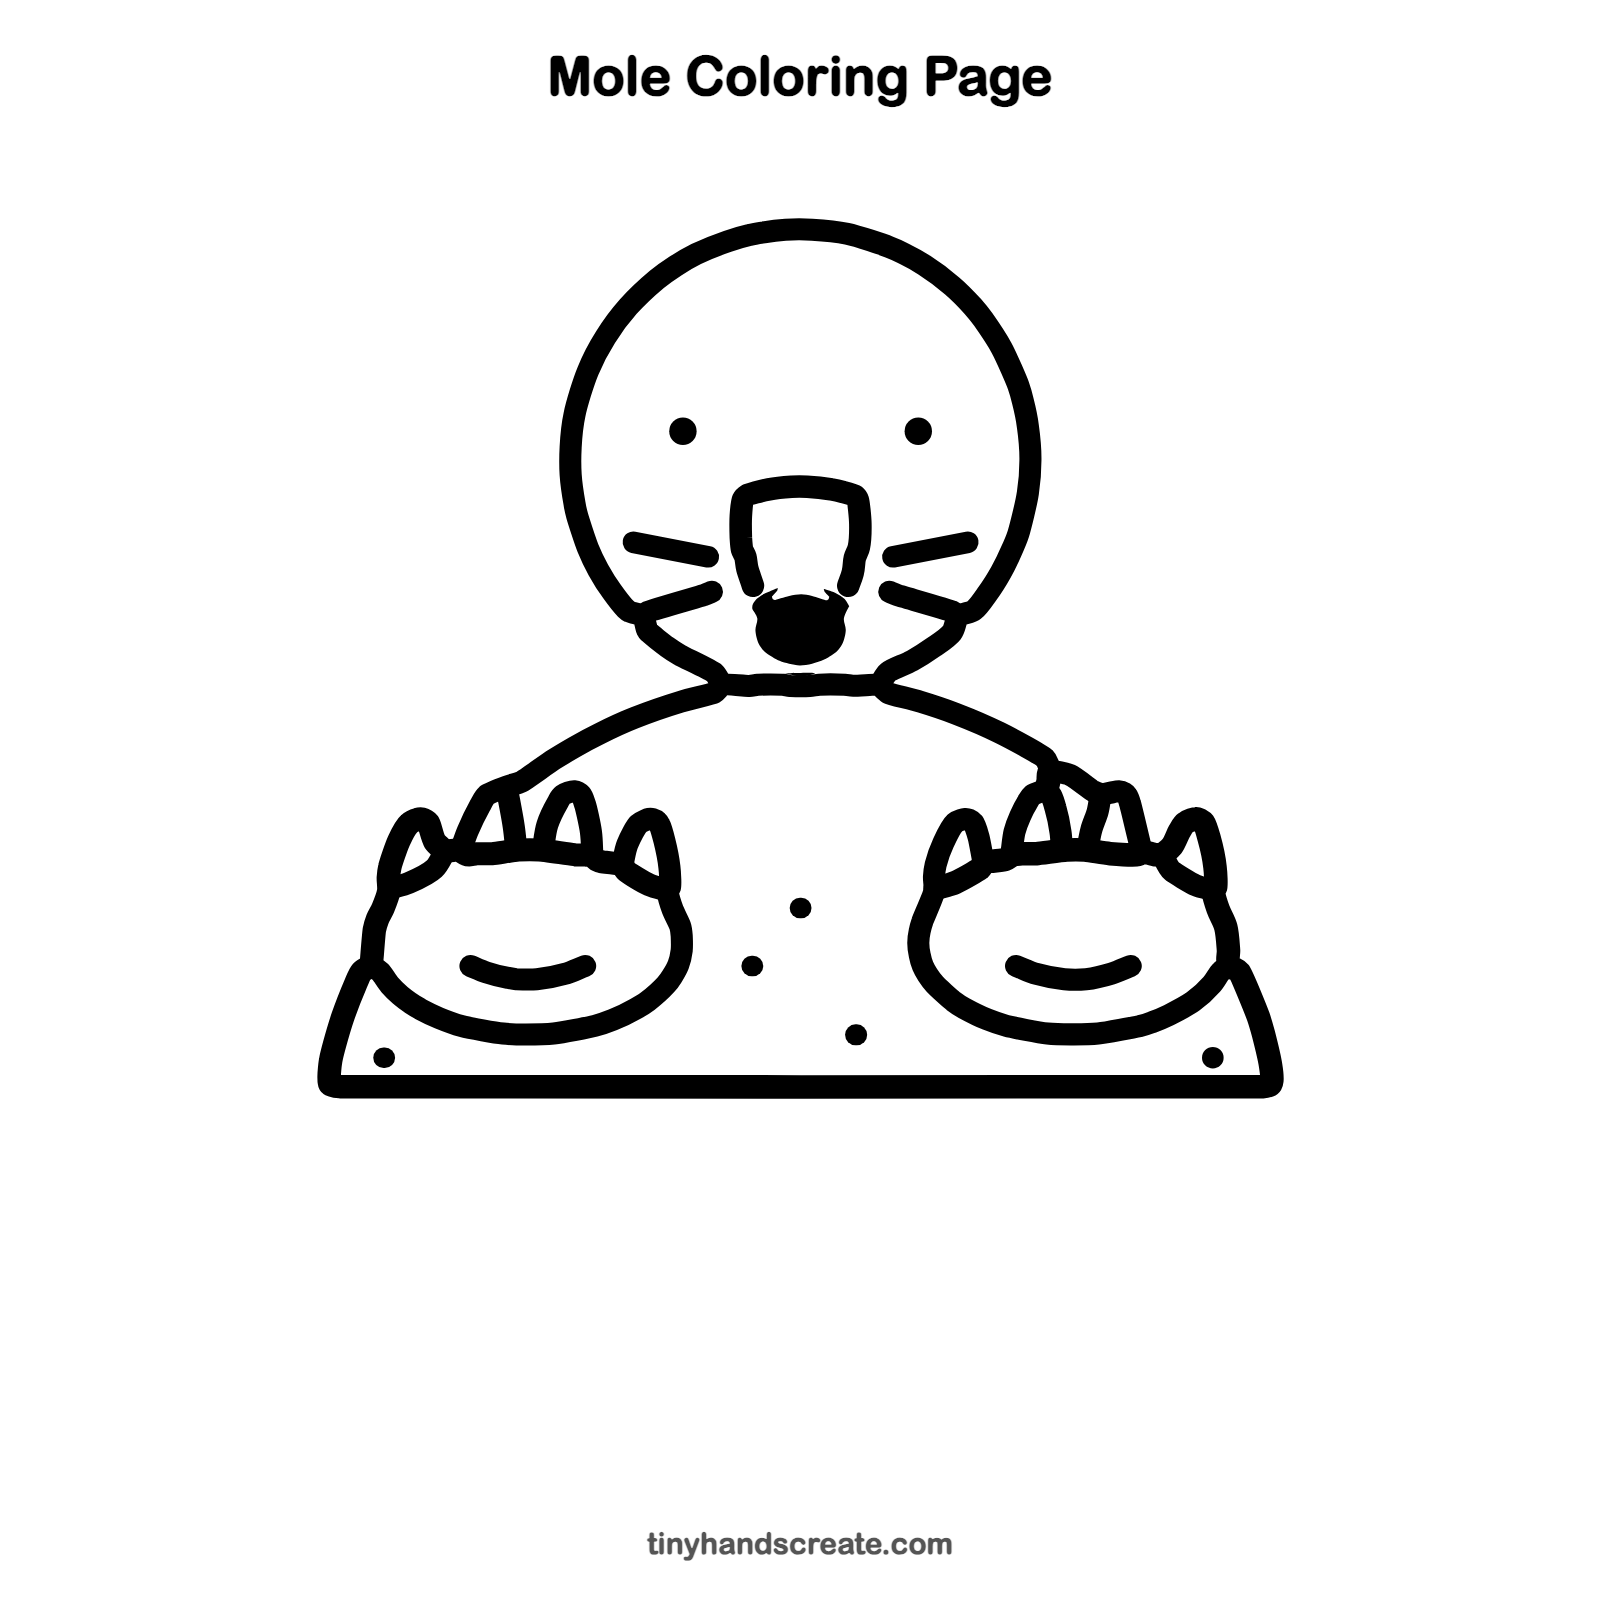
Want to go straight to coloring? Open this mole coloring page at full size and print it. It is the same drawing you just learned, with clean lines ready for crayons or markers.
How to color your mole drawing
Try soft brown or gray for the body, pink for the nose and paws, and a darker brown for the claws. For a creative twist, color the ground around your mole and draw a tunnel opening behind it.
Mole fun fact for kids
Moles have front paws shaped like shovels, with strong claws that help them dig long tunnels underground.
Questions about drawing a mole
What shapes do I need to draw a mole?
You need a circle for the head, a dome for the body, a rounded rectangle for the snout, and two round shapes for the paws. Small pointy bumps make the claws.
How do I make my mole look cuter?
Make the head extra round and the eyes small and far apart. Adding a little smile on each paw helps too.
Is a mole easy to draw for a 6 year old?
Yes. It uses simple shapes and no tricky curves, so most kids can finish it in one short sitting.