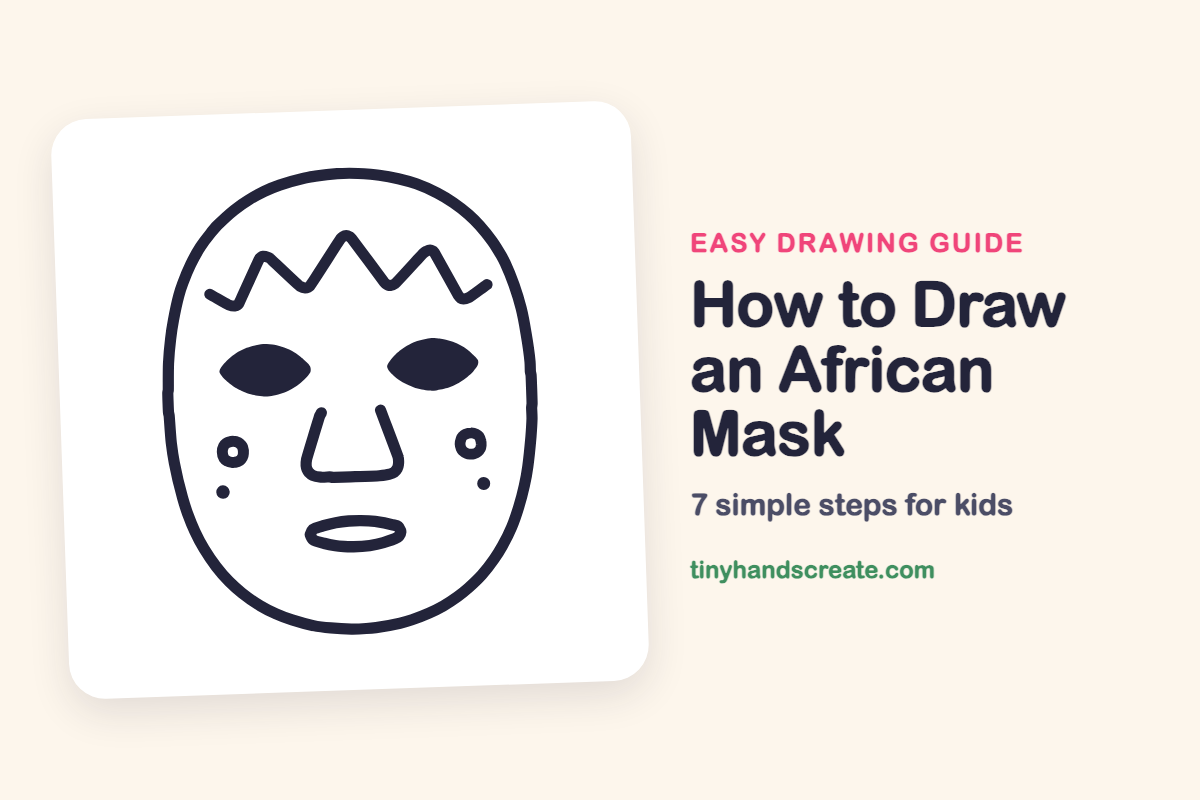
How to Draw an African Mask (Easy Step by Step)
This article teaches you how to draw an African mask using simple shapes like ovals, zigzags, leaf shapes, and small rings and dots. You'll learn to draw it piece by piece, creating a bold, friendly face.
- Discover how to draw an African mask using simple shapes.
- Utilize basic forms: ovals, zigzags, leaf shapes, rings, and dots.
- Draw your mask easily by adding one shape at a time.
- Finish with a bold, friendly face ready to display.
This post contains affiliate links. As an Amazon Associate I earn from qualifying purchases.
An African mask is a bold, friendly face built from just a few simple shapes: a big oval, a zigzag, leaf shapes, and small rings and dots. Each shape sits in its own spot, so it is easy to draw one piece at a time. When you finish, you will have a mask that looks ready to hang on a wall.
- Easy
- 10 minutes
- 7 steps
You need: paper, a pencil, an eraser, and crayons or markers for coloring.
Start drawing


In this article (7 sections)
How to draw an African mask step by step
How to Draw an African Mask · tinyhandscreate.com
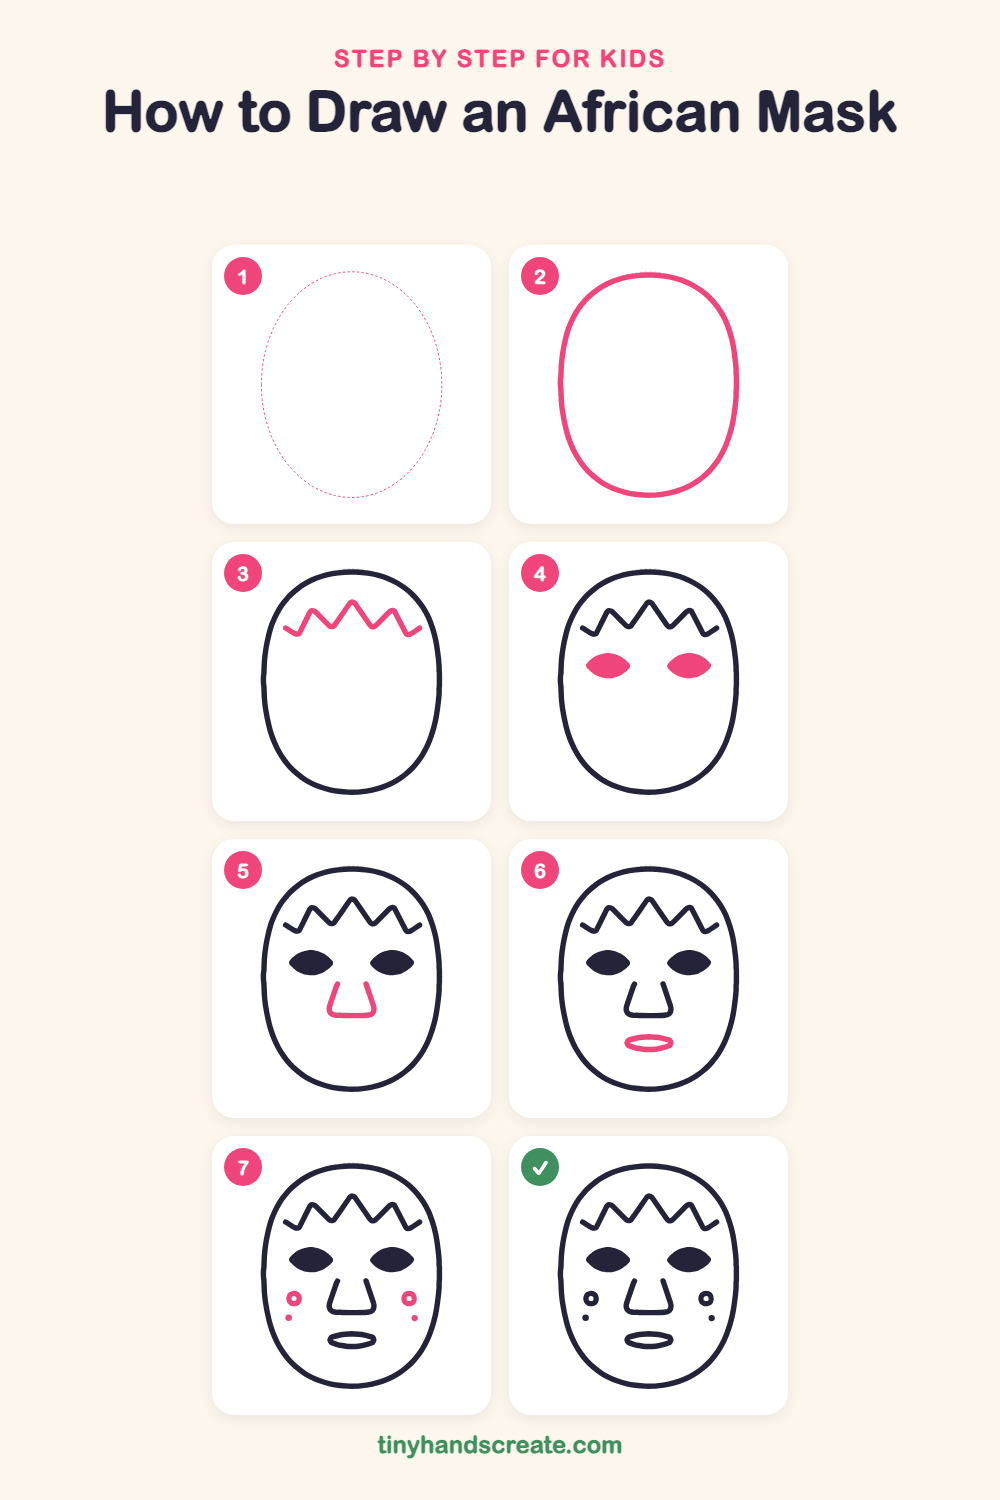
Step 1: Guide shapes
Lightly sketch this oval. It only shows where the big parts go, so press softly. You will erase it at the end.
Step 2: The mask shape
Draw a big tall oval, a little wider in the middle and narrower at the bottom, like an egg standing up. This is the face of your mask.
Step 3: The zigzag crown
Near the top of the mask, draw a zigzag line that goes up and down like little mountains. Start a little way in from the left side and end a little way in from the right.
Step 4: The eyes
Draw two eyes that look like leaves or lemons, with a pointy corner on each side. Color them in with your pencil or marker so they are dark.
Step 5: The nose
Between and below the eyes, draw two short lines that slant outward like the sides of a tent. Join them at the bottom with a short flat line with rounded corners.
Step 6: The mouth
Below the nose, draw one wide, thin oval with pointy ends, like a stretched lemon lying on its side.
Step 7: Cheek rings and dots
On each cheek, draw a small ring, which is a tiny circle with a hole in the middle. Then add a tiny dot just below each ring, and keep both sides at the same height.
All done!
Erase the guide shapes, go over your lines, then color it in.
Finished your African mask? Keep the pencils out and learn how to draw a rocket or how to draw a shooting star next.
Tips for drawing an African mask
- Draw the oval very lightly first. If one side looks wobbly, you can fix it before you press hard.
- The zigzag is the trickiest part. Make a row of dots for the high points and low points first, then connect them with straight lines.
- To get matching eyes and cheek rings, draw the left one, then look across the face and put the right one at the same height.
Free African mask coloring page
Want to go straight to coloring? Open this African mask coloring page at full size and print it. It is the same drawing you just learned, with clean lines ready for crayons or markers.
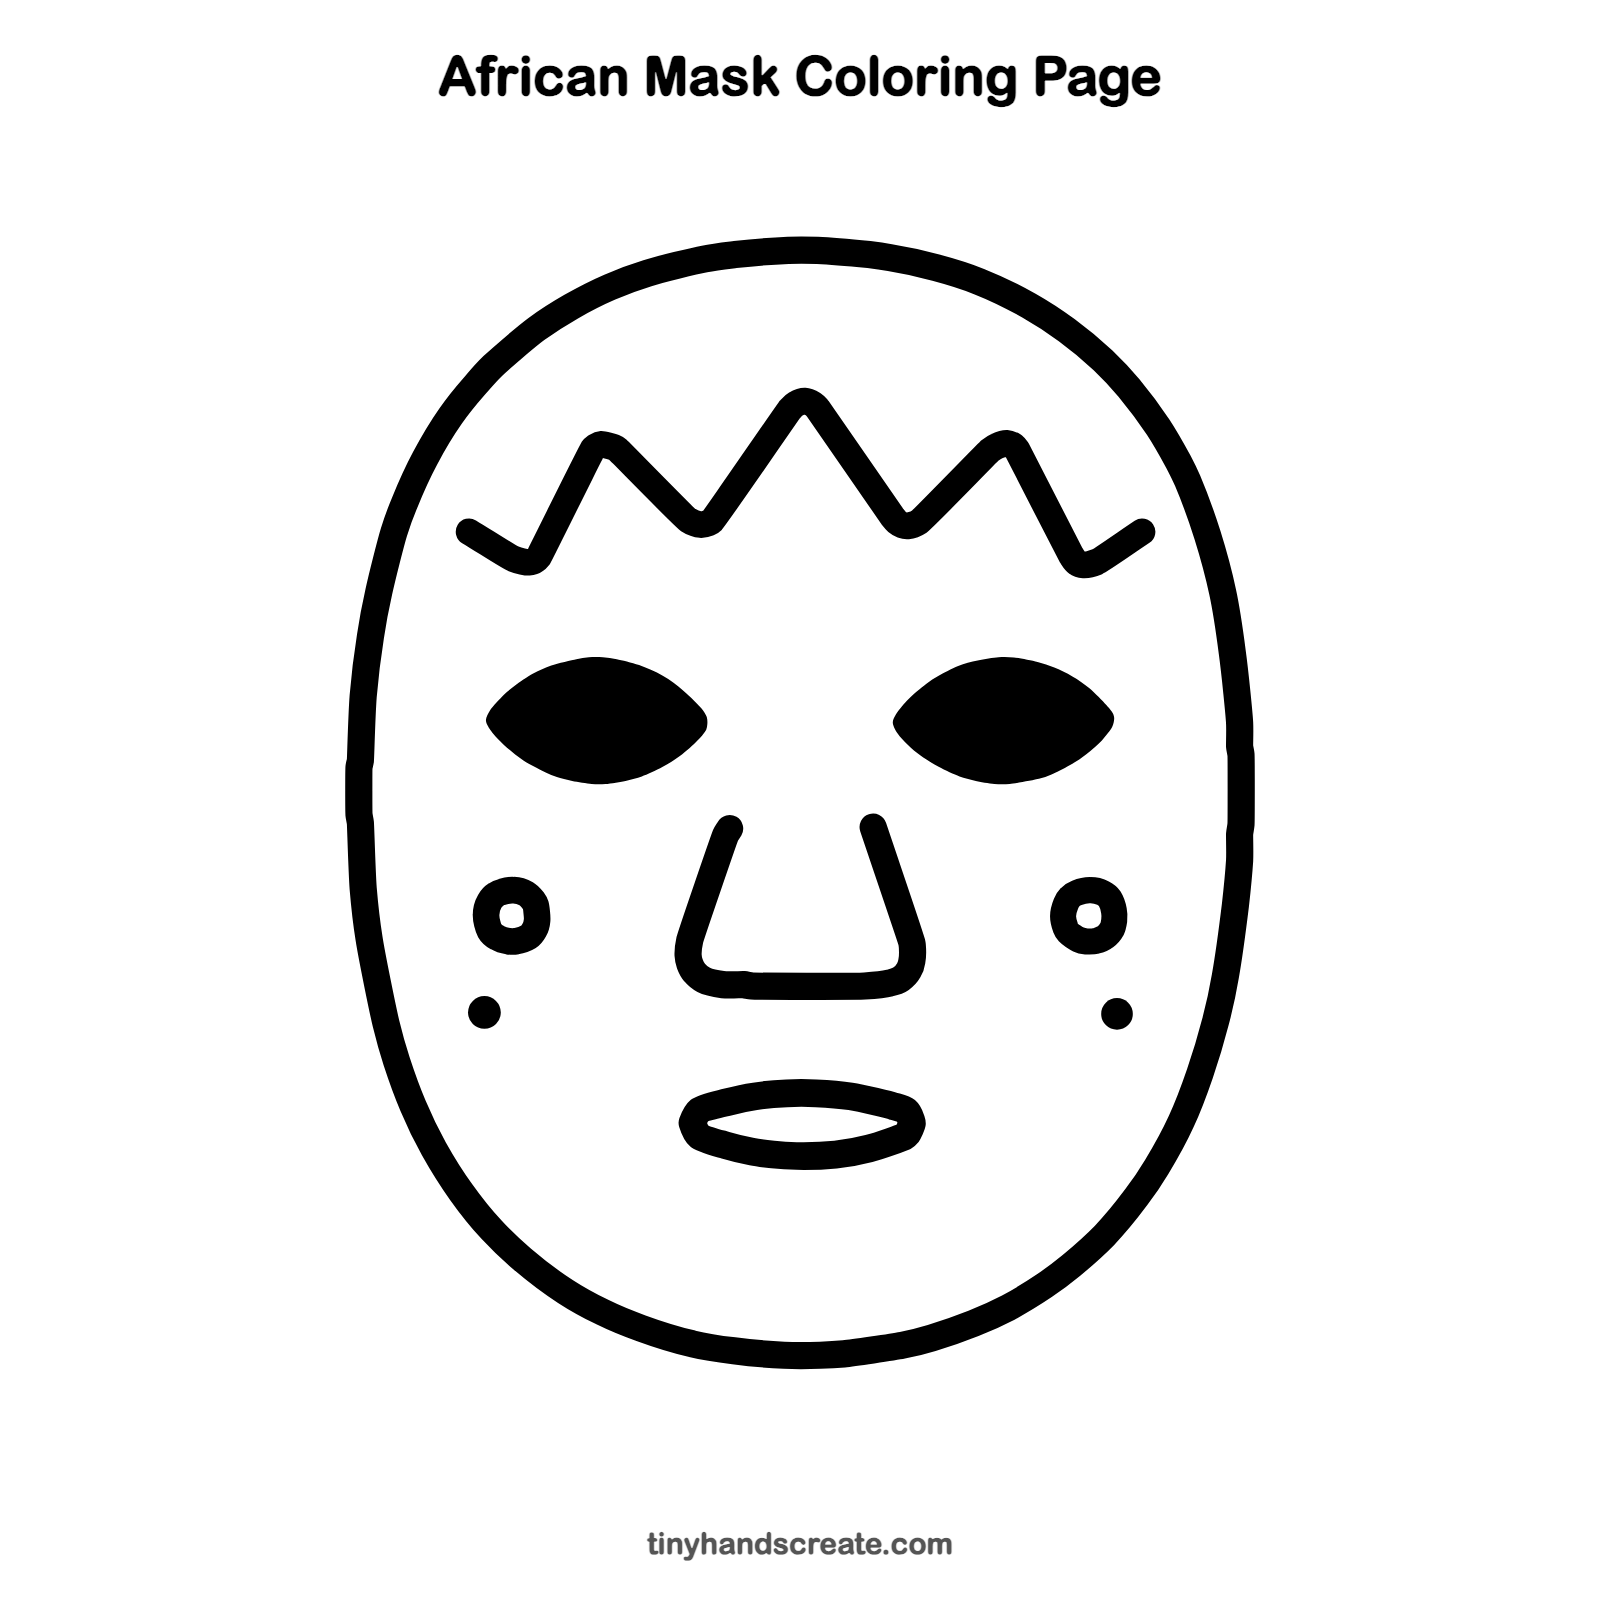
How to color your African mask drawing
Try earthy browns, deep reds, and golden yellows, with a bright blue or green zigzag crown. For a creative twist, fill the empty space around the face with your own patterns, such as dots, stripes, or triangles.
African mask fun fact for kids
Many masks in West and Central Africa are carved from wood and worn in dances and ceremonies. The patterns and shapes on a mask often stand for animals, ancestors, or stories shared by a community.
Questions about drawing an African mask
What shapes do I need to draw an African mask?
You need a tall oval for the face, a zigzag line for the crown, two leaf shapes for the eyes, a tent-shaped nose, and a thin oval for the mouth. Small rings and dots make the cheek decorations.
How do I make my mask look more special?
Add patterns to the empty spaces, like rows of dots, short stripes, or triangles around the face. Using bold colors also makes the mask stand out.
How do I keep both sides of the face matching?
Draw one side first, then look across the face and place the matching eye, ring, and dot at the same height on the other side. Lining up your pencil across the face can help you check.