How to Draw a Waterfall (Easy Step by Step)
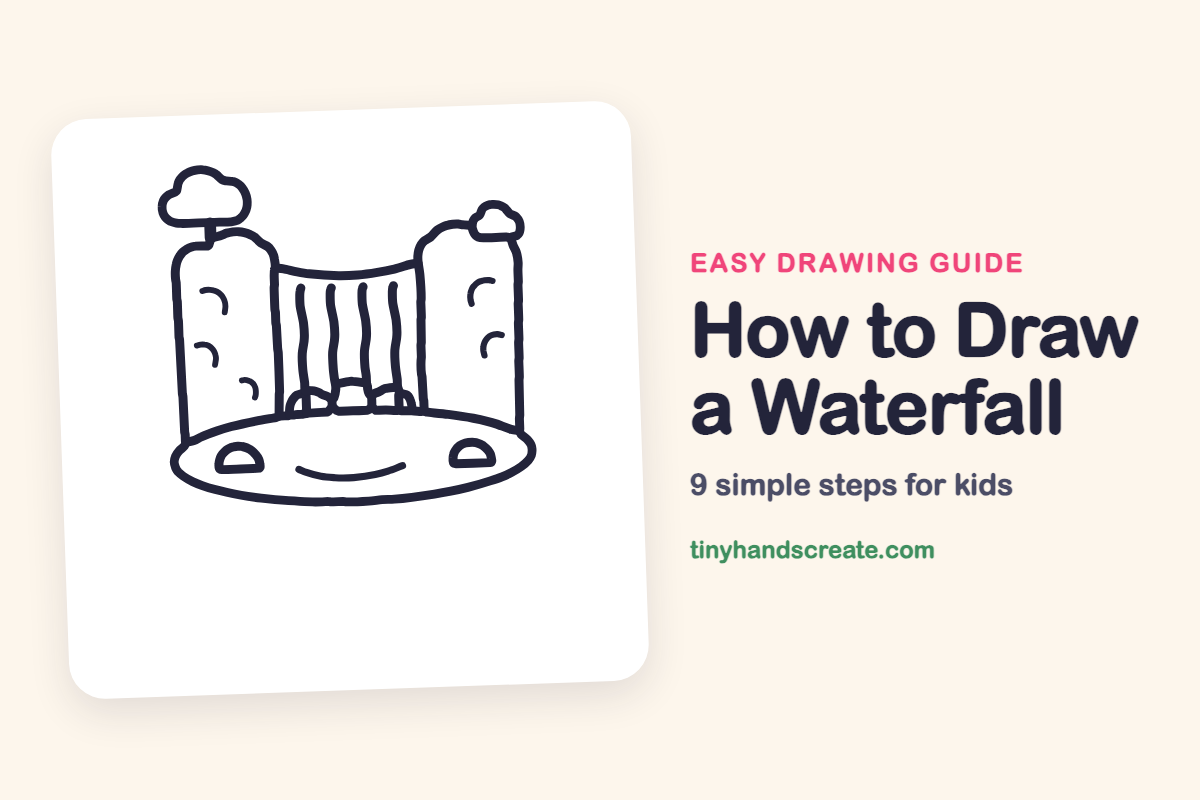
Learn to draw an easy waterfall scene using simple shapes like an oval pond, rounded cliffs, and wiggly lines for water. You'll also add trees, bushes, and splashes to bring your drawing to life.
- Start your waterfall drawing with simple shapes.
- Use an oval for the pond and rounded shapes for cliffs.
- Draw wiggly lines to represent falling water.
- Enhance your scene with a puffy tree and a bush.
- Add splashes to make your waterfall drawing lively.
A waterfall is a great first scenery drawing because it is built from simple shapes: a wide oval pond, two tall rounded cliffs, and a few wiggly lines for falling water. Add a puffy tree, a bush, and some splashes and your picture comes to life.
- Easy
- 15 minutes
- 9 steps
You need: paper, a pencil, an eraser, and crayons or markers for coloring.
Start drawing
In this article (7 sections)
How to draw a waterfall step by step
How to Draw a Waterfall · tinyhandscreate.com
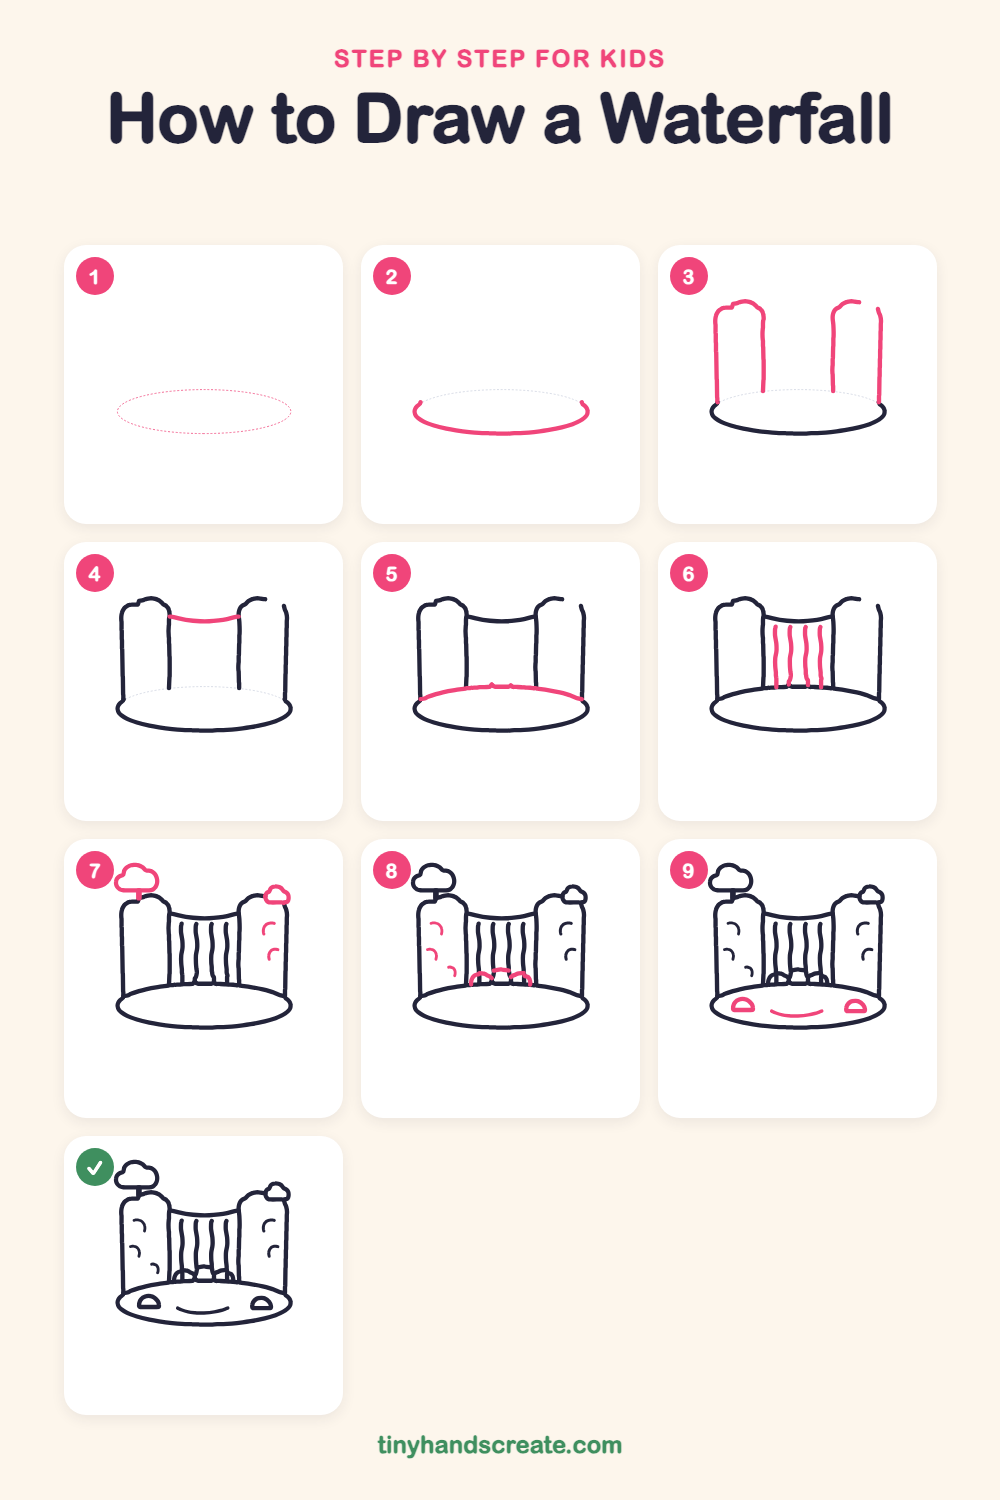
Step 1: Guide shapes
Lightly sketch this oval. It only shows where the big parts go, so press softly. You will erase it at the end.
Step 2: Front of the pond
Start near the bottom of your page. Draw a curved line like a wide smile that sags down, with its ends curling up on the left and right. This is the front edge of the pond.
Step 3: The two cliffs
Draw two tall rounded shapes standing up from the pond, one on the left and one on the right, with a gap between them. Give each a bumpy rounded top and straight sides that go down to the pond.
Step 4: Top of the falls
Draw a gently curved line like a smile across the gap, from the left cliff to the right cliff near the tops. This is the edge where the water spills over.
Step 5: Back of the pond
Draw a long, gently curved line from the left end of the pond to the right end, across the bottom of the gap and behind the cliffs. It closes the pond into a wide oval.
Step 6: Falling water
Draw four long wiggly lines side by side in the gap, running from the curved top down to the pond. Keep them close to the same distance apart.
Step 7: Trees and rock marks
Draw a puffy cloud-shaped tree on a short stick above the left cliff, and a small puffy bush on top of the right cliff. Then add two little curved marks on the right cliff for rock texture.
Step 8: More rocks and splashes
Add three little curved marks on the left cliff for rock texture. Then draw a few small bumps like tiny arches at the bottom of the water for splashes.
Step 9: Pond rocks and ripple
Draw two small half circle rocks with flat bottoms in the pond, one on each side. Between them, draw a short smile-shaped curve for a ripple.
All done!
Erase the guide shapes, go over your lines, then color it in.
Finished your waterfall? Keep the pencils out and learn how to draw a mushroom or how to draw a sunflower next.
Tips for drawing a waterfall
- Draw the wiggly water lines one at a time from top to bottom, and keep them about the same distance apart so the water looks even.
- Make the two cliffs about the same height, then give each a slightly different bumpy top so they look like real rock.
- Keep the splash bumps small and low at the bottom of the water lines. Little arches are easier than full circles.
- Make the pond rocks small half circles with flat bottoms so they look like they sit in the water.
Free waterfall coloring page
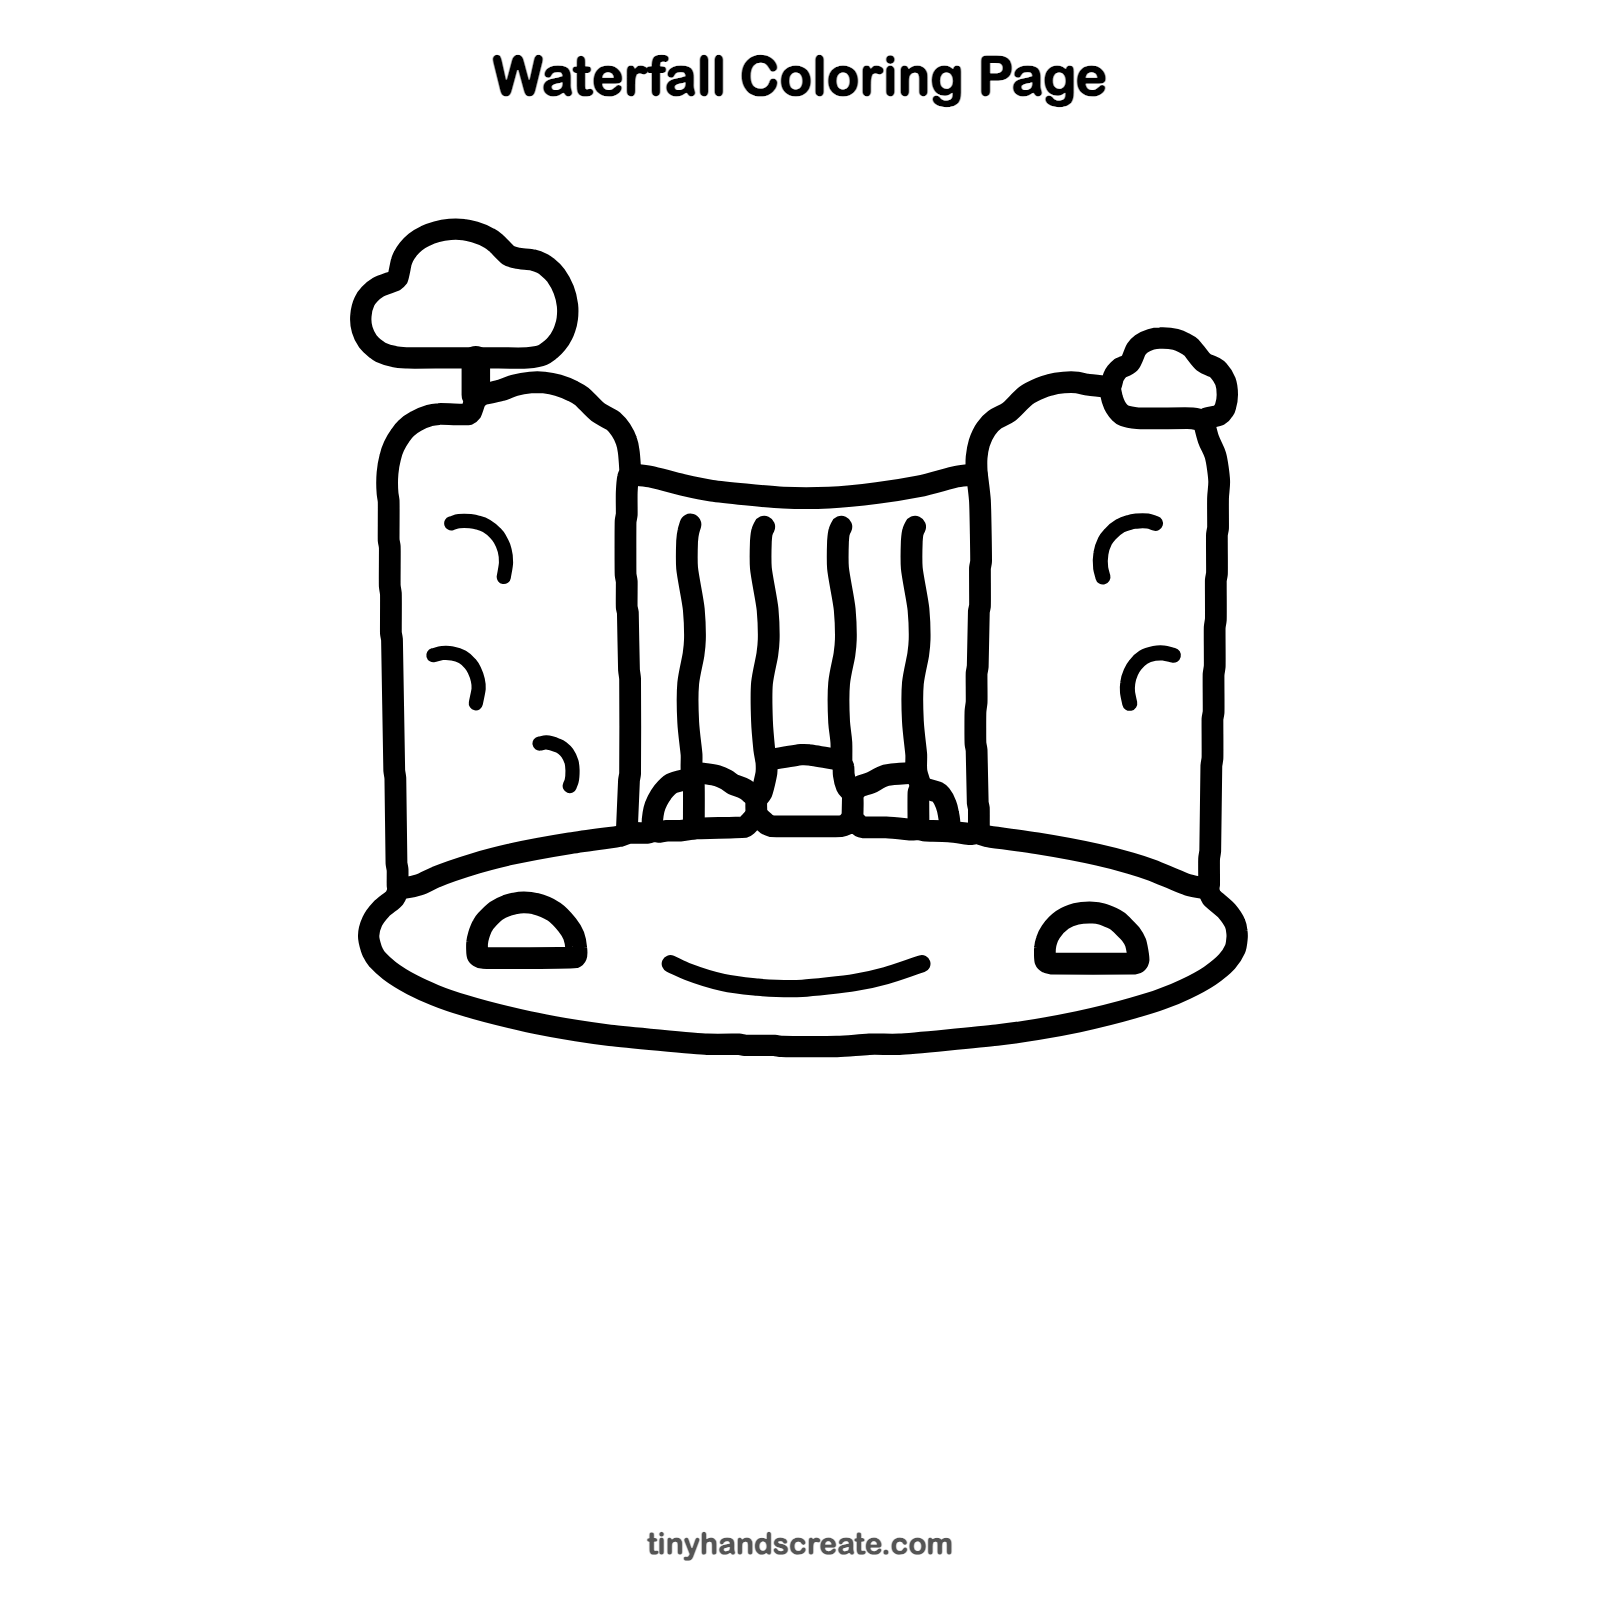
Want to go straight to coloring? Open this waterfall coloring page at full size and print it. It is the same drawing you just learned, with clean lines ready for crayons or markers.
How to color your waterfall drawing
Color the water light and dark blue, the cliffs gray and brown, the trees and bush green, and the pond a deeper blue. For a creative twist, color the waterfall in rainbow stripes so it looks like magic water.
Waterfall fun fact for kids
Angel Falls in Venezuela is the tallest waterfall in the world, about 3,212 feet high. That is almost twice as tall as the Burj Khalifa is wide at its base… no, simply: it is taller than two Empire State Buildings stacked together.
Questions about drawing a waterfall
What shapes do I need to draw a waterfall?
You need a wide oval for the pond, two tall rounded shapes for the cliffs, and some wavy lines for the water. Small half circles make the pond rocks.
How do I make the water look like it is moving?
Draw the water lines wavy instead of straight, and add small splash bumps at the bottom. Curvy lines make the water look like it is flowing.
How do I make my waterfall look bigger?
Make the cliffs tall and the trees on top small. Small rocks in the pond also help the cliffs feel large by comparison.