How to Draw a Wall Socket (Easy Step by Step)
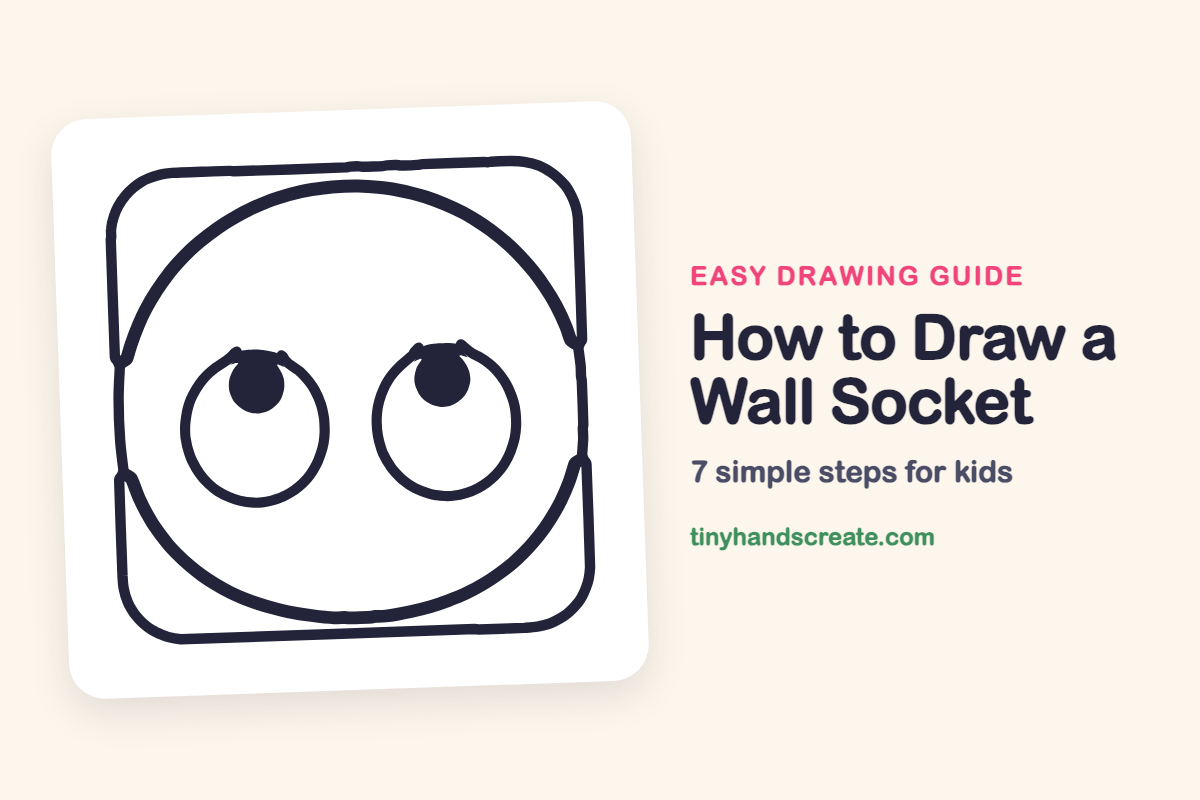
You'll learn how to easily draw a friendly, funny wall socket with a face using simple shapes like a rounded square, a circle, and dots. This guide helps you practice drawing curves and matching parts.
- Learn to draw a wall socket with a friendly, funny face.
- Use basic shapes like a rounded square, a circle, and dots.
- Practice drawing curves and creating matching parts.
- Give your drawing personality with upward-looking eyes.
This post contains affiliate links. As an Amazon Associate I earn from qualifying purchases.
A wall socket with a face is a funny, friendly drawing, and it is built from just a few shapes: a rounded square, a big circle, two small round eyes, and two solid dots. The eyes looking up give it a silly, thinking-about-something look. It is a great one for practicing curves and for making two matching parts.
- Easy
- 10 minutes
- 7 steps
You need: paper, a pencil, an eraser, and crayons or markers for coloring.
Start drawing


In this article (7 sections)
How to draw a wall socket step by step
How to Draw a Wall Socket · tinyhandscreate.com
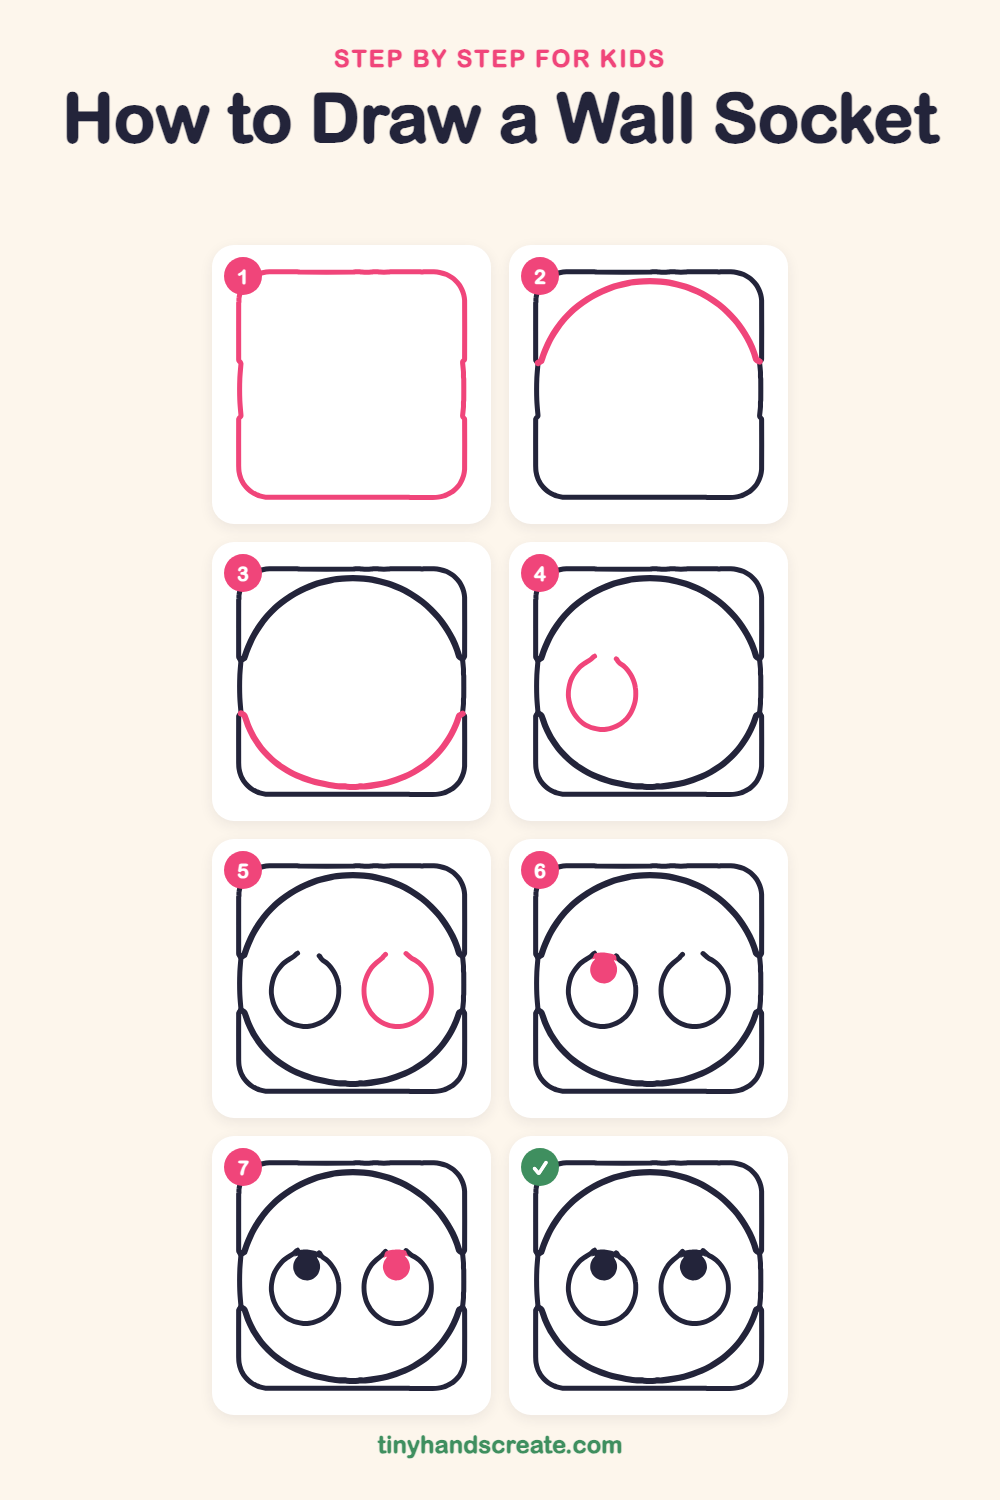
Step 1: The rounded square
Draw a big square with soft, rounded corners. This is the flat plate that holds the socket on the wall.
Step 2: Top of the circle
Inside the square, start at the left side and draw a curved line up and over, like a rainbow, ending at the right side. This is the top part of a big round circle.
Step 3: Bottom of the circle
Start where the rainbow ended on the right and draw a curve swooping down and back up to where you began on the left, like a big smile. Now the circle is closed.
Step 4: The left eye
In the middle of the big circle, on the left side, draw a small round eye. Start at the top, curve around and down, and come back up, leaving a tiny gap at the top.
Step 5: The right eye
Draw a matching round eye on the right side, the same size and height as the first one. Leave the same tiny gap at the top, and keep some space between the two eyes.
Step 6: The left pupil
Inside the top of the left eye, draw a small circle and color it in solid. It sits right under the gap at the top so the eye looks up.
Step 7: The right pupil
Draw the same small solid circle at the top of the right eye. Put it in the same spot so both eyes look up together.
All done!
Go over your lines with a marker, then color it in.
Finished your wall socket? Keep the pencils out and learn how to draw a rocket or how to draw a shooting star next.
Tips for drawing a wall socket
- Draw the big circle lightly if you can. Its left and right sides touch the sides of the square, so check that it fits before you press hard.
- The two eyes are the trickiest part. Draw the left eye, then match the right one by lining up the tops and bottoms.
- Put both solid dots at the top of the eyes, in the same spot. That is what makes the eyes look up instead of straight ahead.
Free wall socket coloring page
Want to go straight to coloring? Open this wall socket coloring page at full size and print it. It is the same drawing you just learned, with clean lines ready for crayons or markers.
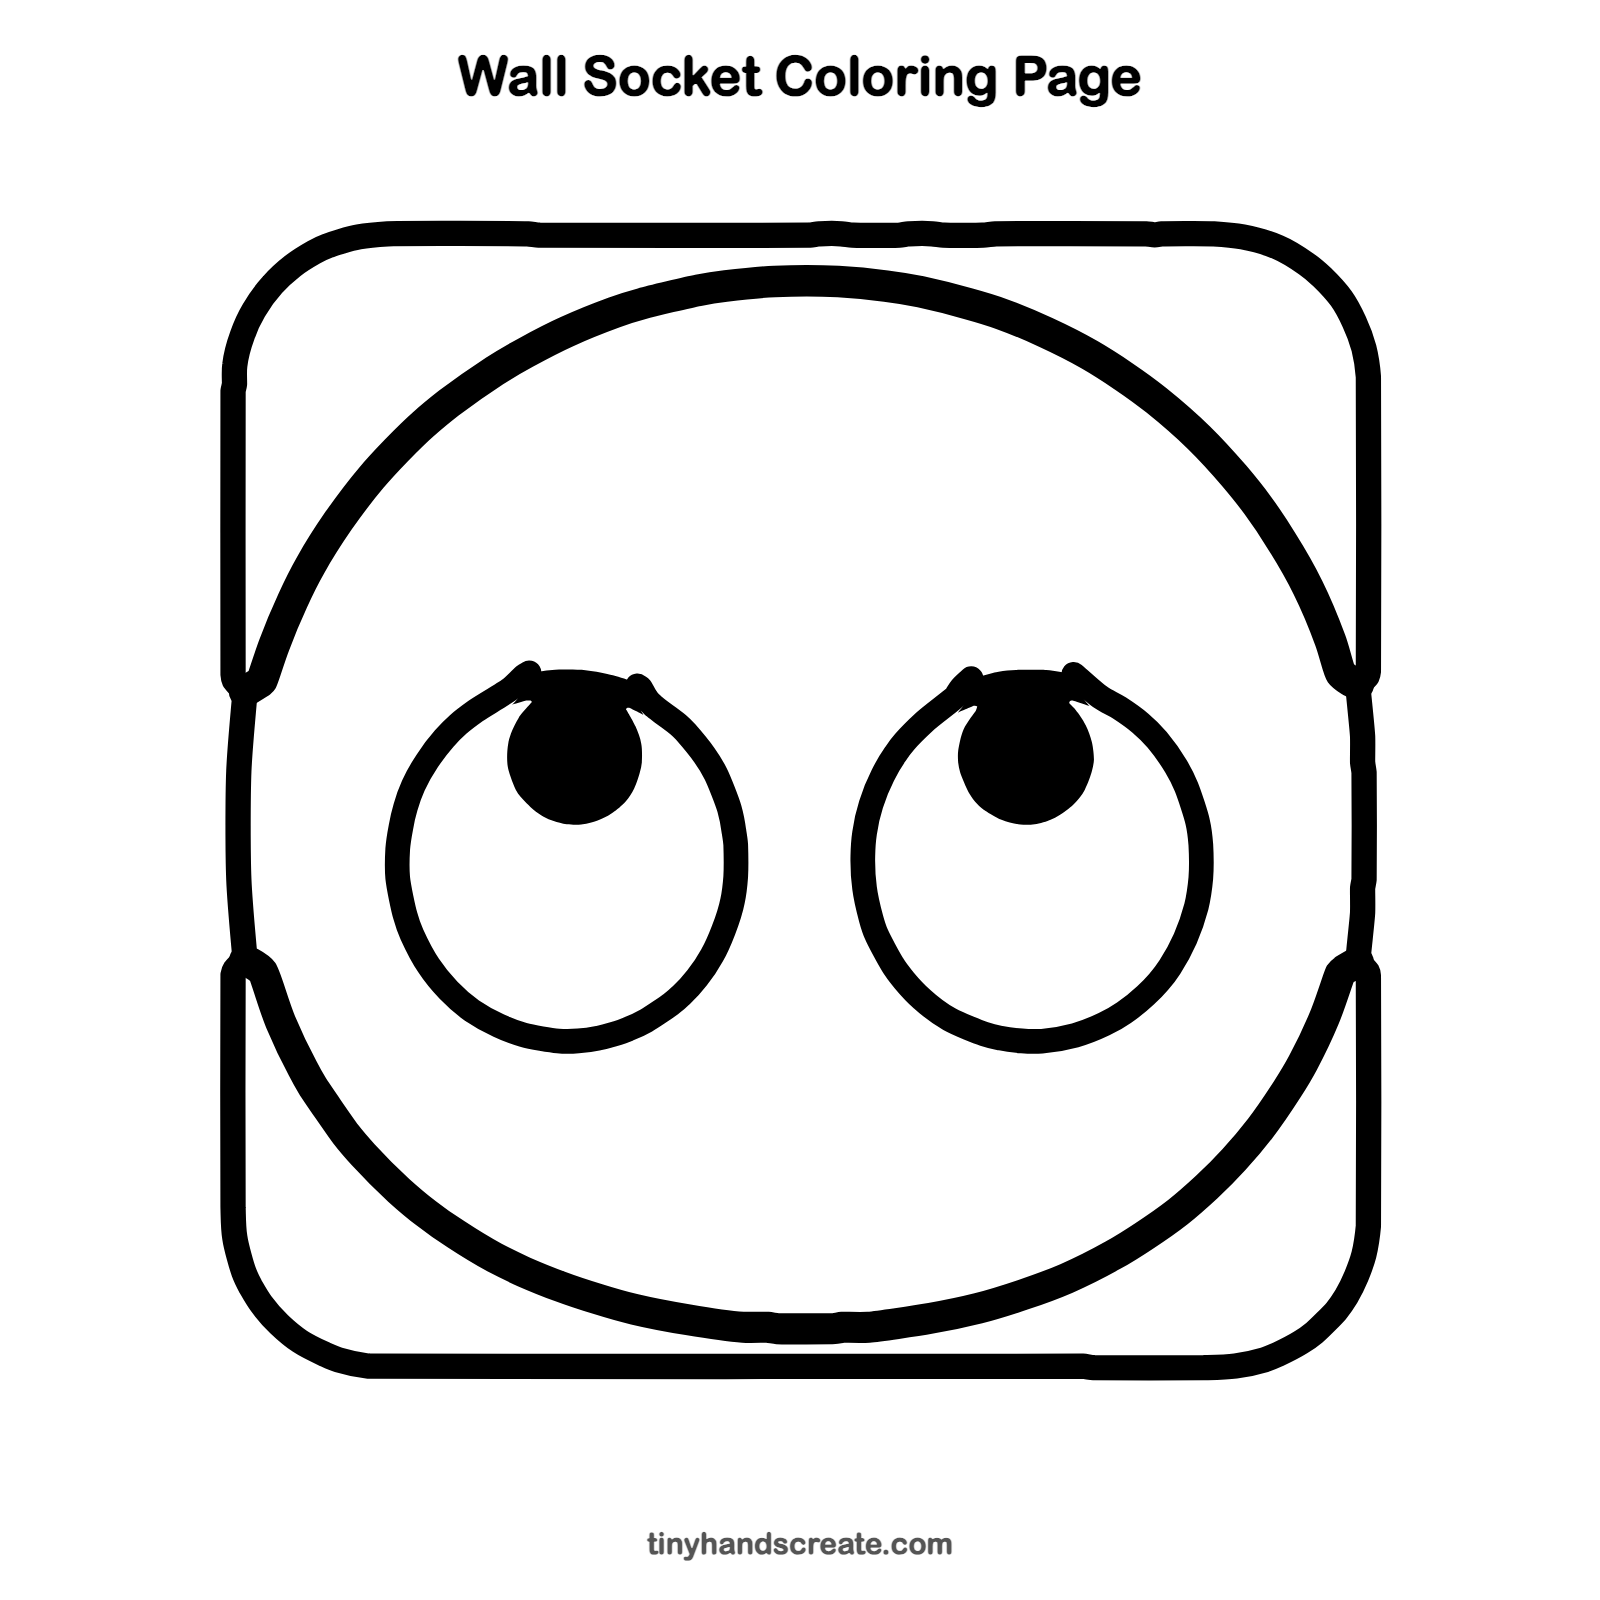
How to color your wall socket drawing
Try a creamy white or light gray plate with white eyes and black pupils. Leaving the big circle a little lighter than the plate makes the face stand out.
Wall socket fun fact for kids
In the United States, most wall outlets have two vertical slots, and many also have a round hole below them. The round hole is for the ground pin on a plug.
Questions about drawing a wall socket
What shapes do I need to draw a wall socket?
You need a rounded square for the plate, a large circle in the middle, two small round eyes, and two small solid circles for the pupils.
How do I make my wall socket look like it is looking up?
Put the solid dots at the top of each eye, right under the small gap in the outline. Keep them in the same spot in both eyes.
How do I draw the eyes so they match?
Draw the first eye, then use it as a guide. Start the second eye at the same height and make it the same size, leaving an even space between them.