How to Draw a Top Hat (Easy Step by Step)
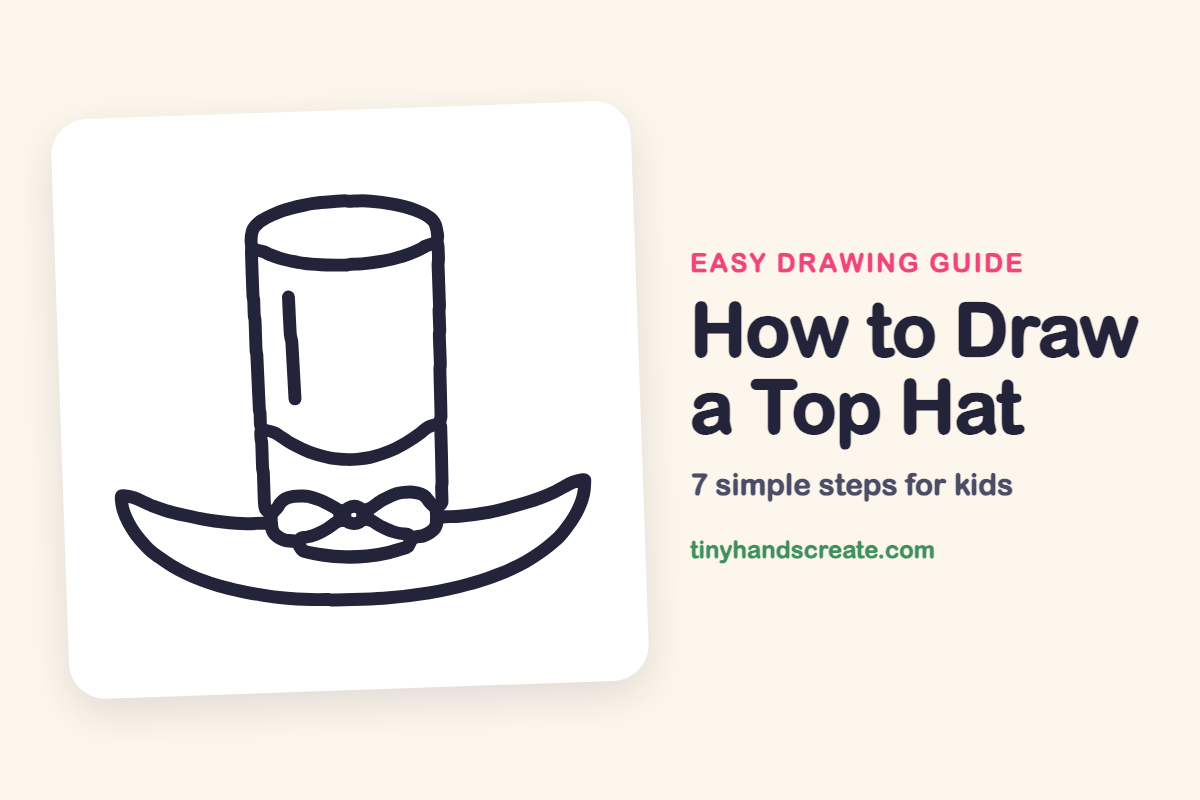
Learn to draw a fancy top hat using just a few simple shapes, including a tall crown, a curved brim, and a small bow. This easy step-by-step guide helps even beginners create a dressed-up look.
- Begin your drawing by creating a tall crown for the hat.
- Add a big, curved brim to the bottom of your hat's crown.
- Complete your top hat design with a small, decorative bow.
- Utilize simple shapes to make the drawing process easy for you.
This post contains affiliate links. As an Amazon Associate I earn from qualifying purchases.
A top hat is a fun thing to draw because it is built from just a few simple shapes. You start with a tall crown, add a big curved brim, and finish with a little bow. Even beginners can make it look dressed up and fancy.
- Easy
- 10 minutes
- 7 steps
You need: paper, a pencil, an eraser, and crayons or markers for coloring.
Start drawing
In this article (7 sections)
How to draw a top hat step by step
How to Draw a Top Hat · tinyhandscreate.com
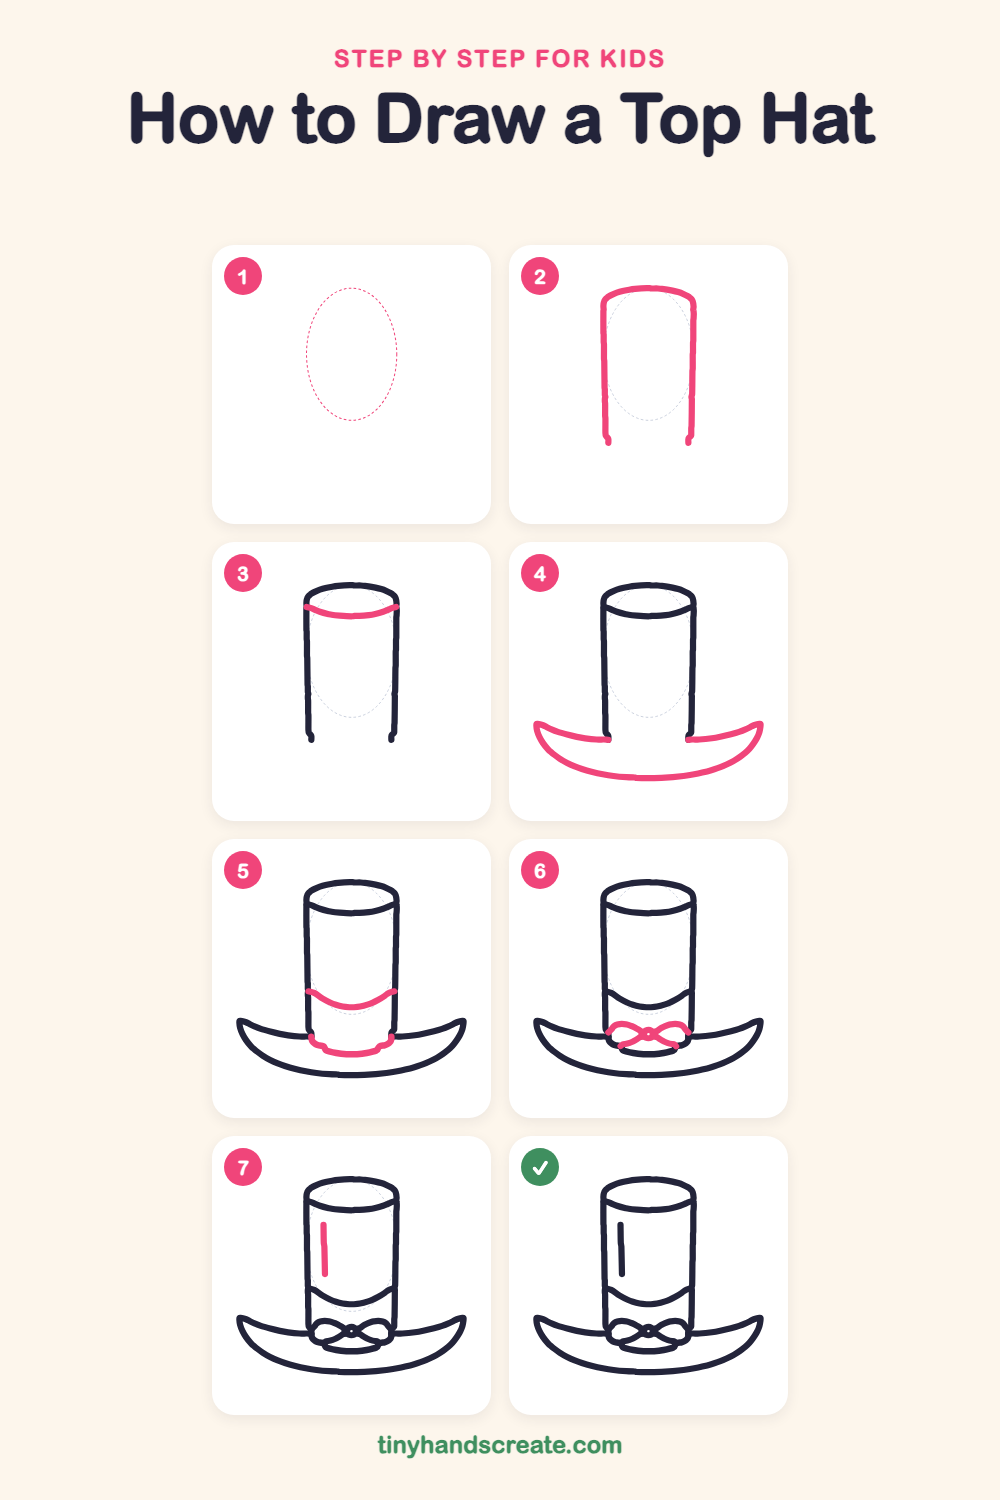
Step 1: Guide shapes
Lightly sketch this oval. It only shows where the big parts go, so press softly. You will erase it at the end.
Step 2: The tall crown
Draw two long, almost straight lines going down, side by side, like the sides of a tall can. Join them at the top with a rounded curve so the top corners are soft. Leave the bottom open.
Step 3: The top opening
Inside the top of the crown, draw a smooth curve that dips down in the middle and touches both sides. Together with the curve above it, this makes a flat oval that shows the top of the hat.
Step 4: The wide brim
At the bottom of the crown, draw a big curved shape that sweeps out to the left and right, like a smile with pointy ends. Start each side where the crown ends and curve out and down.
Step 5: The hat band
Across the crown, a little above the brim, draw a gentle wavy line from one side to the other. Then draw a curved line along the bottom of the crown, just above the brim, to make a ribbon band.
Step 6: The bow
In the middle of the band, draw two loops that look like a sideways number 8, one on each side of the middle. Let the loops touch in the center to make a bow.
Step 7: The shine mark
On the left side of the crown, draw one short, straight line going down. It shows where the light shines on the hat.
All done!
Erase the guide shapes, go over your lines, then color it in.
Finished your top hat? Keep the pencils out and learn how to draw a rocket or how to draw a shooting star next.
Tips for drawing a top hat
- Make the two sides of the crown nearly straight and the same height, so the hat stands up tall instead of leaning.
- Draw the brim as a wide smile with pointy ends. Curve both sides the same amount so they match.
- For the bow, draw one loop on each side of the middle. This keeps the two loops about the same size.
Free top hat coloring page
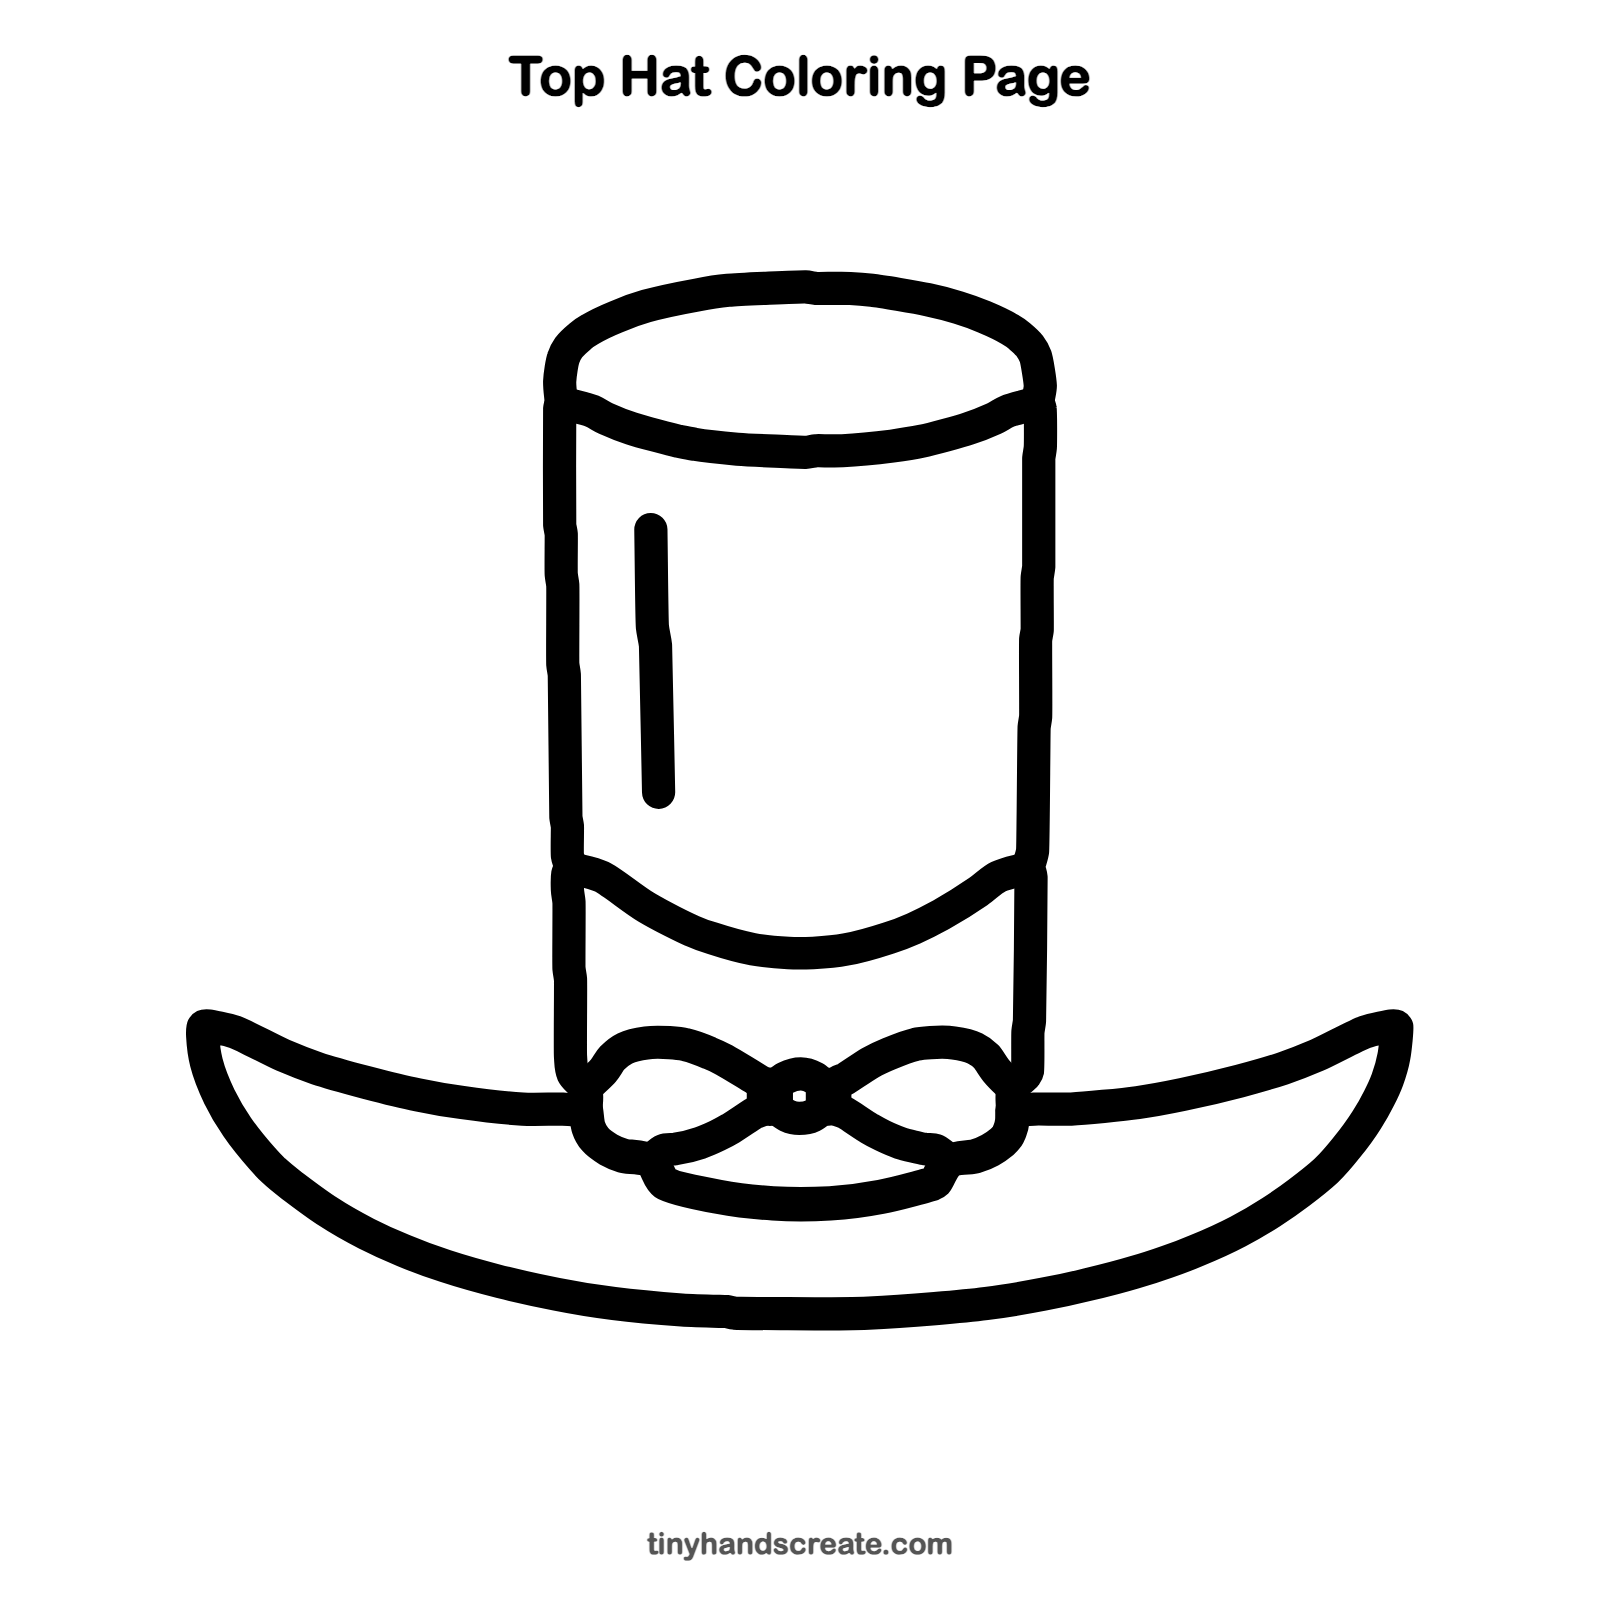
Want to go straight to coloring? Open this top hat coloring page at full size and print it. It is the same drawing you just learned, with clean lines ready for crayons or markers.
How to color your top hat drawing
A black or dark gray hat with a red ribbon looks classic, but a purple hat with a gold band is fun too. You can color the bow a bright color so it stands out.
Top hat fun fact for kids
Top hats were very popular with men in the 1800s. Today, magicians still use them in the classic trick of pulling a rabbit out of a hat.
Questions about drawing a top hat
What shapes do I need to draw a top hat?
You need a tall shape with straight sides for the crown, an oval for the top, and a wide curved shape for the brim. Two small loops make the bow.
How do I make my top hat look more 3D?
Draw the top as a flat oval and curve the band line so it dips in the middle. The curved lines make the hat look round instead of flat.
How do I make my top hat look fancier?
Add a bow on the band and a short shine line on the crown. You can also color the hat in shiny black or gold.