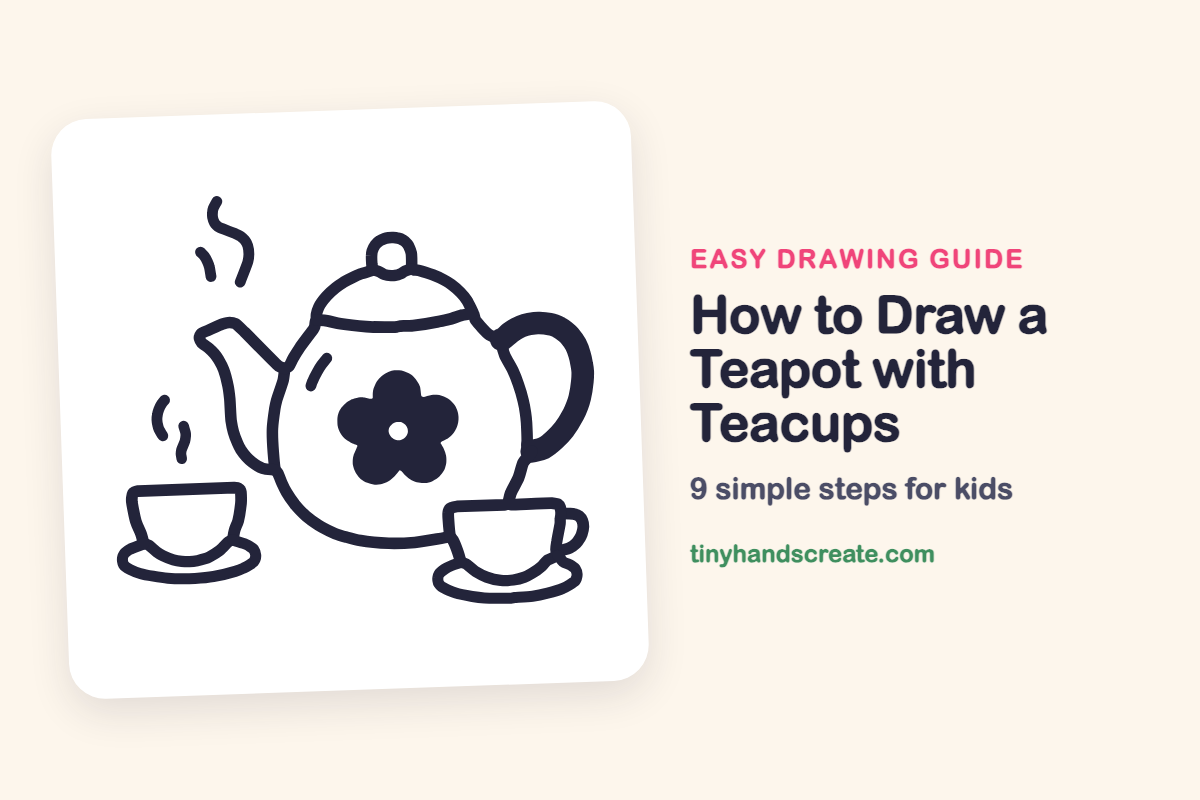
How to Draw a Teapot with Teacups (Easy Step by Step)
A teapot and teacups make a cozy drawing, and they are built from shapes you already know: circles, ovals, and curves. Put them together and you get a tea party you can almost smell. The flower on the teapot is a fun part, because it is just five round bumps around a small circle.
- Medium
- 15 minutes
- 9 steps
You need: paper, a pencil, an eraser, and crayons or markers for coloring.
Start drawing


In this article (7 sections)
How to draw a teapot with teacups step by step
How to Draw a Teapot with Teacups · tinyhandscreate.com
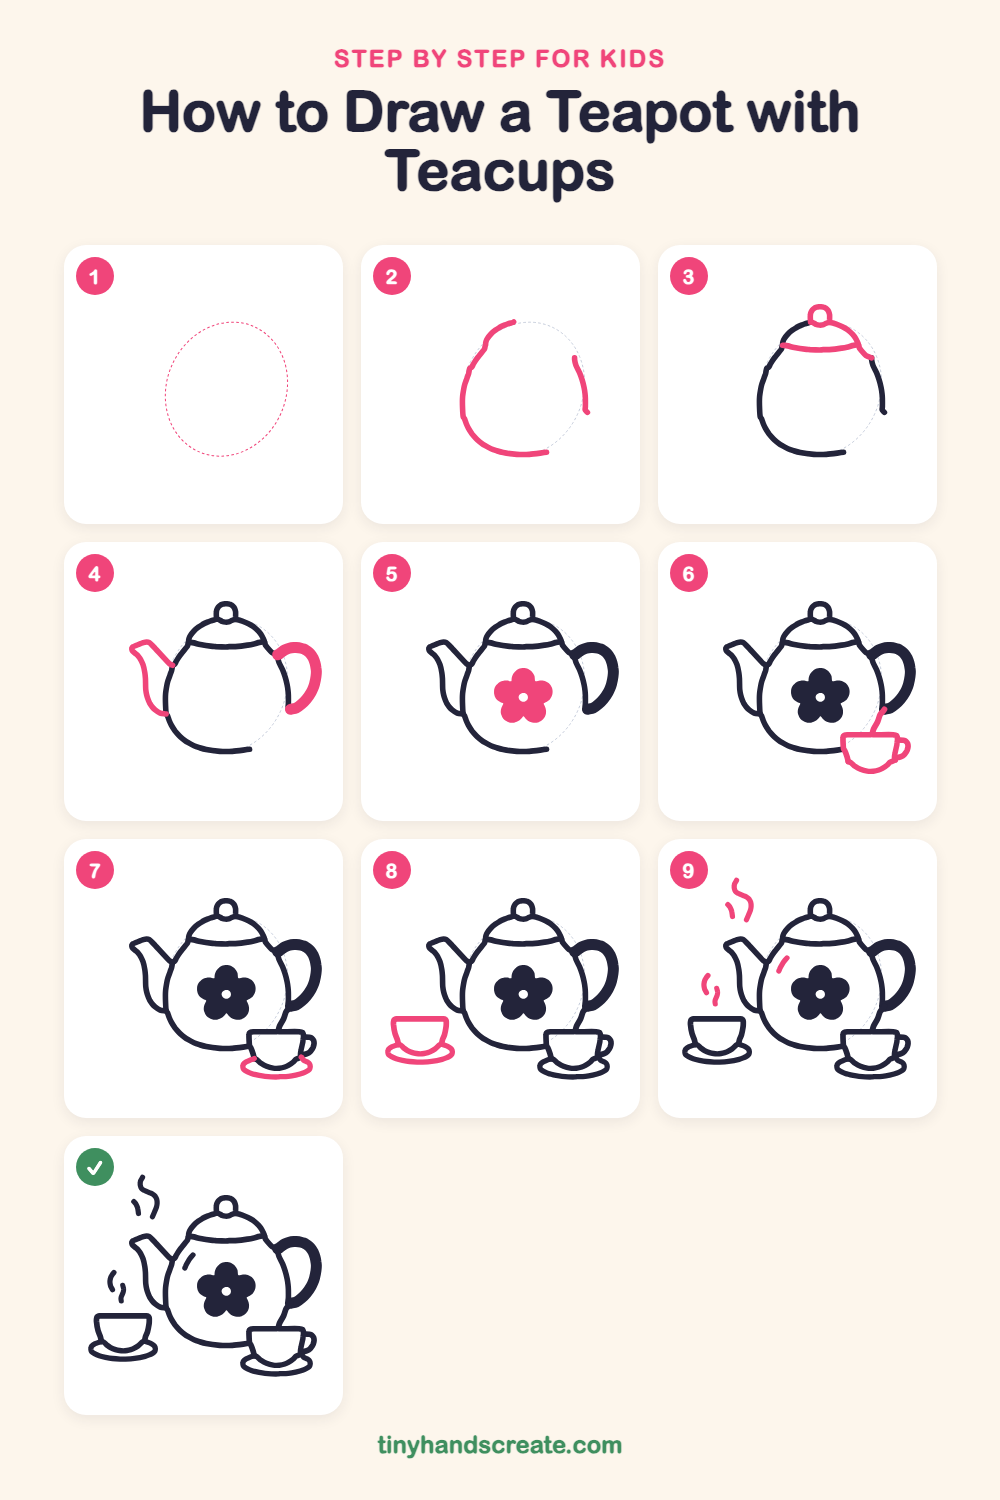
Step 1: Guide shapes
Lightly sketch this oval. It only shows where the big parts go, so press softly. You will erase it at the end.
Step 2: Pear-shaped teapot body
Start with a big pear shape that is a little narrower at the top. Draw the left side and bottom as one curve, then add a short curve on the right side, leaving gaps for the lid and handle to fill in later.
Step 3: The lid and knob
On top of the body, draw a curved dome for the lid and a flat curved line across its bottom edge. Add a small circle on the very top for the knob.
Step 4: Spout and handle
On the left, draw a spout that starts at the body, goes up and out in a slanted line, and ends in a little flat tip. On the right, draw a big thick curved handle like a letter C that joins the body at the top and bottom.
Step 5: The flower
In the middle of the teapot, draw five round petals in a circle like a puffy cloud. Leave a small circle in the center, and fill the petals in.
Step 6: The front teacup
At the bottom right, draw a wide flat top line, then curve the sides down into a bowl shape. Add a small loop on the right side for a handle, and a short slanted line going up from the cup toward the teapot.
Step 7: The saucer under it
Draw a flat oval underneath the cup, so the cup sits right in the middle of it.
Step 8: The left teacup and saucer
At the bottom left, draw a wide flat top line and curve the sides down like a bowl. Then draw a flat oval saucer under it.
Step 9: Steam and shine
Draw wavy, curly lines floating up above the spout and above the left cup to show the tea is hot. Add one short curved line on the teapot's shoulder for a shiny spot.
All done!
Erase the guide shapes, go over your lines, then color it in.
Finished your teapot with teacups? Keep the pencils out and learn how to draw a rocket or how to draw a shooting star next.
Tips for drawing a teapot with teacups
- Draw the pear-shaped teapot body first and make it big. The cups are much smaller, so they are easier to place once the teapot is there.
- The flower is the trickiest part. Draw five round bumps in a circle with a small circle left open in the middle, like petals on a daisy.
- For the steam, draw slow, wiggly lines that float up. Keep them light so they look like they are drifting.
Free teapot with teacups coloring page
Want to go straight to coloring? Open this teapot with teacups coloring page at full size and print it. It is the same drawing you just learned, with clean lines ready for crayons or markers.
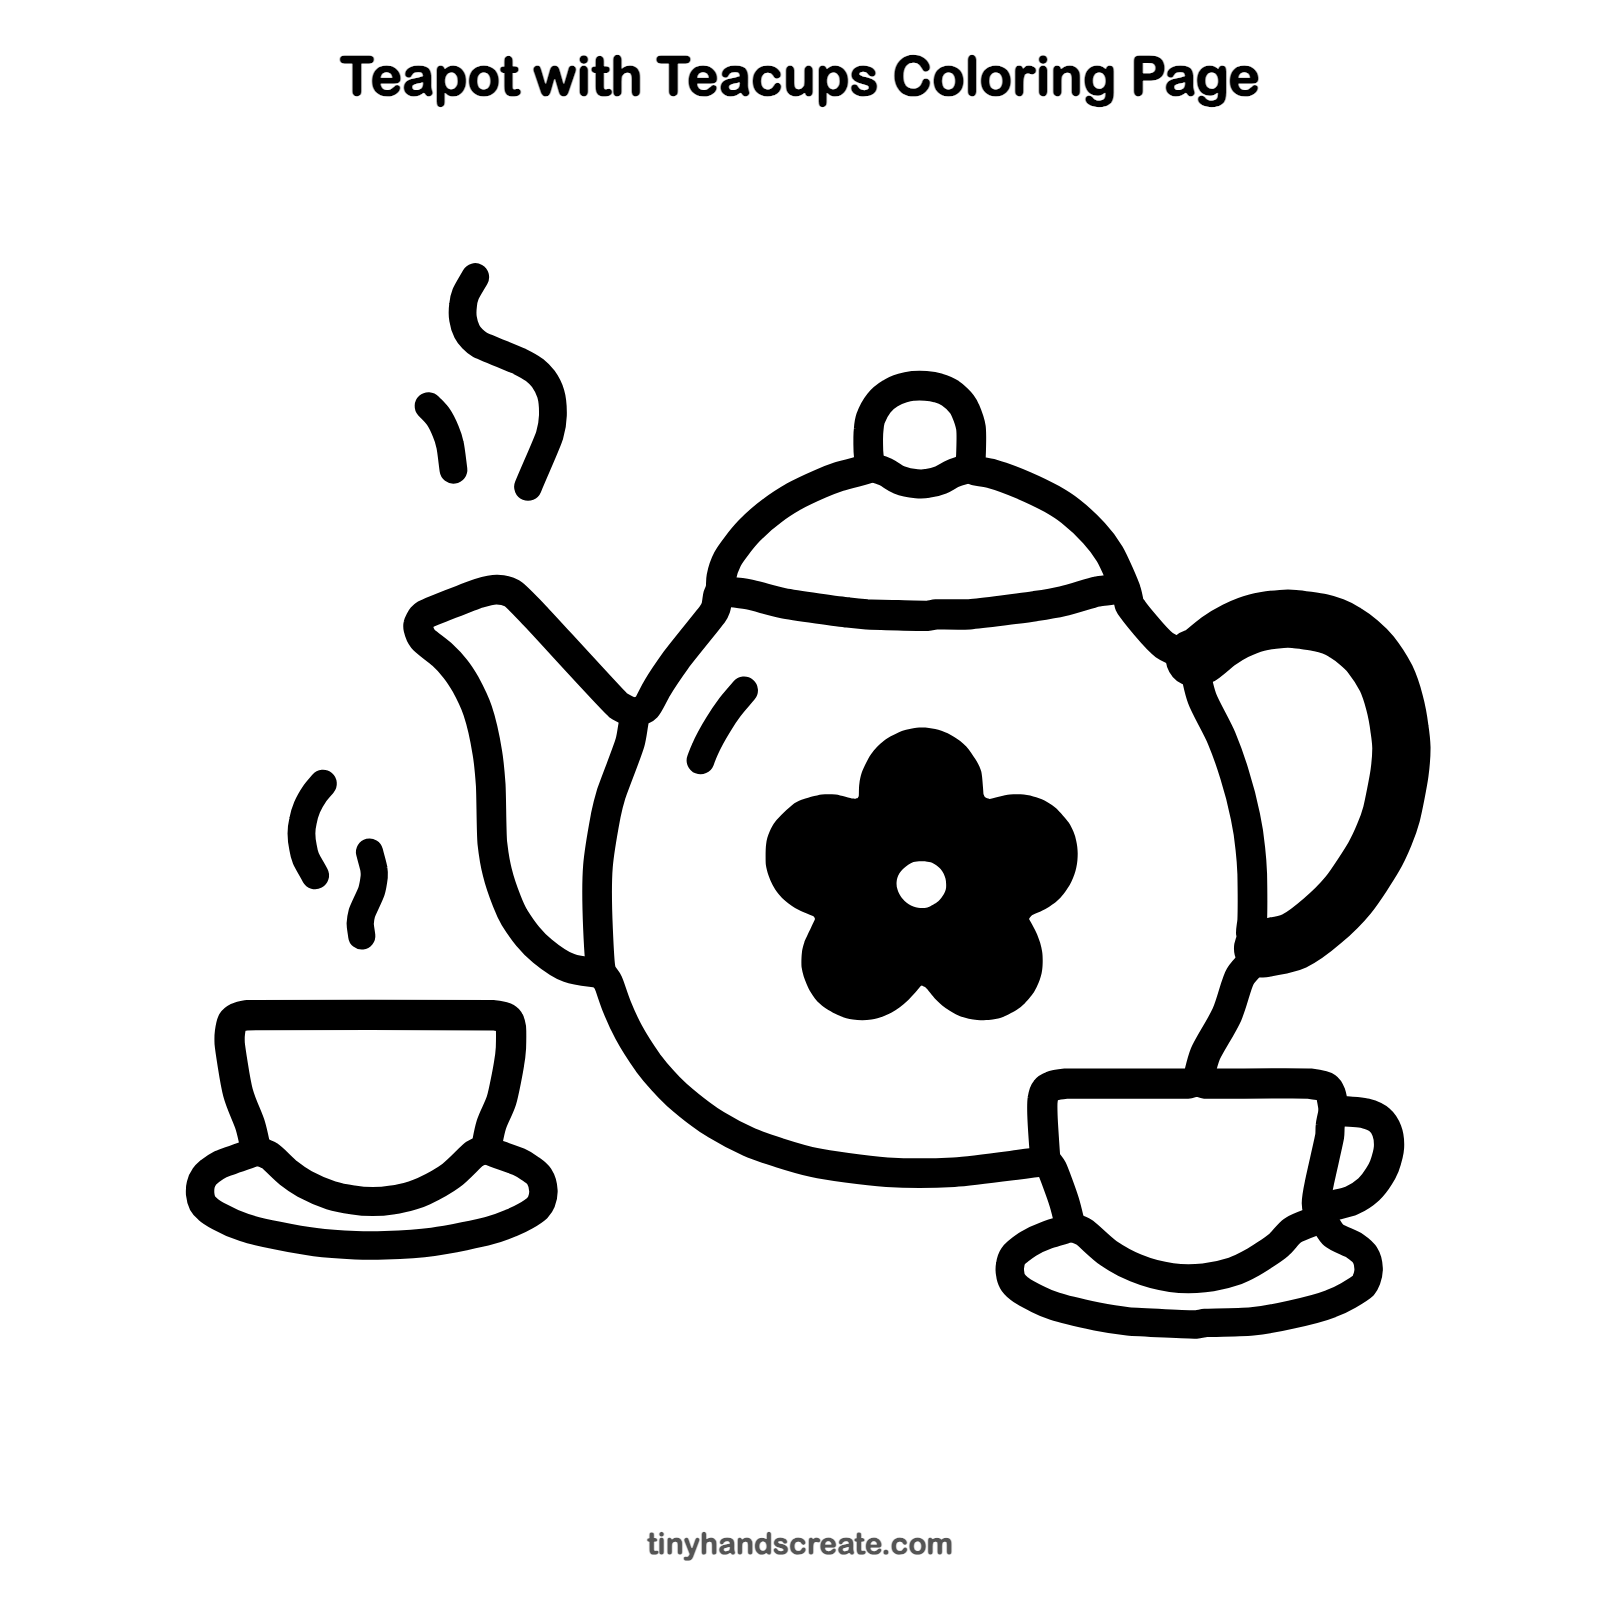
How to color your teapot with teacups drawing
Try a sky blue teapot with a pink flower and cups in different bright colors. For a creative twist, give each cup its own pattern, like polka dots or stripes.
Teapot with teacups fun fact for kids
Tea plants come from East Asia, and people in China have been drinking tea for thousands of years.
Questions about drawing a teapot with teacups
What shapes do I need to draw a teapot?
You need a big pear shape for the body, a dome for the lid, a small circle for the knob, and a curved C shape for the handle. The spout is a slanted line that starts at the body and ends in a flat tip.
How do I draw a teacup that looks right?
Start with a flat line across the top, then curve the sides down into a bowl. Add a small loop on the side for the handle, and draw a flat oval saucer under it.
How do I make my teapot look cuter?
Make the body extra round and give the flower fat, puffy petals. Wavy steam lines floating above also make it feel warm and friendly.