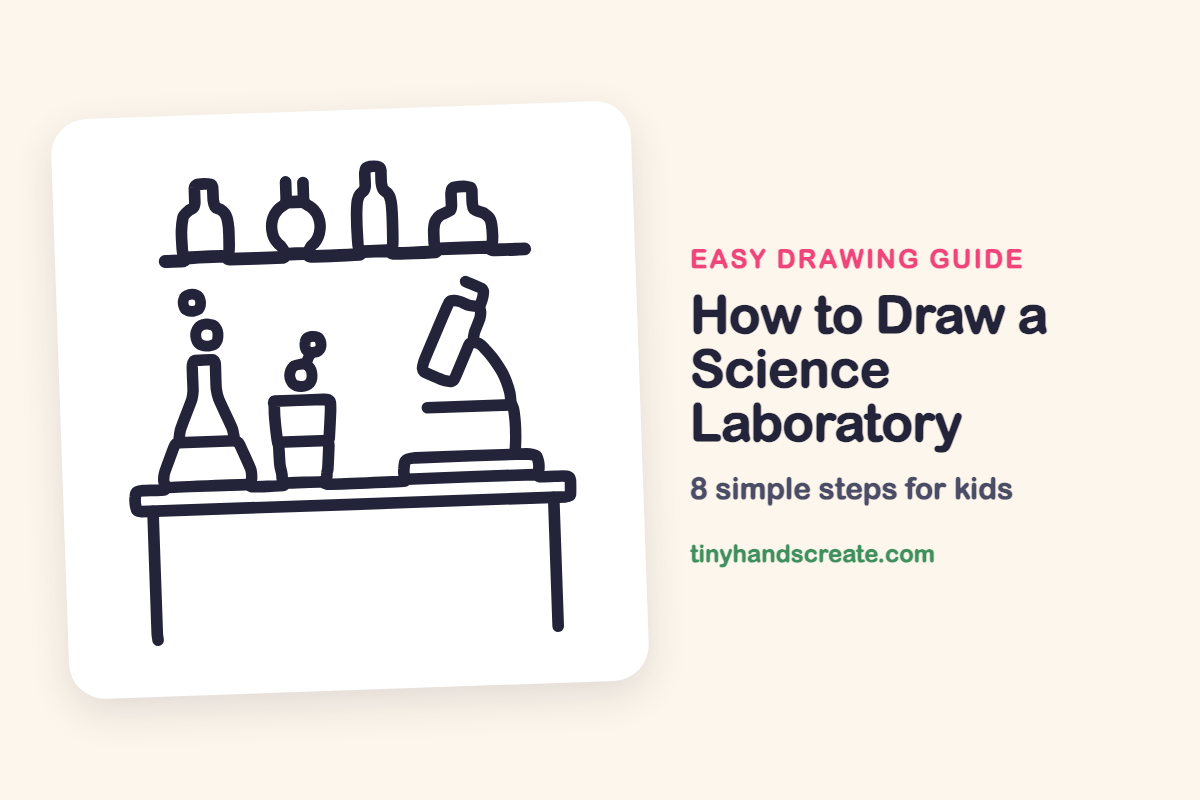
How to Draw a Science Laboratory (Easy Step by Step)
A science laboratory is full of fun shapes you already know. The flask is a triangle with a neck, the beaker is a cup, and the bubbles are little rings. Once you have a table and a shelf, you can fill them with bottles and a microscope.
- Medium
- 20 minutes
- 8 steps
You need: paper, a pencil, an eraser, and crayons or markers for coloring.
Start drawing


In this article (7 sections)
How to draw a science laboratory step by step
How to Draw a Science Laboratory · tinyhandscreate.com
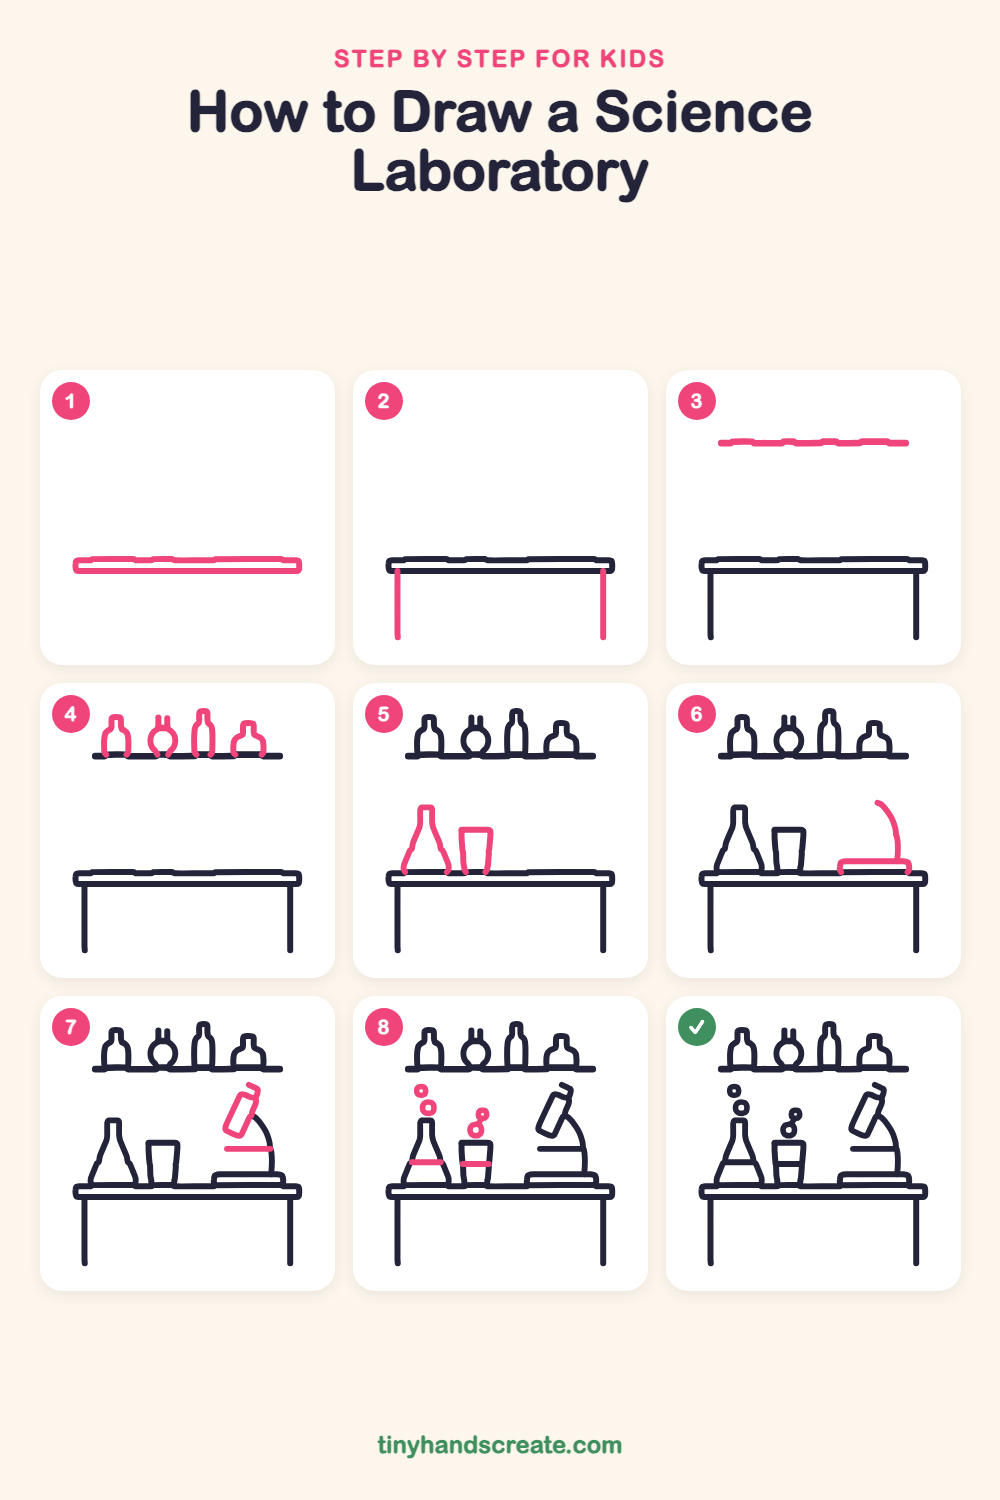
Step 1: The lab table
Draw a long, flat rectangle across the lower middle of your page for the tabletop. Make it thin, like a thick board seen from the front.
Step 2: Table legs
Draw one long straight line going down from near each end of the tabletop. Make them the same length so the table stands up straight.
Step 3: The high shelf
Near the top of the page, draw a long, thin, flat line. This shelf will hold your bottles.
Step 4: Four bottles
Sit four bottles on the shelf. Make one with a short neck, one with a round bottom and two little horns on top, one tall and slim, and one wide and squat.
Step 5: Flask and beaker
On the left of the table, draw a triangle shape with a tall thin neck for the flask. Next to it, draw a cup that is a little wider at the top for the beaker.
Step 6: Microscope base and arm
On the right side of the table, draw a flat, wide rectangle for the base. Then draw a big curved line rising from the right end of the base, like the back of a candy cane.
Step 7: Microscope tube and stage
At the top of the curve, draw a tilted rectangle for the tube and add a little hook on top. Then draw a short flat line sticking out to the left from the arm for the stage.
Step 8: Liquid and bubbles
Draw a straight line across the flask and the beaker to show the liquid. Finish with small rings floating above each one, some with a tiny dot or ring inside.
All done!
Go over your lines with a marker, then color it in.
Finished your science laboratory? Keep the pencils out and learn how to draw a rocket or how to draw a shooting star next.
Tips for drawing a science laboratory
- The tilted microscope tube is the trickiest part. Draw a straight tilted line first, then add the second side so the two lines stay parallel.
- Draw the shelf before the bottles, then let each bottle sit right on top of the shelf line so they look like they are standing.
- Make the bubble rings different sizes, and keep them close above the flask and the beaker.
Free science laboratory coloring page
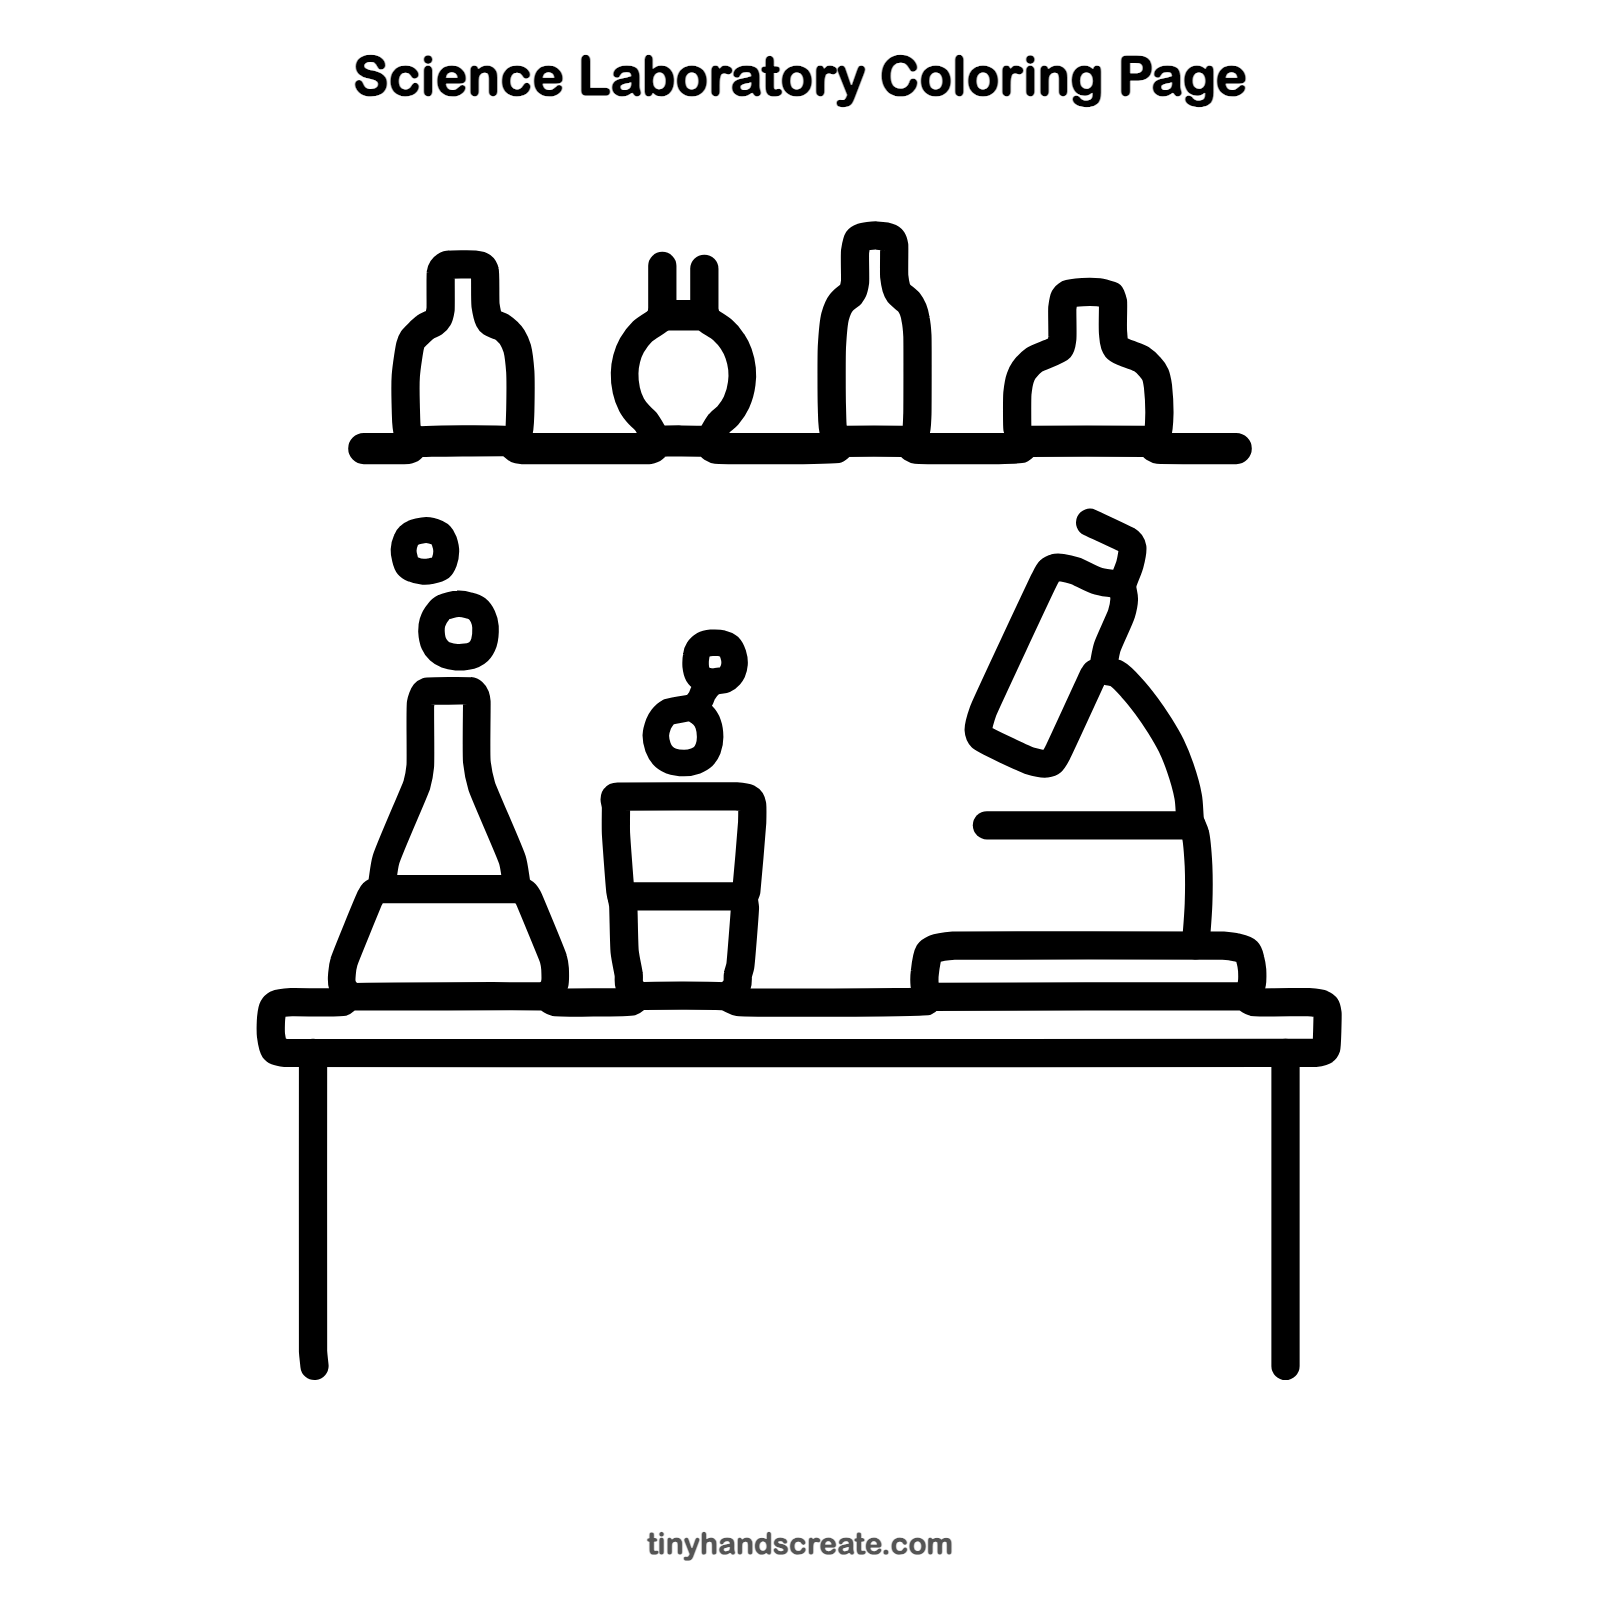
Want to go straight to coloring? Open this science laboratory coloring page at full size and print it. It is the same drawing you just learned, with clean lines ready for crayons or markers.
How to color your science laboratory drawing
Try bright blue or green for the liquid, and gray or silver for the microscope. For a creative twist, color the bubbles in rainbow colors, as if a magic potion is brewing.
Science laboratory fun fact for kids
The flask in this drawing is called an Erlenmeyer flask, named after the German chemist Emil Erlenmeyer, who designed it in 1860. Its narrow neck helps keep liquid from sloshing out when it is swirled.
Questions about drawing a science laboratory
What shapes do I need to draw a science laboratory?
You need long rectangles for the table and the microscope base, a tilted rectangle for the microscope tube, a triangle for the flask, and small rings for the bubbles. A straight line makes the shelf and a curved line makes the microscope arm.
How do I draw a flask that looks right?
Draw a triangle shape that is wide at the bottom and narrows toward the top. Then give it a tall, thin neck, so it looks like a triangle with a chimney on top.
How do I make my laboratory drawing more fun?
Add extra bubbles floating up from the flask and beaker, or draw more bottles on the shelf. You can also color each liquid a different bright color.