How to Draw a ZZ Plant (Easy Step by Step)
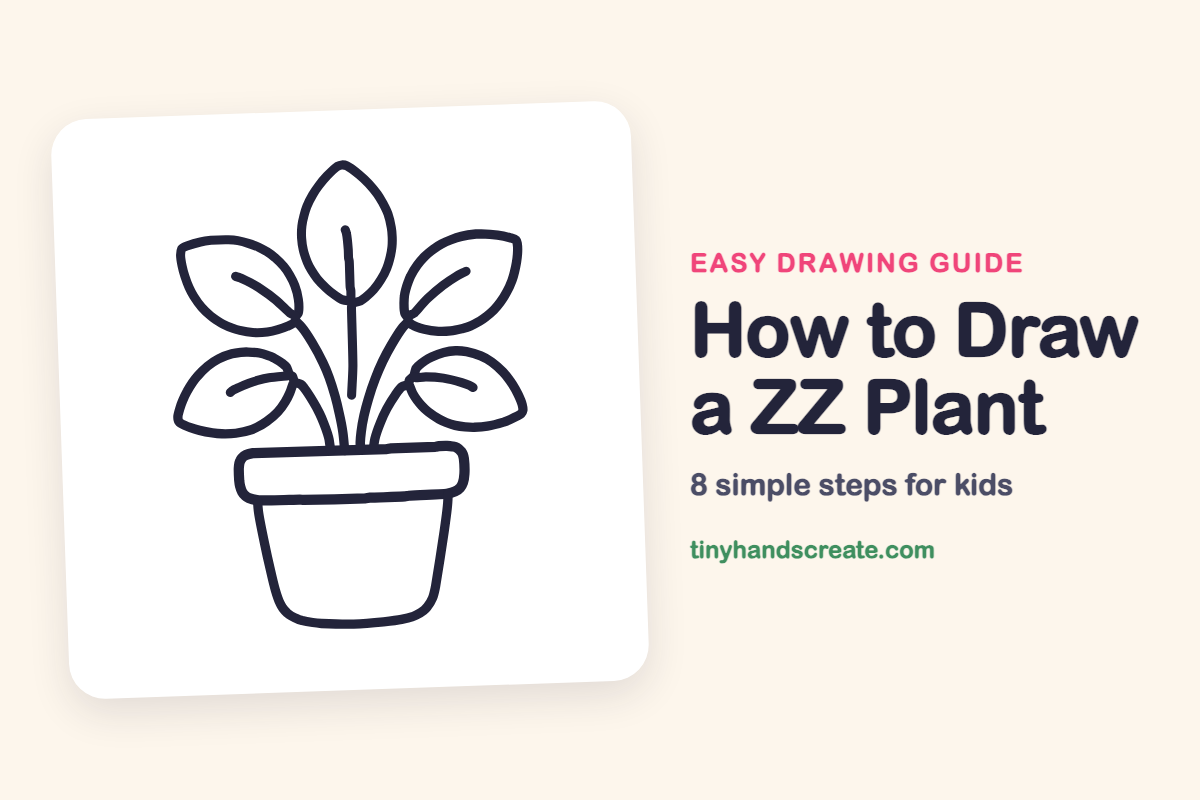
A ZZ plant is a friendly drawing because it is built from just a few easy shapes. You will draw pointy ovals for the leaves, a rounded rectangle and a bowl shape for the pot, and some curvy lines for the stems. Once the pot, leaves and stems are in place, it looks like a real houseplant.
- Easy
- 12 minutes
- 8 steps
You need: paper, a pencil, an eraser, and crayons or markers for coloring.
Start drawing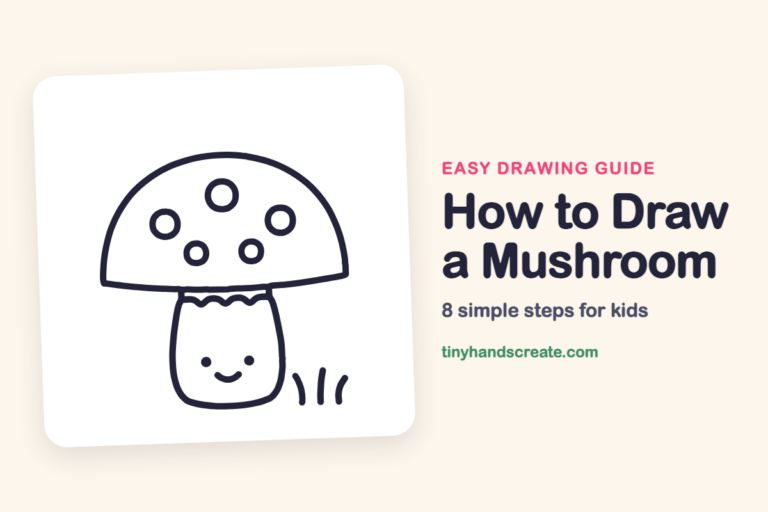
In this article (7 sections)
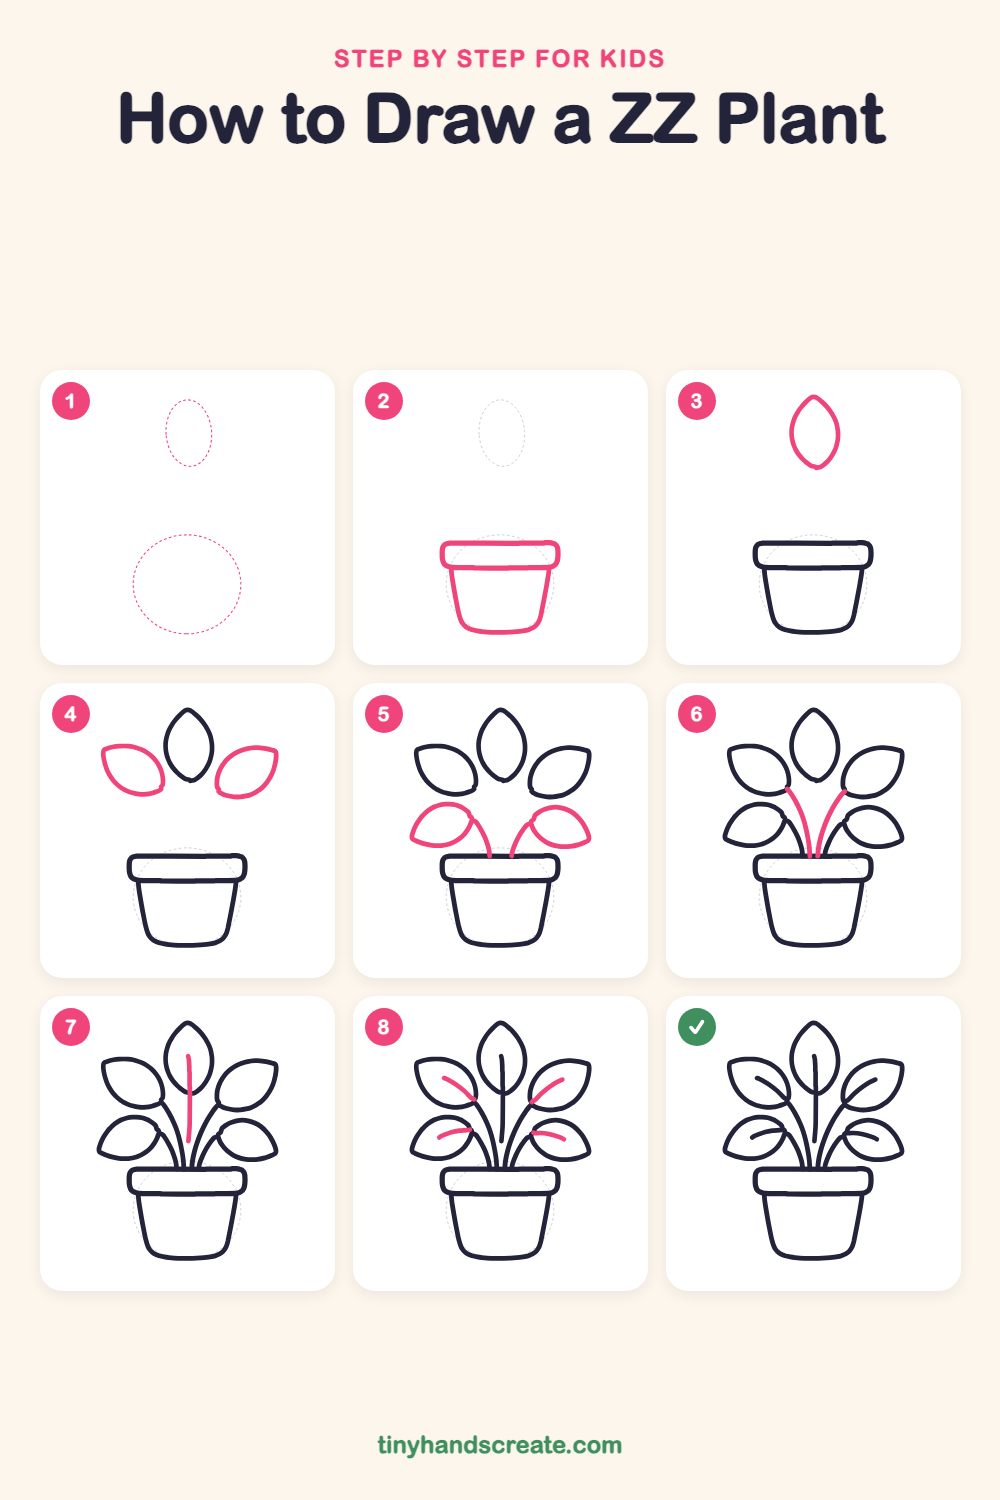
How to draw a ZZ plant step by step
How to Draw a ZZ Plant · tinyhandscreate.com
Step 1: Guide shapes
Lightly sketch these 2 ovals. They only show where the big parts go, so press softly. You will erase them at the end.
Step 2: The flower pot
Draw a wide, rounded rectangle for the rim of the pot. Then, from the bottom corners of the rim, draw two lines that slant inward and join with a curved bottom, like a bowl.
Step 3: The tall middle leaf
Above the pot, draw a pointy oval in the center, like a stretched egg with a point at the top and a point at the bottom. This will be the tallest leaf.
Step 4: Upper side leaves
Draw a leaf on the left and a leaf on the right of the tall leaf, a little lower down. Each one is a pointy oval that tilts out to the side.
Step 5: Lower side leaves and stems
Draw two more pointy leaves lower down, one on each side, tilting out and down. From the inner end of each leaf, draw a short curved line down to the top of the pot rim.
Step 6: Upper leaf stems
From the bottom of each upper side leaf, draw a curved line that bends down toward the middle. End both lines at the top of the pot rim, close to the other stems.
Step 7: Middle leaf stem
Draw one long, nearly straight line down the center of the tall leaf. Start inside the leaf near the top and keep going down past its bottom tip until you reach the pot rim.
Step 8: Leaf veins
Inside each of the four side leaves, draw one short curved line. Start near the inner end of the leaf and curve it toward the leaf's pointy tip.
All done!
Erase the guide shapes, go over your lines, then color it in.
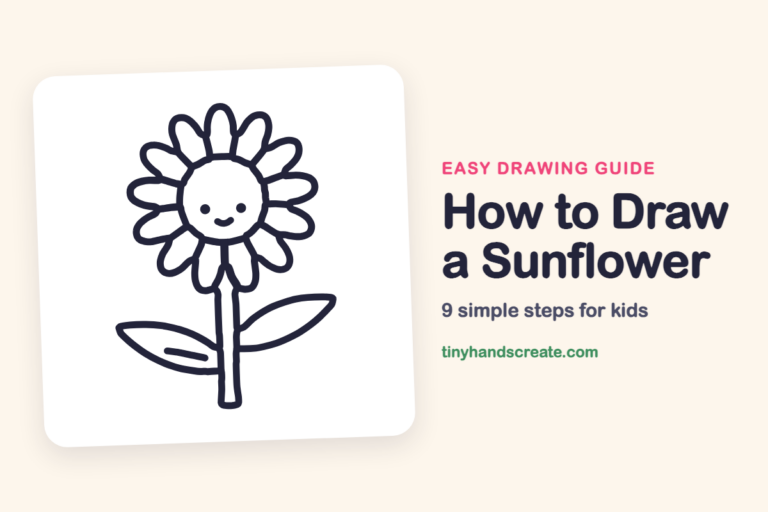
Finished your ZZ plant? Keep the pencils out and learn how to draw a mushroom or how to draw a sunflower next.
Tips for drawing a ZZ plant
- Draw the pot first so you know where the stems will end. All the stems will meet at the top of the rim.
- The curvy stems are the trickiest part. Draw them slowly, bending gently, and let them all end near the middle of the pot rim.
- Draw each leaf vein from the inner end of the leaf toward its tip. Keep it short so it stays inside the leaf and does not touch the edge.
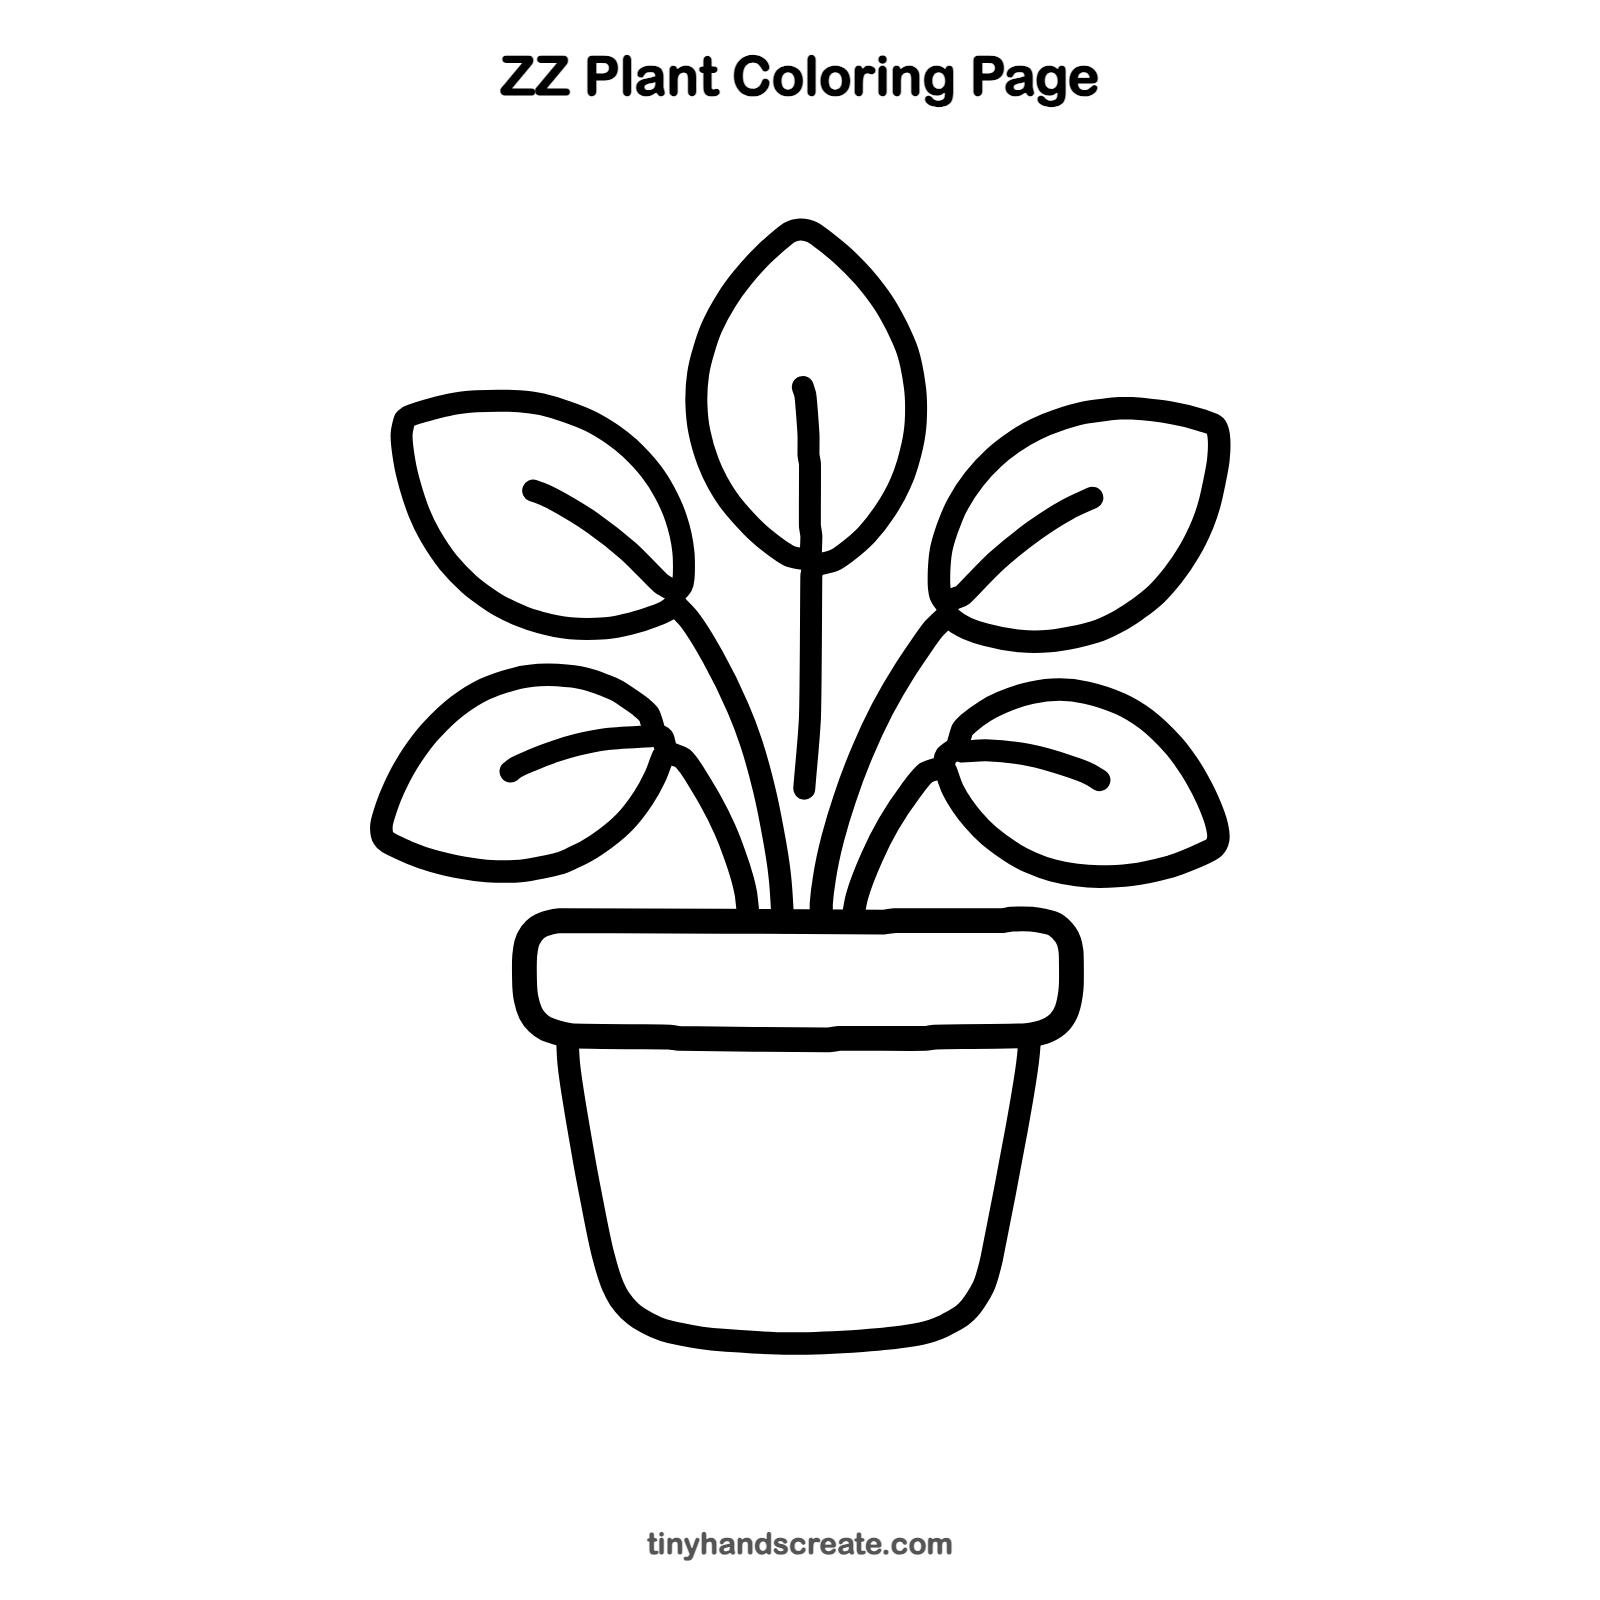
Free ZZ plant coloring page
Want to go straight to coloring? Open this ZZ plant coloring page at full size and print it. It is the same drawing you just learned, with clean lines ready for crayons or markers.
How to color your ZZ plant drawing
Try a few shades of green for the leaves and a bright terracotta orange for the pot. For a creative twist, give each leaf a different pattern, like stripes or dots.
ZZ plant fun fact for kids
ZZ plants store water in thick, potato-like parts under the soil called rhizomes. That is why they can go a long time without a drink and still stay green.
Questions about drawing a ZZ plant
What shapes do I need to draw a ZZ plant?
You need a pointy oval for each leaf, a rounded rectangle for the pot rim, and a bowl shape for the pot. Curved lines make the stems and leaf veins.
How do I make my ZZ plant leaves look natural?
Point the leaves in different directions. A tall one in the middle with four smaller ones tilting out to the sides looks great.
How do I make my plant pot look round?
Draw the sides slanting in toward the bottom, then join them with a smooth curved line. Rounding the bottom corners helps it look like a real flower pot.