How to Draw a Motor Scooter (Easy Step by Step)
This post contains affiliate links. As an Amazon Associate I earn from qualifying purchases.
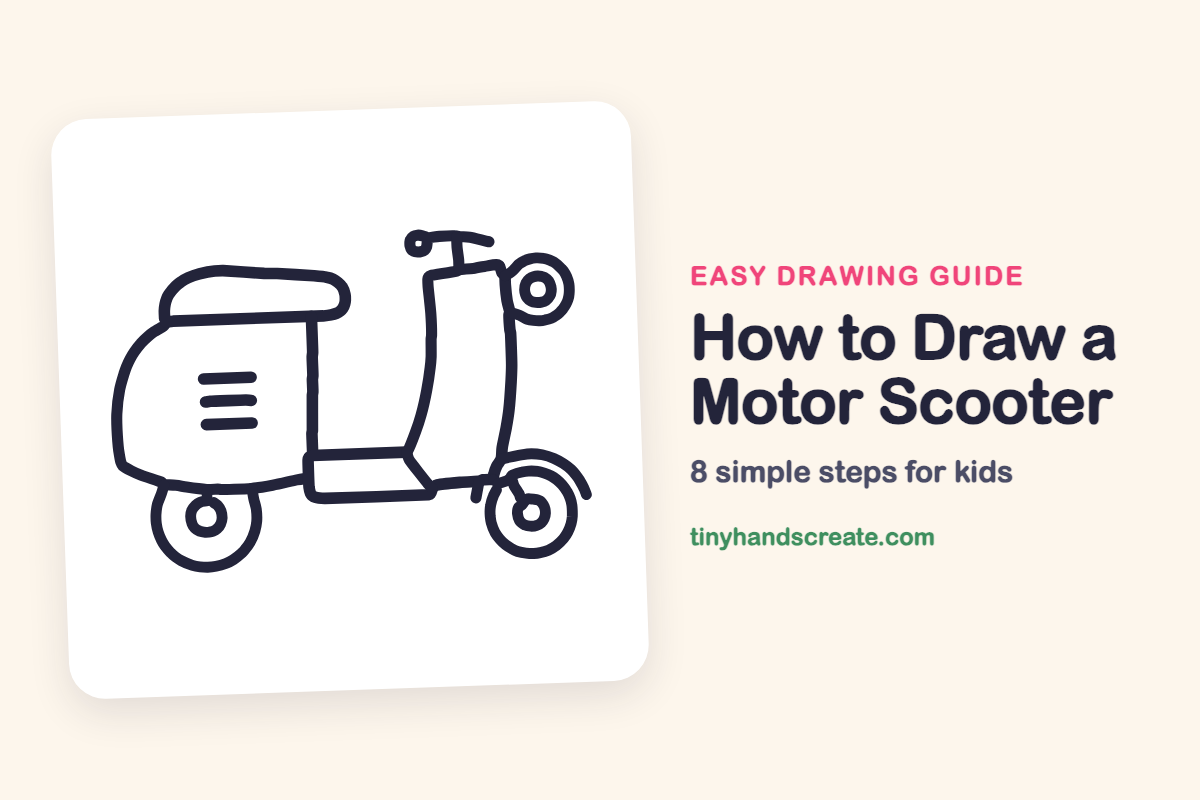
A motor scooter is a friendly drawing because it is built from simple shapes: circles for the wheels, a rounded loaf for the seat, and a tall curved panel in front. You will draw it from the side, which makes every part easy to see. Take your time with the big body first, and the little details will fall into place.
- Medium
- 15 minutes
- 8 steps
You need: paper, a pencil, an eraser, and crayons or markers for coloring.
Start drawing
In this article (7 sections)
How to draw a motor scooter step by step
How to Draw a Motor Scooter · tinyhandscreate.com
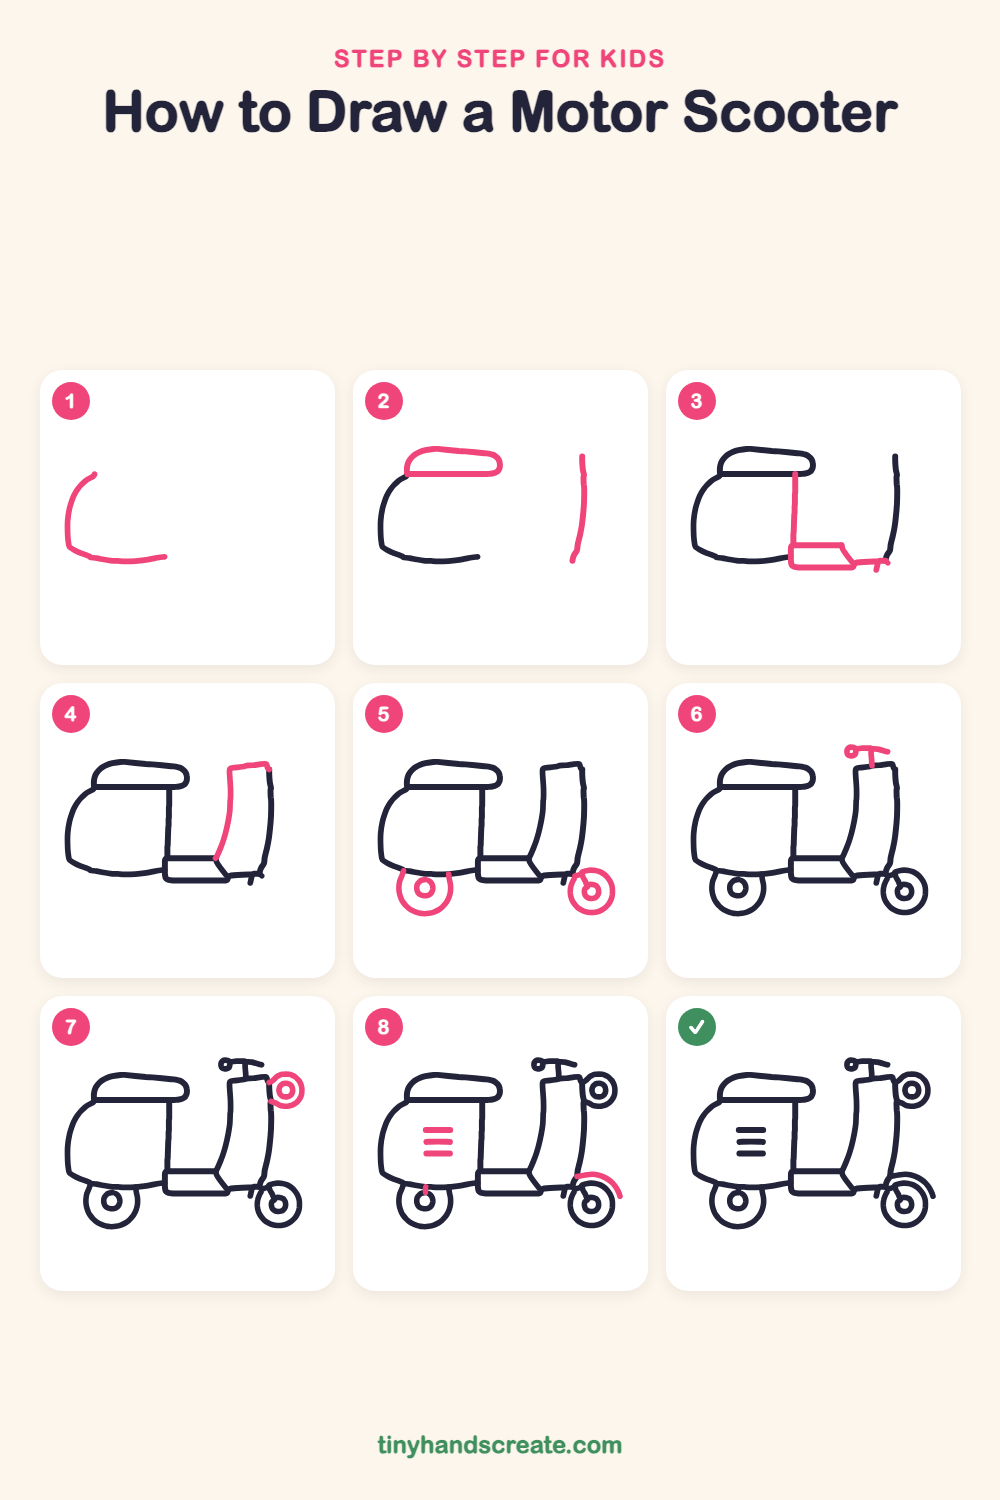
Step 1: Back body curve
On the left, draw a curved line that starts near the top, bends down the left side, and rolls into a flat bottom going right. It looks like a big letter C lying open on the right.
Step 2: Seat and front edge
On top of the body curve, draw a long flat seat shaped like a rounded loaf, and close it with a straight line along its bottom. Then, far on the right, draw a tall, slightly curved line going down.
Step 3: Floorboard
Draw a straight line down from the right end of the seat. At its bottom, draw a flat box for the floorboard with a slanted right end, then add a short line from the box to the tall line on the right.
Step 4: Front panel
Between the floorboard and the tall right line, draw a short flat line across the top. Then curve a line from its left end down to the floorboard to make the front panel.
Step 5: Both wheels
Draw a circle under the left end of the body for the back wheel, and a circle at the bottom right for the front wheel. Put a small circle in the middle of each one for the hub.
Step 6: Handlebar
On top of the front panel, draw a short stem going up. Add a short bar across the top with a tiny loop at its left end for the handle.
Step 7: Headlight
On the upper right edge of the front panel, draw a round headlight. Add a smaller circle inside it.
Step 8: Fender and vents
Draw a curved arc over the front wheel for the fender, and a tiny line above the back wheel. Then draw three short, flat lines, one above the other, on the body for air vents.
All done!
Go over your lines with a marker, then color it in.
Finished your motor scooter? Keep the pencils out and learn how to draw a jet ski or how to draw cozy socks next.
Tips for drawing a motor scooter
- Draw the big rounded body first and leave space on the right, so the front panel and wheel fit without squeezing.
- The seat can be the trickiest part. Draw a long loaf shape first, then close the bottom with one straight line.
- Make both wheels about the same size, and trace around a coin or a lid if your circles come out wobbly.
Free motor scooter coloring page
Want to go straight to coloring? Open this motor scooter coloring page at full size and print it. It is the same drawing you just learned, with clean lines ready for crayons or markers.
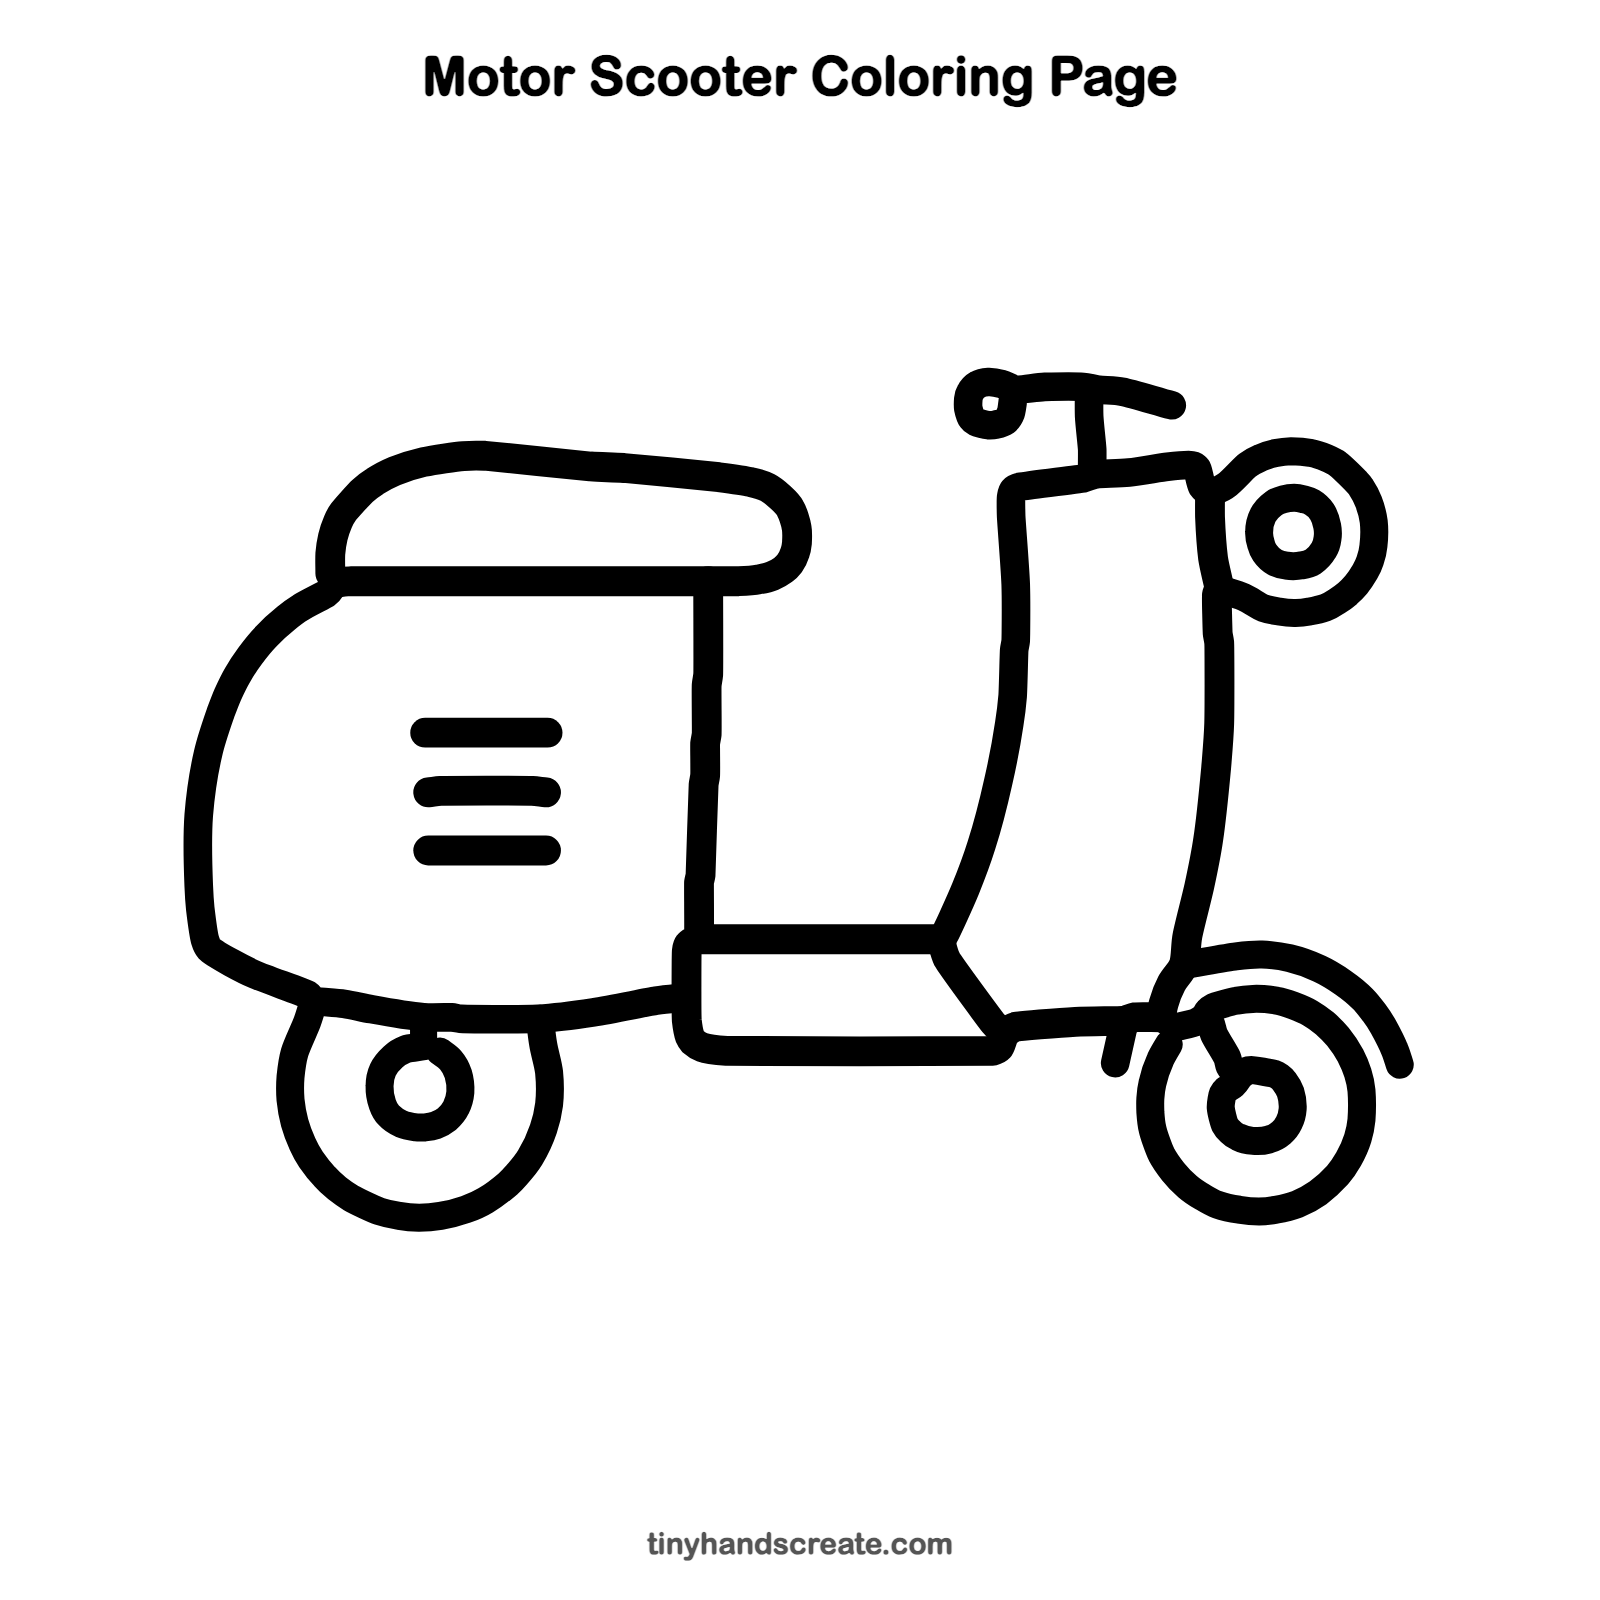
How to color your motor scooter drawing
Try a bright scooter color like mint green, red or sunny yellow, with gray wheels and a brown seat. For a creative twist, add stripes or stickers on the body.
Motor scooter fun fact for kids
The Vespa, a famous scooter first made in Italy in 1946, is named after the Italian word for wasp.
Questions about drawing a motor scooter
What shapes do I need to draw a motor scooter?
You need circles for the wheels and headlight, a rounded loaf shape for the seat, and a big curved shape for the body. Straight lines make the floorboard, the front panel and the handlebar.
How do I make my scooter wheels look round?
Draw the wheel lightly first, then trace over it with a firm line. A coin or a bottle cap works well as a circle guide.
How can I make my scooter look more fun?
Add a bright color and some stripes or stickers on the body. You can also color the headlight a sunny yellow.