How to Draw a Knight’s Shield (Easy Step by Step)
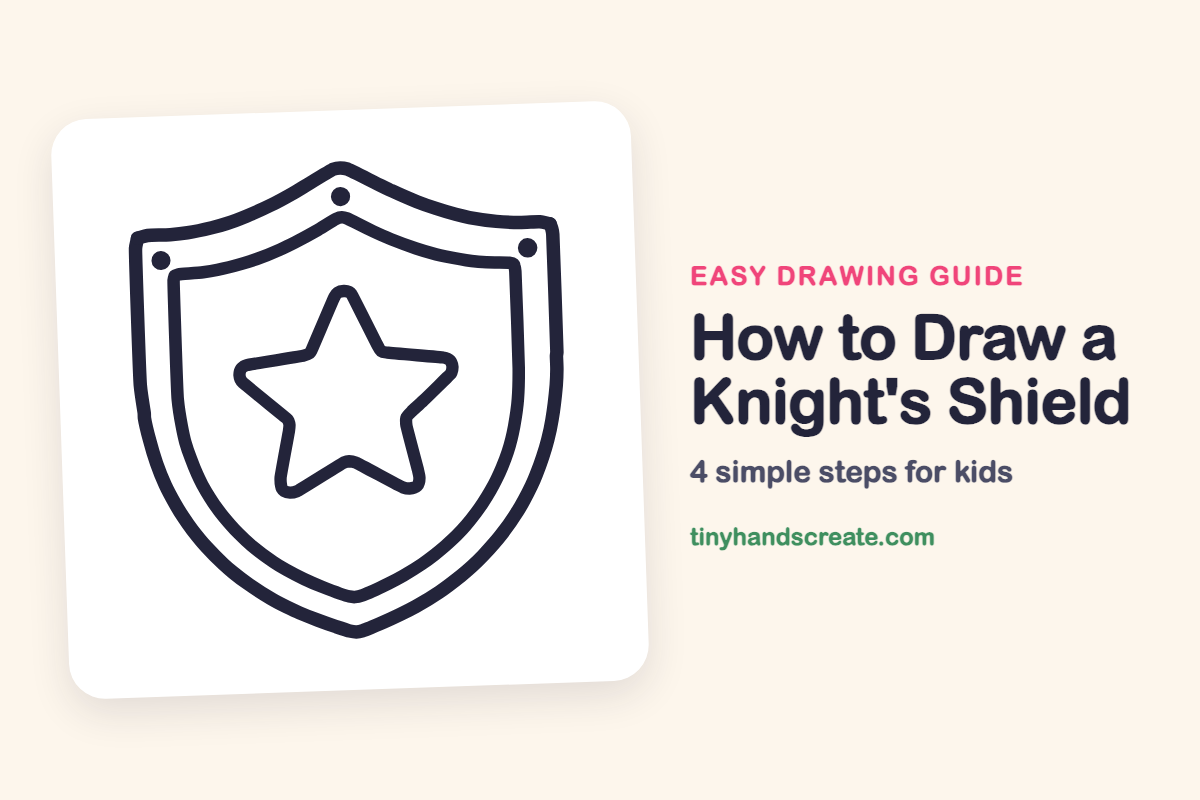
A knight's shield is a fun first drawing because it is built from just a few shapes: a tall rounded outline with a pointy bottom, a smaller shield inside it, a star, and three little dots. Every part is a simple line or shape, so there is no tricky shading to worry about. When you are done, you have a shield ready for any brave hero.
- Easy
- 10 minutes
- 4 steps
You need: paper, a pencil, an eraser, and crayons or markers for coloring.
Start drawing


In this article (7 sections)
How to draw a knight's shield step by step
How to Draw a Knight's Shield · tinyhandscreate.com
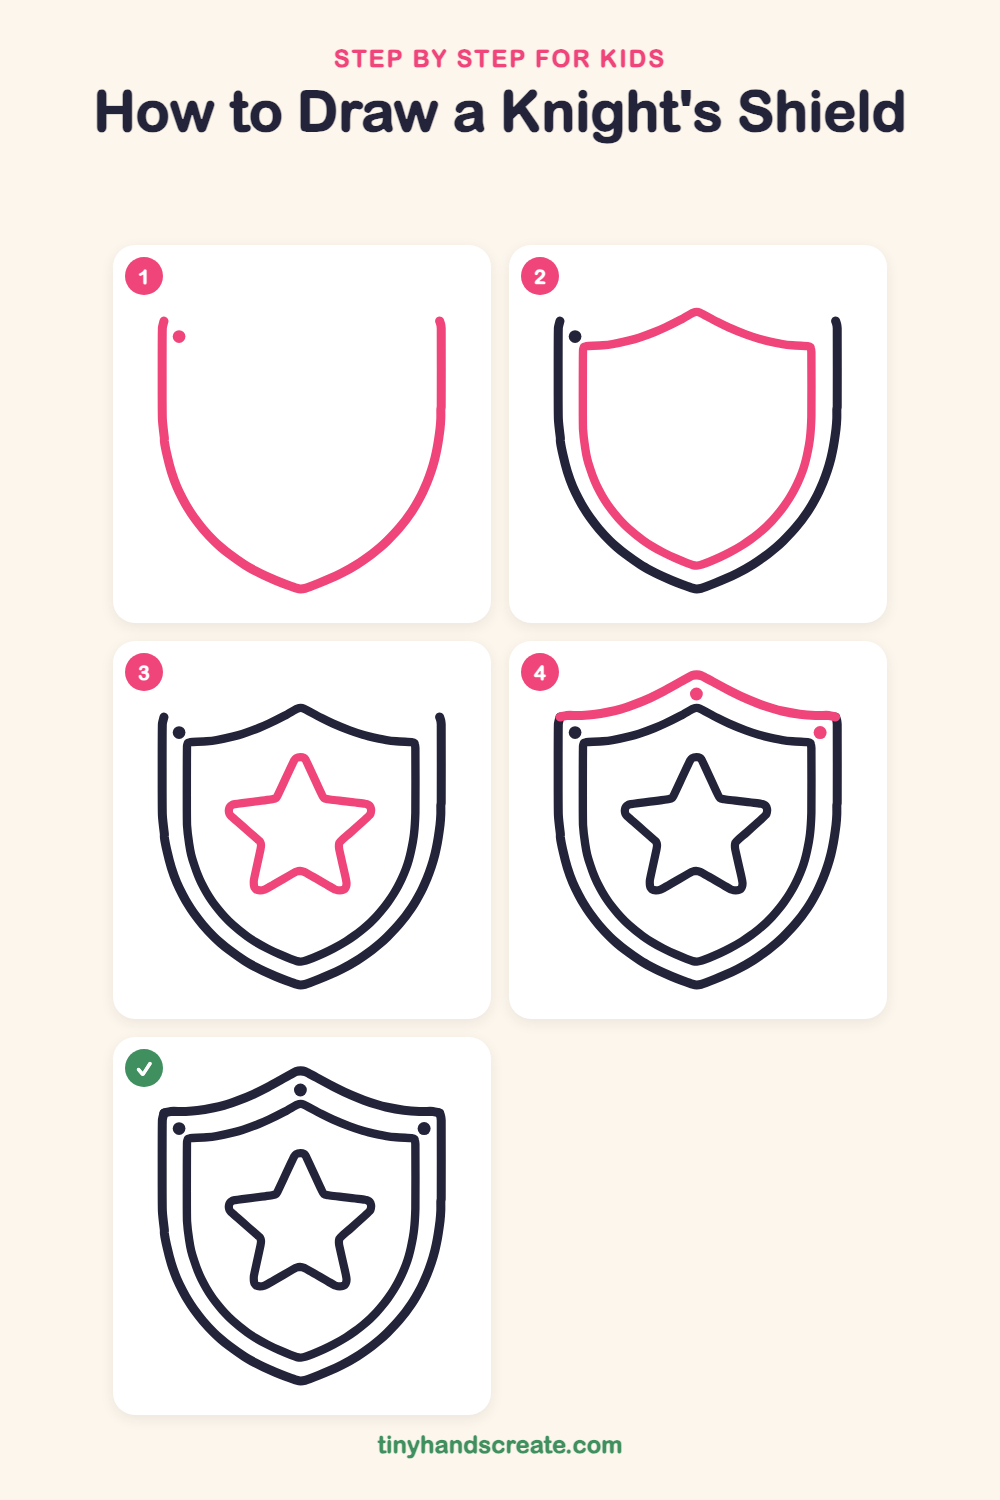
Step 1: Sides and bottom point
Draw two tall straight lines side by side, then curve each one inward at the bottom until they meet in a point, like a big U with a pointy bottom. Leave the top open, and add one small dot just inside the top of the left side.
Step 2: The inner shield
Inside your U, draw a smaller shield shape. Start at the top left, curve up to a point in the middle, then curve down to the top right. Draw both sides down and bring them together in a point at the bottom, leaving a small gap from the outer line.
Step 3: The star
In the middle of the inner shield, draw a star with five points. Start at the top point, zig-zag out to each side and down to the bottom corners, then back up to where you started.
Step 4: Top edge and two dots
Close the top of your shield by drawing a curved line from the top of the left side, up to a point in the middle, and down to the top of the right side. Then add a small dot at the very top middle and one near the top right corner.
All done!
Go over your lines with a marker, then color it in.
Finished your knight's shield? Keep the pencils out and learn how to draw a rocket or how to draw a shooting star next.
Tips for drawing a knight's shield
- Draw the sides and bottom lightly first, then go over them. The point at the bottom is easiest when both sides curve toward the same spot in the middle.
- Draw the inner shield by following the outer line and keeping the same small gap all around, so it looks like a neat border.
- For the star, make a tiny dot for each of the five points first, then connect them. Keep it centered in the inner shield.
- Draw the top edge last so it lands neatly on the tops of both sides.
Free knight's shield coloring page
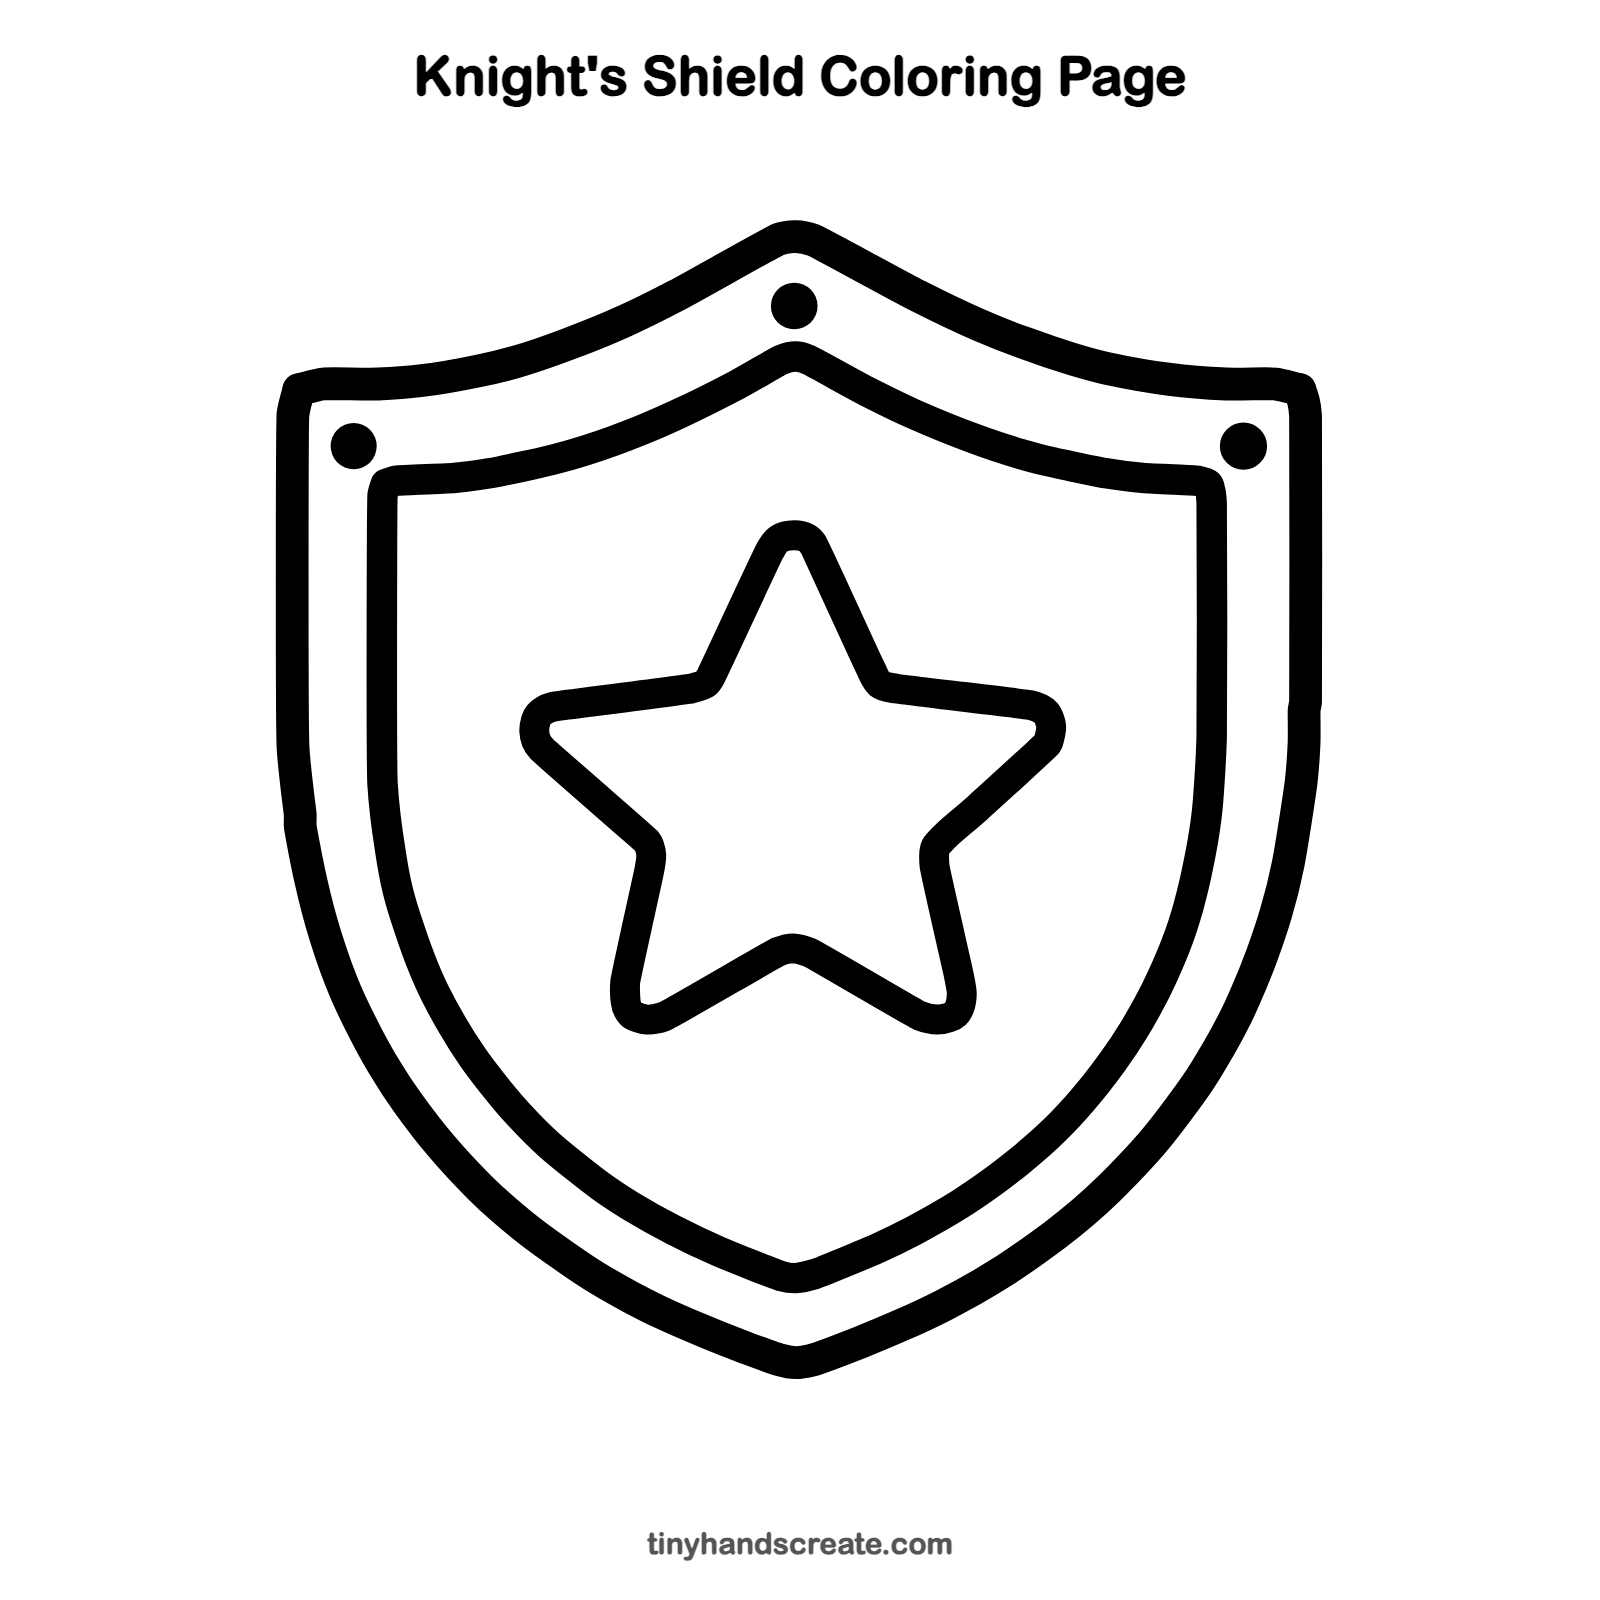
Want to go straight to coloring? Open this knight's shield coloring page at full size and print it. It is the same drawing you just learned, with clean lines ready for crayons or markers.
How to color your knight's shield drawing
Try red and gold for a classic royal shield, or gray for the border with a bright blue middle. For a creative twist, color the star in your own favorite pattern, like stripes or polka dots.
Knight's shield fun fact for kids
Knights painted bright symbols and patterns on their shields, called a coat of arms, so friends could recognize them in a crowd.
Questions about drawing a knight's shield
What shapes do I need to draw a shield?
You need a tall shape that comes to a point at the bottom, a smaller copy of it inside, a star, and three small dots. That is all!
How do I make my shield look even on both sides?
Start by drawing a light line down the middle of your paper. Then match each side to the other, checking where the curves and corners land.
How can I make my shield look more special?
Add a different symbol in the middle instead of a star, such as a lion, a dragon, or your initial. Then color it in with your favorite bold colors.