How to Draw a Gratitude Tree (Easy Step by Step)
This post contains affiliate links. As an Amazon Associate I earn from qualifying purchases.
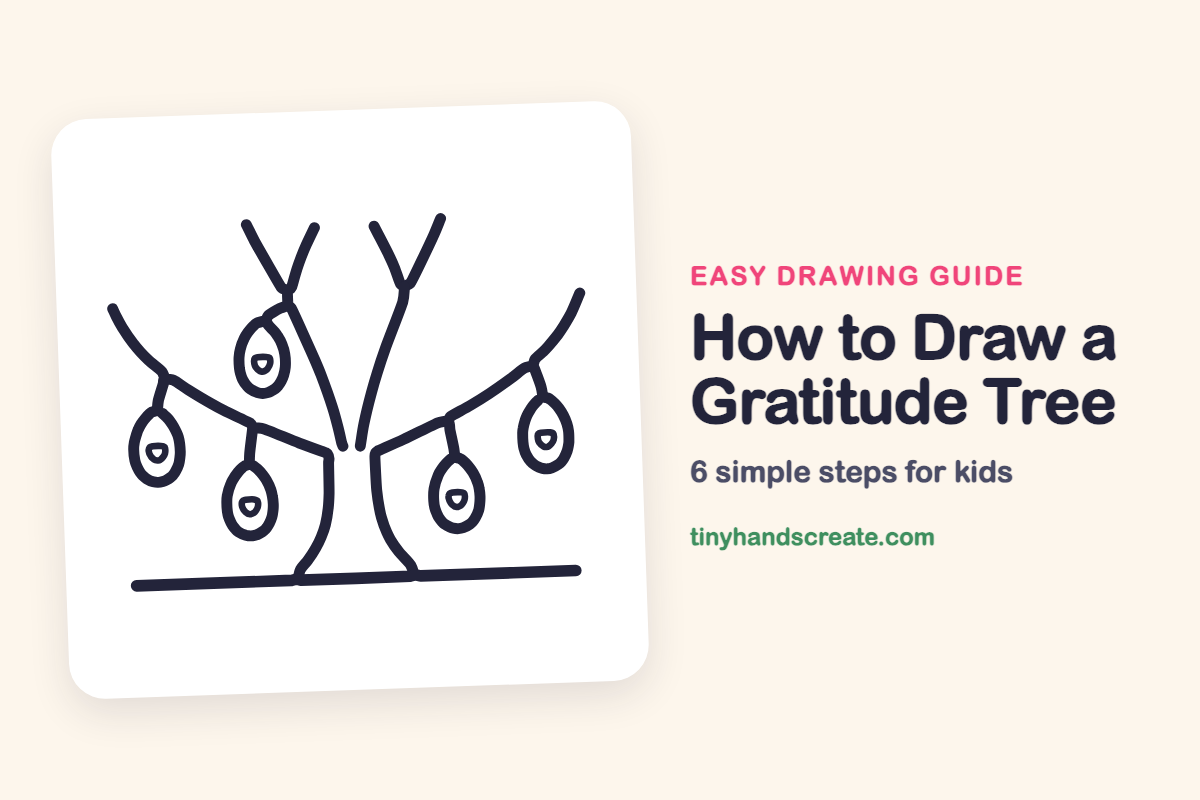
A gratitude tree is a bare tree that holds the things we are thankful for. This drawing is built from a trunk that opens into long branches, two Y-shaped twigs, a ground line, five teardrops and five tiny hearts. It is a calm, simple drawing, and it makes a lovely activity for a quiet afternoon or Thanksgiving week.
- Easy
- 12 minutes
- 6 steps
You need: paper, a pencil, an eraser, and crayons or markers for coloring.
Start drawing


In this article (7 sections)
How to draw a gratitude tree step by step
How to Draw a Gratitude Tree · tinyhandscreate.com
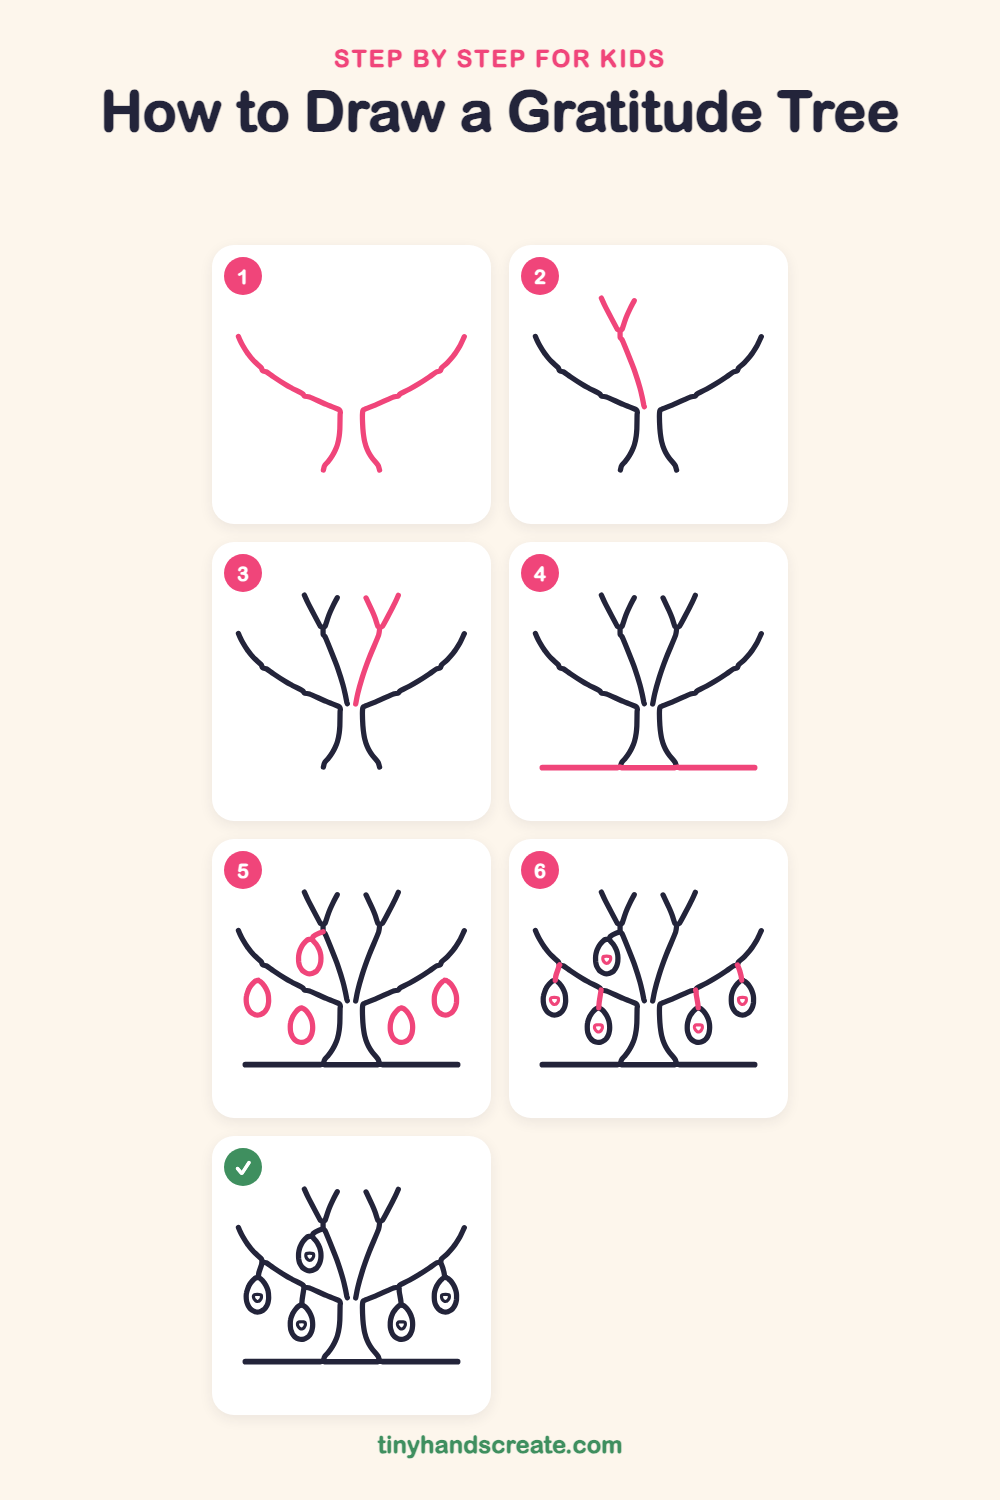
Step 1: Trunk and side branches
Near the bottom middle, draw two curved lines that start close together and go up, with a gap between them for the trunk. At the top of each line, bend outward into a long branch that sweeps up toward a corner.
Step 2: Left top twigs
Start at the top middle of the trunk and draw a tall line that leans up to the left. At the top, add a short slanted line that joins it to make a letter Y.
Step 3: Right top twigs
Start at the top middle of the trunk again and draw a tall line that leans up to the right. At the top, add a short slanted line that joins it to make another letter Y.
Step 4: The ground line
Draw one long straight line across the bottom, touching the bottom of the trunk. Now your tree has something to stand on.
Step 5: Hanging drops
Draw five teardrop shapes, each with a pointed top and a round bottom. Put two on the left and two on the right below the side branches, and one on the upper left with a little curl at its top that reaches the trunk branch.
Step 6: Stems and hearts
Draw a short stem from the top of each drop up to the branch above it. Then draw a tiny heart inside every drop, one for each thing you are thankful for.
All done!
Go over your lines with a marker, then color it in.
Finished your gratitude tree? Keep the pencils out and learn how to draw a turkey or how to draw a slice of pumpkin pie next.
Tips for drawing a gratitude tree
- Draw the two trunk lines first and let them bend outward into branches. Try to make the left and right sides about the same height so the tree looks balanced.
- Make each teardrop by drawing a pointed top first, then rounding out the bottom. Draw one, then copy its size for the others so they match.
- Draw the stems and hearts last and keep the hearts small. If a heart feels tricky, make two little bumps and join them to a point.
Free gratitude tree coloring page
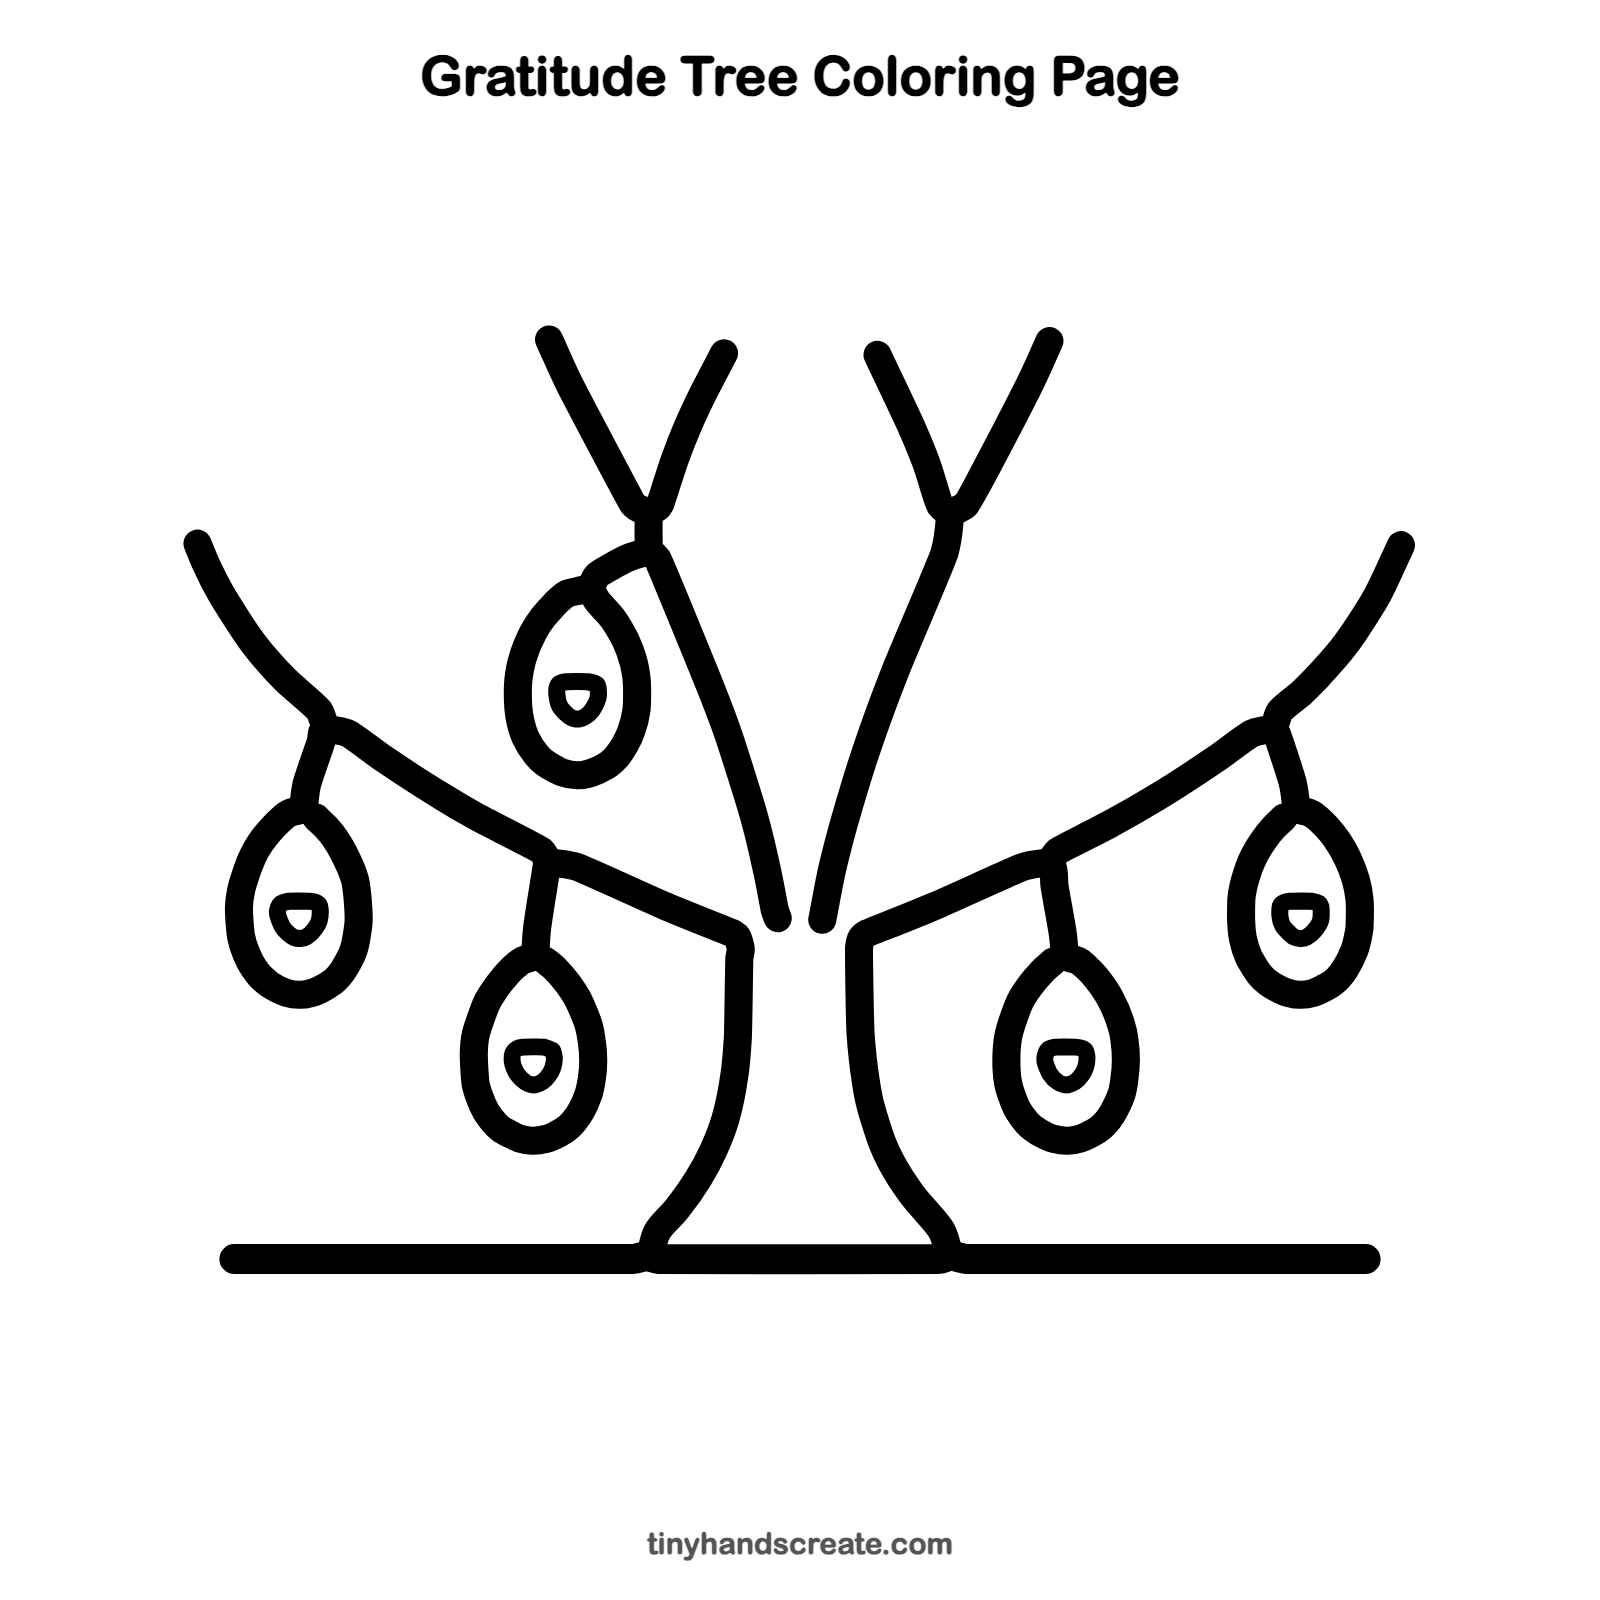
Want to go straight to coloring? Open this gratitude tree coloring page at full size and print it. It is the same drawing you just learned, with clean lines ready for crayons or markers.
How to color your gratitude tree drawing
Try a brown trunk and branches, a green ground line, and a different warm color for each drop, such as red, orange, yellow, and pink. For a creative twist, write one thing you are thankful for next to each drop.
Gratitude tree fun fact for kids
You can tell how old many trees are by counting the rings inside a cut trunk. Most trees in places with seasons grow one new ring each year.
Questions about drawing a gratitude tree
What shapes do I need to draw a gratitude tree?
You need curved lines for the trunk and branches, a teardrop shape for each hanging drop, and a small heart for the middle. A straight line makes the ground.
How do I make my gratitude tree look fuller?
Add more teardrops hanging from the branches. You can also color the drops in many different colors.
What can I write on a gratitude tree?
Write or draw something you love, such as your family, your pet, a favorite food, or a kind friend. Each drop can hold one small word or picture.