How to Draw a Dentist (Easy Step by Step)
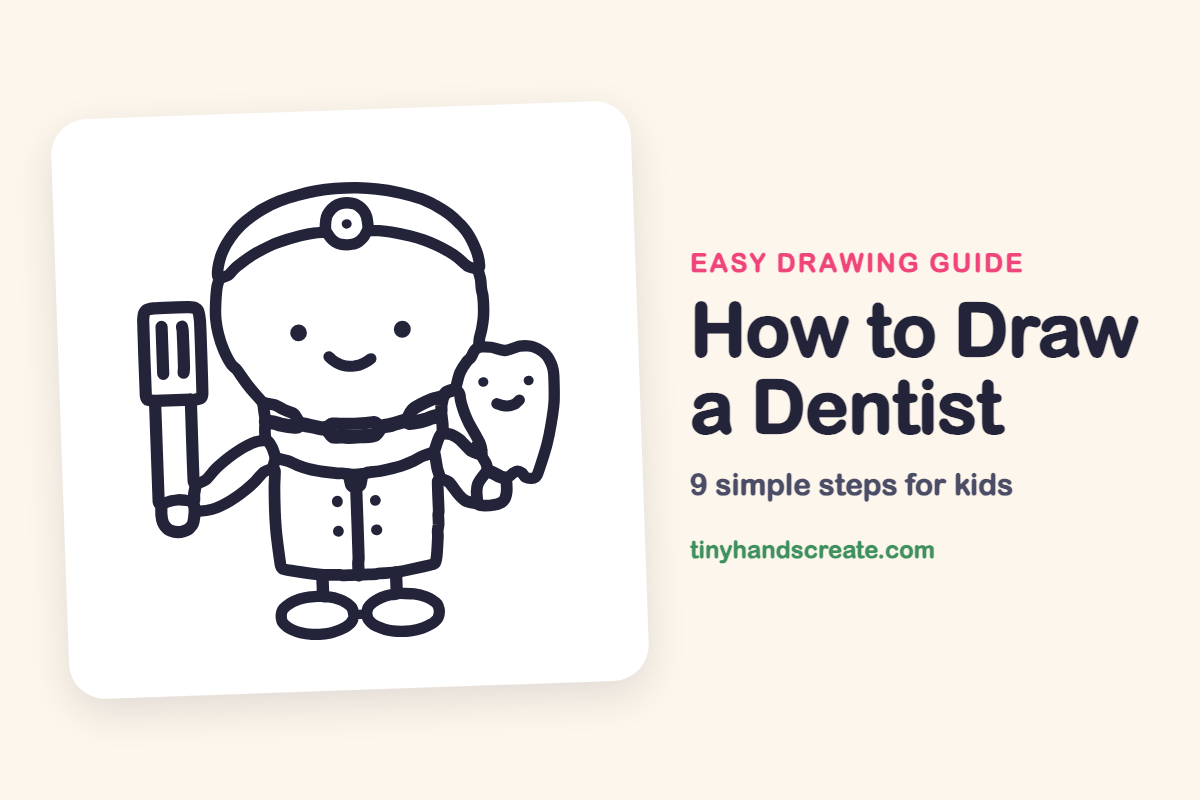
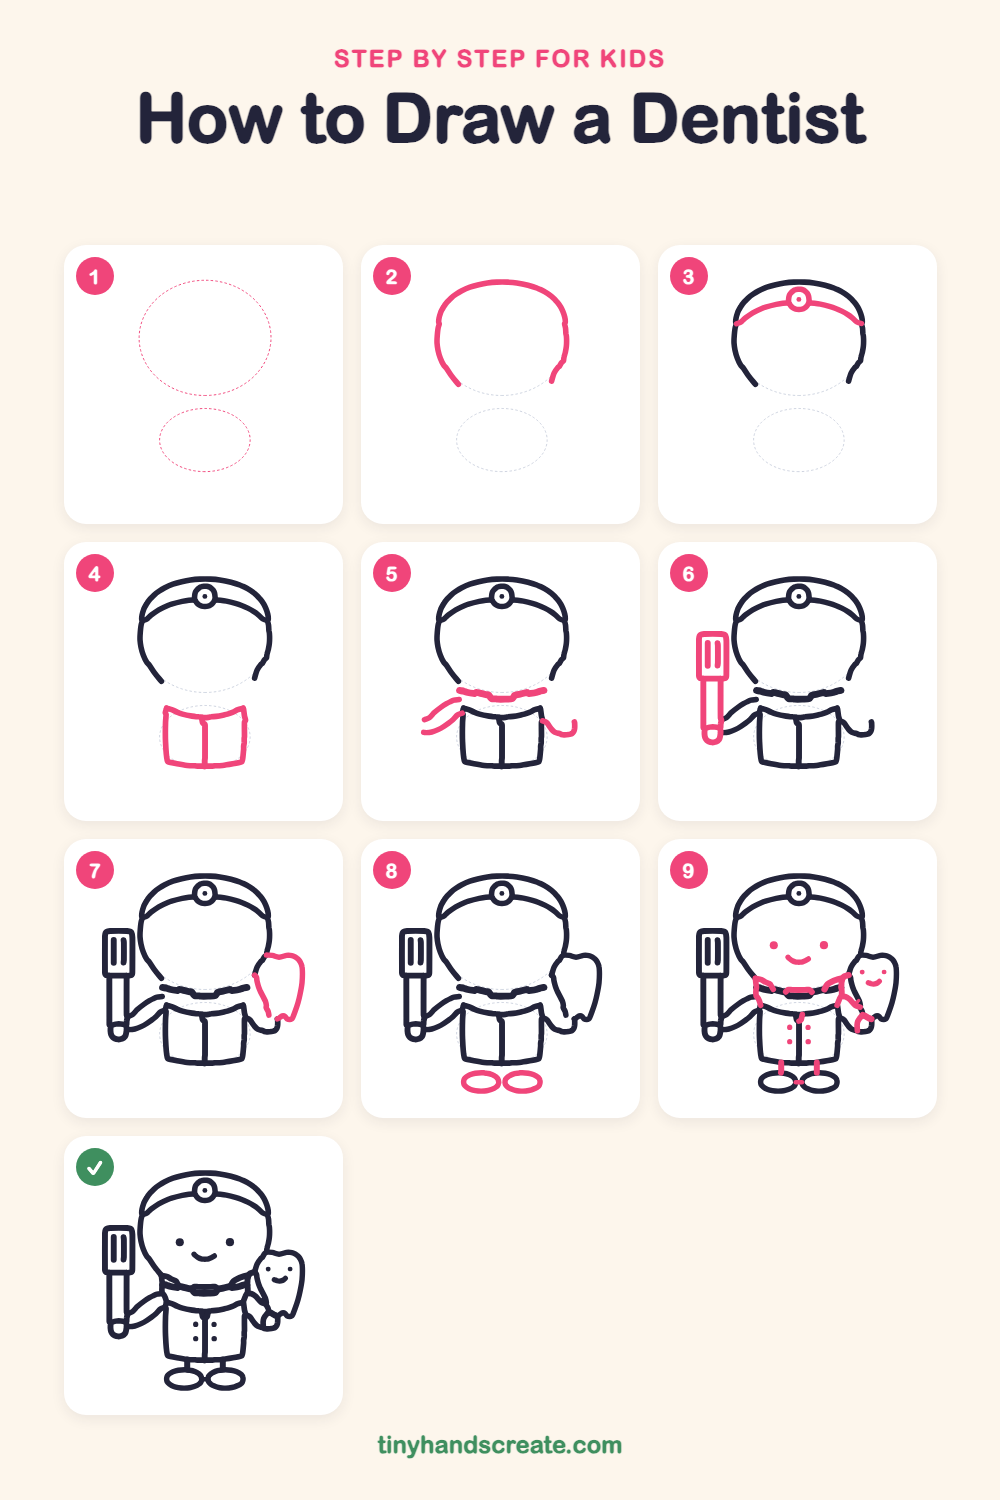
This friendly dentist is built from simple shapes: a big round head, a box for the coat, and ovals for the shoes. The best part is the smiling tooth the dentist holds, which makes the drawing silly and sweet. Kids can finish it in a few easy steps.
- Medium
- 15 minutes
- 9 steps
You need: paper, a pencil, an eraser, and crayons or markers for coloring.
Start drawingIn this article (7 sections)
How to draw a dentist step by step
How to Draw a Dentist · tinyhandscreate.com
Step 1: Guide shapes
Lightly sketch these 2 ovals. They only show where the big parts go, so press softly. You will erase them at the end.
Step 2: Head outline
Draw a big curved line for the top and sides of the head, like an upside-down U. Leave the bottom open for now.
Step 3: Headband and mirror
Draw a curved band across the top of the head, from one side to the other. In the middle of the band, add a small circle with a tiny dot inside for the dentist's light.
Step 4: The white coat
Under the head, draw a box with slightly slanted sides and a flat bottom. Add one straight line down the middle for the front of the coat.
Step 5: Collar and arms
Draw a wavy collar line where the head meets the coat. Then add a long curved arm reaching out on the left and a shorter curled arm on the right.
Step 6: The toothbrush
On the left, draw a tall rectangle with rounded corners for the brush head. Add three tall, skinny lines inside for bristles. Then draw a long thin handle going down with a rounded bottom, next to the hand.
Step 7: The happy tooth
On the right, draw a big tooth shape with a rounded, bumpy top and a wavy bottom with little points. Add a curved line down its left side so it looks puffy.
Step 8: Round shoes
Under the coat, draw two wide ovals side by side for the shoes. Leave a small gap between them.
Step 9: Faces and buttons
Add two dots for the dentist's eyes and a curved smile. Give the tooth two tiny dot eyes and a small smile too. Finish with four button dots on the coat, two short legs above the shoes, and a few small lines for the shoulders and the hand holding the tooth.
All done!
Erase the guide shapes, go over your lines, then color it in.
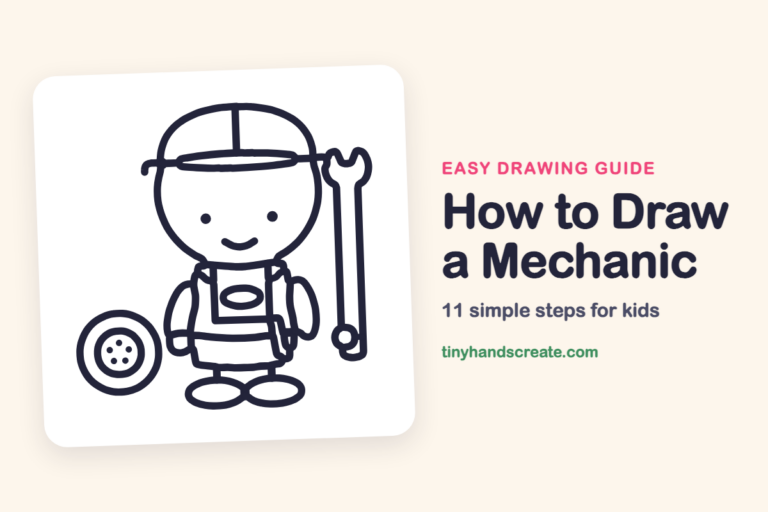
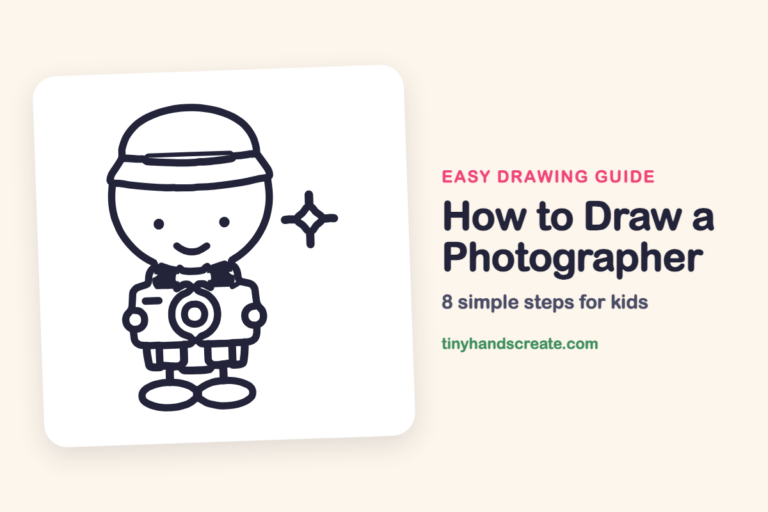
Finished your dentist? Keep the pencils out and learn how to draw a mechanic or how to draw a photographer next.
Tips for drawing a dentist
- Draw the head big and leave plenty of space below it, so the coat and shoes fit on the page.
- The toothbrush is the trickiest part. Start with the tall rectangle first, then add the handle and the three skinny bristle lines inside.
- For the tooth, make the top bumpy and rounded and the bottom wavy with little points. Draw the face last so it sits in the middle.
Free dentist coloring page
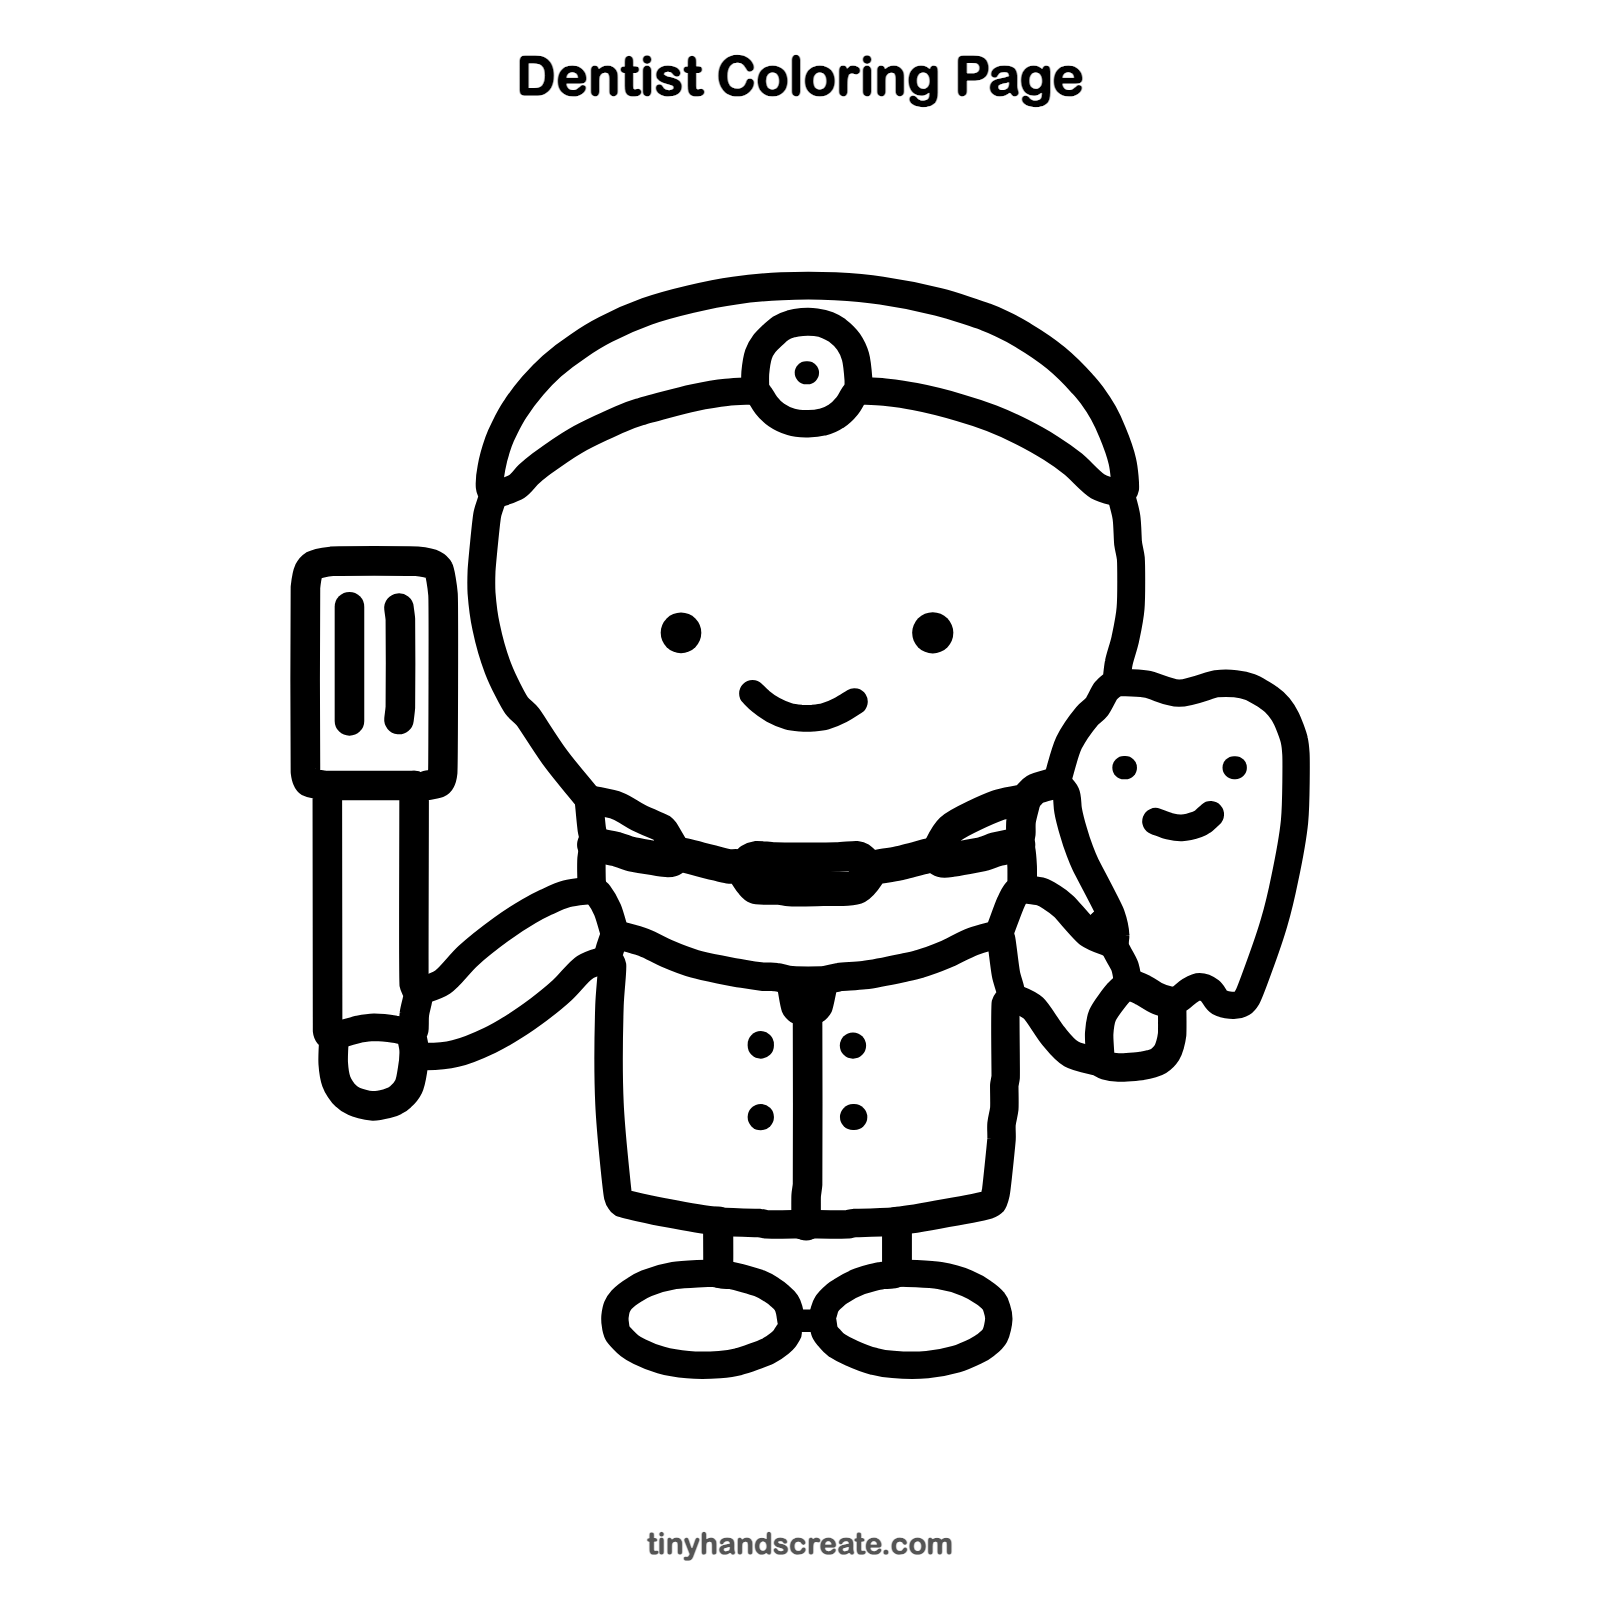
Want to go straight to coloring? Open this dentist coloring page at full size and print it. It is the same drawing you just learned, with clean lines ready for crayons or markers.
How to color your dentist drawing
Try a light blue coat, a red or yellow headband, and a bright white tooth with pink cheeks. For a creative twist, give the toothbrush rainbow bristles.
Dentist fun fact for kids
Tooth enamel is the hardest substance in the human body. Brushing twice a day helps keep that enamel strong.
Questions about drawing a dentist
What shapes do I need to draw a dentist?
You need a round head, a box for the coat, and two ovals for the shoes. The tooth and toothbrush are just a rounded tooth shape and a tall rectangle.
How do I make my dentist look cuter?
Draw the eyes wide apart and the smile curved up high. Giving the tooth its own little smile makes the whole picture feel happy.
How do I draw a tooth that looks like a tooth?
Start with a rounded, bumpy top, bring the sides down, and end with a wavy bottom with small points. Add a smile and two dot eyes to make it a character.