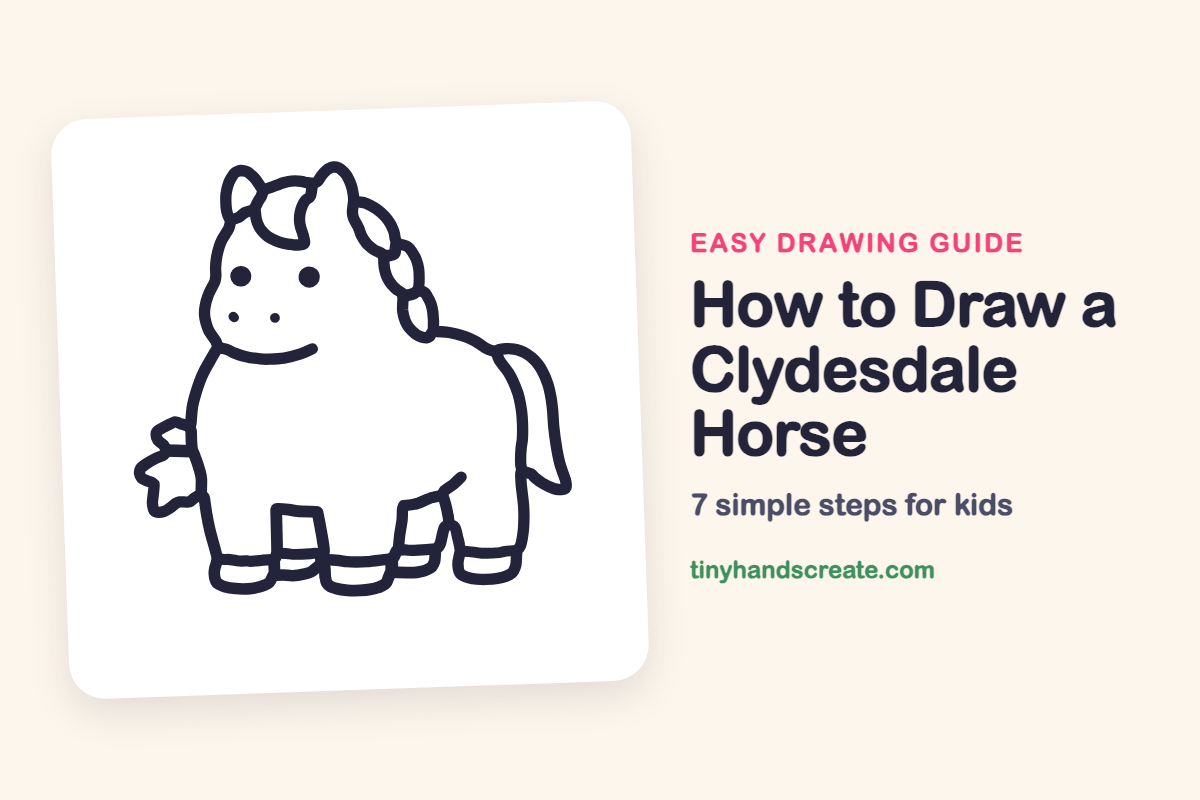
How to Draw a Clydesdale Horse (Easy Step by Step)
Learn to draw a cute, gentle Clydesdale horse using easy, step-by-step instructions. You'll start with basic shapes for the face and body, then add details like feathered legs, a braided mane, and a swishy tail, perfect for beginners.
- Start your Clydesdale drawing with soft, round shapes.
- Begin by sketching the face and a plump, round body.
- Add short feathered legs to your horse design.
- Include a braided mane and a long, swishy tail.
- Create a friendly horse, ideal for beginner artists.
This post contains affiliate links. As an Amazon Associate I earn from qualifying purchases.
A Clydesdale is a big, gentle horse, and this cute version is built from soft, round shapes. You start with the face and a plump round body, then add short feathered legs, a braided mane, and a long swishy tail. It is a friendly first horse for beginners.
- Easy
- 15 minutes
- 7 steps
You need: paper, a pencil, an eraser, and crayons or markers for coloring.
Start drawing


In this article (7 sections)
How to draw a Clydesdale horse step by step
How to Draw a Clydesdale Horse · tinyhandscreate.com
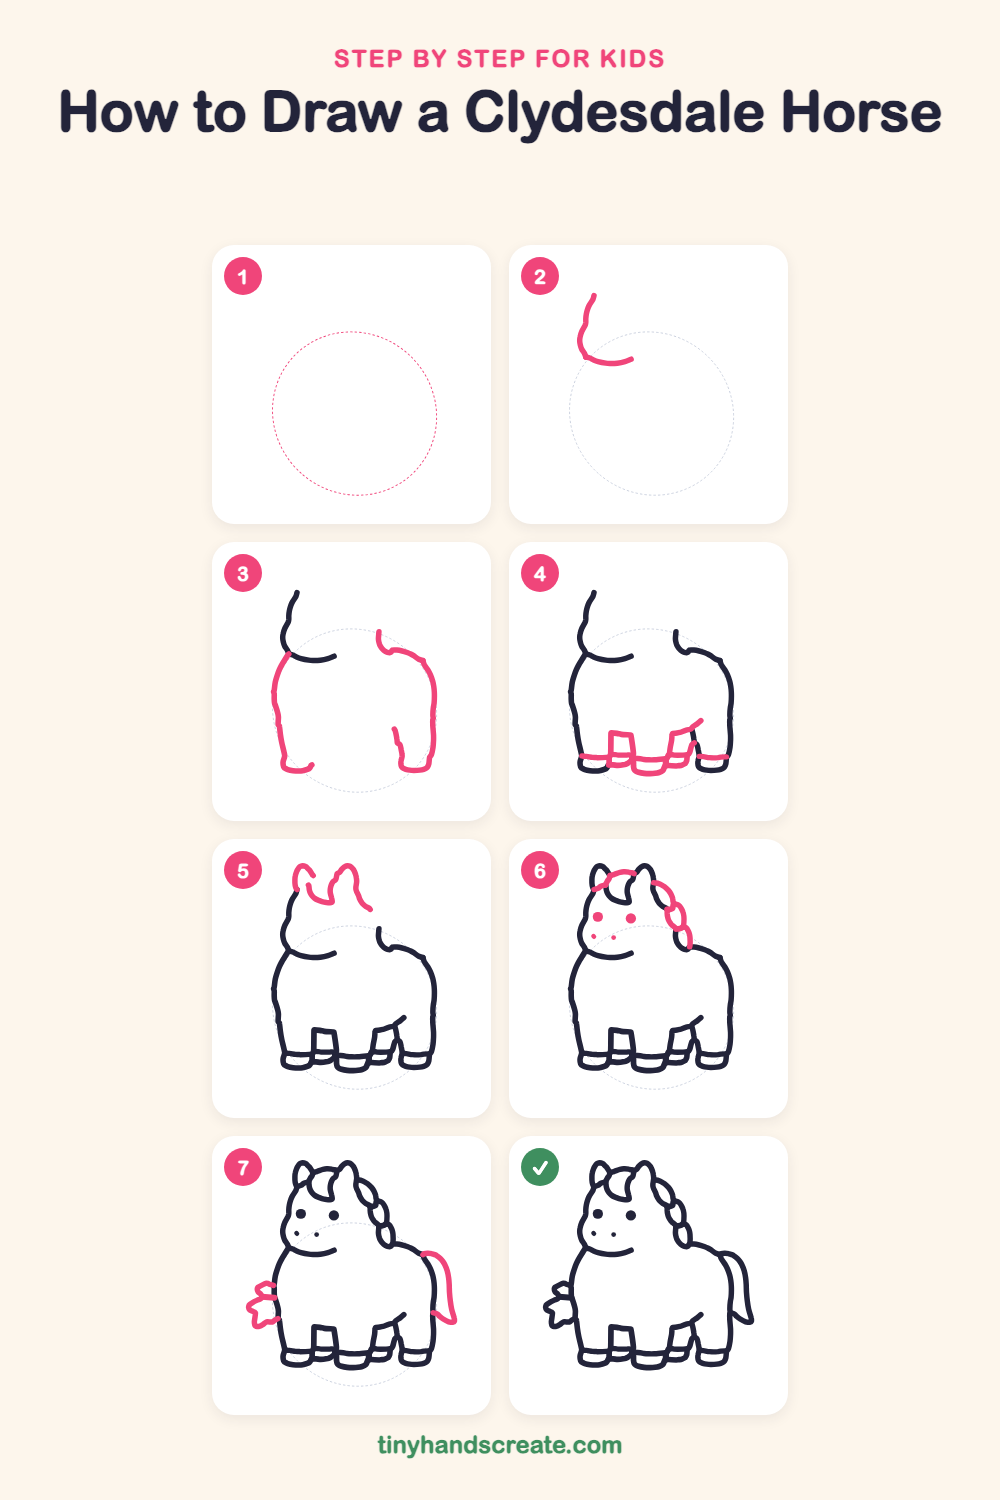
Step 1: Guide shapes
Lightly sketch this oval. It only shows where the big parts go, so press softly. You will erase it at the end.
Step 2: Face and chin line
Start near the top and draw a curvy line that slopes down the front of the face. Then curve it to the right in a smooth smile shape to make the chin.
Step 3: Body sides
Start at the left end of the chin and draw a big curved line down the left side of the body to a rounded bottom. Then draw the round back and right side on the other side, ending in another rounded bottom.
Step 4: Legs and hooves
Along the bottom, draw short boxy legs and flat bands for the fluffy feathers above the feet. Add a small rounded hoof under each band.
Step 5: Head top and ears
Draw the top of the head with two pointy ears that have rounded tips. Connect the head outline to the sides of the face.
Step 6: Forelock, mane and face
Draw a curly forelock of hair on top of the head and a braided mane as a chain of small loops down the back of the neck. Then add two big round dots for eyes and two tiny dots for the nose.
Step 7: Tail and tuft
On the right, draw a long curved tail that sweeps down and ends in a flick. Then draw a small spiky tuft of hair sticking out on the left side of the body.
All done!
Erase the guide shapes, go over your lines, then color it in.
Finished your Clydesdale horse? Keep the pencils out and learn how to draw a fox or how to draw a hedgehog next.
Tips for drawing a Clydesdale horse
- Start with a light circle on the page to help you plan the round body. Draw the real lines over it.
- The braided mane is the trickiest part. Think of it as a row of small, stretched loops linked together, and take it one loop at a time.
- Keep the four legs about the same width and let the hoof bands line up near the bottom, so the horse looks like it is standing steady.
Free Clydesdale horse coloring page
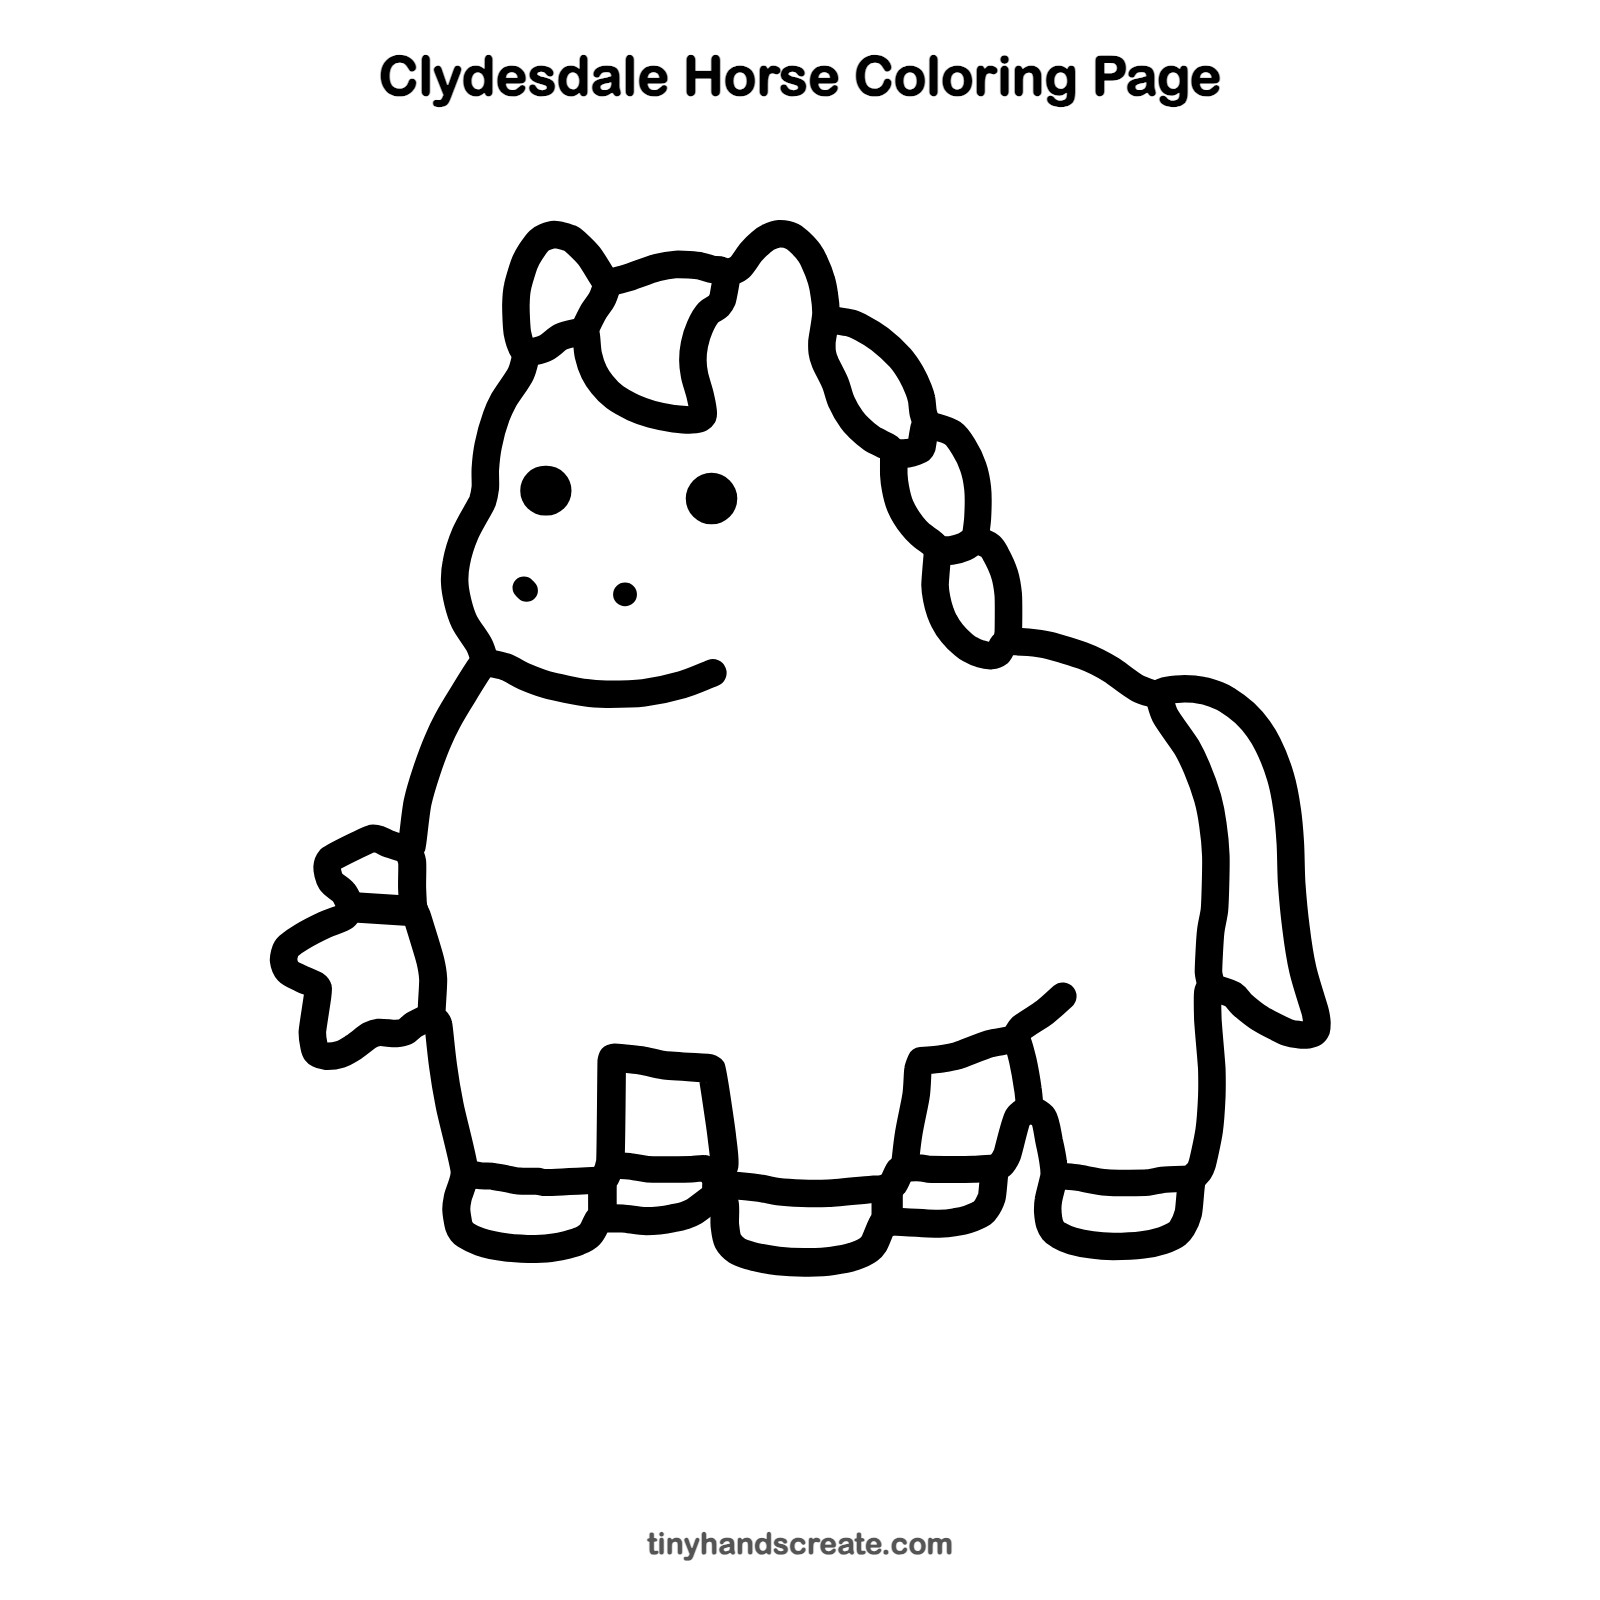
Want to go straight to coloring? Open this Clydesdale horse coloring page at full size and print it. It is the same drawing you just learned, with clean lines ready for crayons or markers.
How to color your Clydesdale horse drawing
Try warm chestnut brown for the body, with a cream or white mane and tail and white socks on the hooves. For a twist, color the braids in rainbow stripes, as if they were tied with ribbons.
Clydesdale horse fun fact for kids
The Clydesdale breed is named after Clydesdale, the old name for the valley of the River Clyde in Scotland, where the horses were first bred.
Questions about drawing a Clydesdale horse
What shapes do I need to draw a Clydesdale horse?
You need a big round shape for the body, a curved line for the face and chin, and short boxy legs. Two pointy ears and small loops for the braided mane finish it.
How do I make my horse look cuter?
Make the body round and the legs short and chunky. Put the eyes low and wide apart, and add two tiny dots for the nose.
How do I draw a horse's mane?
Draw a chain of small loops that follow the curve of the back of the neck. Start near the ears and make each loop a little smaller as you go down.