How to Draw a Chair (Easy Step by Step)
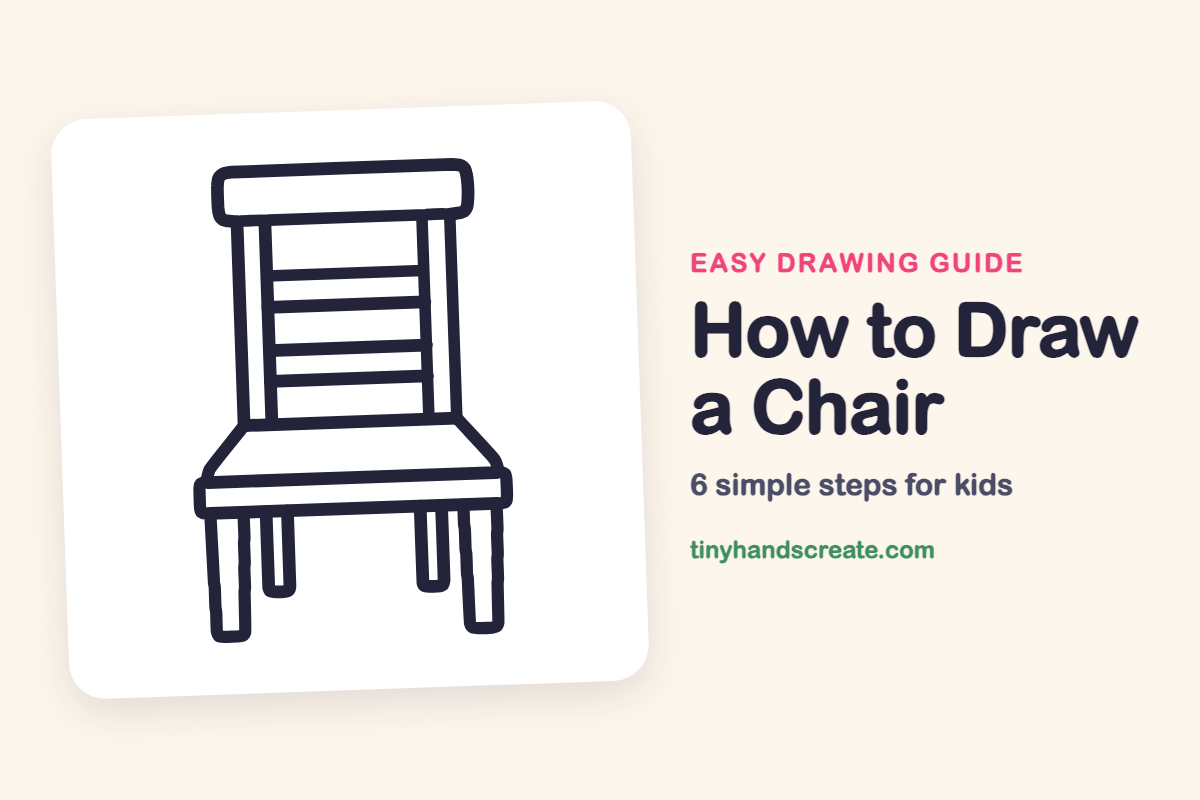
A chair looks simple, but it is a great way to practice straight lines and rectangles. This one is built from a rounded rectangle on top, a ladder of straight lines in the middle, and a seat that sits on four legs. Once you can draw this chair, you can try a stool or a bench.
- Easy
- 10 minutes
- 6 steps
You need: paper, a pencil, an eraser, and crayons or markers for coloring.
Start drawing


In this article (7 sections)
How to draw a chair step by step
How to Draw a Chair · tinyhandscreate.com
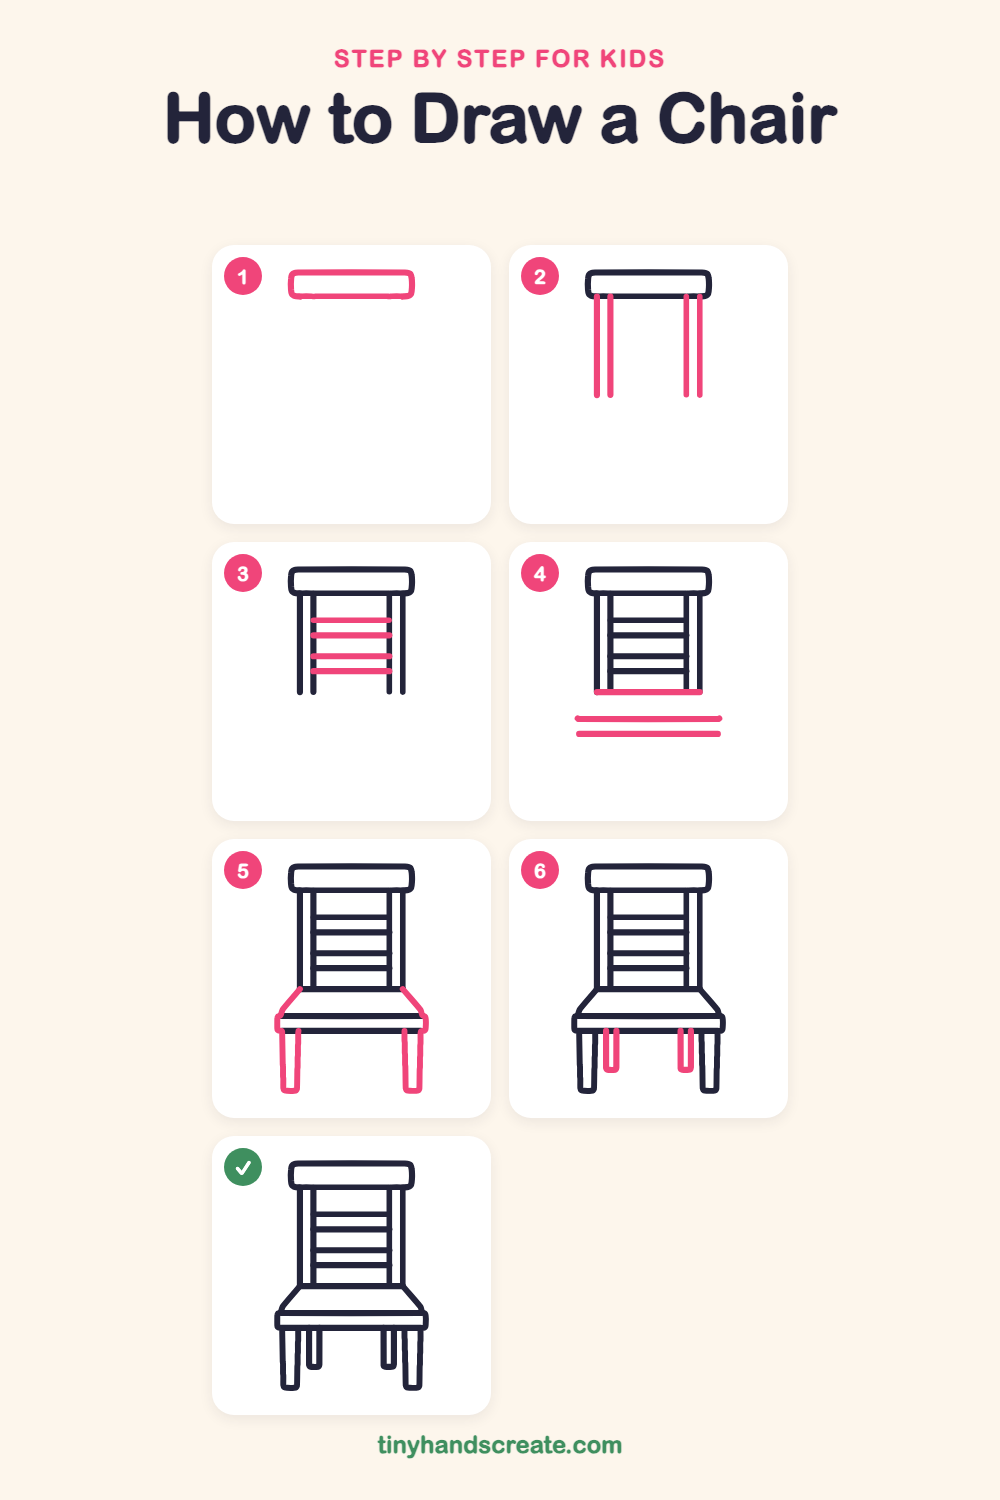
Step 1: The top rail
Near the top of your paper, draw a wide rectangle with soft, rounded corners. This is the top of the chair back.
Step 2: The back posts
Draw four tall, straight lines going down from the bottom edge of the rectangle. Make two pairs: one pair on the left and one pair on the right, with a wide gap in the middle.
Step 3: The back slats
Between the two inner posts, draw four lines going straight across, spaced like the rungs of a ladder. Start each one at one inner post and end at the other.
Step 4: The seat lines
Join the bottoms of the outer posts with one long line going straight across. Then, lower down, draw two long lines across, one just above the other, to make the thick front edge of the seat.
Step 5: Seat sides and front legs
Draw a slanted line from each end of the long line, going down and out to the edge of the seat. Then draw a leg under each end of the seat, a little wider at the top and narrower at the bottom, and close each leg with a short flat line.
Step 6: The back legs
Between the front legs, draw two shorter, thinner legs, one on each side, hanging down from the seat. Close the bottom of each one with a small rounded end.
All done!
Go over your lines with a marker, then color it in.
Finished your chair? Keep the pencils out and learn how to draw a rocket or how to draw a shooting star next.
Tips for drawing a chair
- Draw the four back posts with light lines and check that they are the same height, because uneven posts make the whole chair look tilted.
- The seat is the trickiest part. Draw the long line across and the two lines for the seat edge first, then the two slanted sides, and the shape will fall into place.
- Make the two front legs a bit longer and wider than the back legs, so the chair looks like it is standing in front of you.
Free chair coloring page
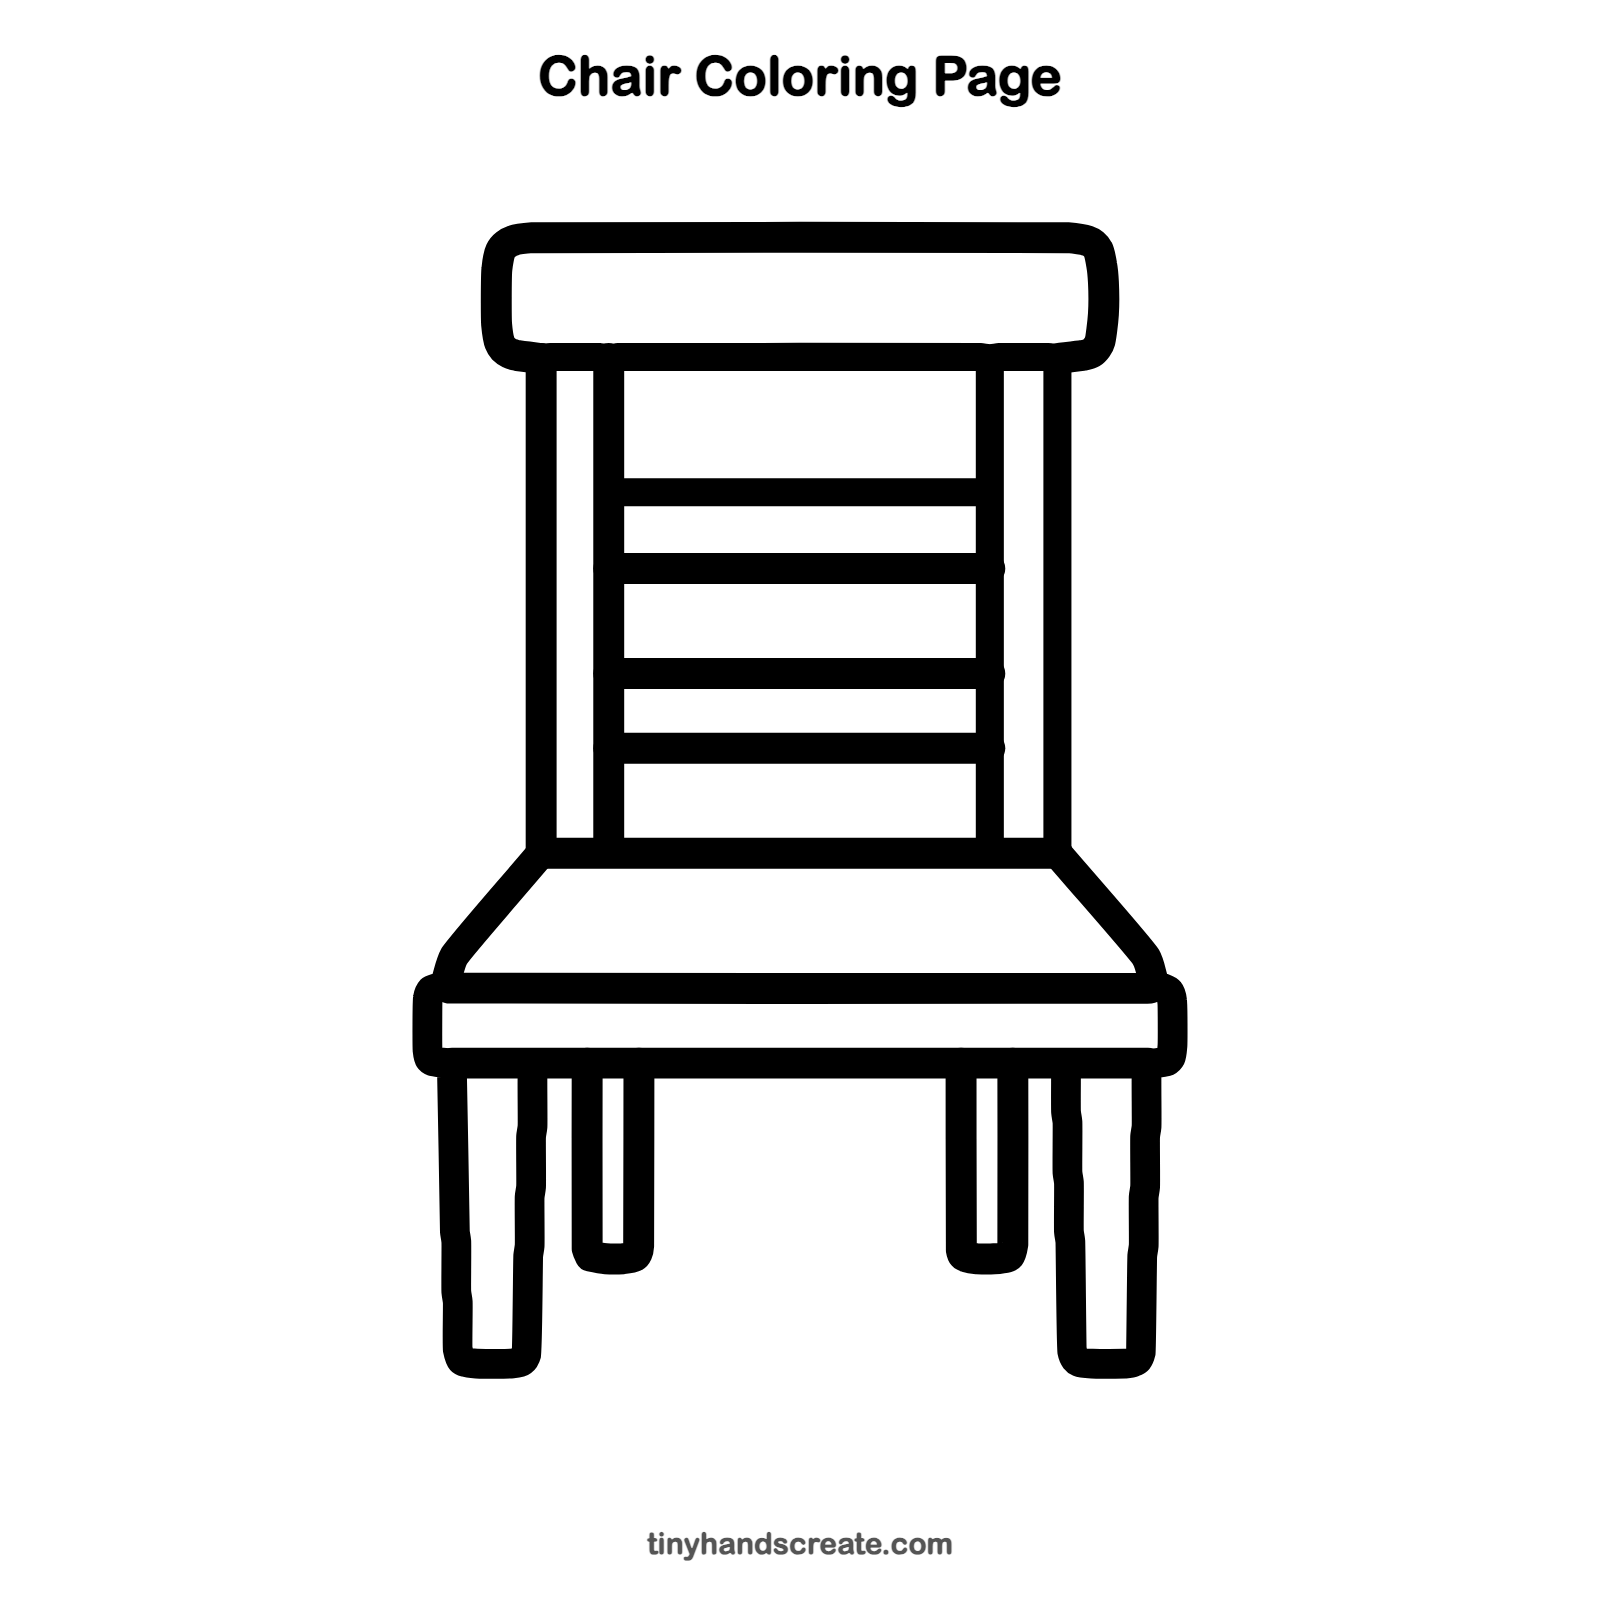
Want to go straight to coloring? Open this chair coloring page at full size and print it. It is the same drawing you just learned, with clean lines ready for crayons or markers.
How to color your chair drawing
Try warm wood colors like light brown and orange for the frame, and a bright color such as red or blue for the top rail. For a creative twist, give each slat a different color to make a rainbow chair.
Chair fun fact for kids
Chairs are very old. Ancient Egyptians sat on carved wooden chairs more than 4,000 years ago, and some were saved in tombs and can still be seen in museums today.
Questions about drawing a chair
What shapes do I need to draw a chair?
You only need rectangles and straight lines. The top is a rounded rectangle, the slats are straight lines across, and the seat is a flat shape with slanted sides.
How do I make my chair legs look even?
Draw both front legs and make them the same length, then add the shorter back legs between them. Lightly marking where the bottoms will end can also help.
How can I make my chair look more real?
Color the wood with two shades of brown to give it depth. You can also draw the legs a little narrower at the bottom, as in the guide.