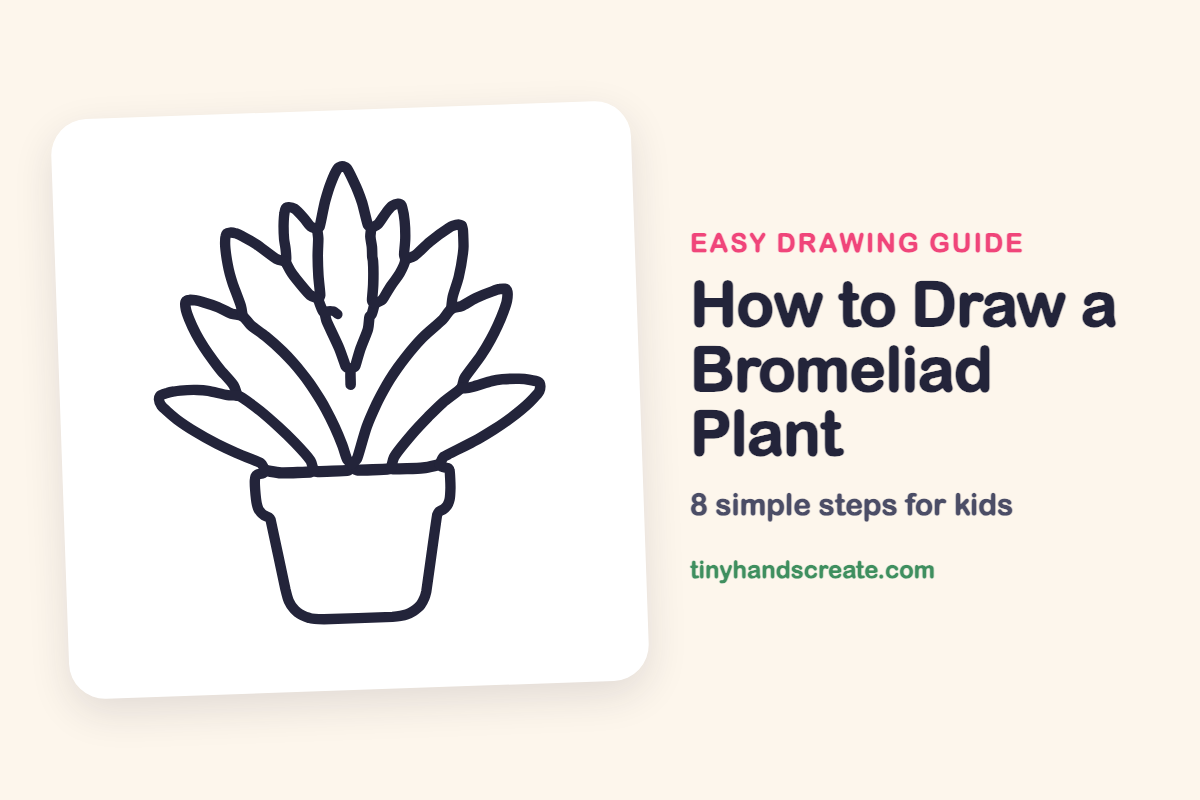
How to Draw a Bromeliad Plant (Easy Step by Step)
A bromeliad is a pretty houseplant with long, pointy leaves that fan out from the middle like a green firework. This drawing is built from simple shapes: a bucket-shaped pot and lots of long teardrop leaves. Once you can draw one leaf, you can draw them all.
- Easy
- 12 minutes
- 8 steps
You need: paper, a pencil, an eraser, and crayons or markers for coloring.
Start drawing
In this article (7 sections)
How to draw a bromeliad plant step by step
How to Draw a Bromeliad Plant · tinyhandscreate.com
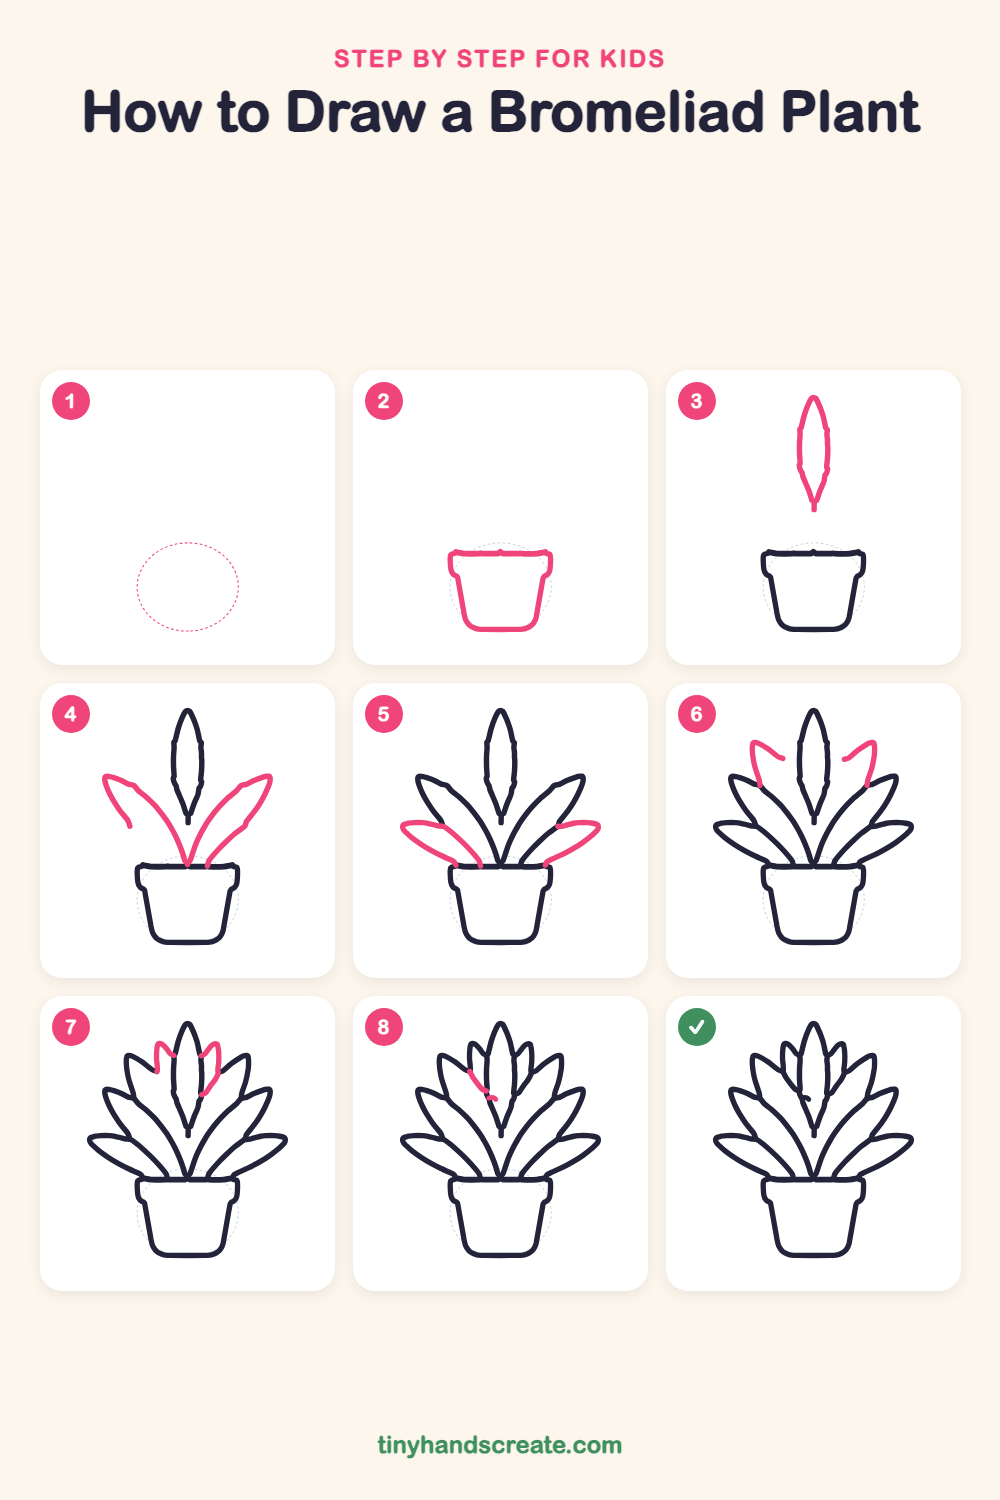
Step 1: Guide shapes
Lightly sketch this oval. It only shows where the big parts go, so press softly. You will erase it at the end.
Step 2: The flower pot
Draw a wide flat line for the top of the pot. Then draw the sides slanting in toward a rounded bottom, like a bucket.
Step 3: The center leaf
Above the pot, leave a small gap and draw a tall, skinny leaf shaped like a long teardrop with a pointy top. Let the bottom taper to a thin point.
Step 4: Big middle leaves
Draw a long curved leaf on each side of the center leaf. Start both at the middle of the pot's top line and sweep up and out to pointy tips.
Step 5: Low side leaves
Add one leaf on each side near the bottom. Start at the top of the pot and stretch each one outward almost flat, with a pointy tip.
Step 6: Upper side leaves
Tuck a leaf behind the big middle leaves on each side of the center leaf. Make the tips point up, and end each line where it touches a leaf in front.
Step 7: Small back leaves
Draw two little leaves right beside the tall center leaf, one on each side. They are shorter and slimmer than the others and peek out from behind it.
Step 8: Center leaf details
Add a short curved line partway down the left side of the center leaf, with a tiny curl next to it. These little marks show where the leaves overlap.
All done!
Erase the guide shapes, go over your lines, then color it in.
Finished your bromeliad plant? Keep the pencils out and learn how to draw a mushroom or how to draw a sunflower next.
Tips for drawing a bromeliad plant
- Draw the pot first so every leaf has a place to start. A flat line across the top makes the leaves easy to line up.
- The tall center leaf is the hardest one. Draw a long, skinny teardrop and keep both sides curving the same way so the tip comes out sharp.
- Draw the front leaves first, then add the ones behind them. Stop a line where it meets another leaf so they look layered.
Free bromeliad plant coloring page
Want to go straight to coloring? Open this bromeliad plant coloring page at full size and print it. It is the same drawing you just learned, with clean lines ready for crayons or markers.
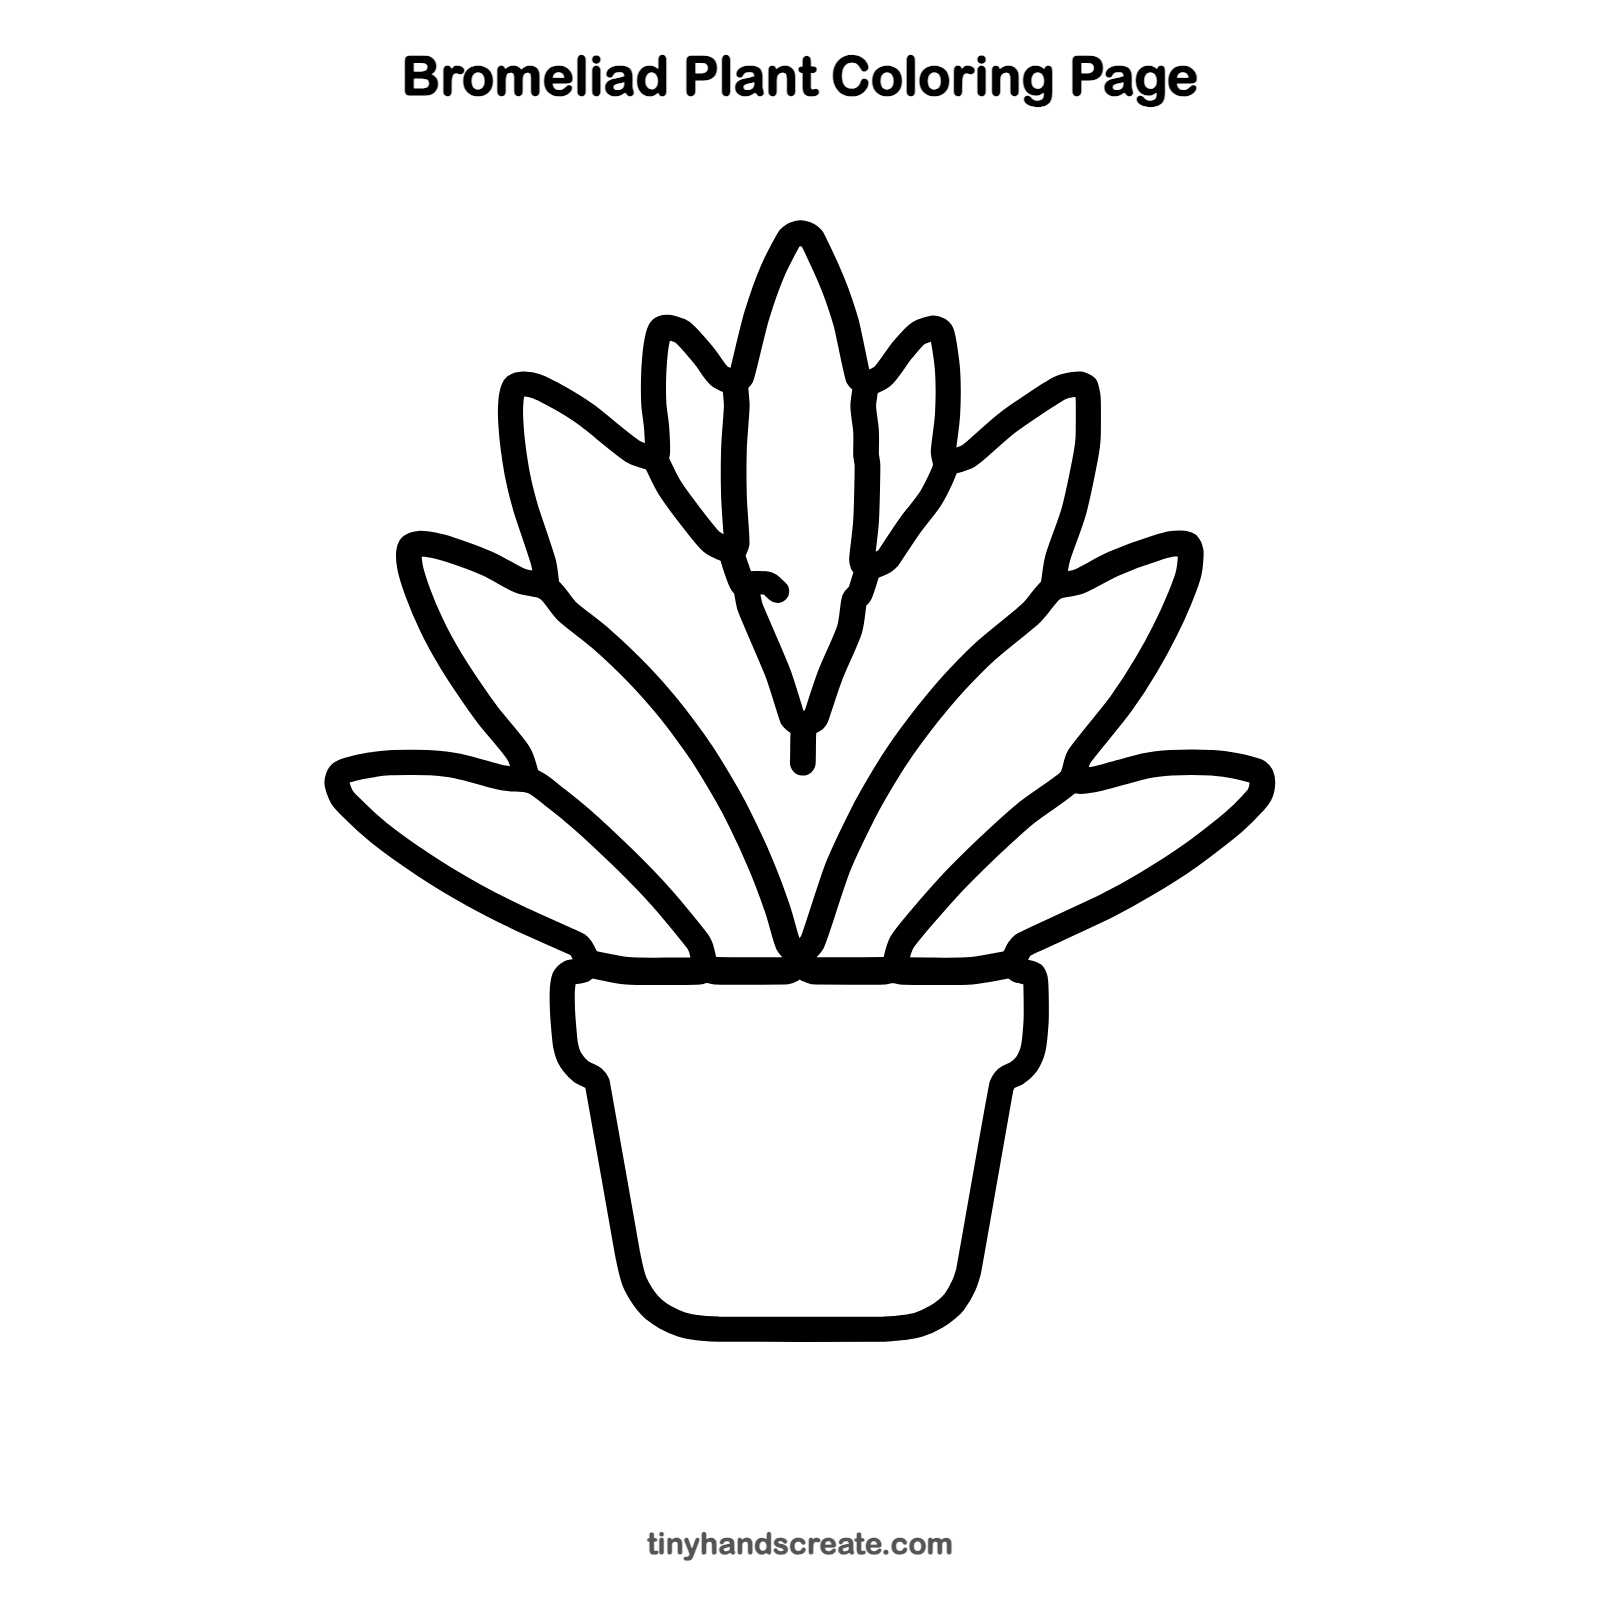
How to color your bromeliad plant drawing
Try different greens for the leaves and a warm orange or red for the pot. For a creative twist, color the center leaf bright pink or red, since real bromeliads often have bright centers.
Bromeliad plant fun fact for kids
Many bromeliads grow on tree branches in rainforests instead of in soil. Their leaves form a cup in the middle that catches rainwater, and tiny tree frogs sometimes live and lay eggs in it.
Questions about drawing a bromeliad plant
What shapes do I need to draw a bromeliad?
You need a long teardrop shape for each leaf and a bucket shape for the pot. A flat line across the top of the pot gives the big leaves a place to start.
How do I make the leaves look like they overlap?
Draw the front leaves first. Then, when you draw the leaves behind them, stop each line where it touches a front leaf.
How many leaves should my bromeliad have?
This drawing has nine leaves, but you can add more. Just keep the tall one in the middle and make the others shorter as they reach the sides.