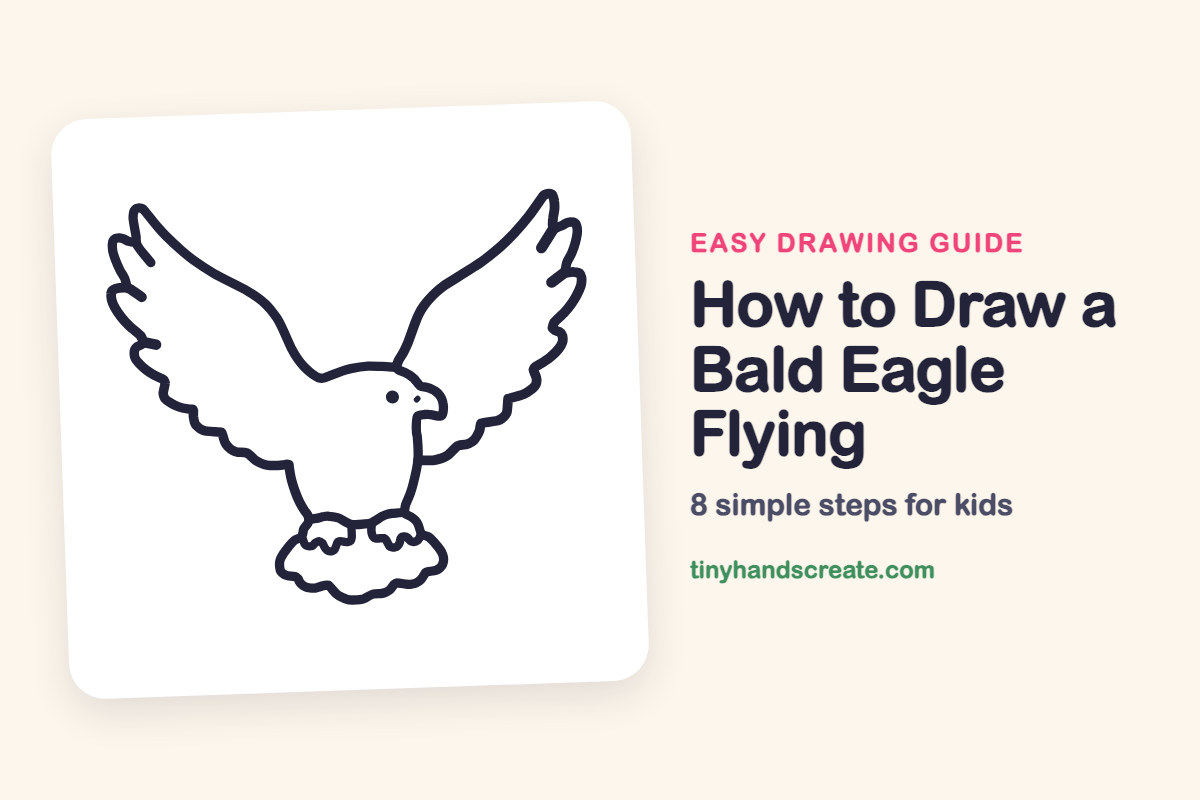
How to Draw a Bald Eagle Flying (Easy Step by Step)
Learn to draw a powerful flying bald eagle with easy, step-by-step instructions. You'll start with simple lines for the wings, head, and chest, then add the tail and feet, finishing with wavy feather details.
- Begin your bald eagle drawing with a single long curve for the wing, head, and chest.
- Add the second wing, a fan-shaped tail, and two small feet to form the eagle's body.
- Complete your drawing by adding wavy feather edges for a realistic and fun detail.
This post contains affiliate links. As an Amazon Associate I earn from qualifying purchases.
A flying bald eagle looks powerful, but it is built from simple lines. You start with one long curve for a wing, the head and the chest, then add the second wing, a fan-shaped tail and two little feet. The wavy feather edges are the fun part.
- Medium
- 15 minutes
- 8 steps
You need: paper, a pencil, an eraser, and crayons or markers for coloring.
Start drawing


In this article (7 sections)
How to draw a bald eagle flying step by step
How to Draw a Bald Eagle Flying · tinyhandscreate.com
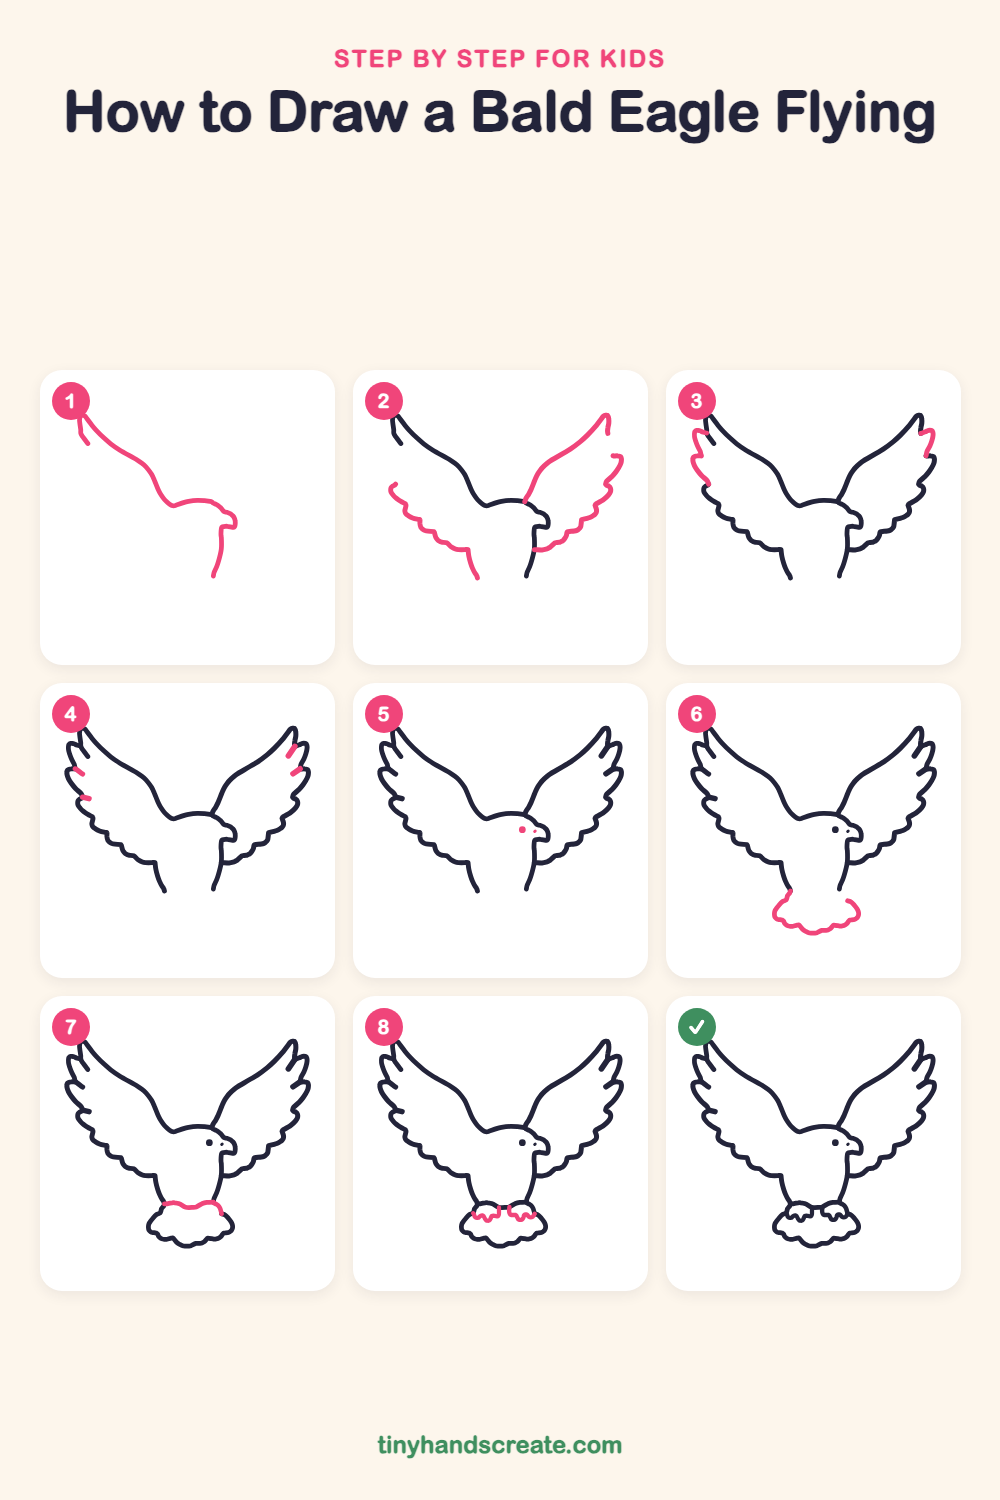
Step 1: Wing, head and chest
Start at the tip of the left wing and draw a long curved line that slides down to the head. Make a small hooked beak, then bring the line down the front of the chest.
Step 2: Wavy wing edges
Draw the wavy lower edge of the left wing, with soft bumps for feathers, ending near the body. Then draw the right wing: a long curve sweeping up from the head to a point, and a bumpy lower edge back to the chest.
Step 3: Wing tip feathers
At the outer tips of both wings, add a few curvy fingers that bend outward like the tips of a hand. Join them to the wing edges.
Step 4: Feather lines
Add a few short slanted lines near the wing tips. They show the feathers are layered on top of each other.
Step 5: Eye and nostril
Draw a small dot for the eye on the head, just behind the beak. Add a tiny dot on the beak for the nostril.
Step 6: Tail feathers
Under the body, draw a wide fan shape with a wavy bottom edge. Each bump is a feather.
Step 7: Belly edge
Draw a short wavy line across the bottom of the body, joining the two sides just above the tail. It makes soft, fluffy feathers.
Step 8: Feet and claws
Draw two small feet on the lower edge of the body, just above the tail. Give each foot a few wiggly toes with tiny curved claws.
All done!
Go over your lines with a marker, then color it in.
Finished your bald eagle flying? Keep the pencils out and learn how to draw a fox or how to draw a hedgehog next.
Tips for drawing a bald eagle flying
- Take your time with the first long line. It sets the size of the wing, so start high and sweep down smoothly.
- Make both wings about the same height. After you draw the left wing tip, check that the right one reaches about as high.
- For the wavy feather edge, draw a row of small bumps like a cloud instead of one long line. Pick up your pencil between bumps if you need to.
Free bald eagle flying coloring page
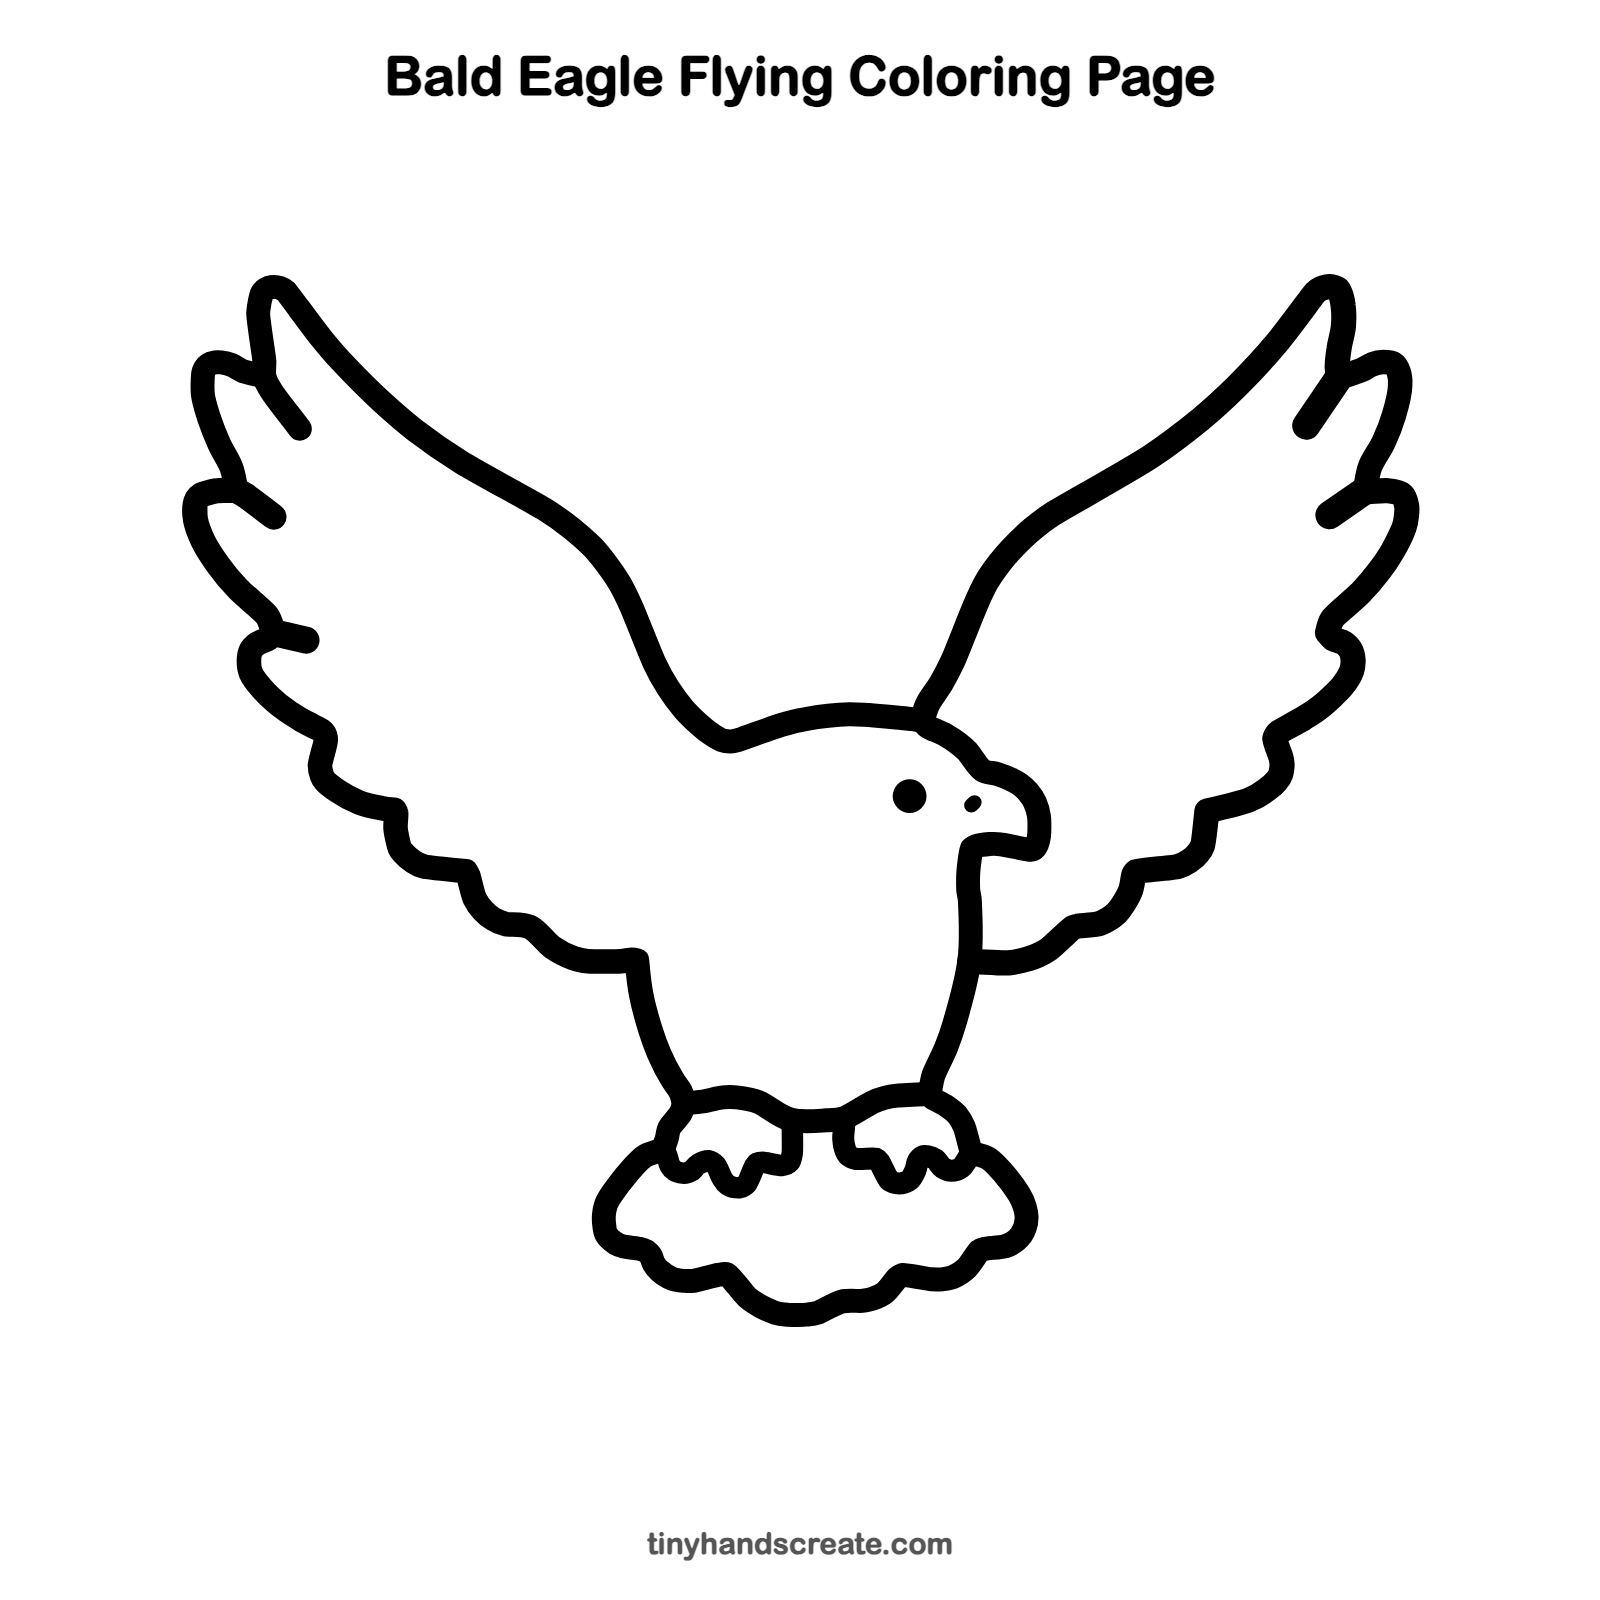
Want to go straight to coloring? Open this bald eagle flying coloring page at full size and print it. It is the same drawing you just learned, with clean lines ready for crayons or markers.
How to color your bald eagle flying drawing
Color the body and wings dark brown, the head and tail white, and the beak and feet bright yellow. For a creative twist, color the sky behind the eagle with a sunset of orange, pink, and purple.
Bald eagle flying fun fact for kids
The bald eagle has been on the Great Seal of the United States since 1782. It is not really bald: adult eagles have white feathers on their heads.
Questions about drawing a bald eagle flying
What shapes do I need to draw a flying bald eagle?
You need long curves for the wings, a small hooked beak on the head, and a fan shape for the tail. The wing and tail edges are wavy bumps for feathers.
How do I make the wings look like they are flapping?
Draw the wings pointing up and out, with the tips curving outward. Wings that rise higher than the head look like they are in the middle of a big flap.
How do I draw the eagle's feet?
Draw each foot as a small shape with a few wiggly toes. Then add a tiny curved point at the end of each toe for a claw.