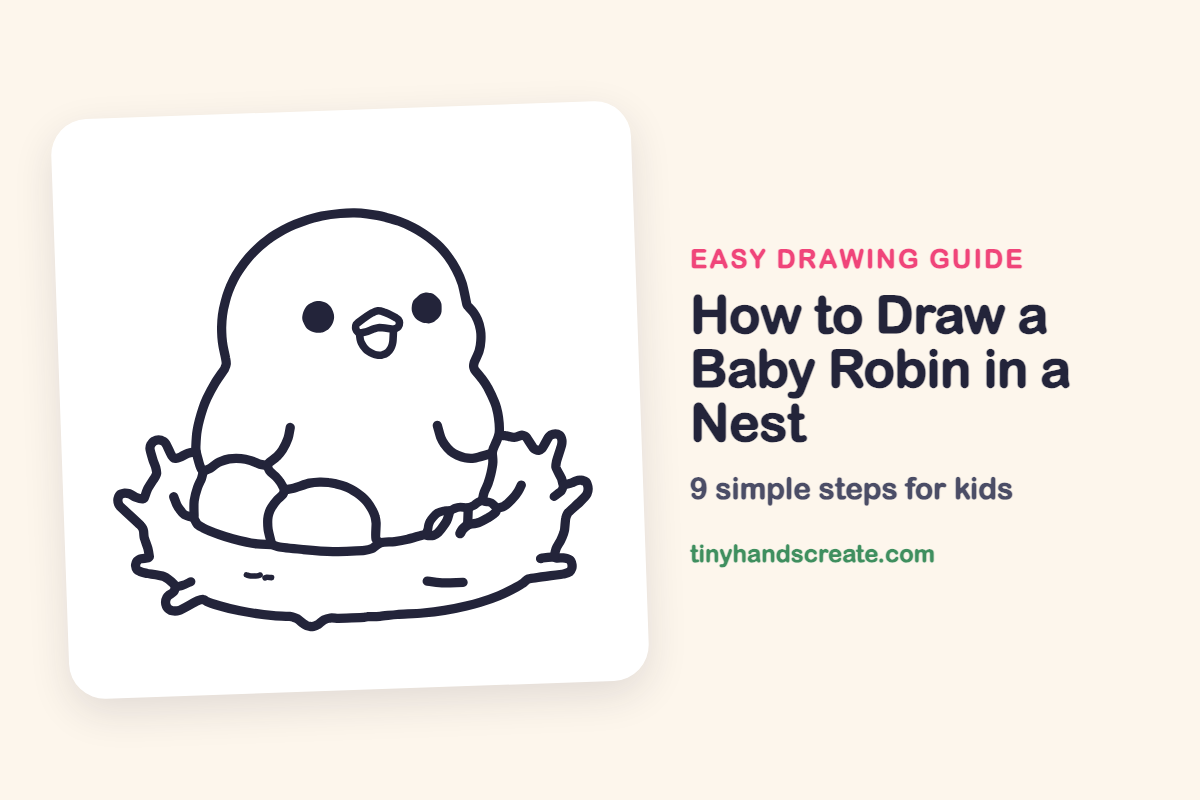
How to Draw a Baby Robin in a Nest (Easy Step by Step)
Learn to draw an adorable baby robin in a nest using simple shapes like a round head, chubby body, and a wide bowl. This easy step-by-step guide helps you create your bird one part at a time.
- Draw a baby robin in a nest with ease.
- Start with simple shapes: a round head, chubby body, and a wide bowl.
- Build your drawing step-by-step, adding one part at a time.
This post contains affiliate links. As an Amazon Associate I earn from qualifying purchases.
A baby robin sitting in a nest is one of the cutest things to draw, and it is built from simple shapes: a big round head, a chubby body, two eggs, and a wide bowl. Each step adds one part, so you can stop and admire your bird as it grows.
- Medium
- 15 minutes
- 9 steps
You need: paper, a pencil, an eraser, and crayons or markers for coloring.
Start drawing


In this article (7 sections)
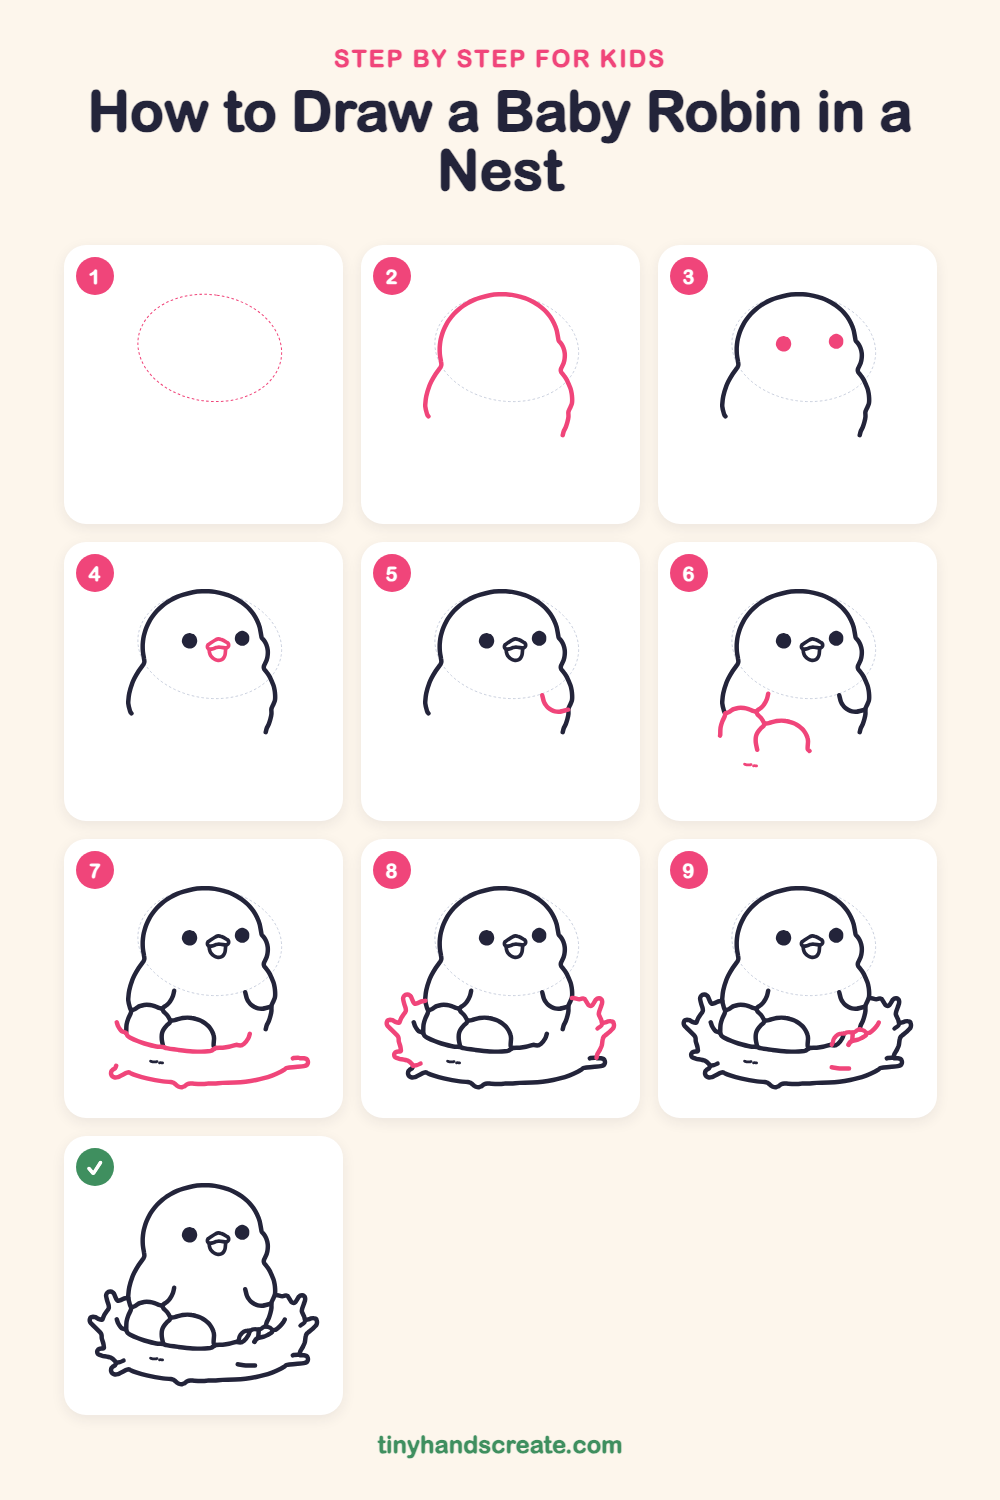
How to draw a baby robin in a nest step by step
How to Draw a Baby Robin in a Nest · tinyhandscreate.com
Step 1: Guide shapes
Lightly sketch this oval. It only shows where the big parts go, so press softly. You will erase it at the end.
Step 2: Head and body outline
Start at the left side of the body and draw one long curved line up and over the top for a big round head. Keep going down the right side with a couple of little bumps, so the chubby body is open at the bottom.
Step 3: The eyes
Draw two small solid circles in the middle of the head, side by side. Fill them in dark so they look shiny.
Step 4: The beak
Between the eyes, draw a small rounded triangle for the beak. Add a little curved line below it for the open mouth.
Step 5: The little wing
On the right side of the tummy, draw a short curved line like a hook that curls in from the edge of the body. It is a tiny wing tucked against the side.
Step 6: Two round eggs
At the bottom left of the body, draw two egg shapes that overlap, one behind the other. Add a short curved line on the body above them so they look cozy.
Step 7: The nest bowl
Draw a wide, curved line under the eggs for the inside edge of the nest. Then draw a bigger, wide bowl shape below it, with a bumpy bottom edge.
Step 8: Twigs sticking out
Add wiggly, bumpy twigs poking out of the nest on the left and the right. Make each one a little crooked, like a real branch.
Step 9: Straw details
Finish with a few short curvy lines near the right side of the nest rim, plus a tiny dash on the front, to look like crossing straw.
All done!
Erase the guide shapes, go over your lines, then color it in.
Finished your baby robin in a nest? Keep the pencils out and learn how to draw a fox or how to draw a hedgehog next.
Tips for drawing a baby robin in a nest
- Start with the head outline and take your time on the big round curve. Leave the bottom of the body open so the eggs and nest have room to fit in.
- The two eggs overlap, so draw the front egg last. Stop the line of the back egg when it meets the front one.
- Twigs look best when they are bumpy and uneven. Wobbly lines are a good thing here, so don't try to make them straight.
Free baby robin in a nest coloring page
Want to go straight to coloring? Open this baby robin in a nest coloring page at full size and print it. It is the same drawing you just learned, with clean lines ready for crayons or markers.
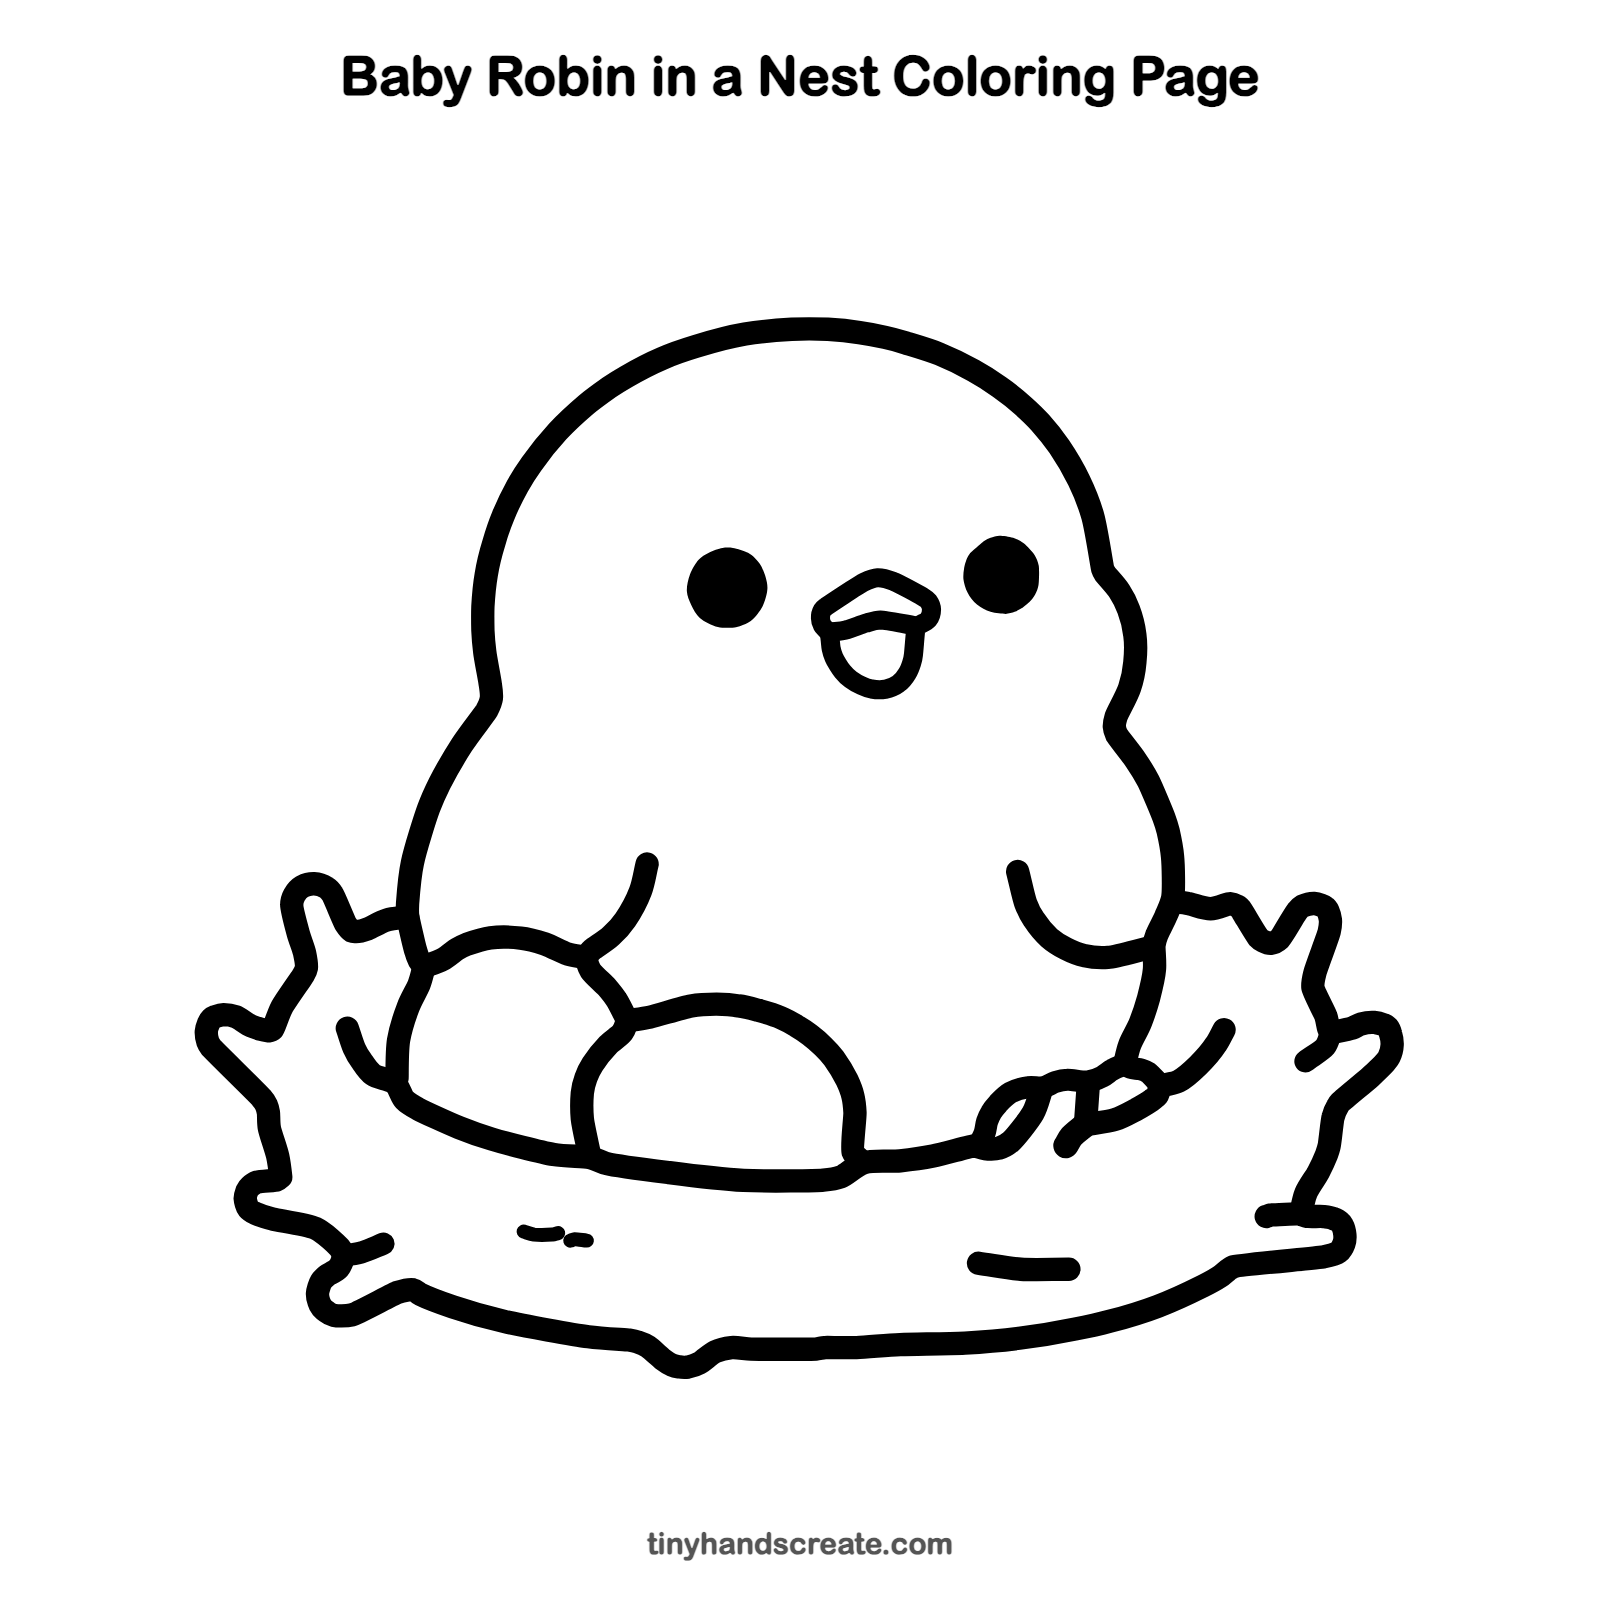
How to color your baby robin in a nest drawing
Color the body soft gray or brown and the beak orange, and make the eggs light blue. Use browns and tans for the nest so the twigs look like real straw.
Baby robin in a nest fun fact for kids
Robins lay beautiful blue eggs, and the color is so well known that it even has a name: robin's egg blue.
Questions about drawing a baby robin in a nest
What shapes do I need to draw a baby robin in a nest?
You need a big round curve for the head and body, two small egg shapes, a small triangle for the beak, and a wide curved bowl for the nest.
How do I make my baby robin look cuter?
Keep the eyes as big, shiny dots and the beak small. A round, chubby body makes the bird look extra sweet.
How do I draw a nest that looks real?
Use short, bumpy, crooked lines for the twigs. Let a few stick out past the edge of the bowl.