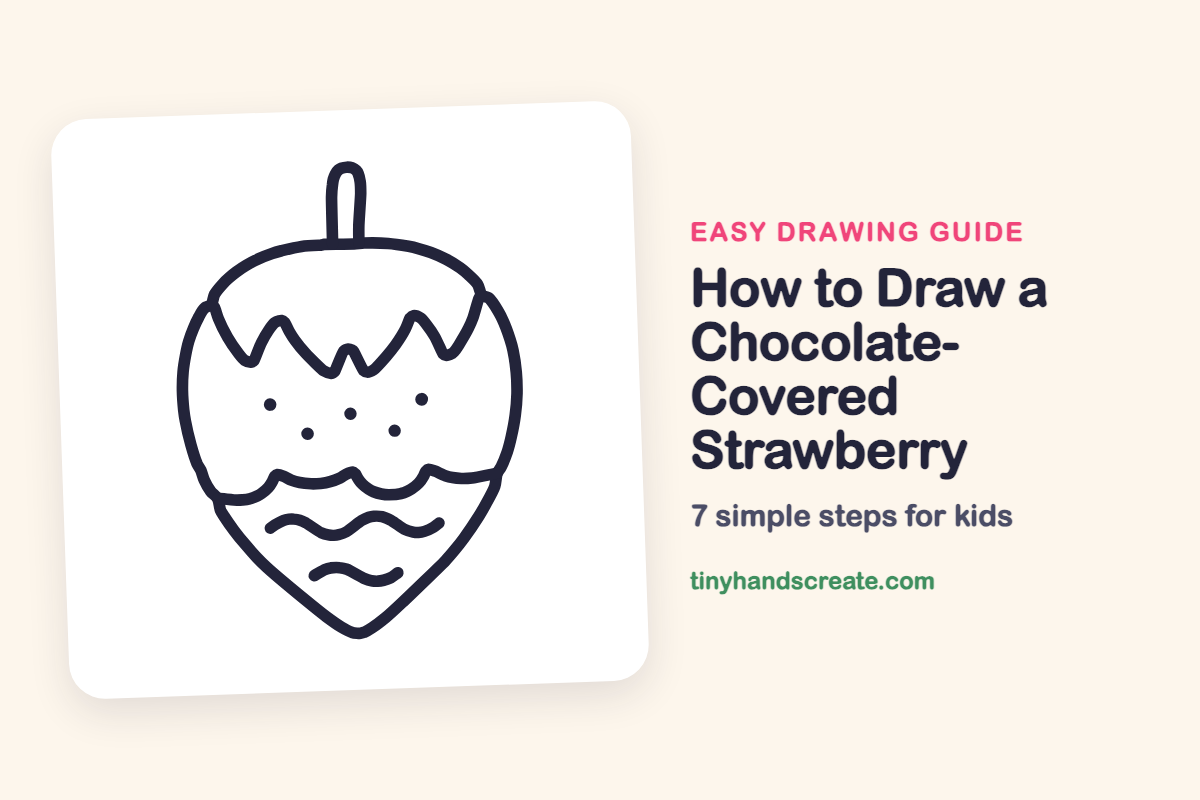
How to Draw a Chocolate-Covered Strawberry (Easy Step by Step)
A chocolate-covered strawberry is a fun treat to draw because it is built from just a few easy shapes. You start with a rounded heart or acorn shape, add a small loop for the stem, and finish with zigzags, scallops, waves, and dots. Every one of those lines is something you already know how to draw.
- Easy
- 10 minutes
- 7 steps
You need: paper, a pencil, an eraser, and crayons or markers for coloring.
Start drawingIn this article (7 sections)
- How to draw a chocolate-covered strawberry step by step
- Tips for drawing a chocolate-covered strawberry
- Free chocolate-covered strawberry coloring page
- How to color your chocolate-covered strawberry drawing
- Chocolate-covered strawberry fun fact for kids
- Questions about drawing a chocolate-covered strawberry
- More easy Valentine's Day drawings
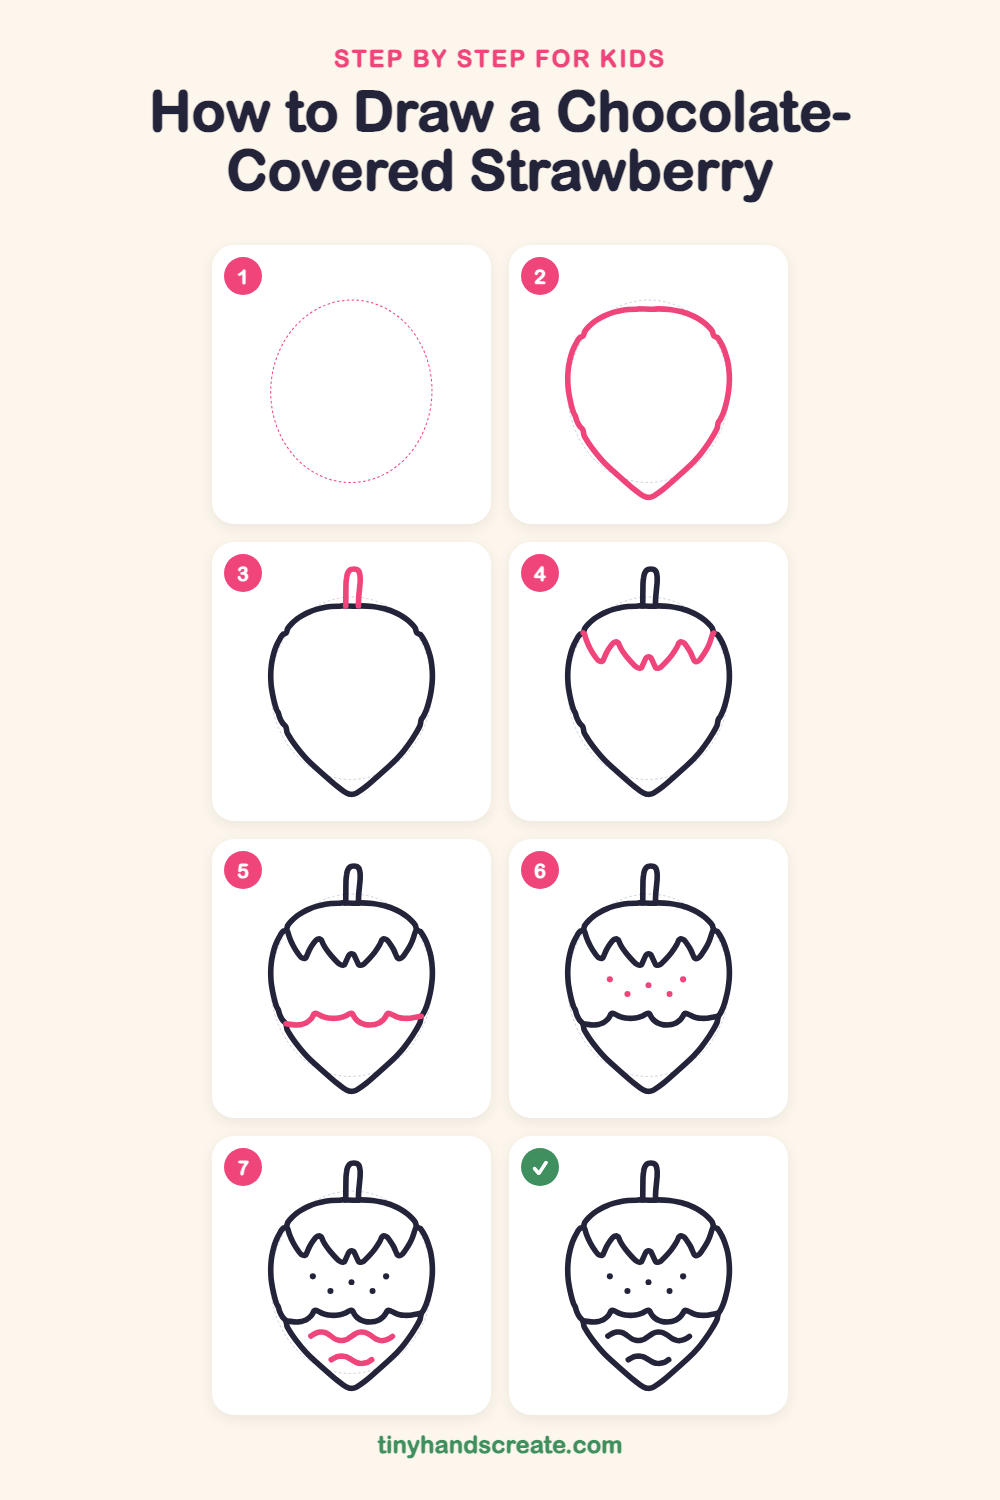
How to draw a chocolate-covered strawberry step by step
How to Draw a Chocolate-Covered Strawberry · tinyhandscreate.com
Step 1: Guide shapes
Lightly sketch this oval. It only shows where the big parts go, so press softly. You will erase it at the end.
Step 2: Berry shape
Draw a big rounded shape that is wide at the top and comes to a soft point at the bottom, like an acorn or a heart. Trace over your light oval guide with one smooth line.
Step 3: Little stem
On top of the berry, draw a tall skinny loop shaped like an upside-down U. Let the two bottom ends touch the top of the berry.
Step 4: Zigzag chocolate top
Near the top of the berry, draw a row of pointy zigzag peaks, like a little mountain range. Start at the left edge of the berry and end at the right edge.
Step 5: Wavy chocolate line
Across the middle of the berry, draw a row of wide, scalloped bumps, like a wavy curtain. Start at the left edge and finish at the right edge.
Step 6: Seed dots
Between the zigzag and the scalloped line, draw five little dots for seeds. Make two dots in an upper row, one in the middle a bit lower, and two more in a lower row.
Step 7: Two wavy lines
Below the scalloped line, draw one long wavy line like a gentle ocean wave. Add a shorter wavy line under it, nearer the point of the berry.
All done!
Erase the guide shapes, go over your lines, then color it in.
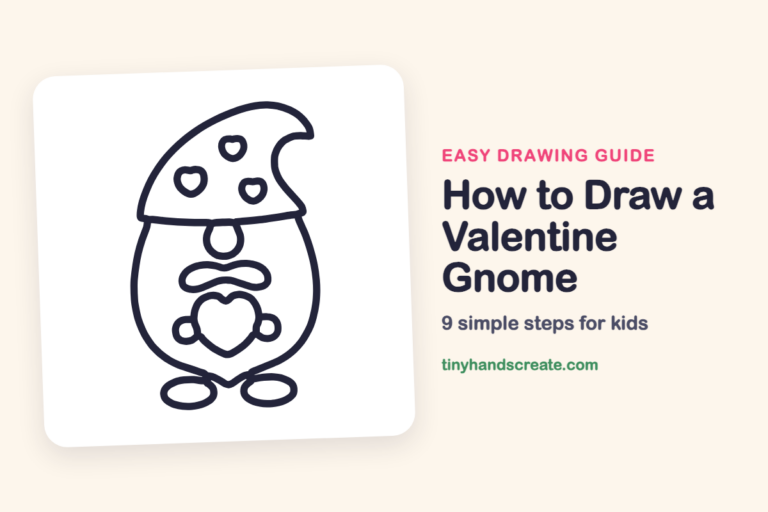
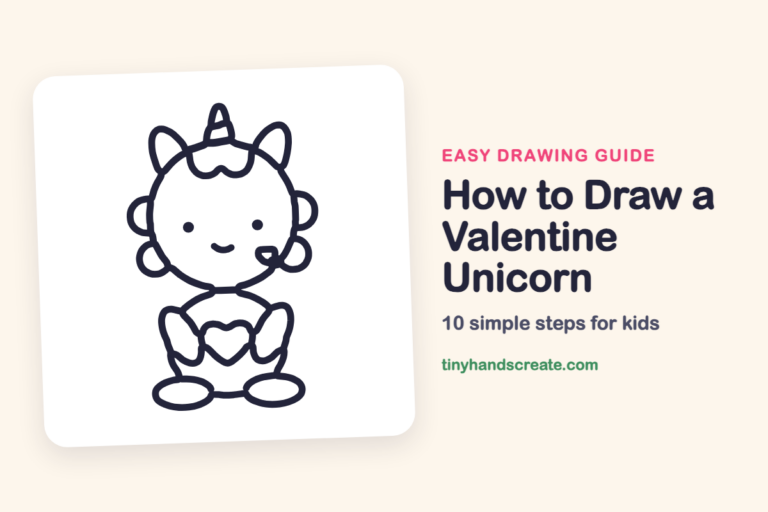
Finished your chocolate-covered strawberry? Keep the pencils out and learn how to draw a Valentine gnome or how to draw a Valentine unicorn next.
Tips for drawing a chocolate-covered strawberry
- Draw the berry shape first and keep it big. The rest of the lines need room to fit inside it.
- The zigzag chocolate edge is the trickiest part. Draw it as a row of mountain peaks, and let the two ends touch the sides of the berry.
- Make the scalloped line from bumps that are all about the same size, and it will look neat.
Free chocolate-covered strawberry coloring page
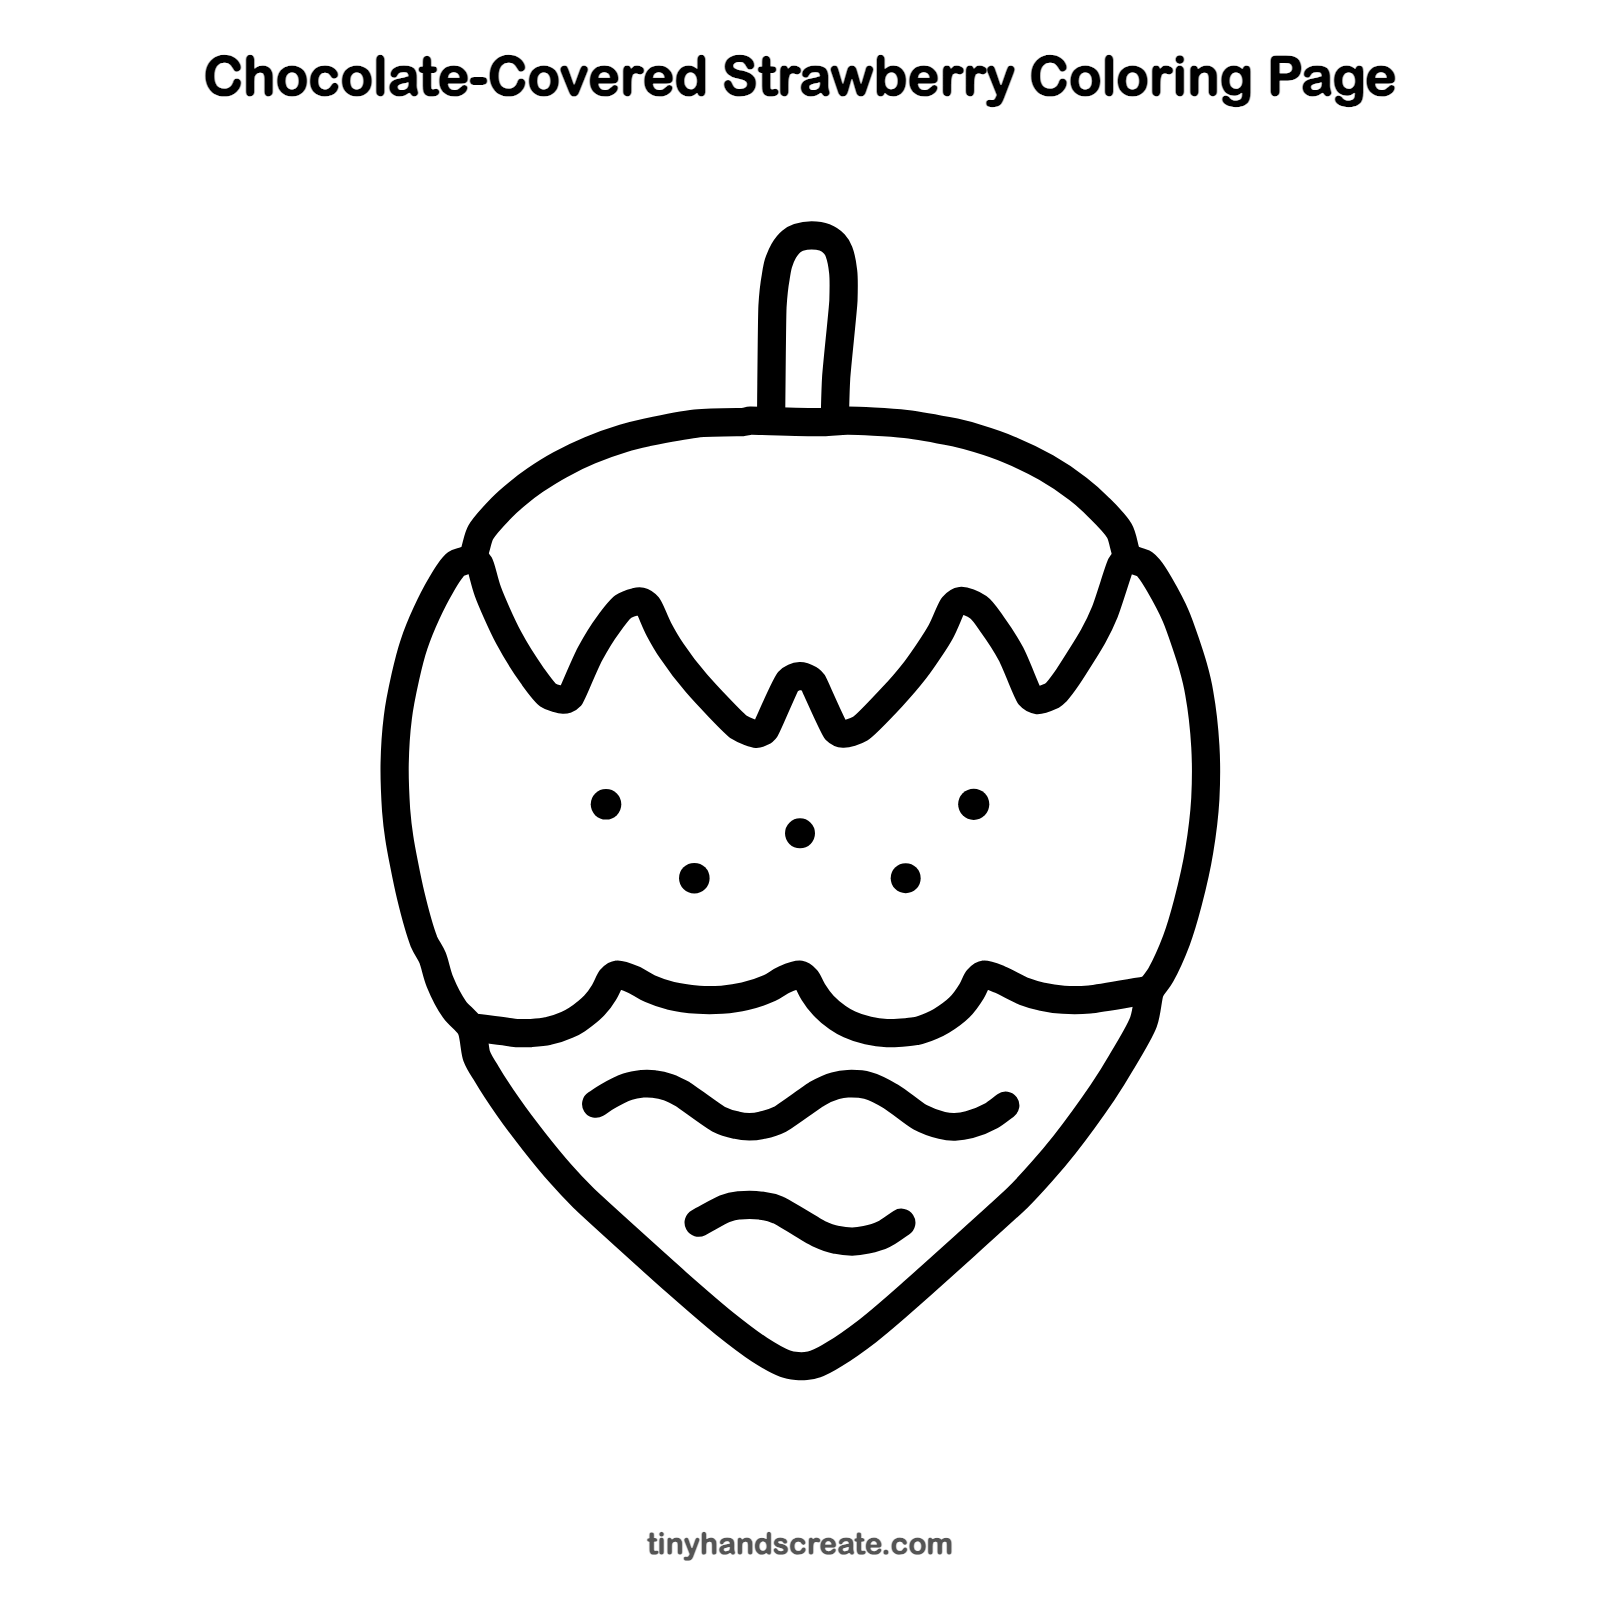
Want to go straight to coloring? Open this chocolate-covered strawberry coloring page at full size and print it. It is the same drawing you just learned, with clean lines ready for crayons or markers.
How to color your chocolate-covered strawberry drawing
Color the berry red, the stem green, and the zigzag top a rich chocolate brown. For a creative twist, make the chocolate pink, white, or rainbow.
Chocolate-covered strawberry fun fact for kids
Strawberries are not true berries, and the little seeds on the outside are actually the real fruits. A single strawberry has about 200 of them.
Questions about drawing a chocolate-covered strawberry
What shapes do I need to draw a chocolate strawberry?
You need a rounded heart or acorn shape for the berry, a narrow loop for the stem, and some zigzag, scalloped, and wavy lines for the chocolate. Little dots finish it off as seeds.
How do I make my strawberry look more delicious?
Add a few more seed dots, or add another short wavy line near the point of the berry. Coloring the chocolate dark brown also helps.
Why does my strawberry look lopsided?
Try sketching a light oval first and then drawing over it. You can also turn your paper around to check that both sides match.