How to Draw a Hot Cross Bun (Easy Step by Step)
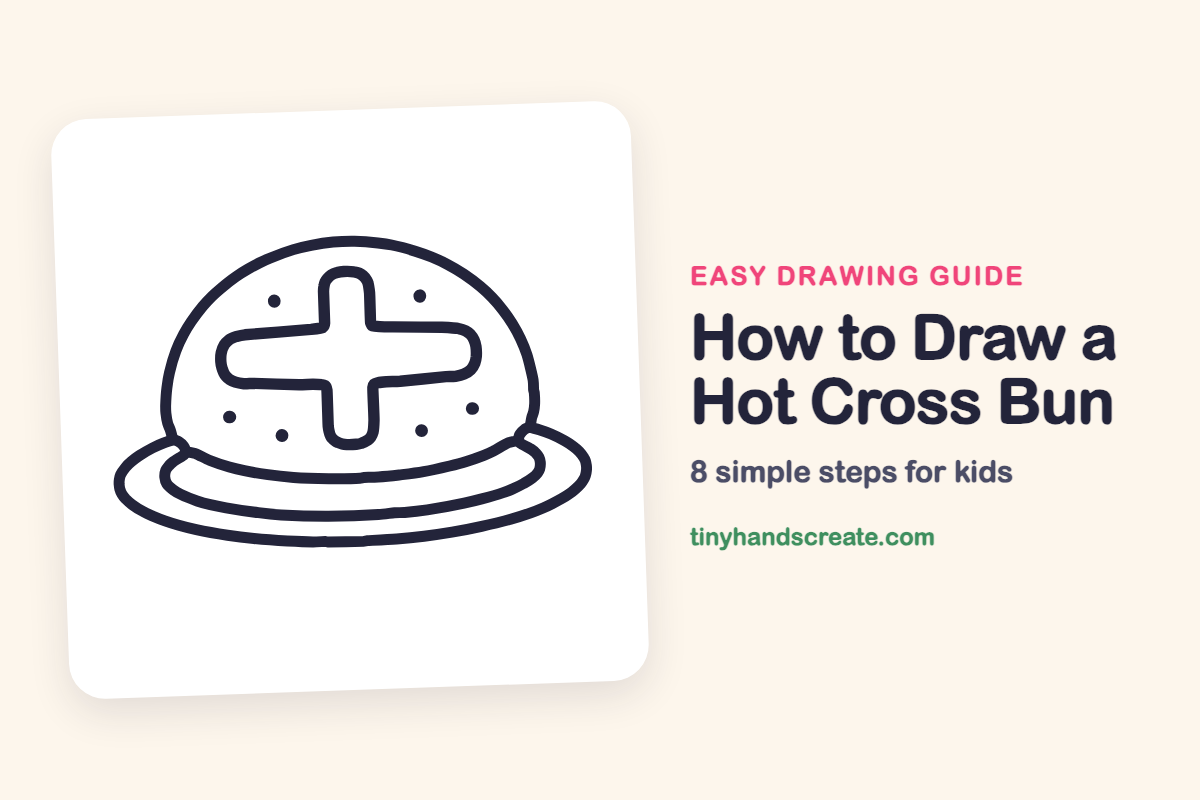
A hot cross bun is a fun first food drawing because it is mostly round shapes and one big plus sign. You will start with a curved dome for the bun, add a rounded cross, and finish with a plate and a few tiny dots.
- Easy
- 10 minutes
- 8 steps
You need: paper, a pencil, an eraser, and crayons or markers for coloring.
Start drawingIn this article (7 sections)
How to draw a hot cross bun step by step
How to Draw a Hot Cross Bun · tinyhandscreate.com
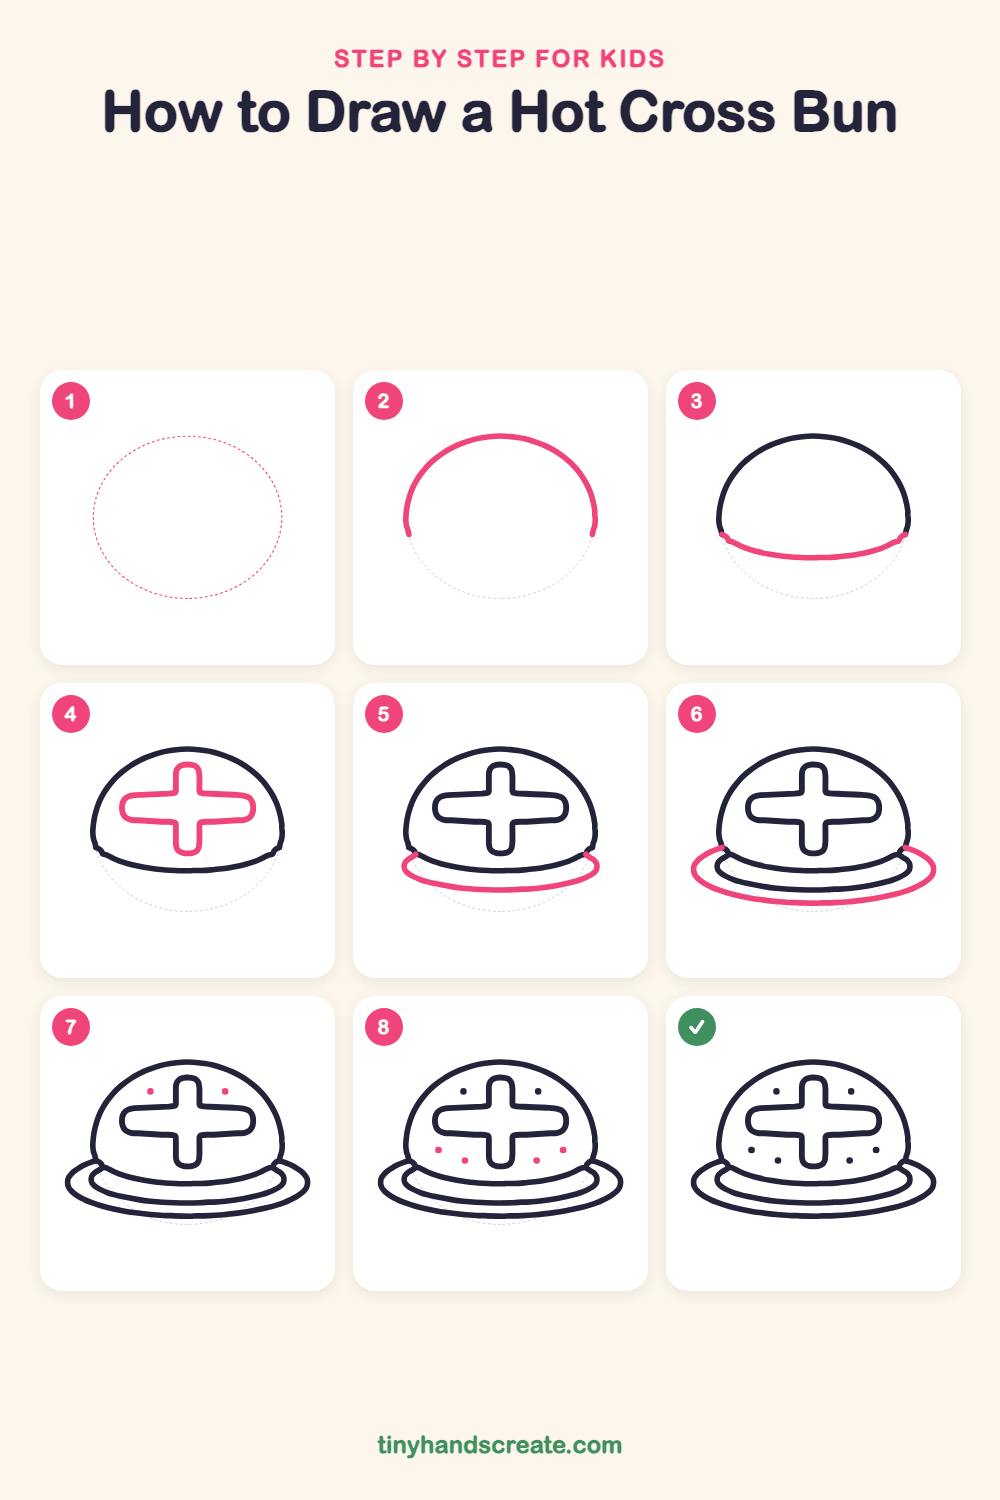
Step 1: Guide shapes
Lightly sketch this oval. It only shows where the big parts go, so press softly. You will erase it at the end.
Step 2: The bun dome
Start with a big curved line like a rainbow, going up and over. Begin on the left side, arch over the top, and stop on the right side, leaving the bottom open.
Step 3: The bottom of the bun
Close the bun with a gently curved line along the bottom, like a smile. Start at the lower end of the dome on one side and connect to the lower end on the other side.
Step 4: The big cross
In the middle of the bun, draw one rounded plus sign. Go around the outline of a tall bar and a wide bar that cross in the middle, with soft rounded ends.
Step 5: The small plate ring
Draw a long, flat oval around the bottom of the bun. It starts at one lower side of the bun, dips below the bun, and comes back up at the other side.
Step 6: The big plate ring
Draw one more flat oval around the small one, a bit lower and wider. This makes the outer rim of the plate.
Step 7: Top dots
Add two little dots above the cross, one on the left and one on the right. These are tasty bits of fruit in the bun.
Step 8: Bottom dots
Finish with four small dots below the arms of the cross, two on the left and two on the right. Try to keep them about the same size as the top dots.
All done!
Erase the guide shapes, go over your lines, then color it in.
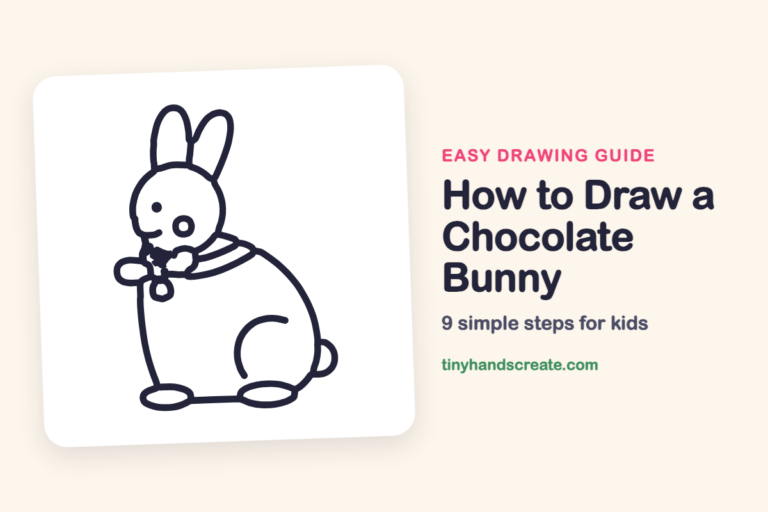
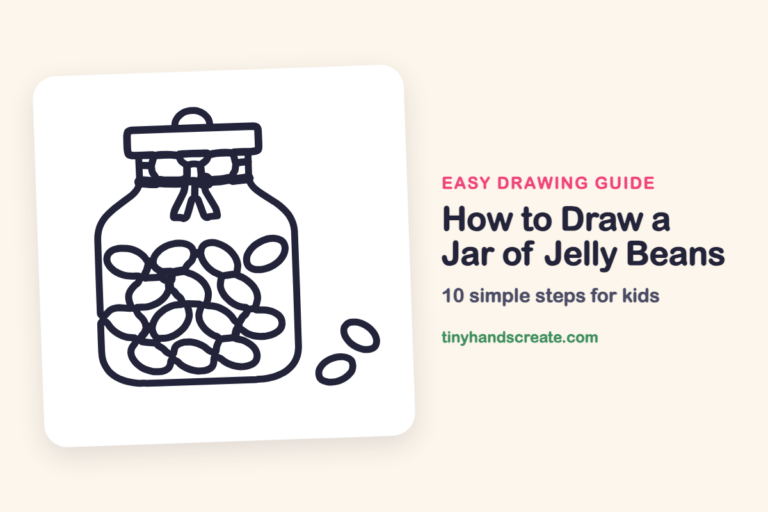
Finished your hot cross bun? Keep the pencils out and learn how to draw a chocolate bunny or how to draw a jar of jelly beans next.
Tips for drawing a hot cross bun
- Draw the dome in one smooth swoop, and lift your pencil only when you reach the lower end on the other side.
- The cross is the trickiest part, so lightly draw a plus of straight lines first, then go around it with rounded corners.
- Make the two plate ovals wider than the bun so the bun looks like it is sitting on the plate.
Free hot cross bun coloring page
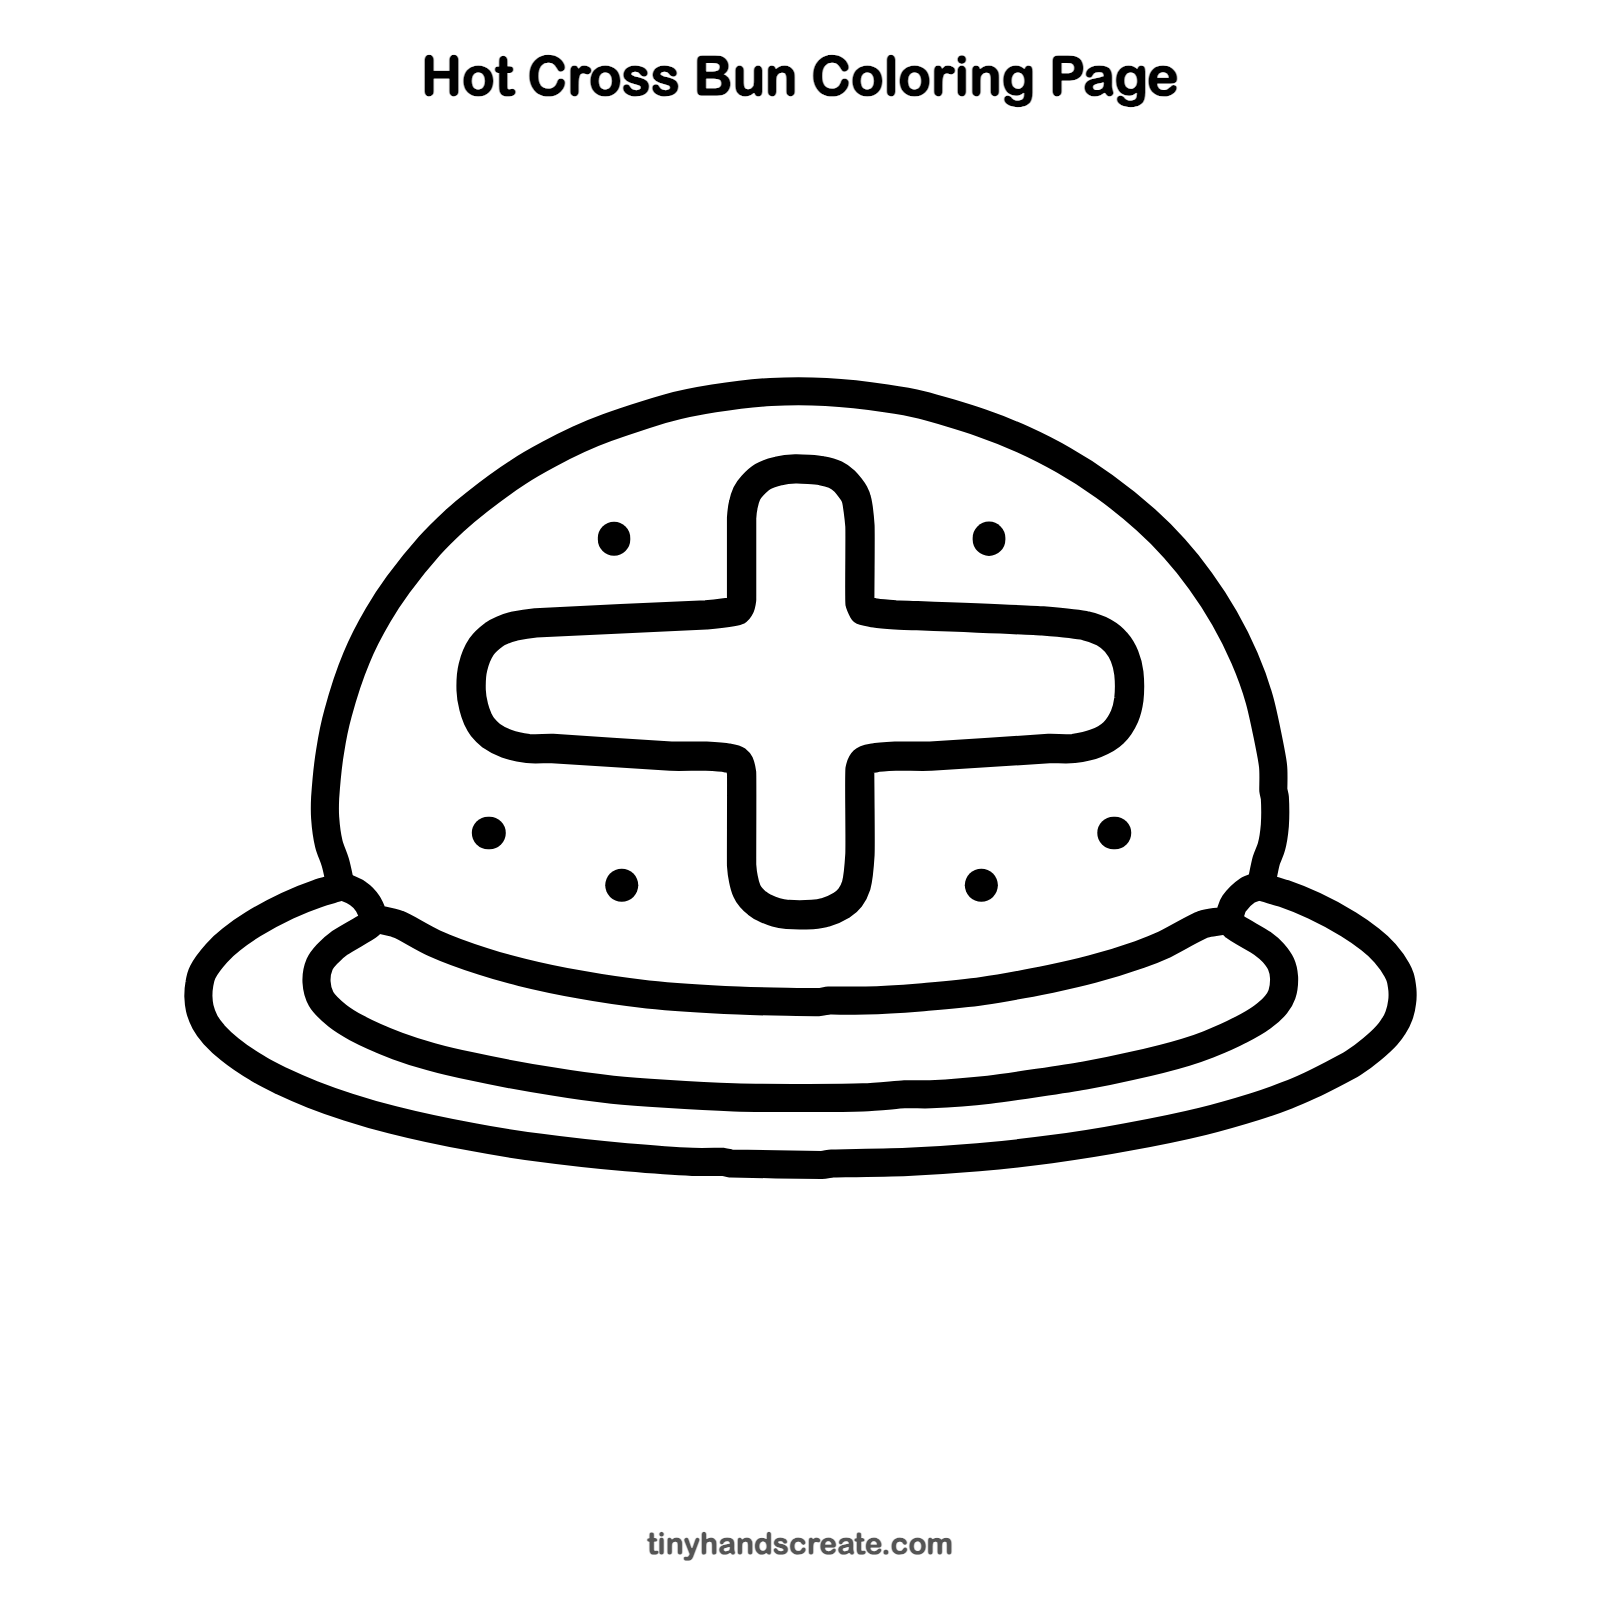
Want to go straight to coloring? Open this hot cross bun coloring page at full size and print it. It is the same drawing you just learned, with clean lines ready for crayons or markers.
How to color your hot cross bun drawing
Color the bun golden brown and the cross a lighter cream or white, with the plate in blue or pink. Make the dots dark brown like raisins. For a creative twist, give the plate a pattern of stripes or polka dots.
Hot cross bun fun fact for kids
Hot cross buns are traditionally eaten on Good Friday, the Friday before Easter, and the cross on top is often made from a simple paste of flour and water.
Questions about drawing a hot cross bun
What shapes do I need to draw a hot cross bun?
You need a dome for the bun, a plus sign with rounded ends for the cross, and two flat ovals for the plate. Small dots finish it off.
How do I make my hot cross bun look round and puffy?
Draw the top as one big smooth curve and keep the bottom edge gently curved like a smile. Rounded corners on the cross also make it look soft.
How do I draw the cross so it is even?
Start with light straight lines in the shape of a plus, then draw the rounded outline around them. Make the two bars about the same width.