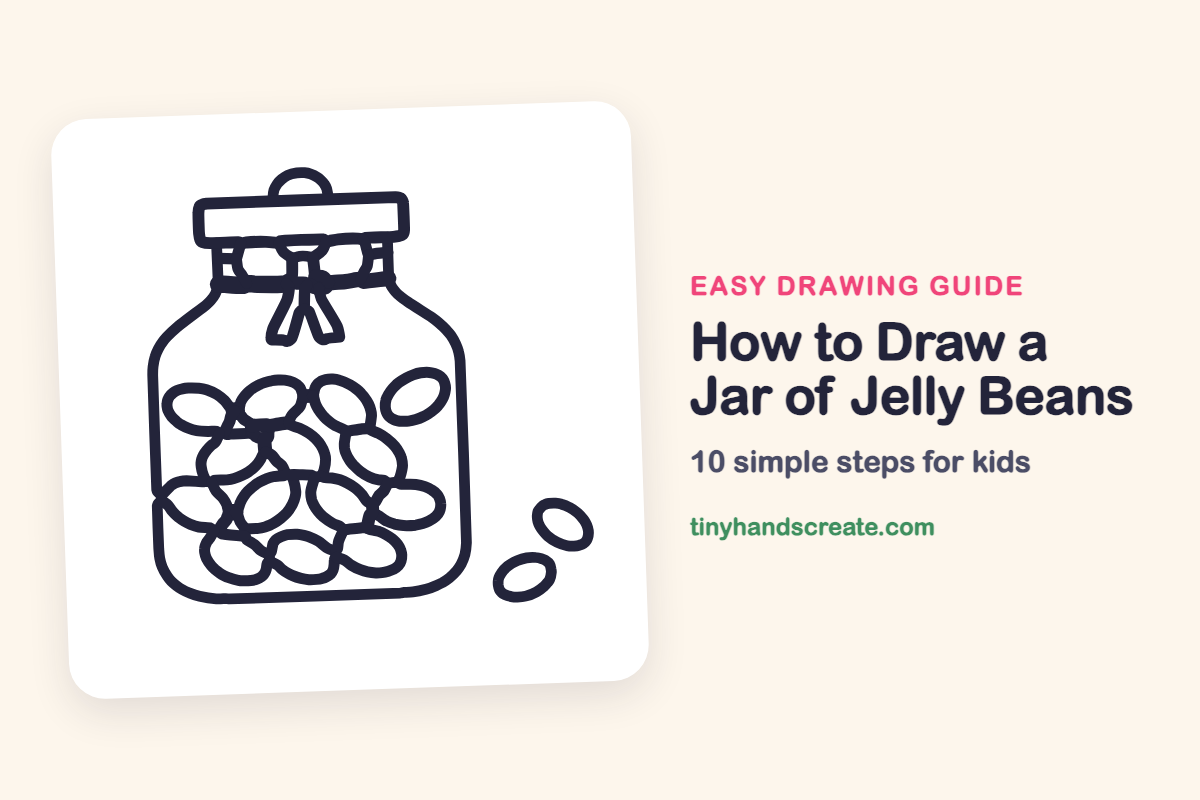
How to Draw a Jar of Jelly Beans (Easy Step by Step)
A jar of jelly beans is a fun first drawing because almost everything is an oval. You build it from a rounded rectangle for the jar, a flat rectangle for the lid, and lots of tilted ovals for the candy. A little ribbon bow and two beans that rolled out of the jar make it look like a real treat.
- Easy
- 15 minutes
- 10 steps
You need: paper, a pencil, an eraser, and crayons or markers for coloring.
Start drawingIn this article (7 sections)
How to draw a jar of jelly beans step by step
How to Draw a Jar of Jelly Beans · tinyhandscreate.com
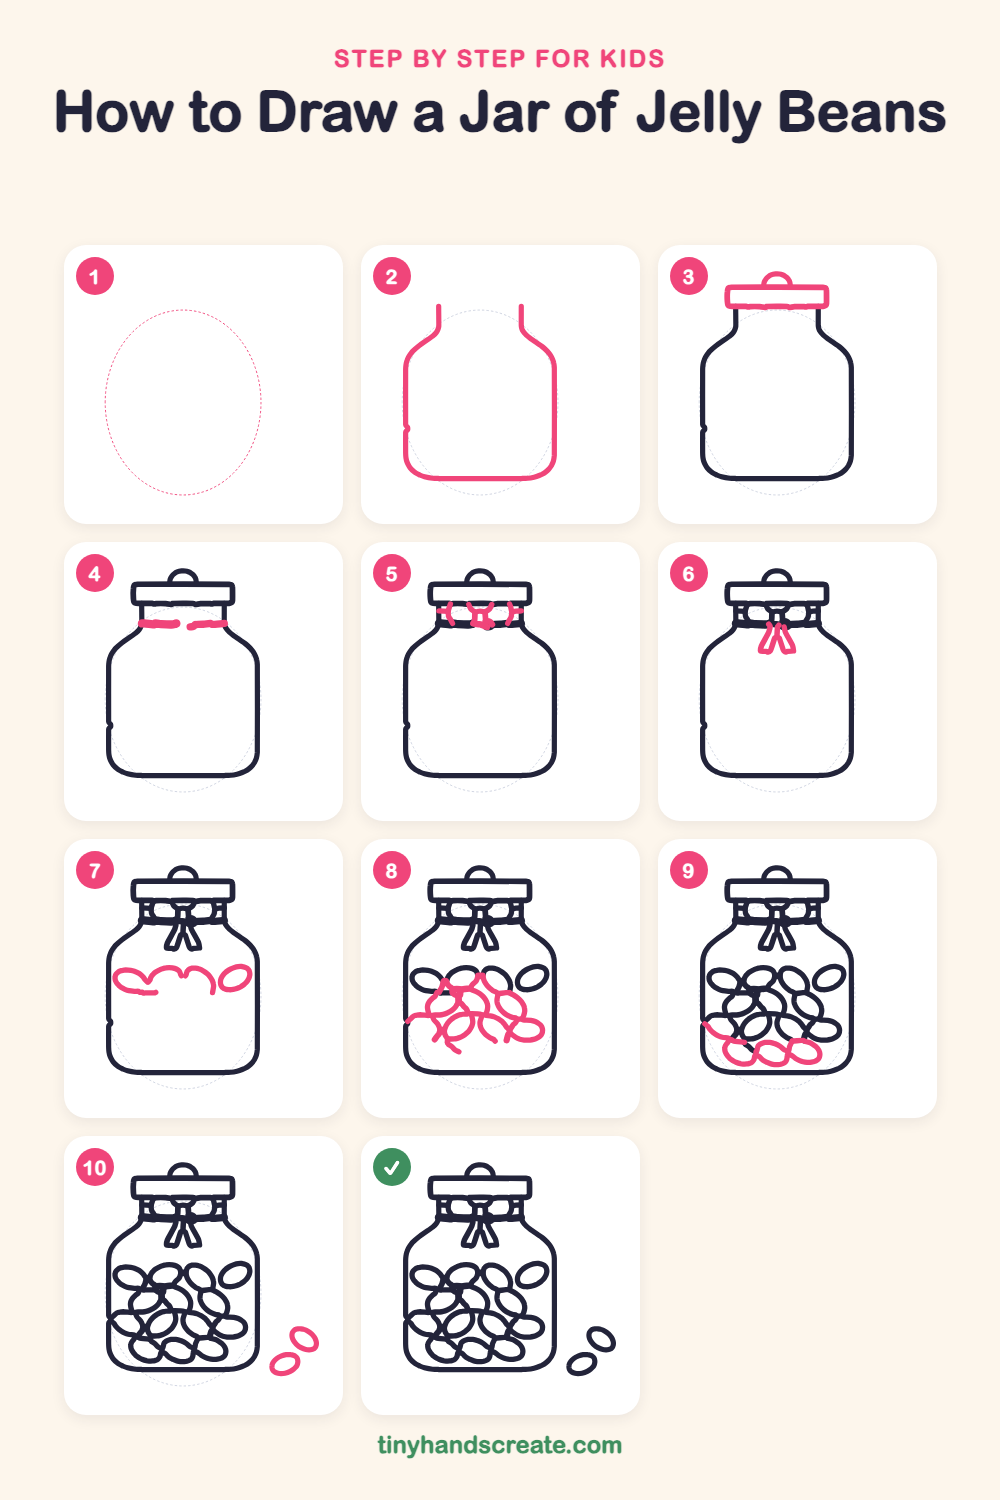
Step 1: Guide shapes
Lightly sketch this oval. It only shows where the big parts go, so press softly. You will erase it at the end.
Step 2: The jar
Draw a big rounded rectangle for the body of the jar, with soft round corners at the bottom. Leave the top open and add a short narrow neck, with the shoulders sloping out from the neck to the sides of the jar.
Step 3: Lid and knob
Draw a wide flat rectangle with rounded corners on top of the neck for the lid. Then add a small half circle on top of the lid for the knob.
Step 4: Top ribbon line
Just under the lid, draw two short wavy lines across the neck, one on the left and one on the right, with a small gap in the middle.
Step 5: Knot and loops
In the middle of the ribbon, draw a small knot. Add a little curly loop at each end of the ribbon, near the sides of the neck.
Step 6: Ribbon tails
From the knot, draw two thin strips hanging down side by side. Let them spread apart a little at the bottom, like an upside-down V.
Step 7: Top row of beans
Draw a bumpy, wavy row of beans across the top of the jar, with each bean a tilted oval leaning a different way. Draw one more oval on the right side, standing a little apart from the others.
Step 8: Middle beans
Fill in the middle of the jar with more tilted ovals. Let them tuck in between the beans above and overlap their edges a little.
Step 9: Bottom beans
Add the last ovals along the bottom of the jar, starting at the left wall and resting on the base. Squeeze them between the beans above so the jar looks full.
Step 10: Beans outside the jar
Next to the jar on the right, draw two more tilted ovals that have rolled out onto the table. Keep them outside the jar, close to each other but not overlapping.
All done!
Erase the guide shapes, go over your lines, then color it in.
Finished your jar of jelly beans? Keep the pencils out and learn how to draw a duckling or how to draw a kid painting an Easter egg next.
Tips for drawing a jar of jelly beans
- Draw the beans as ovals that lean in different directions. If every oval points the same way, the jar looks stiff, so tilt each one a little.
- Let the beans overlap and tuck behind each other. Draw the front bean first, then stop your line when it reaches another bean's edge.
- Draw the knot in the middle of the ribbon first, then add a loop on each side. The knot makes the two loops easy to place evenly.
Free jar of jelly beans coloring page
Want to go straight to coloring? Open this jar of jelly beans coloring page at full size and print it. It is the same drawing you just learned, with clean lines ready for crayons or markers.
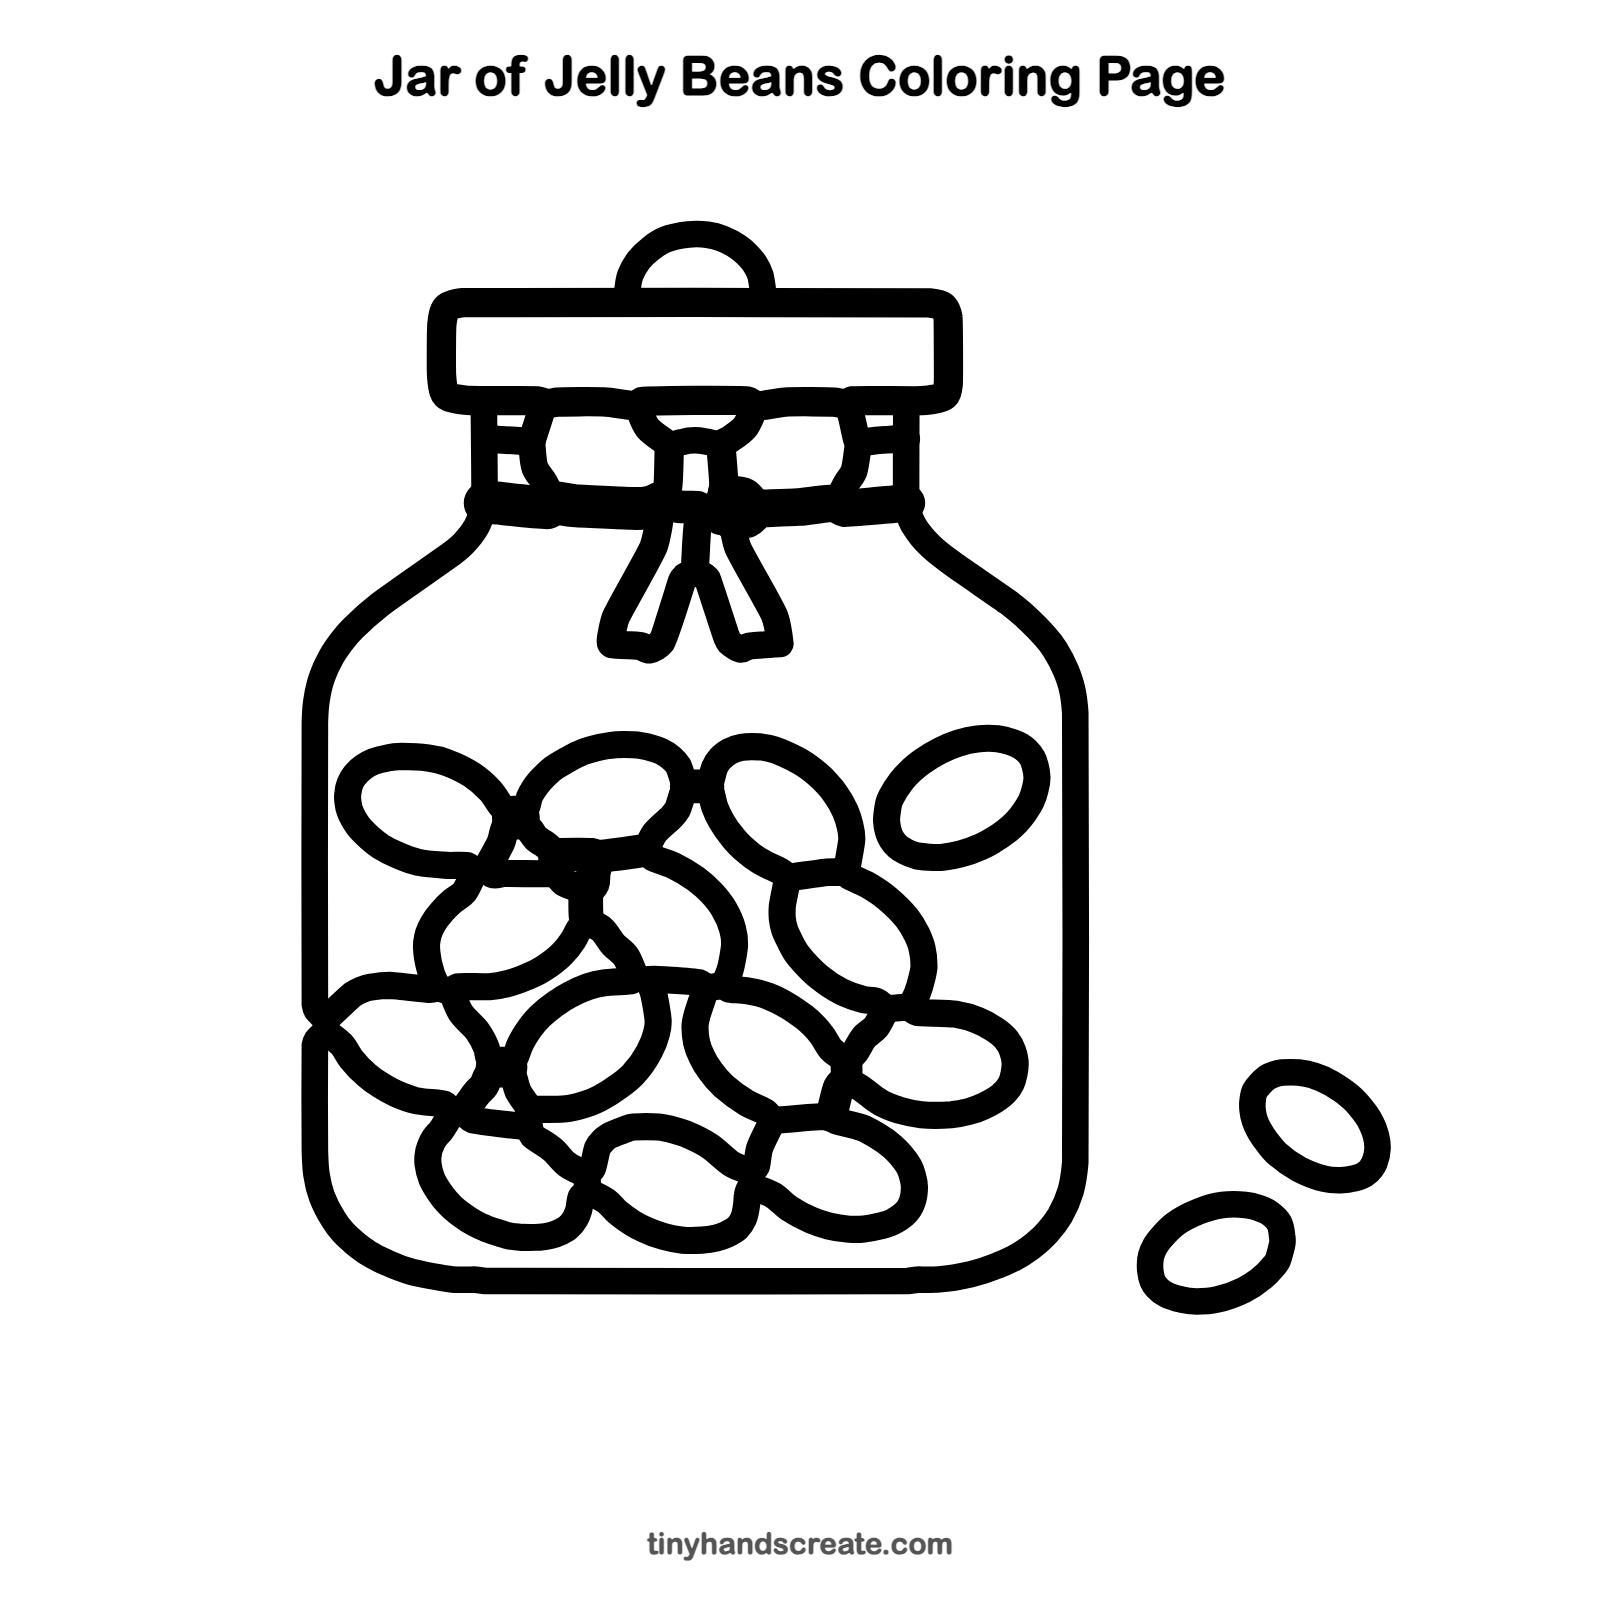
How to color your jar of jelly beans drawing
Color each bean a different bright shade, like red, orange, yellow, green, purple and pink, and make the ribbon a bold color that stands out. For a creative twist, give the loose beans a stripe pattern or turn the jar into a rainbow by sorting the beans by color.
Jar of jelly beans fun fact for kids
Jelly beans get their shiny, hard shell from a process called panning, where the candy centers tumble in a big spinning drum while thin layers of sugar syrup are added. Building up the shell can take several days.
Questions about drawing a jar of jelly beans
What shapes do I need to draw a jar of jelly beans?
You need a rounded rectangle for the jar, a flat rectangle for the lid, a half circle for the knob, and lots of ovals for the beans. The ribbon is a small knot with a loop on each side and two thin tails hanging down.
How do I make the jelly beans look like they are inside the jar?
Let the beans overlap each other and touch the sides and bottom of the jar. Keep the two loose beans outside the jar lines so it is clear they rolled out.
How do I make my jar look more full?
Add more ovals in the gaps between the beans, and tuck some behind the ones in front. Fewer empty spaces make the jar look packed with candy.