How to Draw a Soda Can (Easy Step by Step)
A soda can is a great first object to draw because it is mostly one tall cylinder. You only need straight sides, a few curved lines, and some circles. Adding a bendy straw and fizzy bubbles makes it feel like a cold drink on a hot day.
- Easy
- 10 minutes
- 7 steps
You need: paper, a pencil, an eraser, and crayons or markers for coloring.
Start drawingIn this article (7 sections)
How to draw a soda can step by step
How to Draw a Soda Can · tinyhandscreate.com
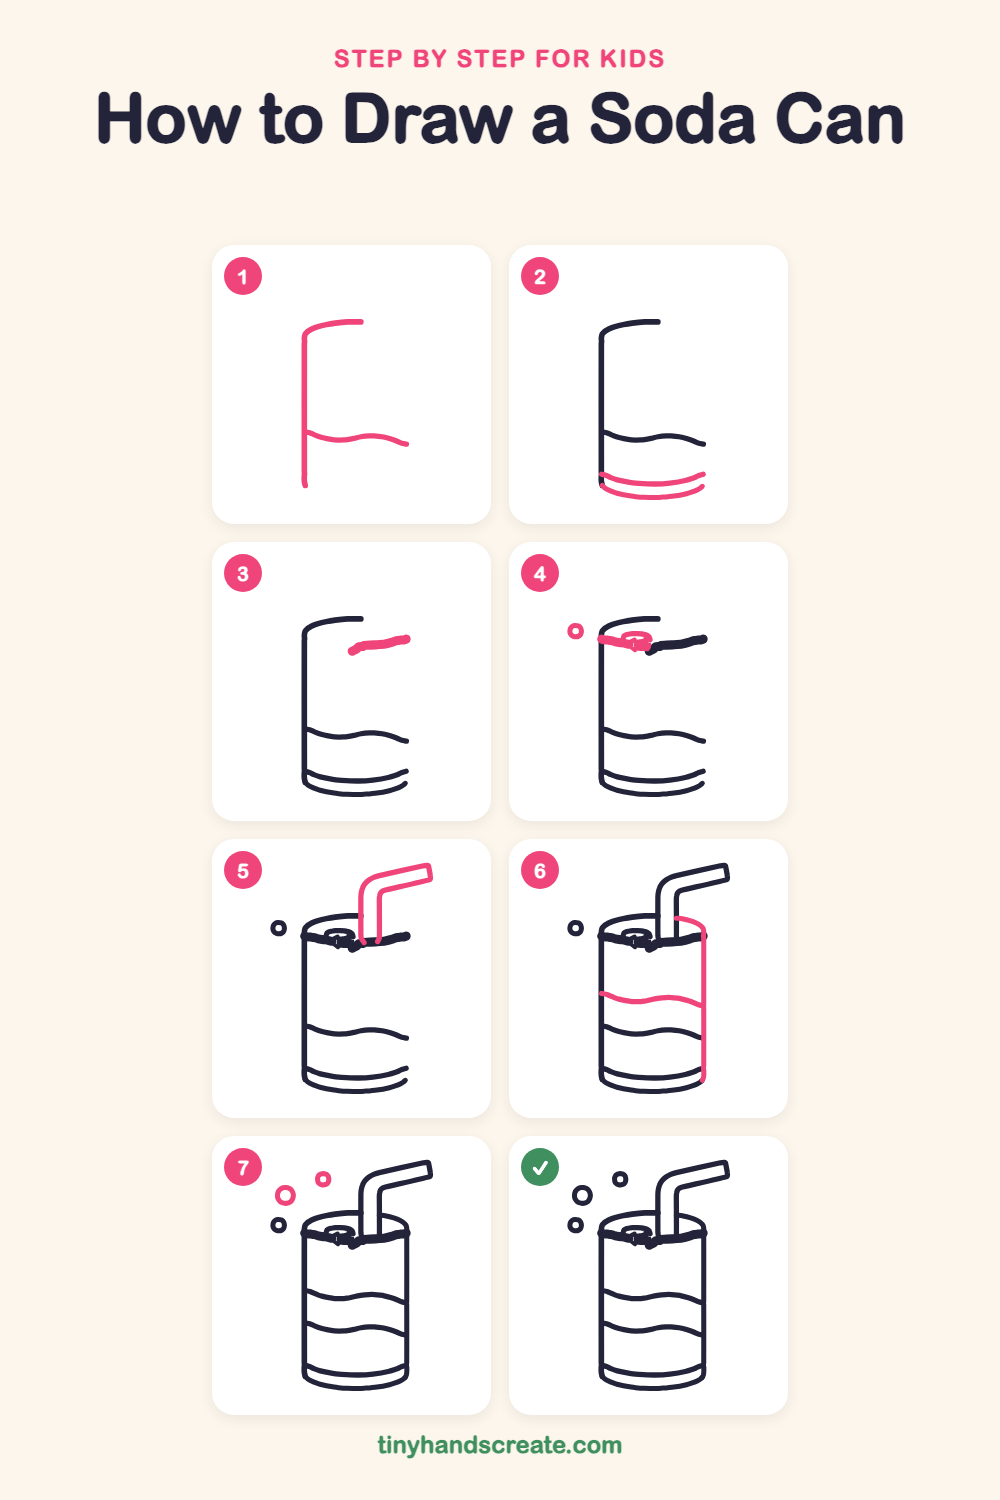
Step 1: Left side and wave
Draw a tall straight line down for the left side of the can, with a small curve at the top that bends to the right. Then, partway down, draw a gentle wavy line from the left side going right.
Step 2: The bottom edge
At the bottom, start at the left side and draw a curve shaped like a smile. Draw a second smile curve just below it to make the thin rim.
Step 3: Right lid edge
Near the top right, draw a short, slightly wavy line. This is the right part of the front edge of the lid.
Step 4: Pull tab and bubble
Near the top of the can, draw a small oval ring for the pull tab. Draw a wiggly line from the left side of the can across to the ring and the lid edge. Then draw a tiny circle in the upper left for a bubble.
Step 5: The bendy straw
Start at the lid and draw two straight lines going up, close together. Bend them to the right and draw them as two slanted lines, then close the end with a short line.
Step 6: Right side and wave
Draw a long line down the right side of the can, starting with a small curve at the lid and ending at the bottom. Then draw a second wavy line across the can, from the left side to the right side, above the first one.
Step 7: More bubbles
Float two more circles above and beside the can, one a little bigger than the other. Leave them empty inside.
All done!
Go over your lines with a marker, then color it in.
Finished your soda can? Keep the pencils out and learn how to draw a teacup or how to draw a banana split next.
Tips for drawing a soda can
- Make the smile curves at the bottom of the can curve the same way, so the can looks round instead of flat.
- Draw the straw with two lines that stay about the same distance apart, so it does not get fatter or skinnier as it bends.
- Let the wavy stripes start and end at the can's sides, and make the second wave look like the first one.
Free soda can coloring page
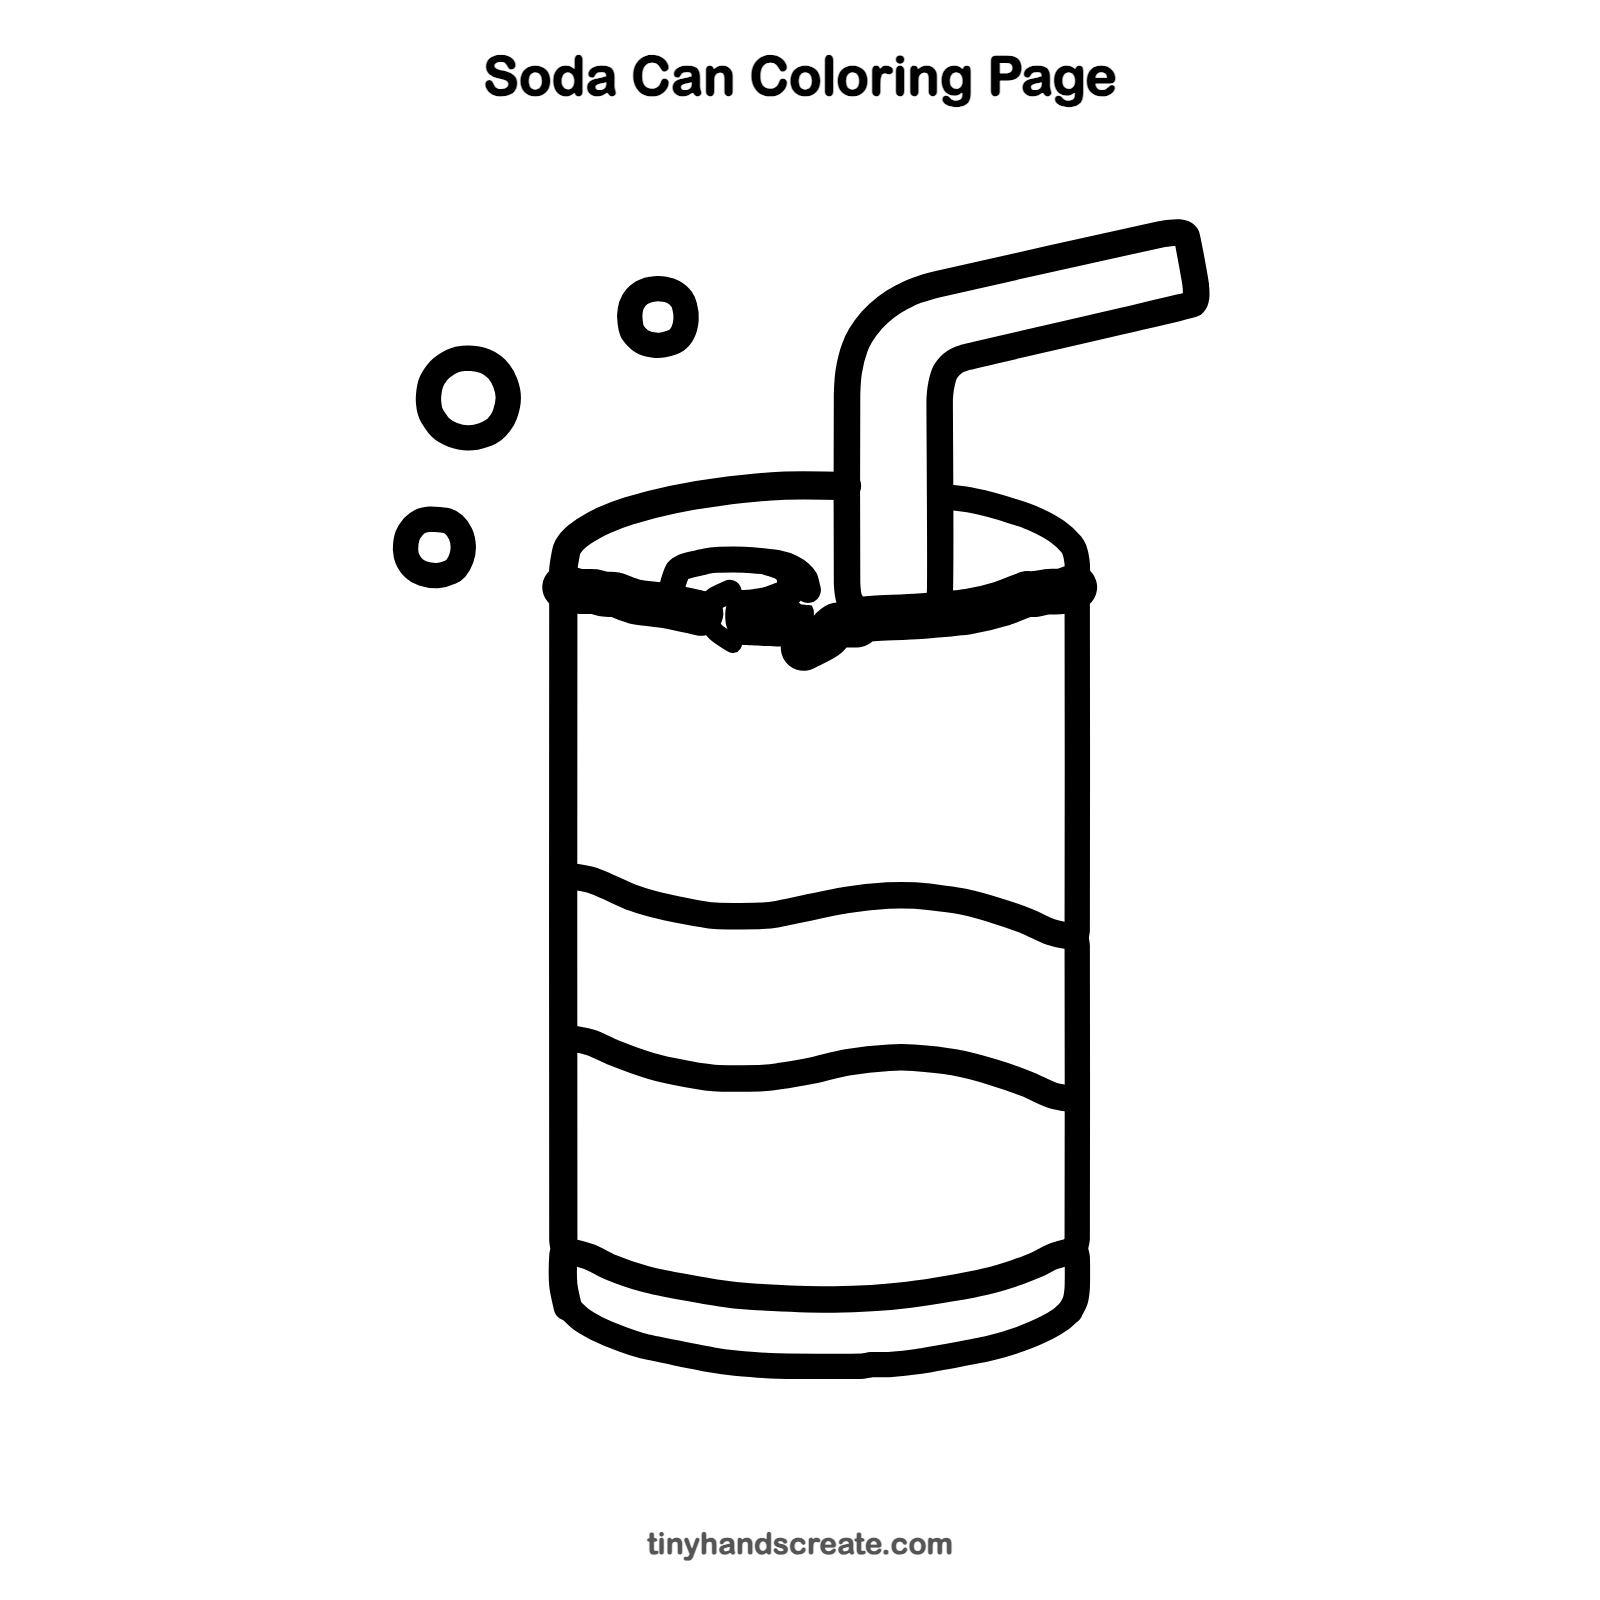
Want to go straight to coloring? Open this soda can coloring page at full size and print it. It is the same drawing you just learned, with clean lines ready for crayons or markers.
How to color your soda can drawing
Try bright red or blue for the can, with a white band in the middle between the wavy lines. For a creative twist, give the bubbles rainbow colors, or color the straw in stripes.
Soda can fun fact for kids
The bubbles in soda are carbon dioxide gas. It is squeezed into the drink in the can, and when you open it the gas rushes out as fizz.
Questions about drawing a soda can
What shapes do I need to draw a soda can?
You need two tall straight sides and curved lines for the top and bottom, which make a cylinder. Add a small oval for the pull tab and circles for the bubbles.
How do I make the can look round?
Draw the bottom edge as curves instead of straight lines. Curve the wavy stripes across the can too, and it will look like they wrap around.
How do I draw a bendy straw?
Draw two lines going up from the lid, then bend both of them to the right at the same spot. Keep the lines the same distance apart all the way, and close the end with a short line.