How to Draw a Honey Jar (Easy Step by Step)
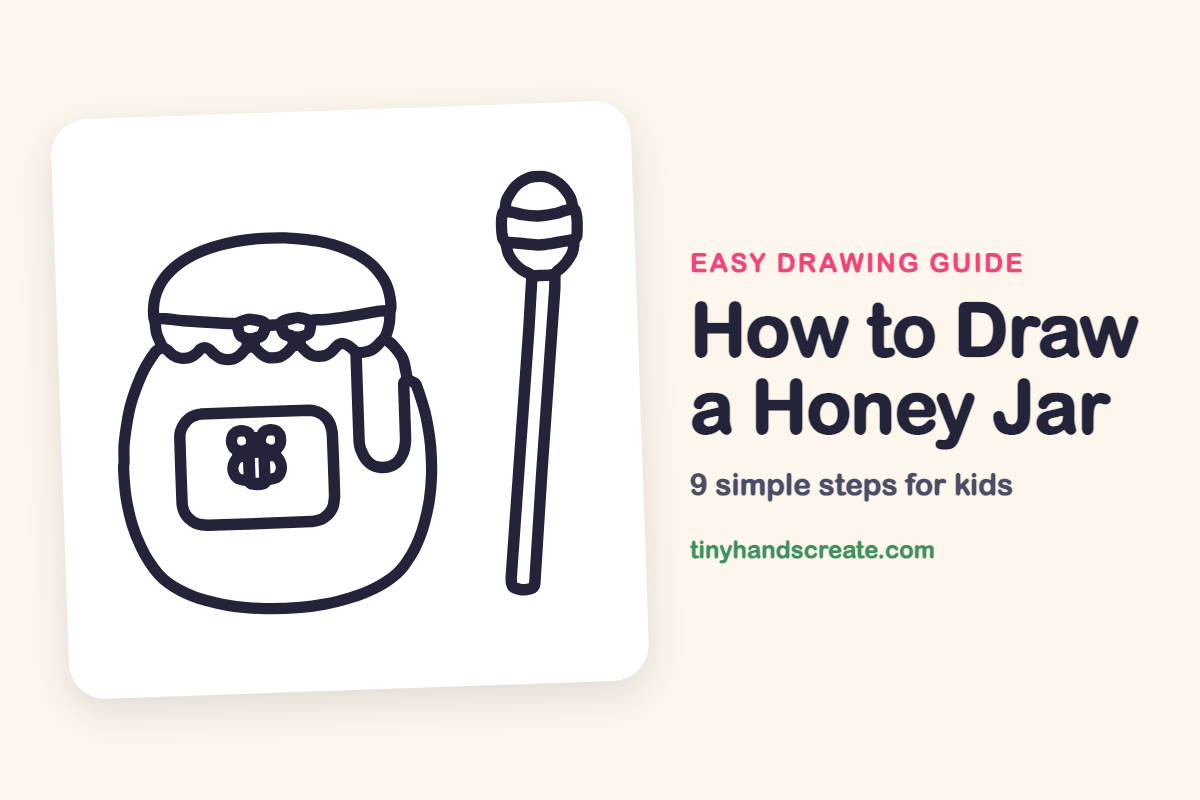
A honey jar is a cozy thing to draw because it is made from simple shapes you already know. You will use a round jar shape, a dome for the lid, a rounded rectangle for the label, and a long stick for the dipper. A tiny bee and a dripping drop of honey make it look sweet and fun.
- Easy
- 15 minutes
- 9 steps
You need: paper, a pencil, an eraser, and crayons or markers for coloring.
Start drawingIn this article (7 sections)
How to draw a honey jar step by step
How to Draw a Honey Jar · tinyhandscreate.com
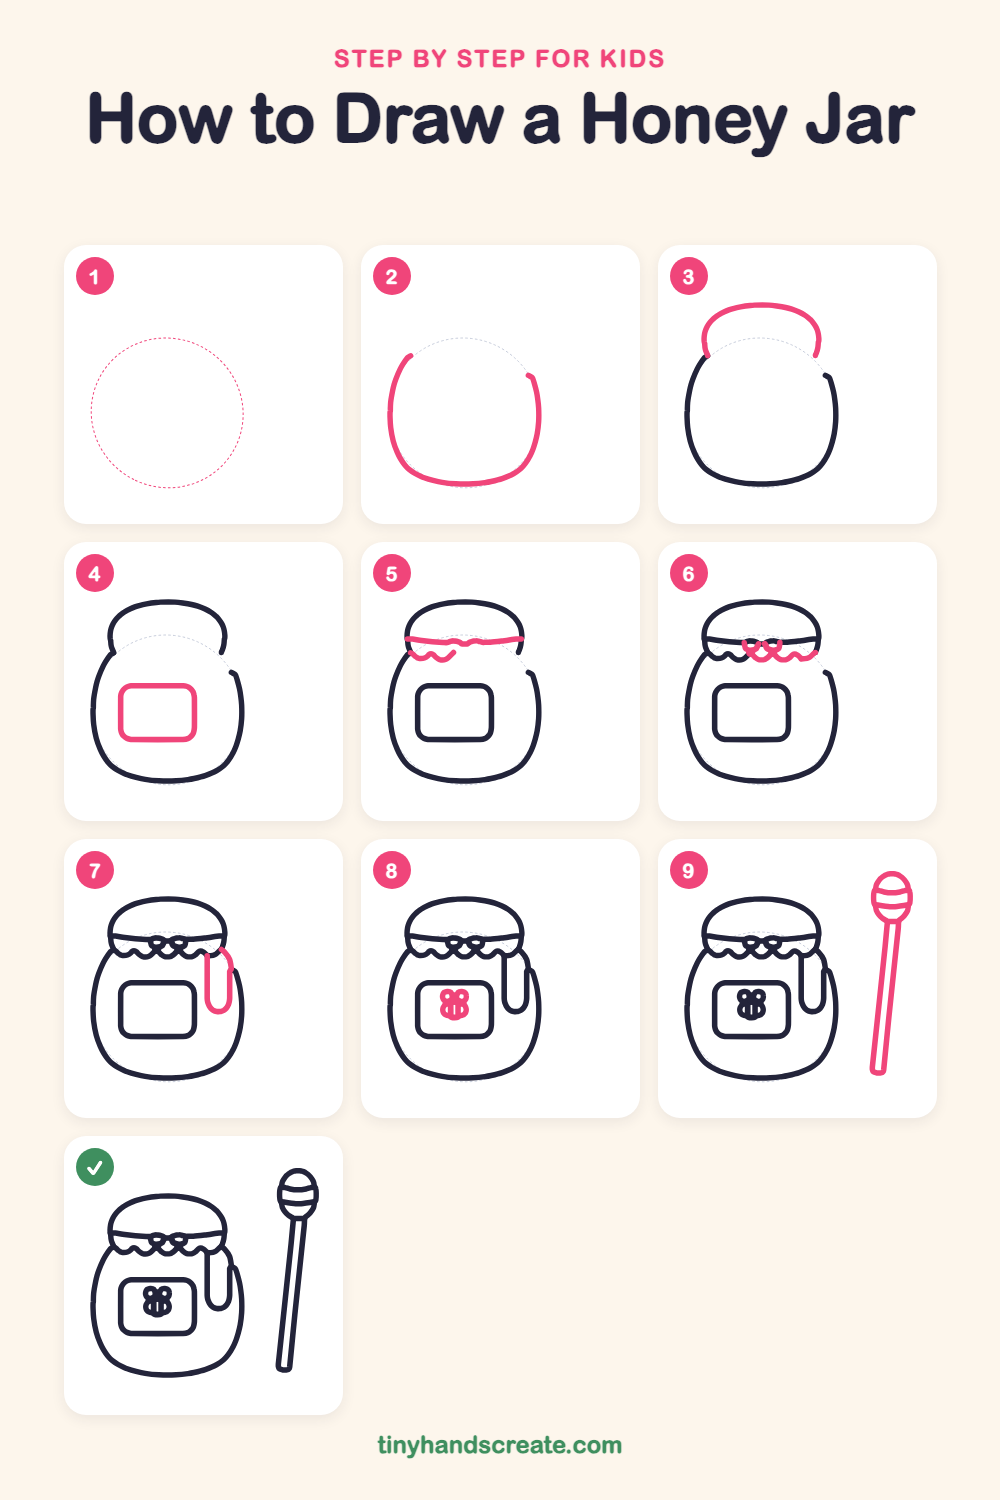
Step 1: Guide shapes
Lightly sketch this oval. It only shows where the big parts go, so press softly. You will erase it at the end.
Step 2: The jar body
Draw a big, round, slightly wide jar shape with a smooth curve. Start at the upper left, curve down and around the bottom, then up the right side, leaving the top open.
Step 3: The round lid
Draw a wide dome on top of the jar, like half of an oval. Its two ends reach down to the open top corners of the jar.
Step 4: The label
In the middle of the jar, draw a rectangle with rounded corners. Make it big enough to hold a little picture.
Step 5: String and cloth edge
Draw a gently wavy line across the bottom of the lid for the string. Then start a bumpy line under it on the left, like little hills, for the edge of the cloth cover.
Step 6: The bow
At the middle of the string, draw two small loops side by side to make a bow. Then keep the bumpy cloth edge going to the right.
Step 7: The honey drip
On the right side, start at the cloth edge and draw a long, thin U shape that hangs down the jar. It looks like honey slowly dripping.
Step 8: The little bee
Inside the label, draw a tiny bee with a round body and two small round wings on top. Add a couple of short lines on the body for stripes.
Step 9: The honey dipper
Next to the jar, draw a long, thin stick that leans a little, using two lines side by side. At the top, add a small oval and draw two curved stripes across it.
All done!
Erase the guide shapes, go over your lines, then color it in.
Finished your honey jar? Keep the pencils out and learn how to draw a soda can or how to draw a teacup next.
Tips for drawing a honey jar
- Sketch the jar body as a light oval first, then trace over it. This keeps the jar round and balanced.
- The bumpy cloth edge is the trickiest part. Make a row of small, even hills, like the bumps on a cloud.
- Draw the dipper last and keep both sides of the stick running side by side. Two straight lines that lean the same way look neat.
Free honey jar coloring page
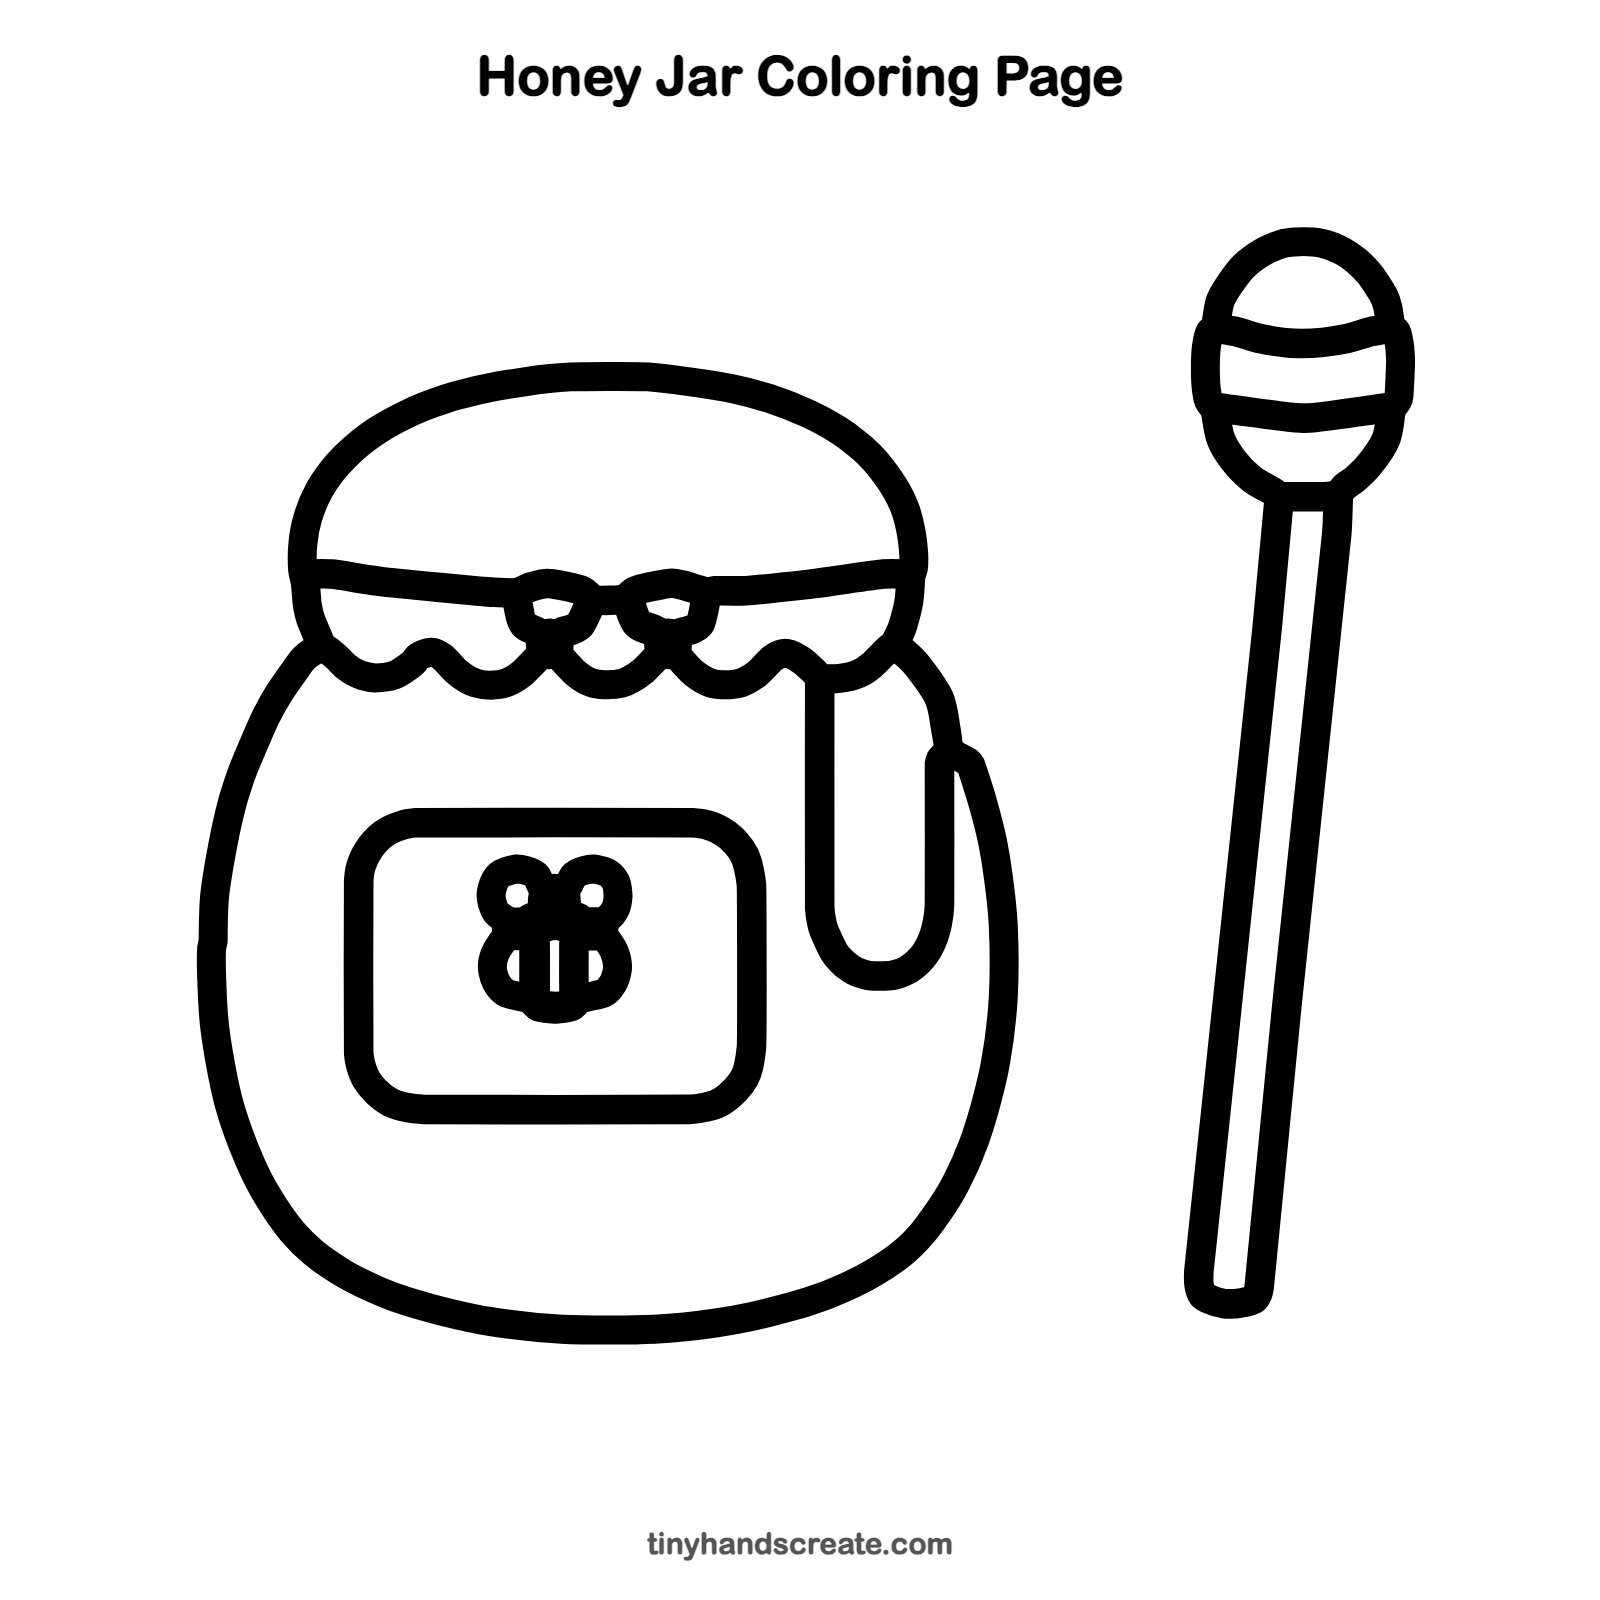
Want to go straight to coloring? Open this honey jar coloring page at full size and print it. It is the same drawing you just learned, with clean lines ready for crayons or markers.
How to color your honey jar drawing
Color the honey drip and the stripes on the dipper golden yellow, and the lid a warm orange. For a creative twist, give the cloth cover a polka dot or checkered pattern.
Honey jar fun fact for kids
Honey almost never spoils. Jars of honey found in ancient Egyptian tombs were still safe to eat after thousands of years.
Questions about drawing a honey jar
What shapes do I need to draw a honey jar?
You need a round jar shape, a dome for the lid, and a rounded rectangle for the label. The dipper is just a long stick with a small oval on top.
How do I make the honey drip look real?
Draw a long, thin U shape that starts at the cloth edge and hangs down the side of the jar. Keep the bottom nicely rounded, like a drop.
How do I make my honey jar look cuter?
Add a tiny bee on the label and give the cloth cover a bumpy edge. A small bow at the top makes it extra sweet.